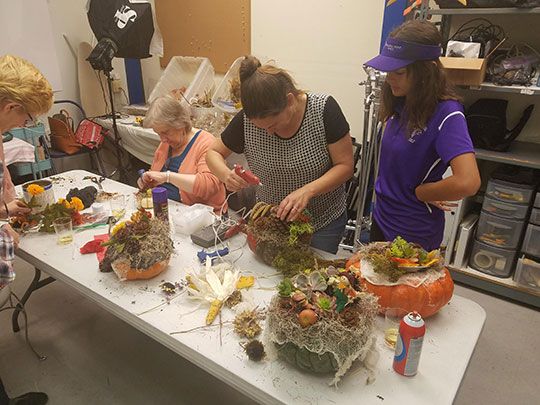
Succulent Decorated Holiday Pumpkins
Posted by Kelly Burgoyne on Oct 26th 2018

Or as I like to call them ‘PUMPK-ULENTS’!
These one-of-a-kind creations will last for months, and the succulents can be replanted and used again next year. After the holidays, I added my pumpkins to my compost pile, and by fall I had an array of pumpkins growing in my yard.
What you will need:
• Pumpkin (any size)
• Fresh succulents in various sizes and colors
• Spanish moss
• Scissors
• Shears
• Hot glue gun
• Spray adhesive
• Tacky glue
• Straight pins
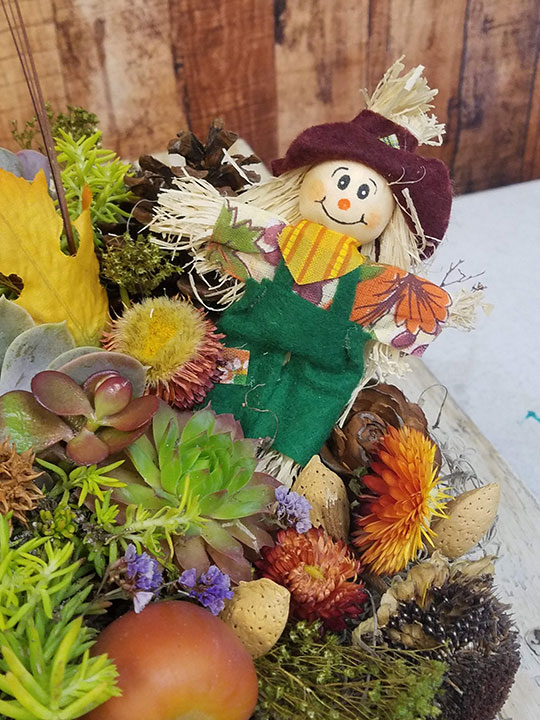
• Any natural elements or mini decorations (dried flowers, sunflowers, pinecones, candles, whole nuts… whatever you can find)
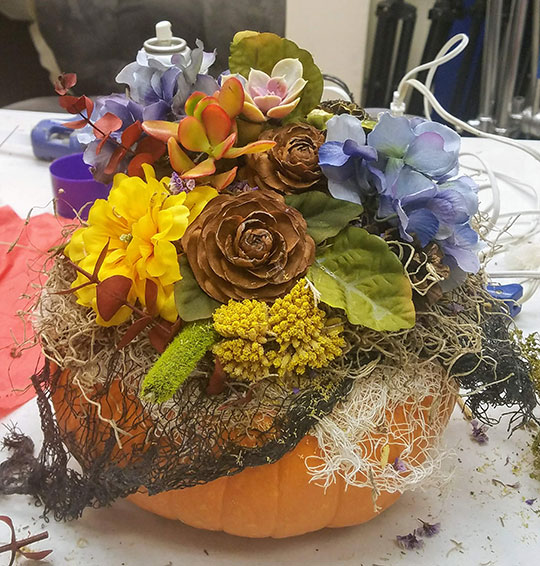
1. Choose a unique pumpkin or gourd (look for a unique color, texture, and a flat top; stems are ok). Do not cut or carve into your pumpkin; leaving it whole will preserve it to last for months.
2. Spray the top of your pumpkin with spray adhesive and spread some Spanish moss across the top of it, letting it cascade around the edges. Orient your pumpkin so that the lowest part faces you (this will help to show off all of your design elements).
3. Begin by selecting your largest decorative elements, then add them from medium to smallest. This would usually be your largest succulents and pinecones, then dried flowers and smaller succulents, then nuts and tiny sprays of colorful leaves. Using glue, secure all elements to the moss. Heavier decorative items can be pinned to the pumpkin to keep them in place.
5. View your masterpiece from all sides and add more elements where needed. If it is to be used on a holiday table, you will certainly want everyone to have the best view.
4. Using a small water spray bottle, mist the succulents once a week to keep them fresh.