


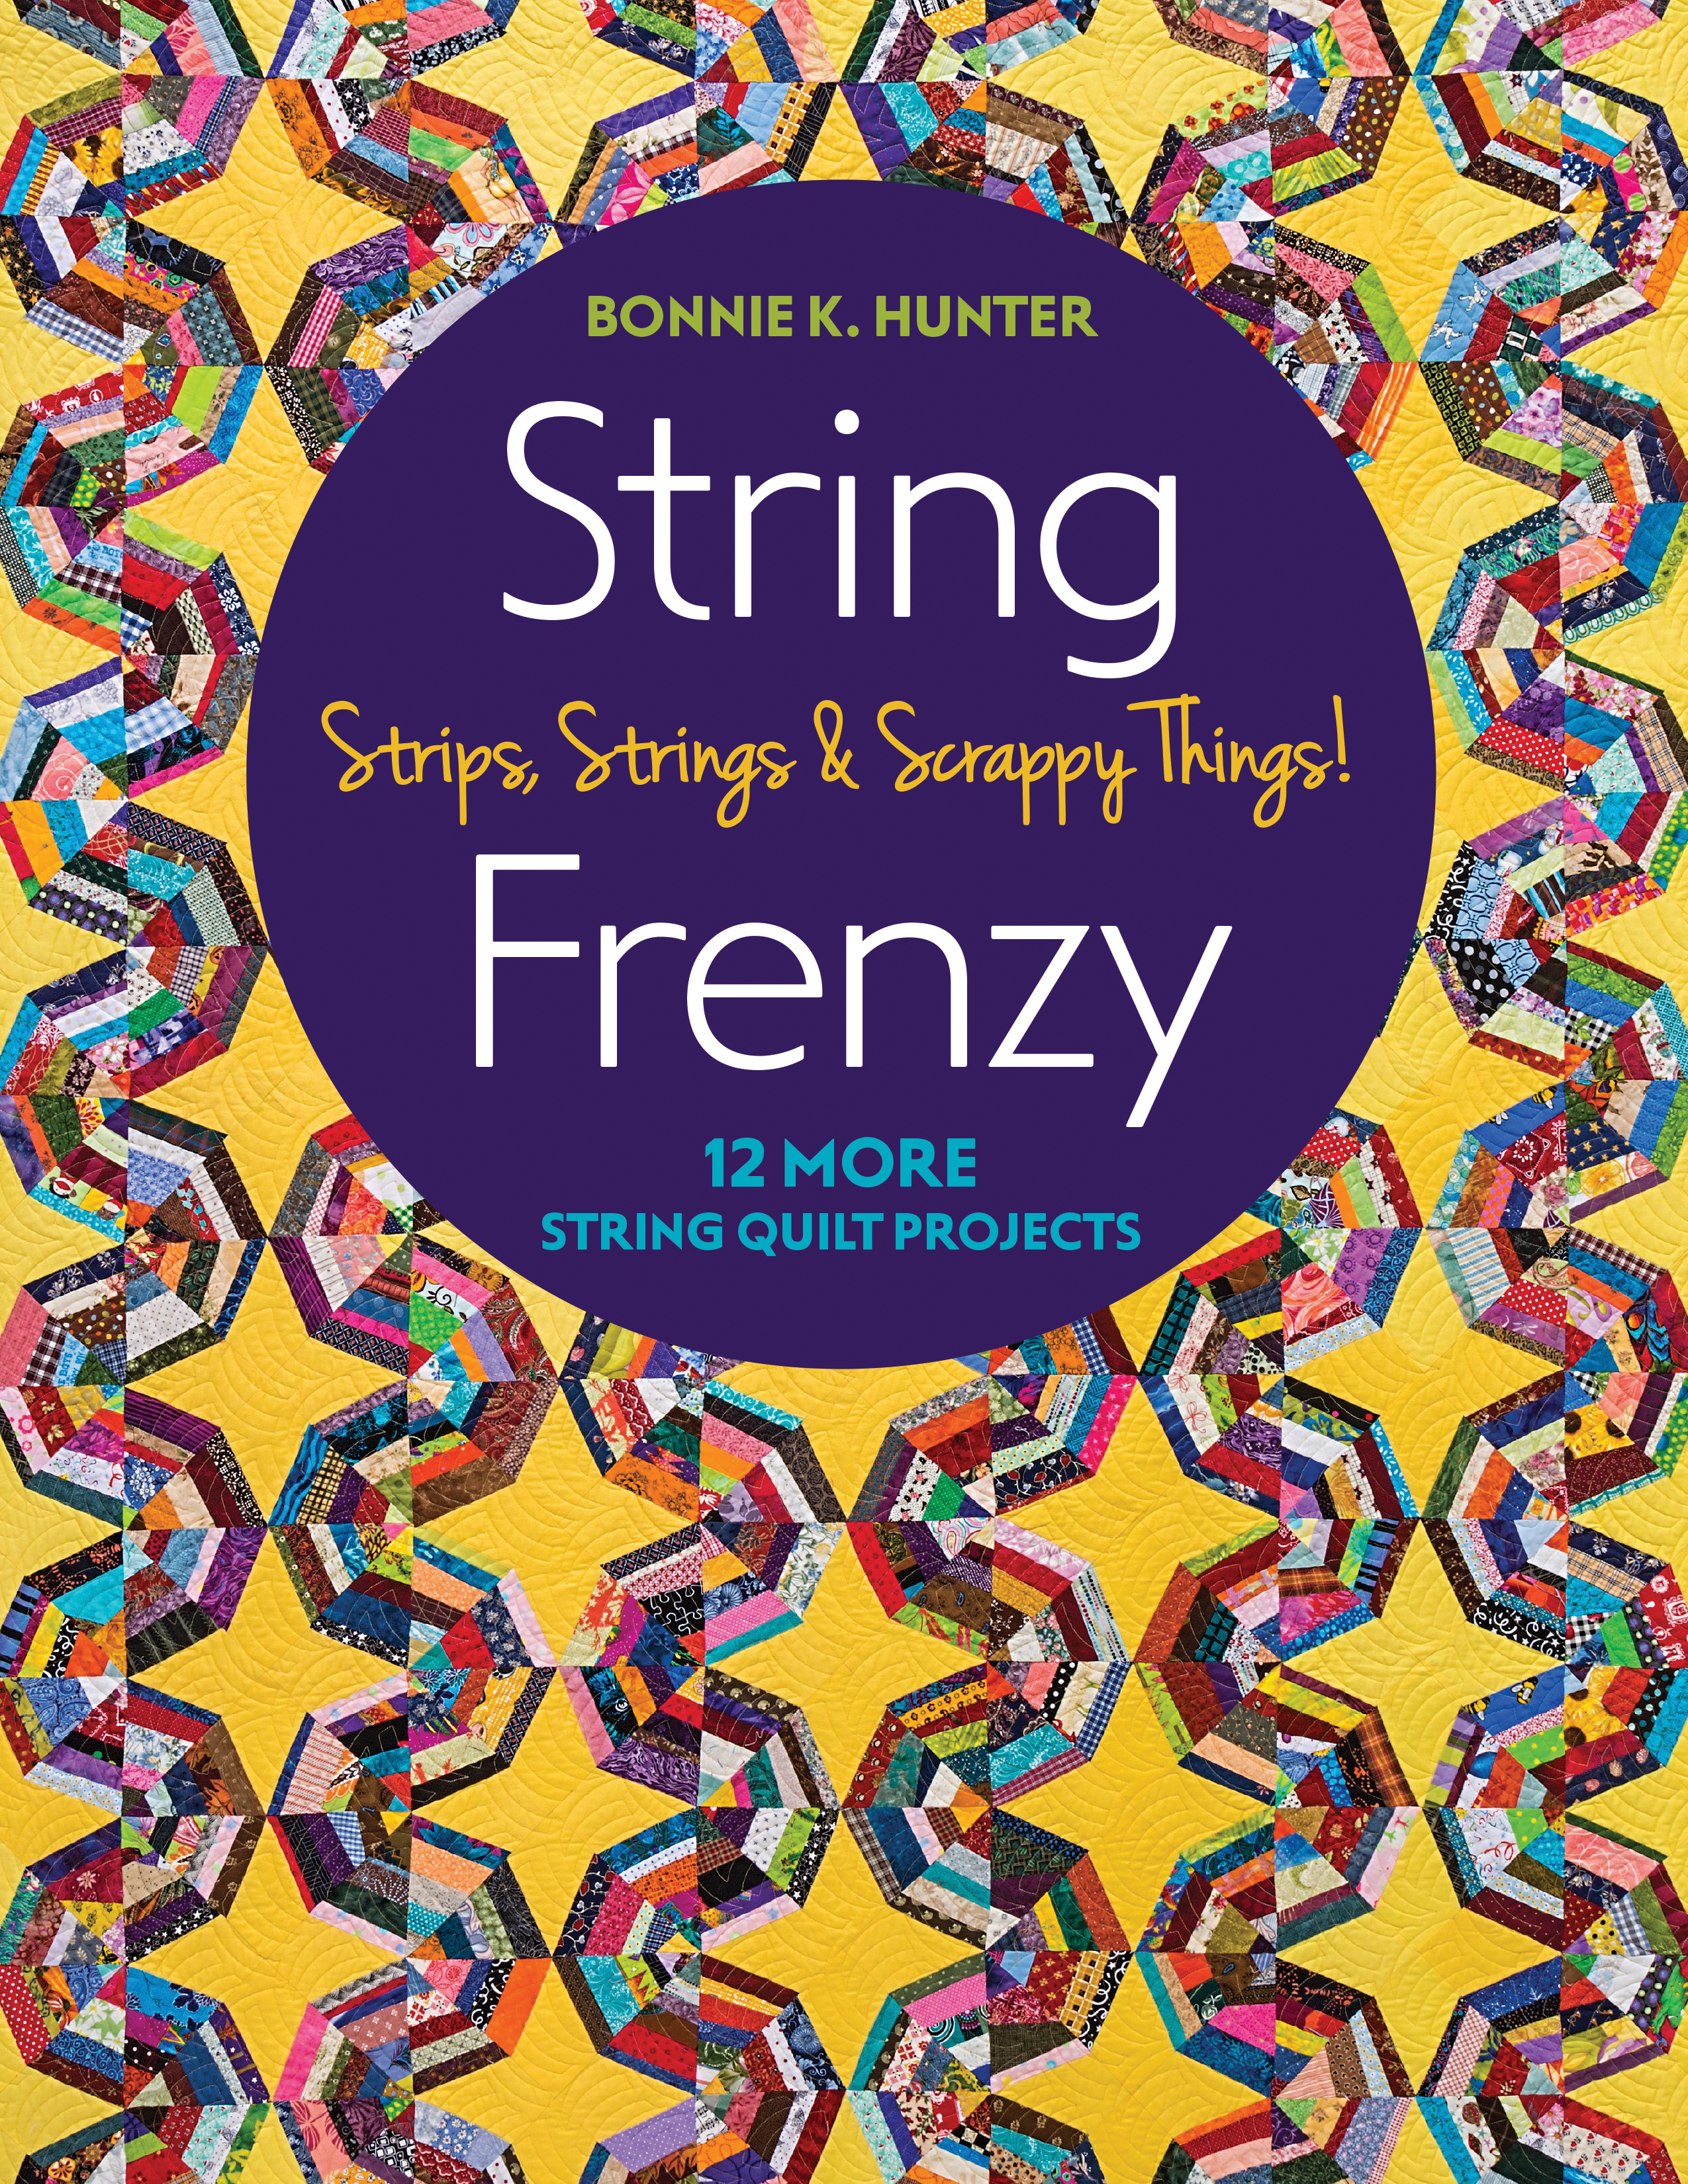
String Piecing Basics
The following information is taken from String Frenzy by Bonnie K. Hunter. Get inspired to to use your fabric scraps!
String Piecing Basics
Narrow strips of fabric, leftover bits from recently finished projects, pieces gifted from friends—these are the best parts of the scraps for me.
I’m the same way with the Thanksgiving turkey. While some like the breast meat only and throw out the rest, I find the best parts are those that remain after the big meal is over, as I think of absolutely everything I can make with every spare morsel.
Besides, the scraps cost just as much as the original yardage that they came from. String units mixed with other patchwork pieces add a dynamic, eye-catching feature in a scrap quilt!
WHAT IS A STRING?
Historically, the term string refers to a piece of fabric considered “too small” to be used in household sewing. Too insignificant for clothing construction, too tiny for household linens—these were the bits destined for the trash bin. In most cases, they were even too small to be considered as rags.
But quilters are and always have been a resilient lot and, of course, we could find a way to use them by sewing them back together into bigger pieces, trimming to shape, and adding them to each other. Patterns emerged, and with sewing the strips to a foundation of paper or fabric, these strings found places of beauty in stunning quilts from the humblest of circumstances.
Though many string quilts were simply considered to be utilitarian in nature, they hold a charm and a vibrant freedom that many other tradition-ally pieced quilts do not have.
String quilts have always been a fascination for me—the randomness of placement, the variety of color, and most of all the stories these quilts and fabrics could tell about their makers—if only quilts could talk.
How Wide Are Strings?
In my book, a string is any narrow piece of fabric ranging from 3/4˝ wide up to 2˝ wide. Lengths can vary, but anything shorter than 5˝ would be categorized by me as a “crumb” rather than a “string.”
I love to vary the widths of my strips and find it fun to even lay things on a slight angle from time to time, causing the direction of the strings to tilt and lean in my block so they are not all marching in the same direction like straight little soldiers. Let them play, let them dance! The more variety in placement the better.
My string collecting is simple. I start with a basket placed under my cut-ting table and anything “string worthy” that I don’t want to cut into other scrap sizes is placed into the basket. Every project leaves strings. I’ve such an addiction to the odd-size narrow strips that I will even move the ruler over a whole inch or so when straightening up a piece of fabric so I can save a whole string, instead of simply discarding 1/4˝ of trimmings. Variety is key—the more you save, the more you’ll have.
When the basket is full I have a couple of choices to make—do I want to make a string quilt with all of the colors of the rainbow included? Or do I want to play with a few select color families for a more planned look?
If a quilt with a certain color scheme is at the forefront, the sorting takes place. It’s a fun and messy process, the sorting of the strings. I dump the basket on the floor, and while watching a movie I sort the saved strips by color family, storing each family in its own clear plastic tub so I can see what’s what and can easily dig into an evening of string piecing by color.
FOUNDATIONS
The reasons I want foundations in my string piecing are two-fold.
I prefer to use paper foundations in my string piecing for many reasons. One reason is that I find sewing straight strips of fabric across the bias of a fabric foundation can cause warping and rolling and a foundation that won’t lie flat. Paper is sturdy in every direction, having no bias.
My quilts are full of small pieces and many seams. Being able to remove the paper from the string piecing also helps eliminate excess bulk that would add more weight if I left fabric foundations in place when sewing the top together.
There are many kinds of paper suitable for string piecing. Telephone books, financial prospectus pages that come quarterly for a 401(k), doodle pads from the dollar store, and newsprint end rolls have all been used successfully in the past. Look for a thin, crisp paper that tears away easily after stitching. Tracing paper and vellum are not recommended as they may curl or shrink when touched with an iron.
There are also wonderful foundation papers available for purchase. Try Carol Doak’s Foundation Paper (by C&T Publishing), especially when printing foundations where sewing on a line is necessary. It is designed for stitching and tearing away. The 81/2˝ × 11˝ and 81/2˝ × 14˝ sheets feed through a printer easily.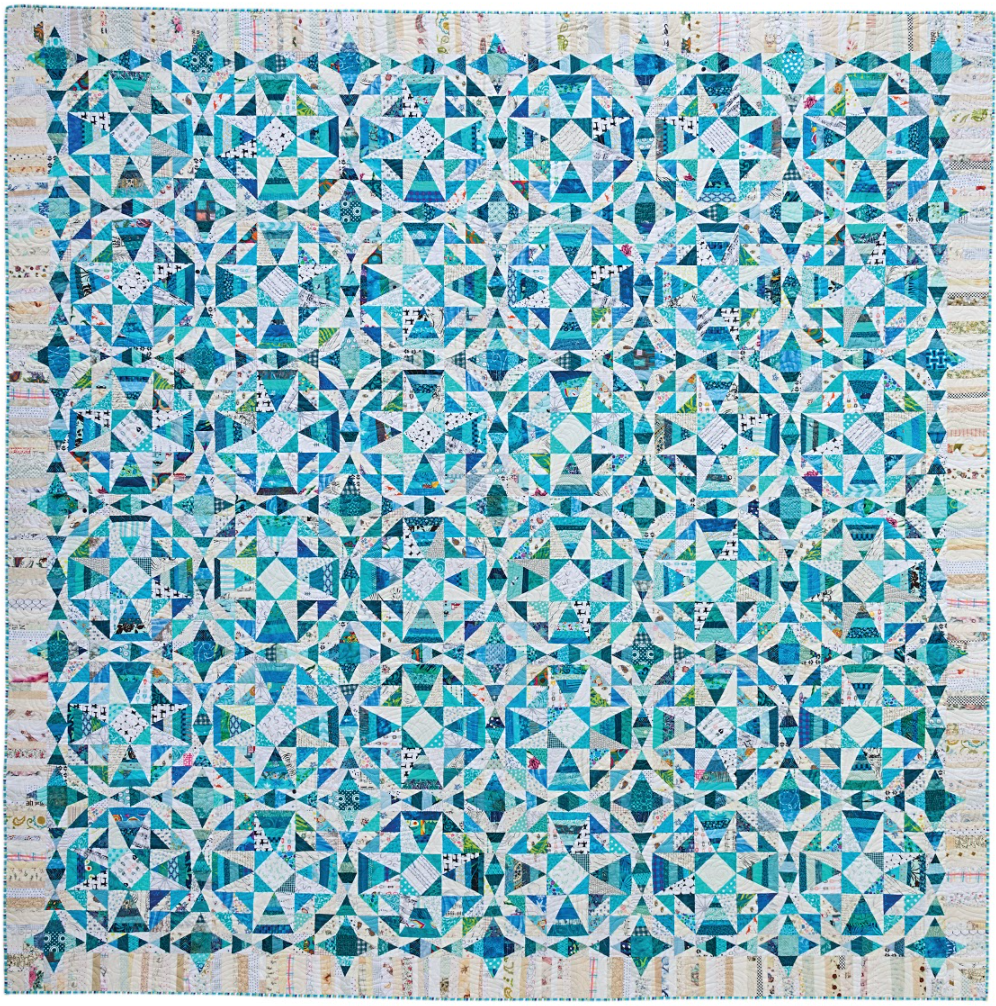
For Easy Paper Removal
Paper removal is easy if you remember the following:
Smaller stitches and bigger needle holes make the paper very easy to remove. If the paper is falling off too soon, lengthen the stitch a bit. If the stitches are too large, you may find the stitches pulling and distorting as you fight to remove the paper.
As paper is hardest to remove when seamlines cross other seamlines, I square up my blocks and remove the paper before joining units together in the quilt. Once the units are pieced, squared, and de-papered, I can simply sew them together in the quilt just like any other pieced block.
PRESSING
While piecing string blocks, I tend to work with a dry iron (no steam).
Some string blocks will have bias edges. To add stability and minimize stretch when removing paper, lightly spray the completed block with spray starch and press before trimming and paper removal.
Removing paper is an acquired technique! I find that if I place the thumbnail of my left hand on the seamline I am pulling paper away from, the stitches are held secure as I remove the paper the same way I would from a perforated notebook with my right hand. I start at one corner and work my way across the block in the reverse order that pieces were sewn.
-


