

"Single Feathers" from Beginner's Guide to Free-Motion Quilting
Jan 29th 2020
The content below is from Beginner's Guide to Free-Motion Quilting by Natalia Bonner— learn how to sew Single Feathers! P.S. Scroll to the bottom of the post for a giveaway.
HOW TO SEW FEATHERS
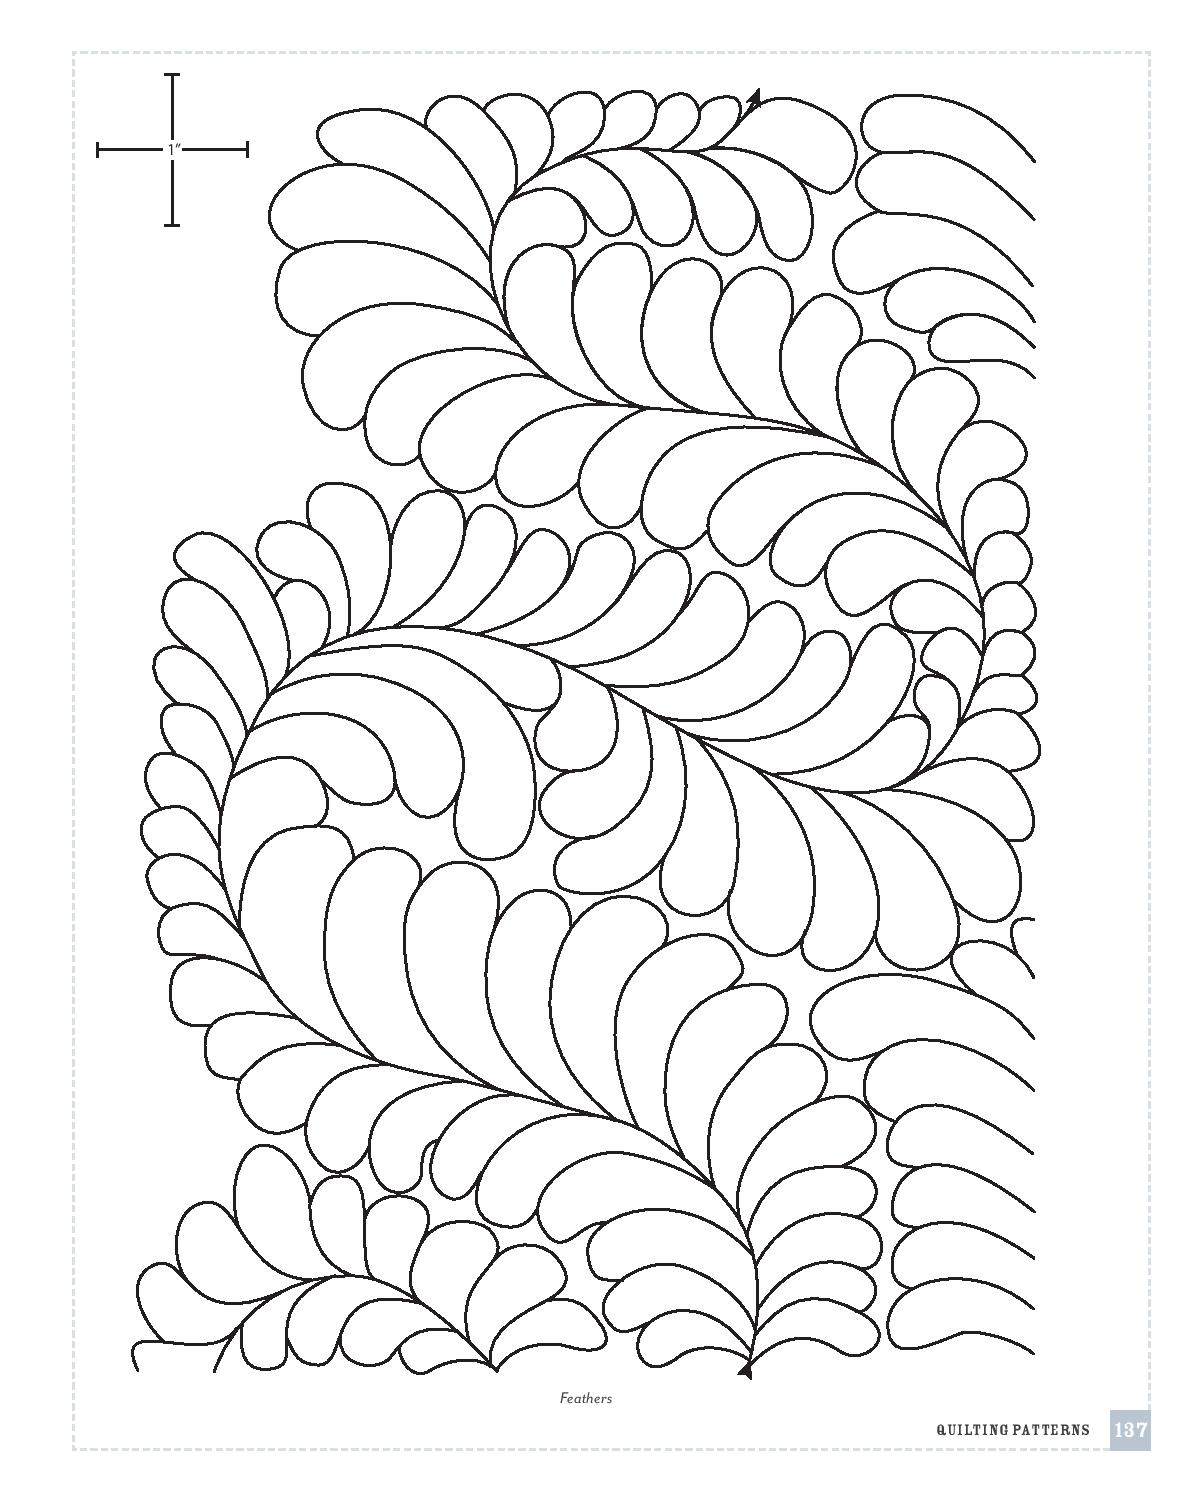
STEP 1. Begin by stitching a long meandering line; this will be the “spine” of the feathers. Keep the spine 4˝ to 6˝ away from itself at all times.
STEP 2. To stitch the first feather, start at the end point of the spine, and stitch a single feather shape, returning to the original starting point of the feather.
STEP 3. To create the next feather, stitch back directly on top of the stitching until you are nearly to the top of the first feather, and then curve away to make the top of the second feather. Complete the second feather. Continue stitching in this way to make feathers all along one side of the spine, varying their size and keeping their edges close together. Stitch until you are back at the starting point.
STEP 4. Move onto the other side of the spine. Starting at the very bottom point, fill in with feathers that mirror those on the first side. These feathers do not have to be exactly the same size as the feathers on the opposite side, but try to keep them somewhat consistent overall.
SINGLE FEATHERS
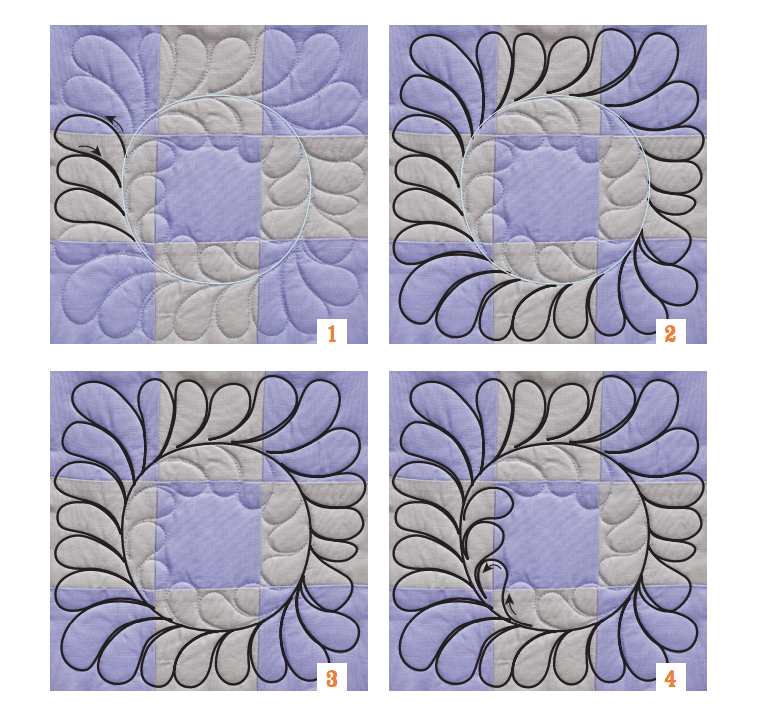
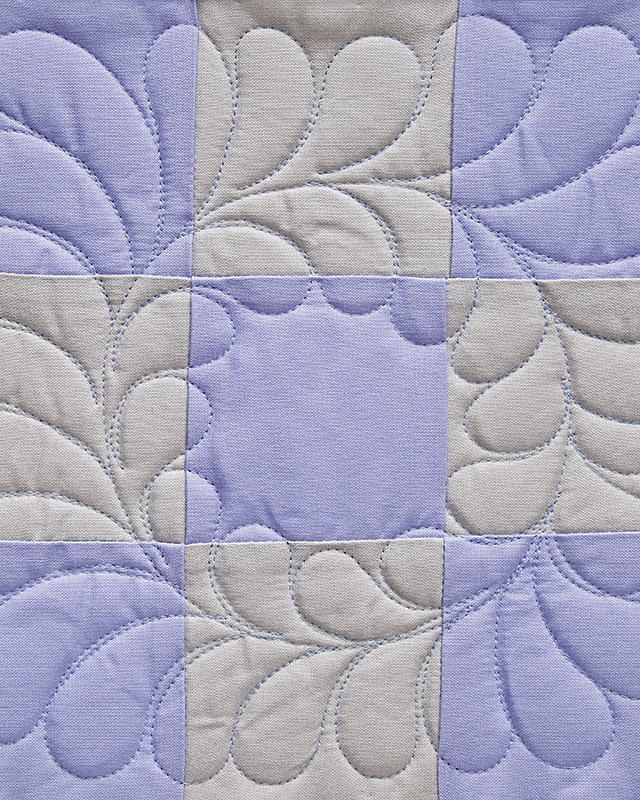
STEP 1. After you have drawn the circle, choose a starting point on the outside of the circle; begin stitching at the base of one feather. Stitch feathers one at a time, close together, around the circle.
STEP 2. Complete the entire outer ring of feathers.
STEP 3. After the outer feathers are complete, stitch on the original marked line.
STEP 4. Stitch smaller feathers all around the inside of the circle. After quilting is complete, spray the marked line with water, and it will disappear.
-
Giveaway now closed.
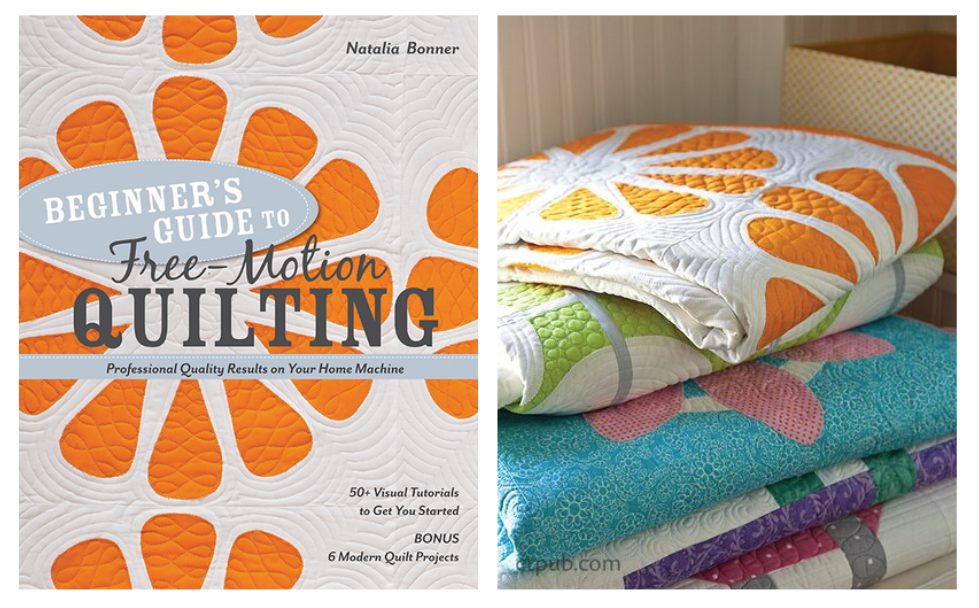
Order Beginner's Guide to Free-Motion Quilting by Natalia Bonner


