

Setting Your Seam Allowance with Bonnie K. Hunter
Posted by Deirdre Quirk on May 6th 2019
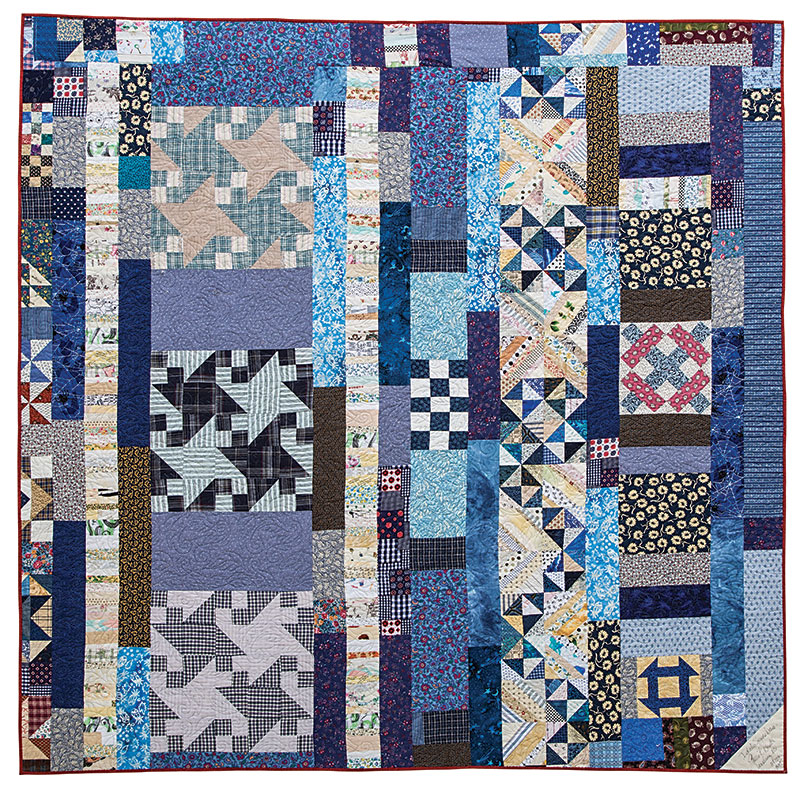
Ever wonder how Bonnie Hunter gets those perfect aligned scrap blocks? Wonder no longer! In this extract from Addicted to Scraps, Bonnie shares her secret to perfect seam allowances: the Bonus Buddy Ruler, plus some good old-fashioned testing. Plus, scroll down to the end for a giveaway.
The Bonus Buddy comes complete with holes to set your seam allowance. You will find holes for 1/4 ̋, 3/8 ̋, 1/2 ̋, and 5/8 ̋ seam allowances.
TIP: My favorite seam guide is made from a 3/4 ̋ strip of an old hotel room key backed with double stick removable poster tape.
1. To set the proper seam allowance, insert the sewing machine needle into the desired hole width.
2. Lower the presser foot, holding the Bonus Buddy in place. Make sure that the tool is straight on the machine bed.
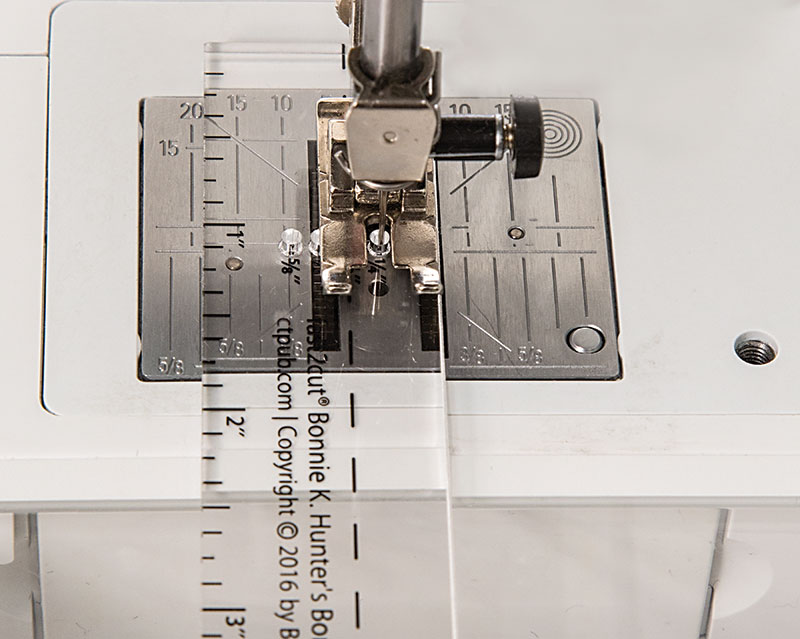
3. Mark the seam allowance with 3 or 4 layers of masking tape, moleskin, or a stack of post-it notes.
TIP: It’s best not to cover the feed dogs with any sort of guide. On a digital machine you can needle over so that the tape or guide will not cover the feed dogs or interfere with the foot. On a machine with a drop-front bobbin, consider fitting the guide or tape to fit the top of your bobbin cover only. This way it is easy to change bobbins without having to continually replace your guide.
Test That Seam Allowance!
There is more to the perfect unit size than seam allowance alone. Cutting, fabric thickness, and weight of thread are all part of the equation for unit size. The needle hole in the Bonus Buddy is big enough to accommodate different sizes of needles, so there is a little room in the hole to allow you to fine-tune the seam allowance. To test that your seam guide is in the correct position to give you a perfect 1/4 ̋ seam allowance, follow these steps:
1. Stitch a pair of 2 1/2 ̋ × 2 1/2 ̋ squares with right sides together.
2. Press the seam allowances toward the darker square. Measure the piece by placing a rotary ruler on top of the unit. If the unit measures 4 1/2 ̋ across the width of the 2 squares, you are where you should be. If not, adjust your seam allowance by moving the tape (or whatever material you used for your guide).
3. Repeat Steps 1 and 2 until the unit measures 4 1/2 ̋ across.
It's your lucky day! We're giving away a bundle of Addicted to Scraps and a Bonus Buddy Ruler. Enter to win HERE! (Entry restricted to the United States only.)


