

Primitive Pals: Framed Blackwork Project
Posted by Robin Vizzone on Aug 23rd 2018
Blackwork embroidery is a Primitive style of hand-work. Simple stitched lines are used to outline shapes, without any embroidered fill. Inspired by traditional redwork embroidery, blackwork, with its black thread and uneven stitches, has Primitive panache. This wonderful Primitive blackwork project is taken from Robin Vizzone's Peculiar Primitives—A Collection of Eclectic Projects.
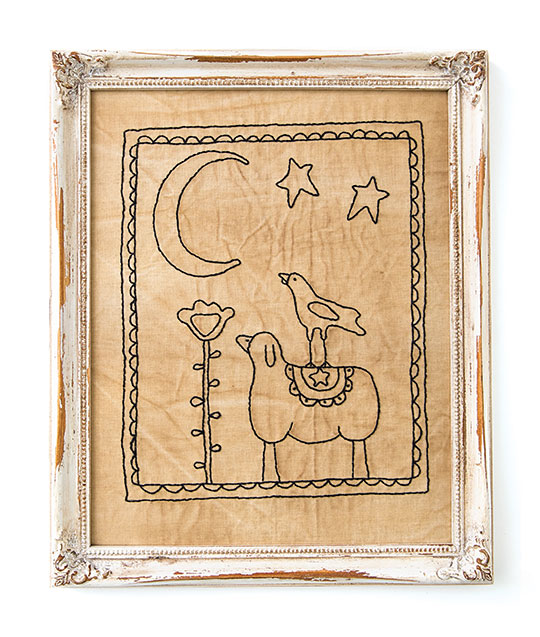
Finished size: 8 ̋ × 10 ̋
Sheep and Crow are the unofficial mascots of all things Primitive.This framed blackwork is one of those items that can decorate a special spot in your home all year round. I think everyone could use some Primitive pals in their home.
MATERIALS
Muslin: 1/3 yard or 1 fat quarter (18 ̋ × 22 ̋)
Stitchery thread: black 12wt Aurifil Mako
Fine-tip black Pigma Micron pen
Make-It-Prim Staining Brew
8 ̋ × 10 ̋ frame (glass removed)
8 ̋ × 10 ̋ cardboard insert for frame
Spray adhesive
Quick-drying craft glue
CUTTING
Use the Framed Blackwork pattern (download here).
Muslin: Cut 1 square 12 ̋ × 12 ̋.
CONSTRUCTION
Stitching
1. Mark the center of the muslin background by folding the block in half from both directions and lightly finger-pressing each crease.
2. Place the creased muslin over the pattern so that the design is centered behind the muslin.
3. Transfer the stitchery design onto the muslin using a lightbox or a sunny window.
4. Trace the stitchery design using a fine-tip black pen and very light pressure. There should be a scant visible line for stitching.
5. Hand sew along the traced lines, using black thread and a backstitch. When the stitching is complete, press the block well.
Antiquing
1. Place the stitchery on a piece of newspaper or another protective surface. Mist it with water until it’s completely damp.
2. Spray the stitchery with the Make-It-Prim Staining Brew. The damp muslin will absorb the brew, and you will see it bleeding into the fabric.
3. Let this air dry, or apply heat to the fabric if you want a darker and deeper stain, as in the featured version. To apply heat, use a hair dryer set on high or place the stitchery into a clothes dryer set on high heat for a few minutes.
Note: Be sure to wipe out the dryer before using it again to remove any brew.
Framing
The cardboard insert needs to fit into the frame from the back side.
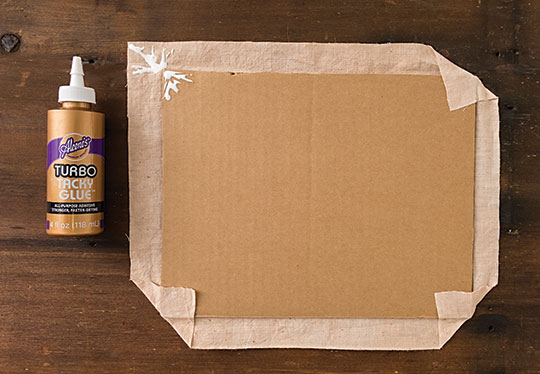
1. Evenly and carefully coat 1 side of the 8 ̋ × 10 ̋ cardboard insert with spray adhesive. Wipe away any visibly pooling excess glue with a paper towel, or it will soak through the stitchery.
2. Center the stitchery block on the adhesive side of the cardboard and press down with your hands to secure.
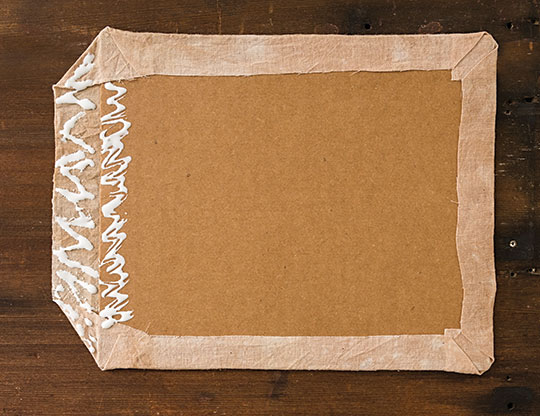
3. Turn the project facedown and glue all 4 corners of the muslin to the back side of the cardboard, using quick-drying craft glue.
4. Glue the sides and top of the muslin to the back of the cardboard.
5. Place the finished design into the frame and display.


