

How to Successfully Sort and Store Scraps
Nov 14th 2019
The advice below is from No Scrap Left Behind by Amanda Jean Nyberg— the perfect guidance for anyone who is looking how to best sort their seemingly endless amounts of scraps! P.S. Scroll to the bottom of the post for a giveaway.
Where Do I Start?
With regard to scraps, I hear from folks all the time, “I don’t even know where to start.” Sometimes there is a burden of guilt associated with that statement. Sometimes it is said out of frustration. Either way, I am here to offer hope and a solution to that pile (mountain?) of scraps.
I’ve often responded to the question, “Where do I start?” by saying, “Start by sorting.” That isn’t a bad idea at all. Yet if you have multiple boxes of scraps left over from countless projects, sorting is an intimidating venture right off the bat. If that’s the case, you might want to try to select a few of your favorite scraps and make a project out of them. It doesn’t need to be a big project. It can be a pillow cover, a pot holder, or even something as small as a pincushion. By getting a completed project behind you, you can enjoy the success and taste the potential results that scrap quilting can bring. Who knows—you might even find it addictive. Do this a time or two and see what happens. See how good taking action feels.
After you have created a few scrap projects, then by all means dive in and sort your scraps. It will take time, but it will feel good to have them in order.
One other recommendation that I would offer is to invite a fabric-loving friend over to help you sort. It will be a much more enjoyable task with good company, and inviting a friend will bring an element of accountability to the table as well.
Sorting and Storing
Sorting your scraps is a necessary part of the process, and how you sort them should reflect the style of your work. Early in my quilting days, I tried cutting all my scraps into squares of various sizes. Once I completed a project, the remains got chopped up into squares immediately. I stopped using that method because it seemed like I was always cutting and yet I never had the right-sized fabric in the color I needed. The process didn’t work for me.
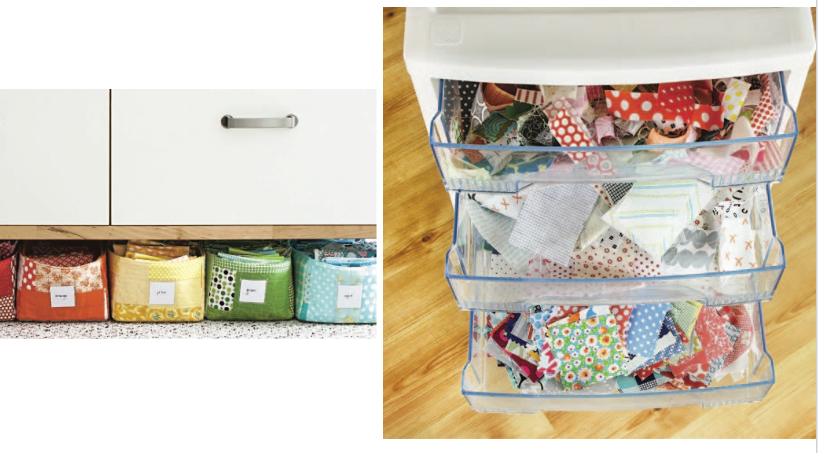
Now I like to start by sorting my scraps by color. A lot of my quilts start with choosing a color scheme, so for me sorting scraps by color is a natural choice. The majority of my scraps are stored in quilted storage boxes (the pattern can be found in Sunday Morning Quilts by C&T Publishing), and those boxes reside under my cutting table. There are boxes for twelve colors and one for multicolored fabrics, so thirteen boxes in all. Generally, the scraps in these boxes are smaller than a fat quarter but larger than a charm square. If I put all my little scraps in these boxes, the boxes would need to be much larger!
For the smaller scraps, I sort by shape rather than color. The categories for these are 21/2˝ × 21/2˝ squares, snippets, triangles, and small low-volume pieces. These smaller pieces are stored in a multidrawer rolling cart.
Snippets are scraps that are smaller than 21/2˝ on all sides. Triangles are mostly leftover pieces from joining binding ends together, but some are trimmings from constructing quilt blocks. The small low-volume pieces belong to what I would consider a short-term category. They are various light-value fabrics that I am collecting for a special project. Once the project is finished, I won’t need to separate these pieces any longer.
Quilted Storage Boxes Small scrap storage
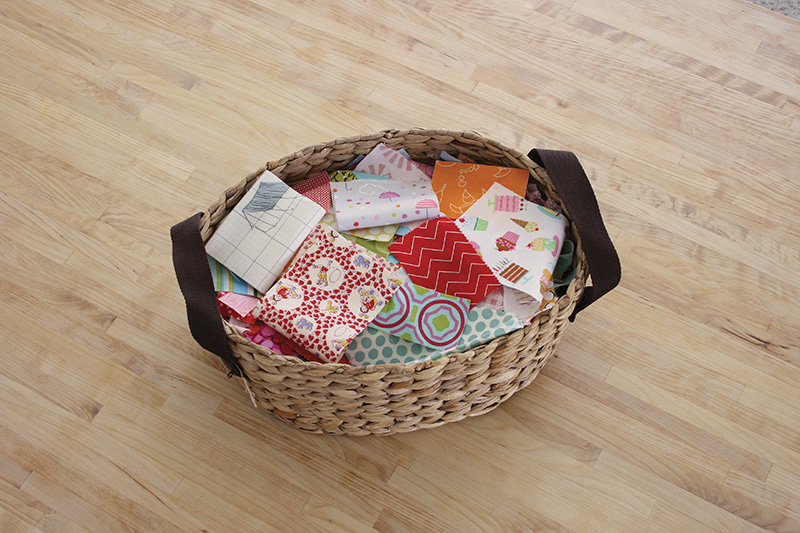
This is my catchall basket. The scraps in this basket may be of any color. It holds pieces that are too small to go into the color baskets but too large to put into the snippets drawer. The basket also holds strings and strips that are shorter than 6˝. Basically, it’s a basket of scraps that don’t fit into any of the other categories. This basket is my first stop if I am making smaller projects. It’s a great starting point for making things like place mats, pincushions, and pillow tops.
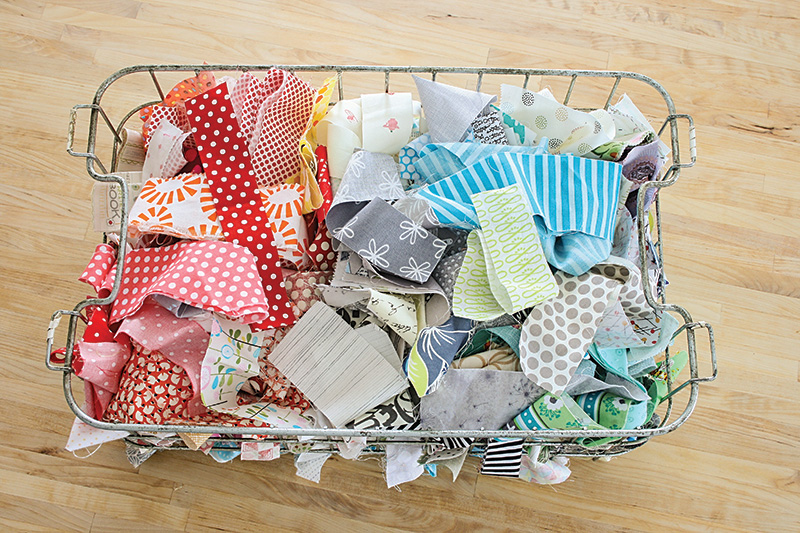
I also have a basket just for strings (anything that is between 1˝ and 3˝ wide and longer than 6˝) and a separate bowl for selvages and strings that are too skinny to sew. The skinny strings (1˝ wide or less) are knitted into rag rugs.
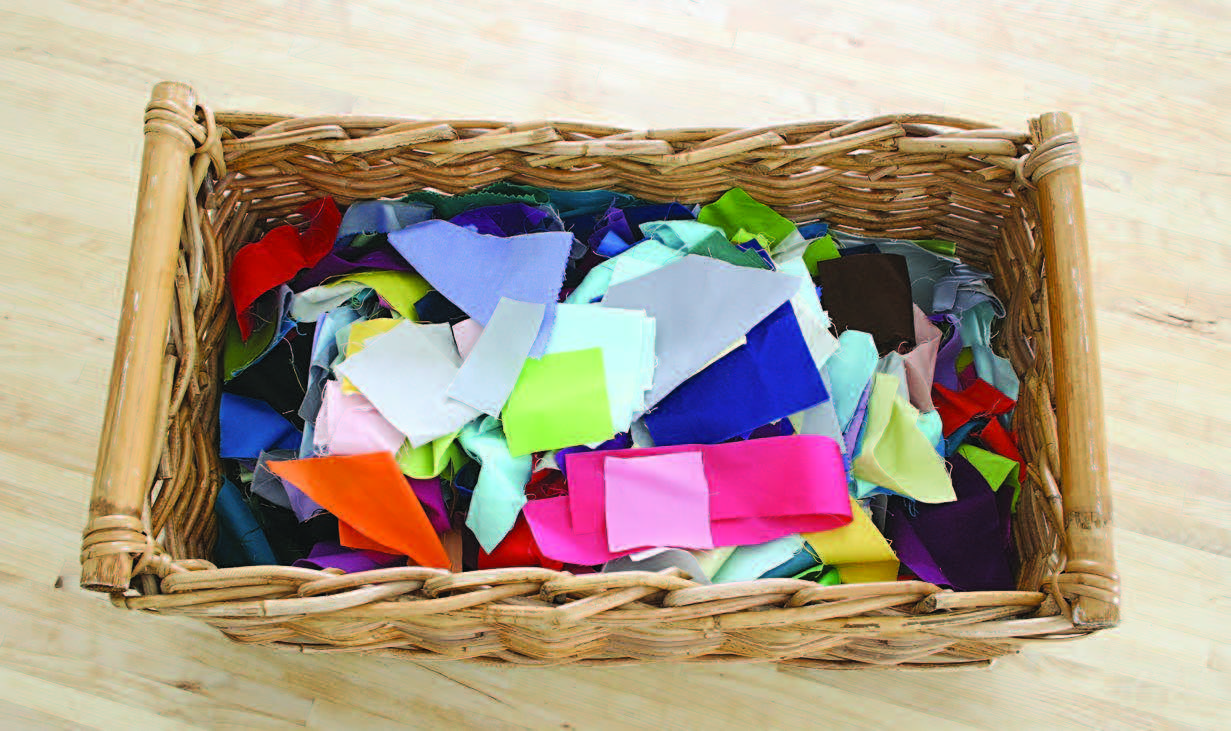
And lastly I have a basket of solids. Separating the solids from the printed fabrics is a fairly new development for me, but I find that a whole bin of solids is much more inspirational to me than solids mingled with my print scraps. This is a purely personal preference. All sizes of solid-colored scraps, except for the smallest bits, go into this basket.
I’ve revamped my sorting methods and honed them over the years to reflect my space and working style. My scrap categories change a bit here and there as projects are started or finished. The system is in a constant state of flux, but that’s okay. In fact, that’s probably why it works.
There are so many ways you can sort your scraps, but ultimately you need to have a system that is customized to you, your storage limitations, your patience, and the way in which you work.
And there are many different boxes, bins, and containers that you can use to store your scraps. If nothing else, you can rely on a trusty system of clear plastic bags that are stored in a large plastic bin. Whatever system you choose, make sure that your scraps are easily accessible. Otherwise it is unlikely that you will use them.
Giveaway now closed.


