

How To Make Blossom Fairies
Dec 3rd 2019
The content below is from Felt Week Folk New Adventures— the perfect tips to motivate you to try something new! P.S. Scroll to the bottom of the post for a giveaway.
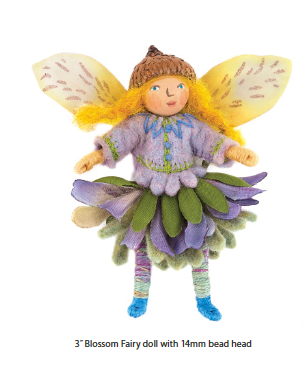
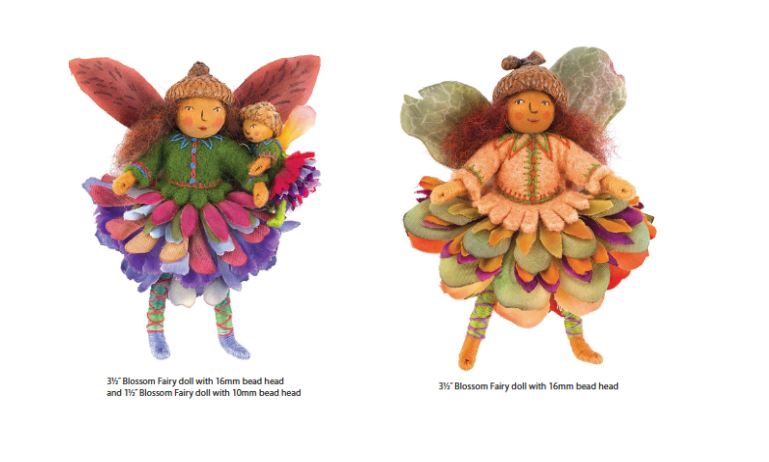
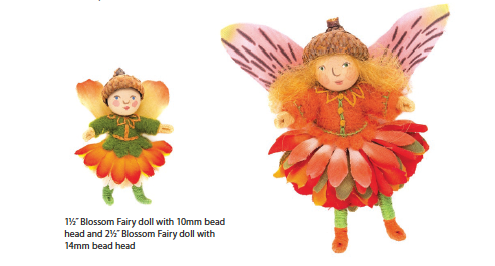
Make a collection of fairy dolls, from the tiniest 11/2˝ baby to a full-grown 31/2˝ fairy. These dolls have floss-wrapped arms and legs, which require more skill and dexterity than the children’s fairy project. Construct their wrapped wire bodies and dress them in bright petal petticoats and embroidered wool felt tunics. After the glue dries, they are ready to fly!
Additional Materials
Makes 1 doll.
Wooden bead head 10mm–16mm
Embroidery floss
Wool felt for tunic
Faux flower petals for skirt and wings
Wool fleece for hair
Acorn cap for hat
DRESS IT
1. Add the flower petal skirt.
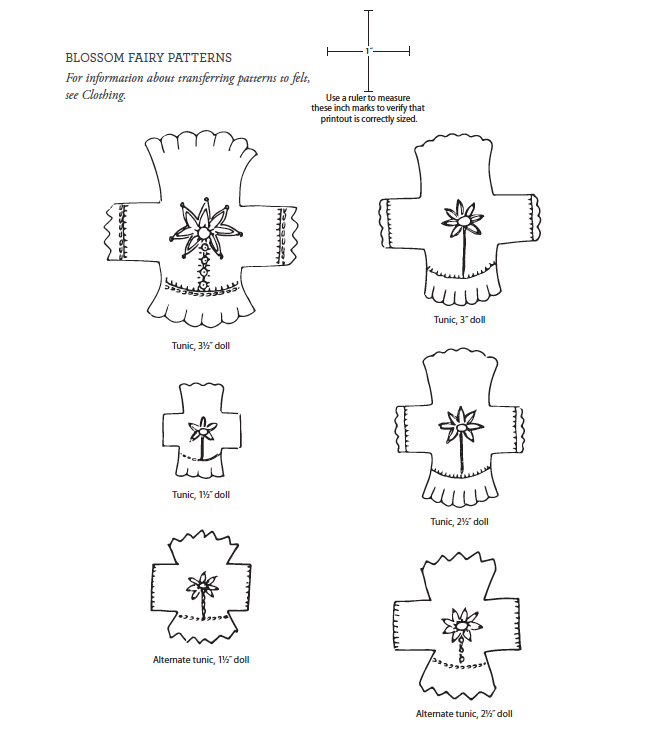
2. Embroider the felt tunic and poke the neck through the neck opening.
3. Use a blanket stitch to sew the tunic side seams from the cuff to the waist.
4. Stitch the petal wings to the back of the tunic.
TOP IT
1. Paint the face on the wooden bead head.
2. Glue the bead head to the doll’s neck and let dry.
3. Spread a little glue on top of the bead head and drape fleece over it.
4. Put a little glue inside the acorn cap and place it on top of the head.
5. Let the glue dry and trim hair by gently pulling the fibers.
Giveaway now closed.
Order a copy of Felt Wee Folk New Adventures here!


