How To: Happy Pumpkins Candle Mat
Aug 25th 2021
The following information is from Kim Schaefer's Calendar Candle Mats.

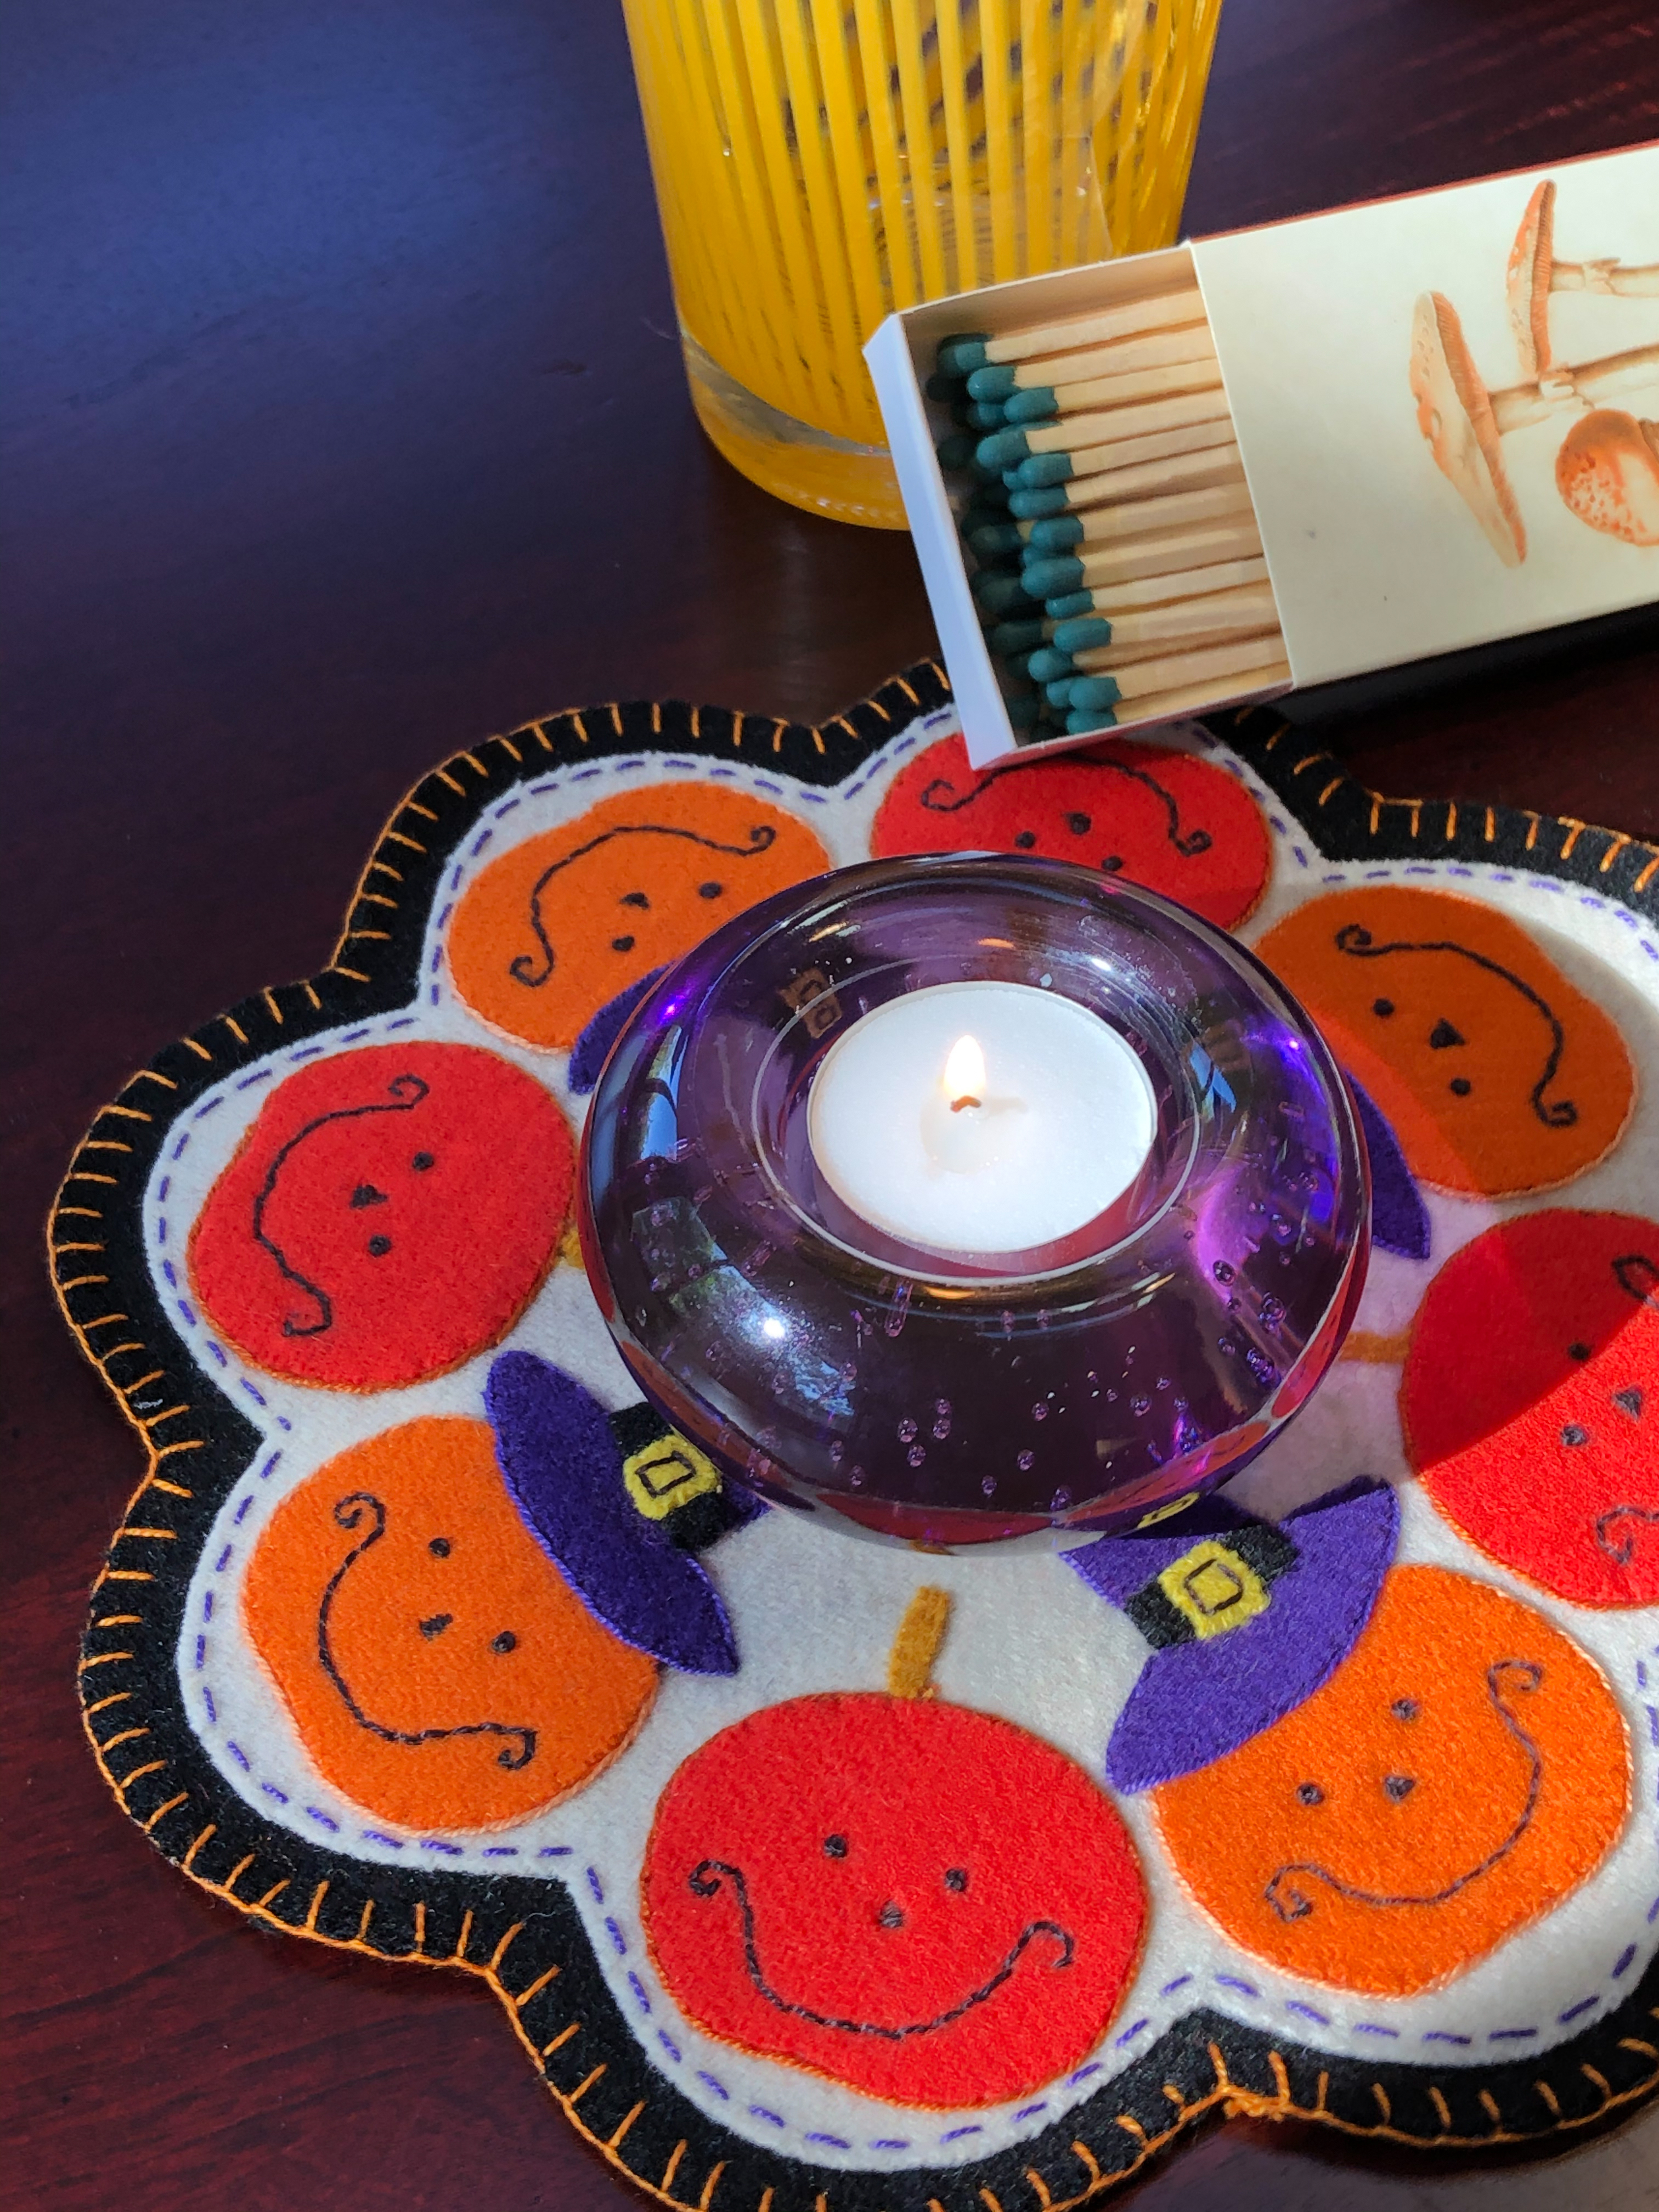
Halloween is only a month away, so now is the time to create something adorable to enjoy all October long! Kim Schaefer's candle mats are perfect for adding a little extra flair to your holiday decor. While a candle will illuminate the cuteness of the pumpkin faces, you can also place a succulent, candy bowl, or anything else you desire in the center of your mat.
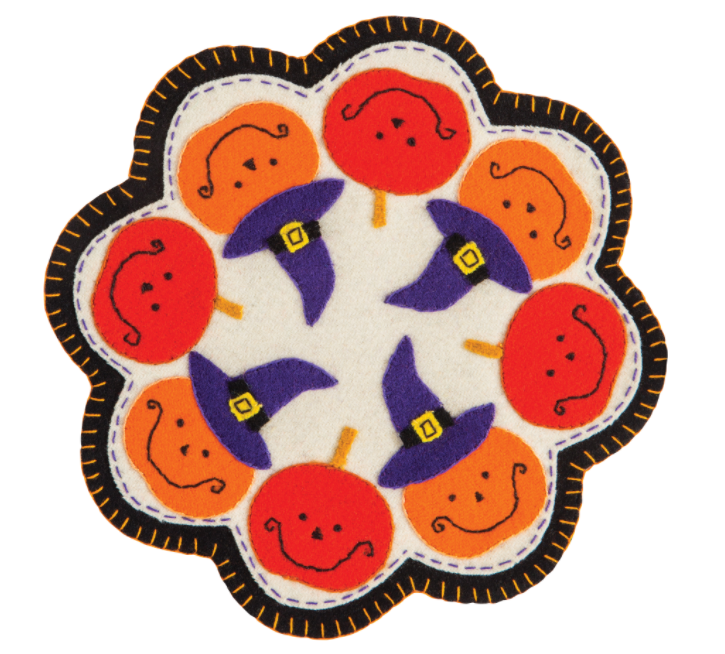
Happy Pumpkins Candle Mat, 9˝ diameter, made by Kim Schaefer
Materials
1 square 10˝ × 10˝ light felted wool for background
2 squares 10˝ × 10˝ black felted wool for candle mat front and back
1 square 5˝ × 5˝ light orange felted wool for pumpkins
1 square 5˝ × 5˝ medium orange felted wool for pumpkins
1 square 5˝ × 5˝ purple felted wool for hats
SCRAPS:
Black felted wool for hatband
Yellow felted wool for hat buckles
Gold felted wool for pumpkin stems
1/2 yard paper-backed fusible web
Assorted threads for appliqué and embroidery
Cutting
1. Cut the background for the candle mat.
2. Cut the candle mat front and back pieces.
3. Cut 8 of pattern piece 1.
4. Cut 4 each of pattern pieces 2–5.
Putting It All Together
1. Trace all parts of the appliqué design on the paper side of the fusible web. Trace each layer of the design separately. Whenever 2 shapes in the design butt together, overlap them by about 1/8˝ to help prevent the potential of a gap between them. When tracing the shapes, extend the underlapped edge 1/8˝ beyond the drawn edge in the pattern. Write the pattern number on each traced shape.
Some pieces are cut as a connected shape with dotted lines showing where they connect under another shape.
2. Cut around the appliqué shapes, leaving a 1/4˝ margin around each piece.
3. Iron each fusible-web shape to the wrong side of the appropriate fabric, following the manufacturer’s instructions for fusing. Cut on the traced lines and peel off the paper backing. A thin layer of fusible web will remain on the wrong side of the fabric; this layer will adhere the appliqué pieces to the background.
4. Position the pieces on the background. Press to fuse in place. Note: Kim chose to first fuse the background to the front piece so that my stitching would be through both layers.
5. When hand stitching around the appliqué pieces, choose the stitch of your choice. Dashed lines show suggested embroidery placement. Add additional stitched details as shown in the photos, if desired.
6. To transfer embroidery designs or lettering to the wool appliqué shapes, trace or draw the design on tissue paper. Stitch through the tissue and then tear it away when the stitching is completed.
7. Stitch the front of the candle mat to the back, using the stitch of your choice.
-
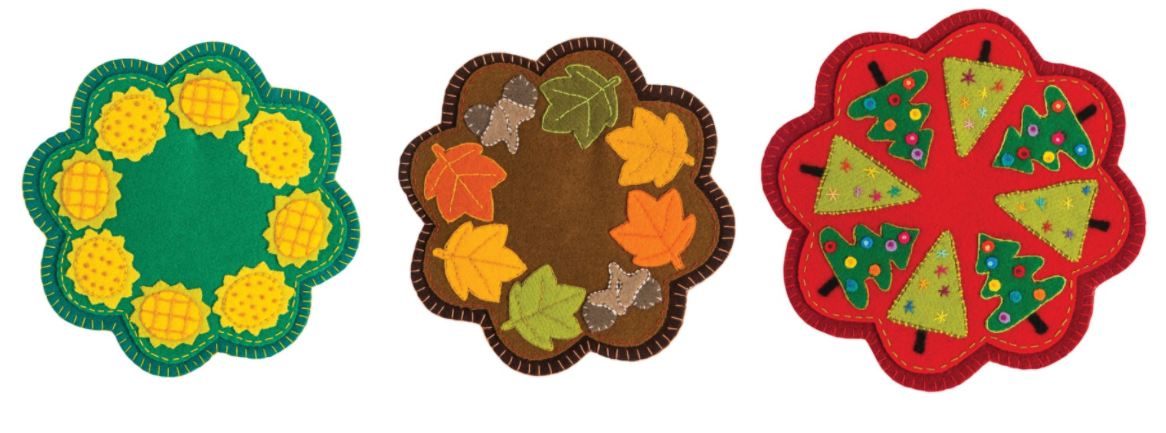
There are so many more candle mats to make!