

Halloween Takeover: Spotlight on Sew A Modern Halloween
Posted by Jessica Vaughn on Sep 26th 2019
My name is Jessica, I am the Author Liaison here at C&T, and I am excited to share this blog as the countdown to Halloween begins.
Halloween is easily my favorite holiday and I make any excuse to start the party early. Decorations begin springing up in my workspace and at home sometime around the second week of September and don’t get put away until November is halfway over. The moment Fall is in the air I can be found pulling out the craft supplies and deciding how to make everything around me a little spookier.
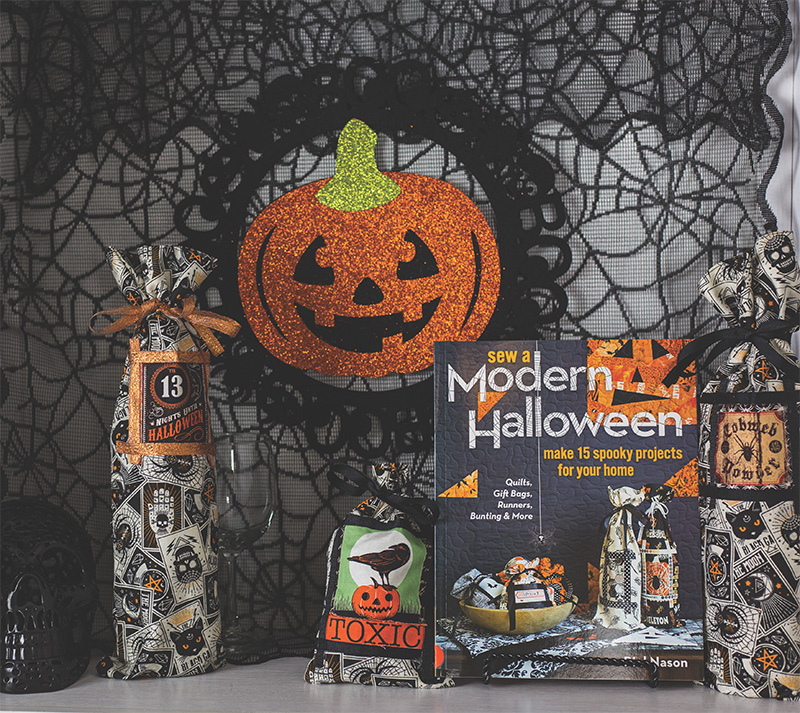
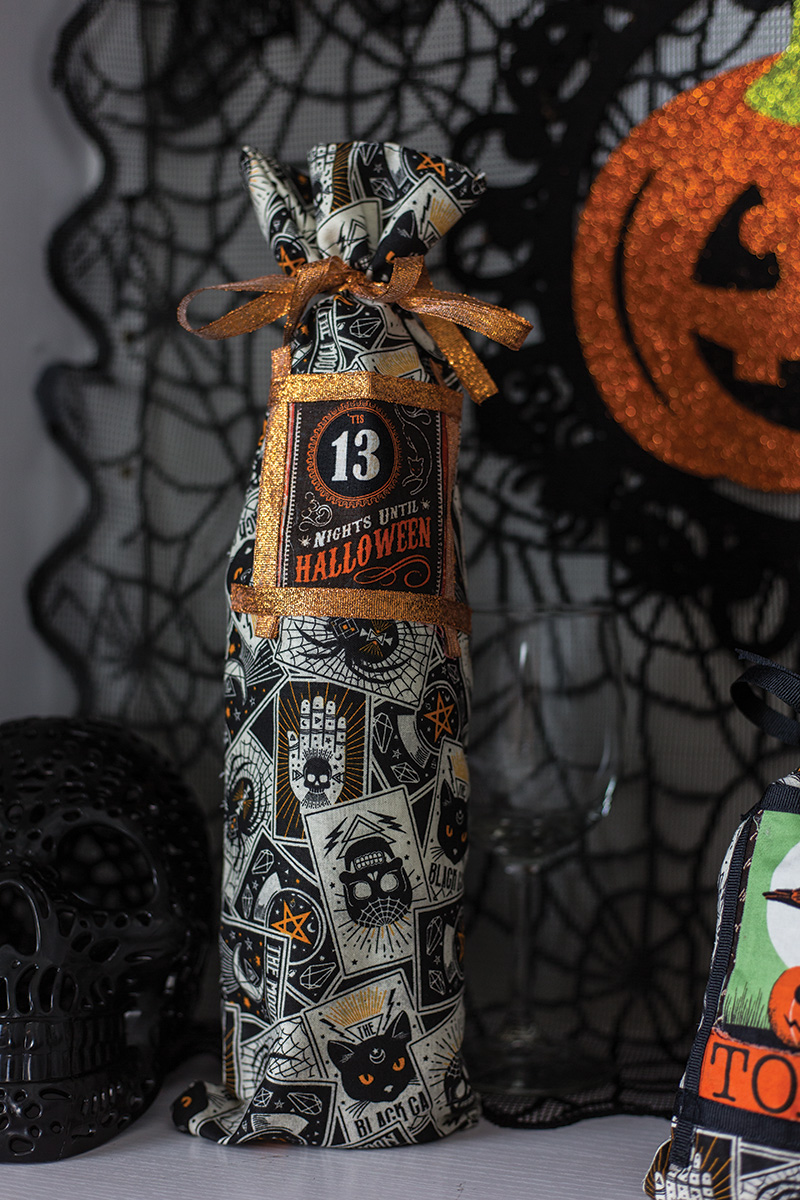
I was delighted to find how many creepy-cute options I had to work with in Riel Nason’s book, Sew A Modern Halloween. Picking just one project to start with was difficult since everything seemed like so much fun. Eventually I decided on the Framed Fussy Cut Wine Bag. This project is fast, easy, and creates a fun and memorable gift item. I plan to make a bunch of these as host gifts for my friends and family, and probably a few to keep for myself as well. I loved mixing my fussy cuts with the Halloween fabric I had picked out, blending two different patterns to make something unique.
To Make this Project:
MATERIALS
Yardages are based on fabric that is at least 40˝ wide.
Main fabric for bag: 1/4 yard
Scrap of fabric: For fussy-cut piece
Ribbon: 24˝ for tie (selvages are not recommended for tie)
Ribbon or selvages: Lengths depend on size of fussy-cut piece.
Glue stick: For fabric use, nontoxic, washable
Thread: White (if using selvages) or colored (to match ribbon)
CUTTING
Main fabric for bag
Cut 1 strip 7˝ × width of fabric.
Subcut 2 rectangles 7˝ × 19˝.
Scrap for fussy cut
Cut 1 rectangle or square. (Due to the size of the bag, not larger than 3˝ × 5˝ is best.)
Ribbon for tie
Cut 1 length 24˝.
Ribbon or selvages for frame
Cut lengths based on the size of the fussy-cut piece.
CONSTRUCTION
Use a 1/4" seam allowance.
1. On a short side of each 7˝ × 19˝ rectangle, turn and press a 1/2˝ fold and then a 2˝ fold. Topstitch 1/4˝ from both the folded edge and the top of the rectangle. Press. When you position the fussy-cat pieces, remember that the wine bottle will take up some space at the bottom of the bag, so place your design about halfway up the front.
2. Apply the fussy-cut piece to the lower middle section of the rectangle that will be the front of the bag. Be sure that the framed fussy cut is not so large that any of it will be lost in the seam allowance when the bag is sewn together.
3. Fold the ribbon tie in half to find the middle. On the right side of the back rectangle, center the ribbon 1˝ from the top. Sew a short line across the ribbon and backstitch several times to secure it in place.. When you position the fussy-cut pieces, remember that the wine bottle will take up some space at the bottom of the bag, so place your design about halfway up the front.
The framed fussy cut technique is also shown in gift bag form and I can’t get enough of them. They’re great as party gift bags or as a fun teacher’s gift during the class Halloween party.
For other projects from Sew A Modern Halloween, check out the free pattern for the Spiderweb Mini Quilt.
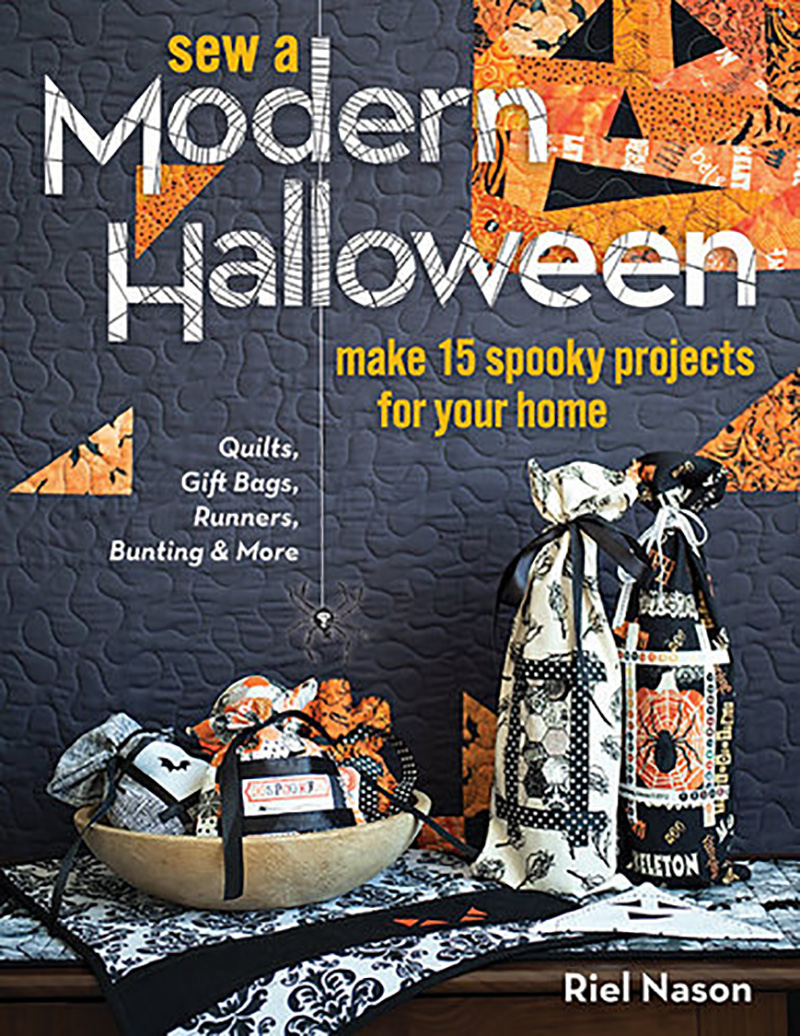
Order Sew A Modern Halloween here!


