

Free Project: Wool Nested Bluebird
Oct 6th 2021
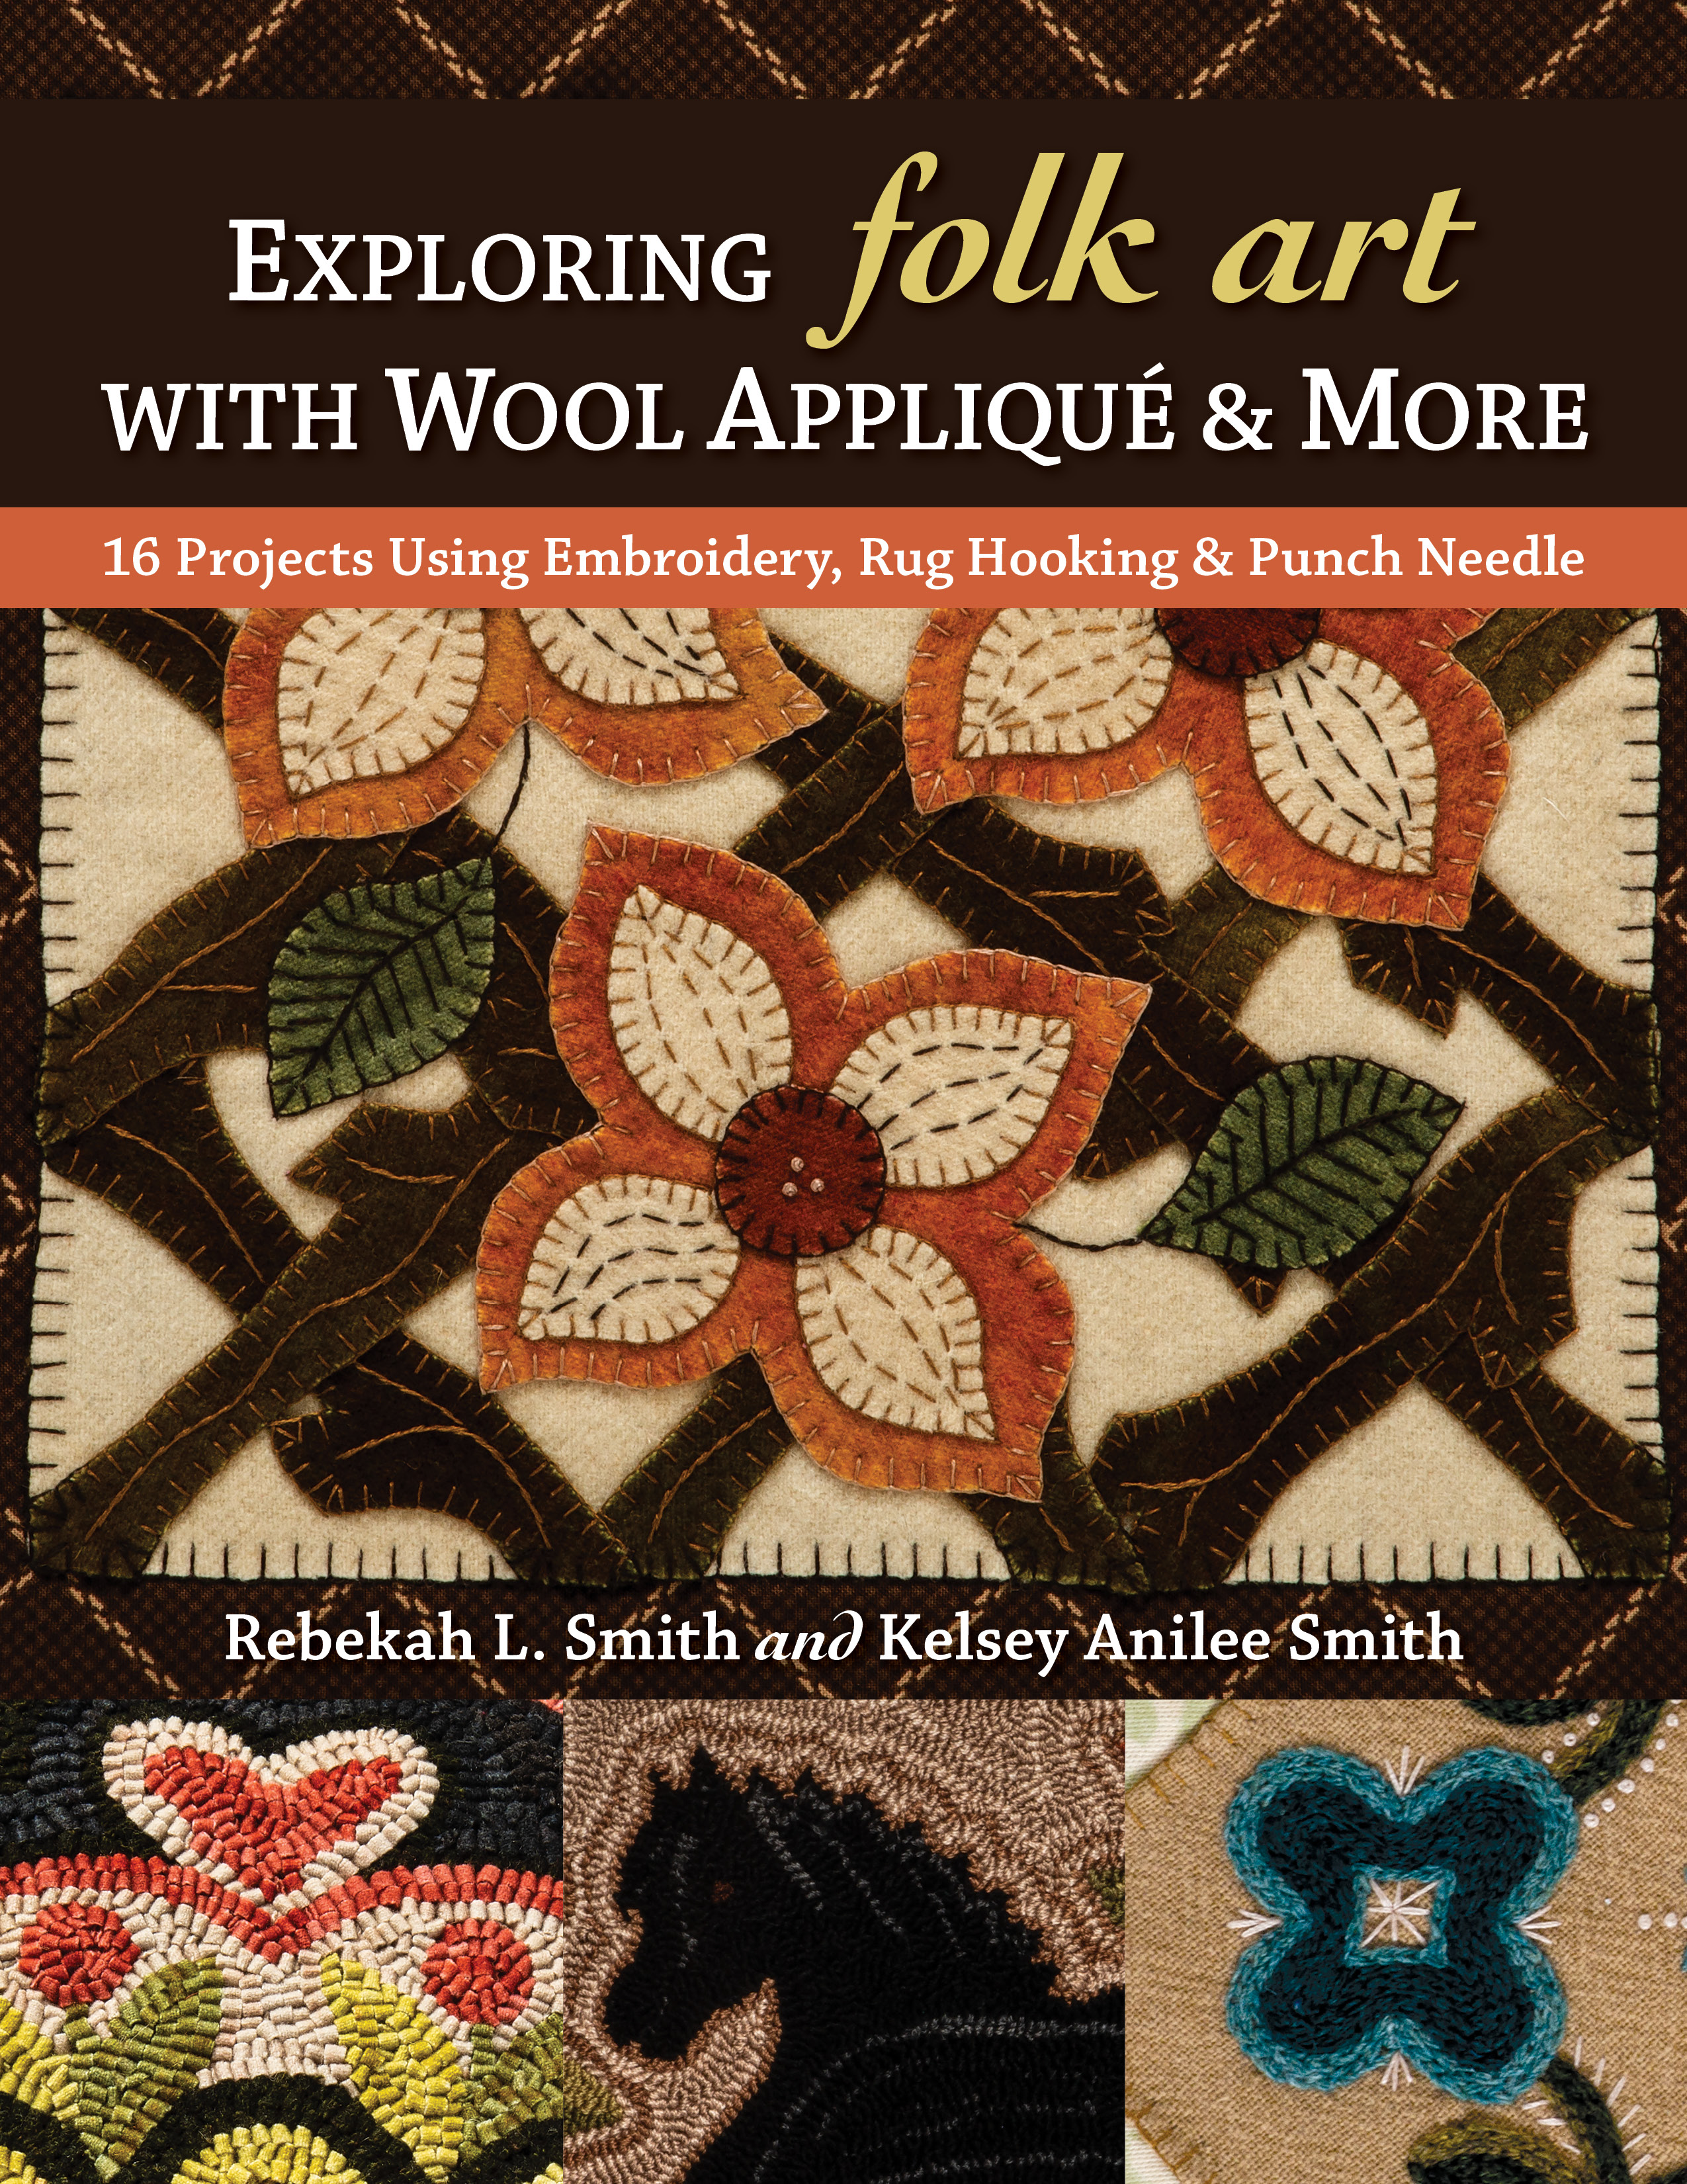
The following project is from Exploring Folk Art with Wool Appliqué & More by Rebekah L. Smith and Kelsey Anilee Smith.
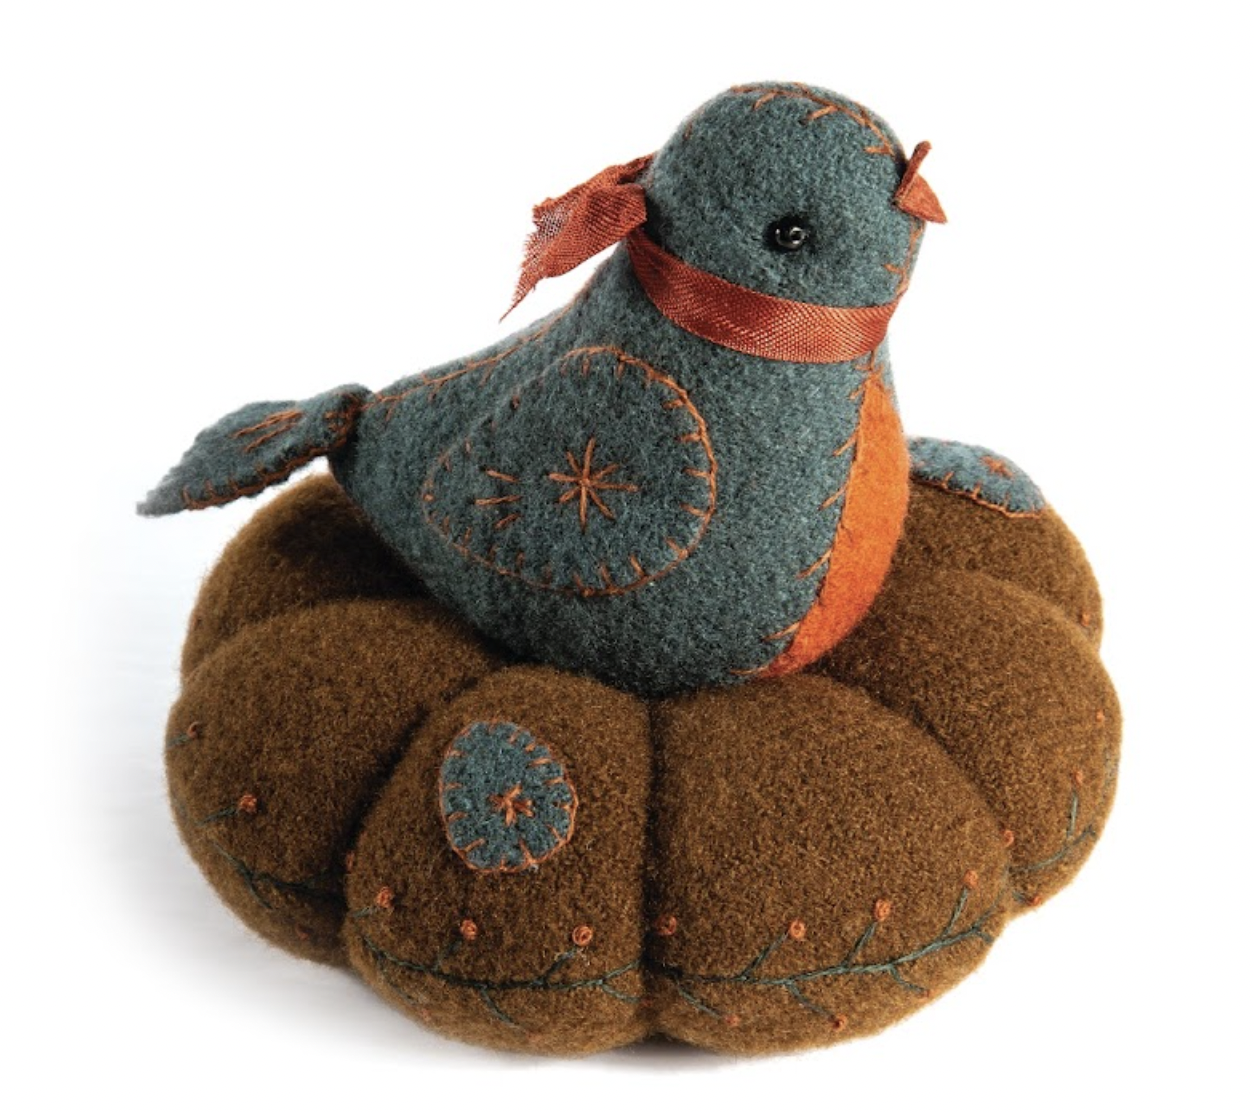
Happy Fall! It's time to get into the spirit and make all your fall projects come to life. This wool nested bluebird is the perfect addition for all your fall decor.
Dimensional Wool Nested Bluebird
By Lori Ann Corelis of The Spotted Hare
MATERIALS
Getting Started
1.Cut out the wool pieces using the patterns. DOWNLOAD PATTERN
2. Lay out the wool to be sure you have all the pieces.
Making the Nest
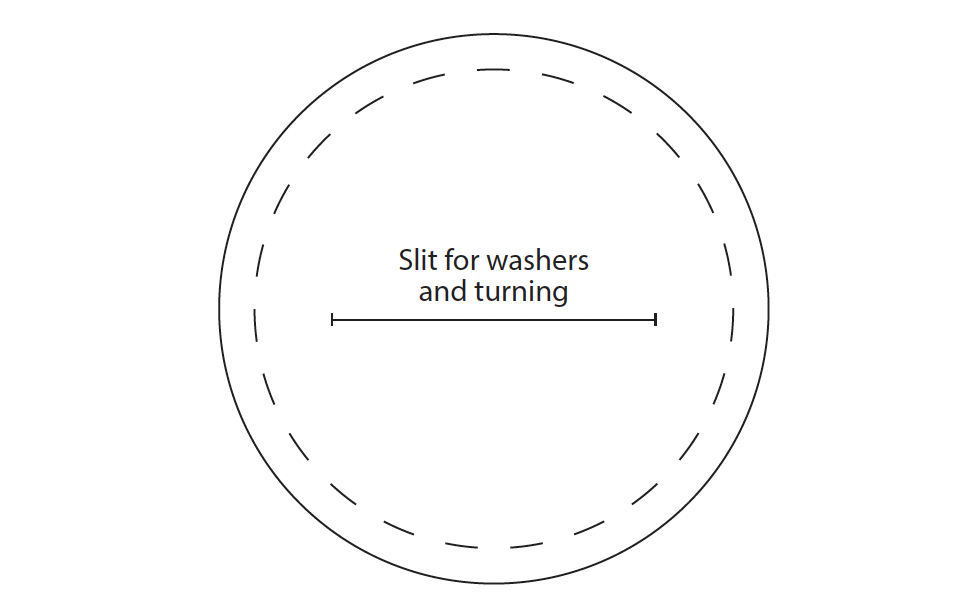
1. On 1 nest circle only, cut a 2˝ slit, centered. This will be used for turning in a later step.
2. Pin the 2 nest circles with right sides together. Sew completely around, using a 1/4˝ seam allowance. Clip the curves.
3. Turn the nest through the opening from Step 1, making sure the curves are turned out nicely. Stuff firmly but not hard.
4. Insert 2 large washers, stacked upon each other, into the bottom slit so they lie flat. This will give your pincushion a nice weight. Whipstitch the opening closed with heavy thread. You will cover this spot later.
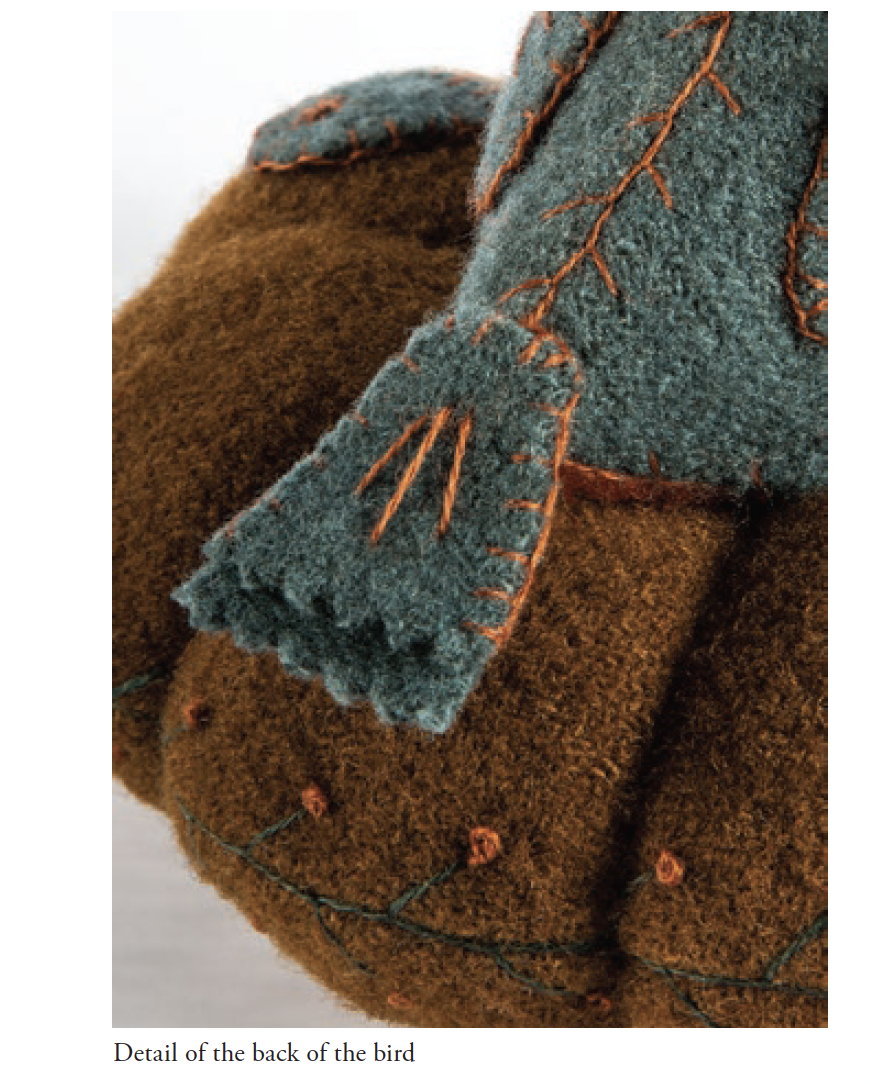
5. Embroider a featherstitch along the nest side seam. Add French knots to the tip of each “feather” with a thread that matches the bird’s breast.
6. To make the nest into a tuffet, use 11/2 yards of Valdani size 8 wool thread and a doll needle. Knot well at the center bottom of the tuffet. Insert the needle up through the tuffet, exiting dead center. (You will stitch through the holes in the washers.) Lay the thread over the top of the tuffet and insert the needle from the bottom to the top again.
Continue a total of 4 times to make an X shape, dividing the tuffet in fourths. Repeat 4 times again in an X shape to divide the tuffet in eighths, making 8 sections total to your tuffet. Keep the thread taut to make the tuffet “poof” a bit.
Once the sections are complete, run the thread up and down through the center a few times before knotting off at the bottom to secure well.
7. Pin 2 of the eggs in place about halfway between the center and edge seam of 2 adjacent sections; then pin Insert 2 large washers, stacked upon each other, into the bottom slit so they lie flat. This will give your pincushion a nice weight. Whipstitch the opening closed with heavy thread. You will cover this spot later.
5. Embroider a featherstitch along the nest side seam. Add French knots to the tip of each “feather” with a thread that matches the bird’s breast.
6. To make the nest into a tuffet, use 11/2 yards of Valdani size 8 wool thread and a doll needle. Knot well at the center bottom of the tuffet. Insert the needle up through the tuffet, exiting dead center. (You will stitch through the holes in the washers.) Lay the thread over the top of the tuffet and insert the needle from the bottom to the top again.
Continue a total of 4 times to make an X shape, dividing the tuffet in fourths. Repeat 4 times again in an X shape to divide the tuffet in eighths, making 8 sections total to your tuffet. Keep the thread taut to make the tuffet “poof” a bit.
Once the sections are complete, run the thread up and down through the center a few times before knotting off at the bottom to secure well.
7. Pin 2 of the eggs in place about halfway between the center and edge seam of 2 adjacent sections; then pin 1 egg similarly on the other side. Blanket stitch the eggs to the nest with red thread, and add the embellishment stitches as desired.
Making the Bird
1. With right sides together, pin and stitch together the bird sides using the backstitch from point A (the neck) to point B (the tail). Leave the bottom of the bird open.
2. Insert the breast gusset, with the wider end toward the neck, point A. Pin one side and stitch in place, leaving open where noted to stuff. Pin the other side in place and stitch. Leave a 2˝ opening for stuffing on one side of the breast. Clip the curves very carefully, and turn right side out. Stuff the bird firmly and stitch the opening closed.
3. With the red decorative thread, featherstitch the bird’s seams. Pin the wings in place on either side of the body, and blanket stitch them to the bird. Add the embellishment stitches as desired.
4. Following the manufacturer’s instructions, apply liquid seam sealant (such as Fray Check) all over the bird beak to stiffen it. Let dry completely. When dry, fold the beak in half and clamp the folded edge with tweezers for a few minutes. With sewing thread, stitch the beak in place at the front of the head across the center fold of the beak.
5. Use 2 pins to determine the eye placement. Once you are happy, use a heavy black thread to stitch the black beads in place. Stitching through the head from one eye to the other will help the eyes settle nicely into the head.
6. Fold the tail feather piece in half. Trim the edges with pinking shears, making the top “feather” about 1/4˝ shorter than the bottom one. With red decorative thread, blanket stitch together the sides and folded edge of the tail, and add the embellishment stitches as desired. With regular sewing thread, stitch the tail in place at the top of the bird’s behind.
Finishing
1. Pin the bird in place on top of the woolen nest with corsage pins to prevent the piece from shifting while stitching. Pay close attention to the direction you would like your bird to face and where her eggs are.
2. With the heavy medium brown thread and a doll needle, knot at the bottom of the nest. (You will be stitching through the center hole of the washers again.) Enter the bottom center of the nest and exit under the bird where the rear belly meets the nest, making sure to catch just a bit of the bird (approximately 1/2˝ across her underbelly). Place the needle back down into the nest and exit the bottom.
Enter the bottom again and come out where the breast meets the nest, again catching just a bit of the bird. Then go back down into the nest and out through the bottom.
Repeat this process about 3 times for each end so that the bird settles nicely into the nest. Knot off securely on the bottom.
3. With pinking shears, cut a 21/2˝ circle from the brown card stock. Glue it to the bottom of the nest, being careful to keep the glue at least 1/4˝ from the edge of the card stock piece so you won’t have any glue oozing out.
4. Using the crinkle ribbon, tie a bow around the bird’s neck.
-


