

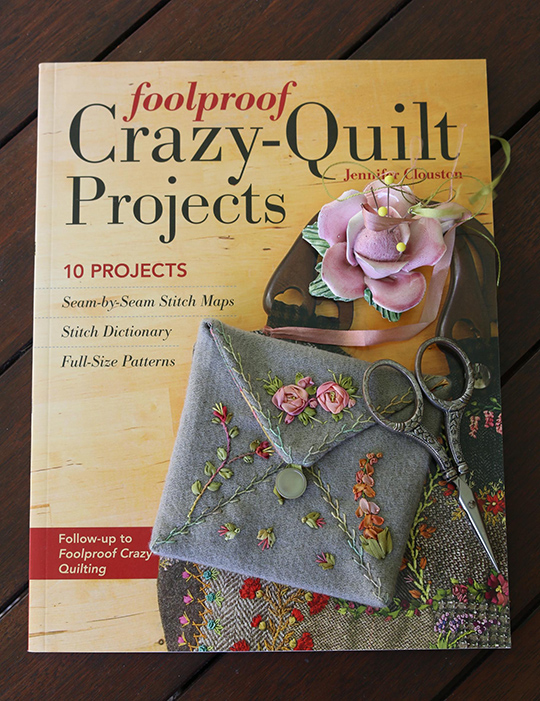
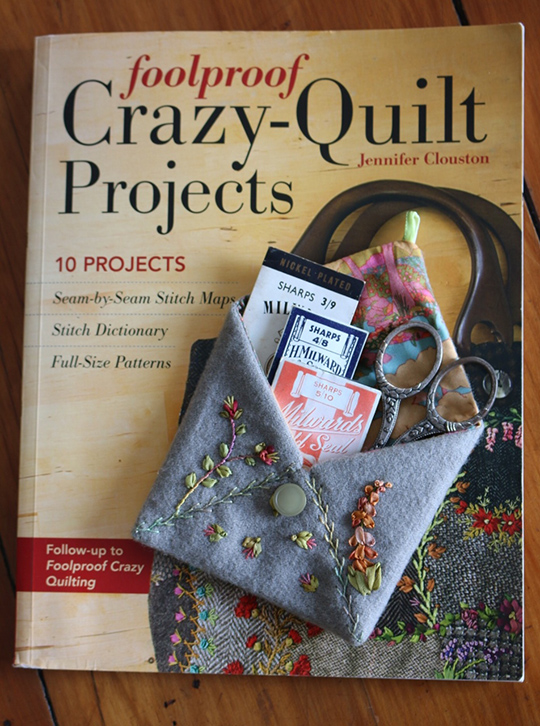
Free Project! Envelope Needle Case
Posted by Jennifer Clouston on Oct 31st 2016
Requirements:
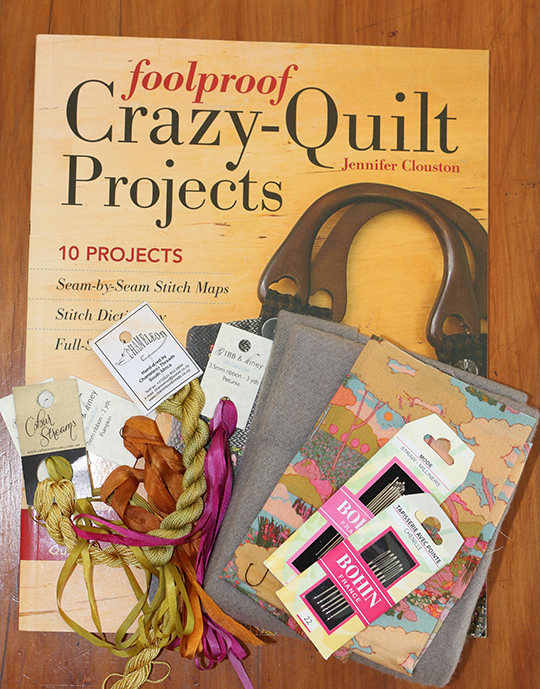
- Foolproof Crazy-Quilt Projects
- 1 piece of felted wool 7 1/2" x 7 1/2"
- 1 piece of lining fabric 7 1/2" x 7 1/2"
- 1 piece of non-woven stabilizer 7 1/2" x 7 1/2"
- 2" piece of 7mm ribbon
- Assorted 4mm and 7mm silk ribbons
- Assorted Perle #8 and # 12 threads
- Assorted stranded cottons
- Chenille #22 needle
- Milliner’s #9 needle
- Small button
Construction;
Note: Pattern includes ¼" seam allowance.
1. Fuse the stabilizer to the wrong side of the wool felt.
2. Fold the felt into the shape of an envelope and press well.
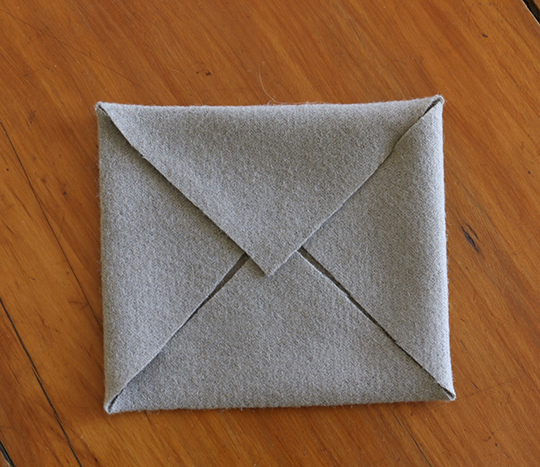
Folded envelope
3. These pressed lines form the perimeter for the embroidery.
It is important to remember the ¼" seam allowance.
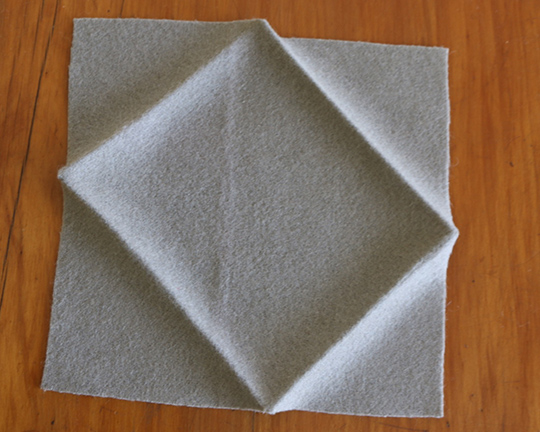
Perimeter lines
4. Follow the stitch maps from Foolproof Crazy-Quilt Projects to complete the embroidery.

Stitch map
4.1 Top Left-Hand Corner - Seam Treatment X - page 38
4.2 Top Right-Hand Corner - Seam Treatment J - page 34
4.3 Bottom Left-Hand Corner - Lid Piece 5 - page 69
4.4 Bottom Right-Hand Corner - Seam Treatment B - page 14
4.5 Center - Seam Treatment A - page 68
5. Baste the 2" ribbon to the top corner of the embroidered square to form the button loop.
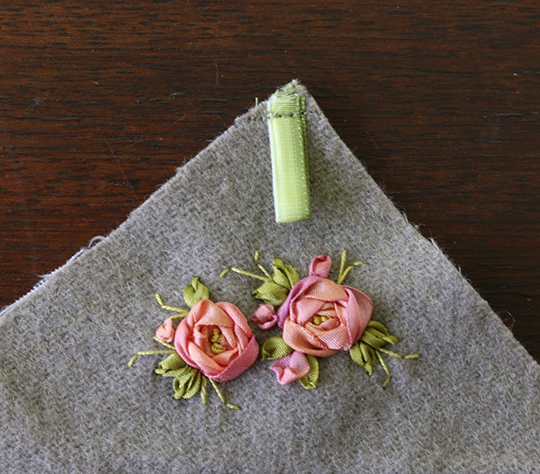
Button loop
6. Put the outer panel on the lining piece with right sides together.
7. Pin and sew the panels together, leaving a small opening for turning.
8. Turn the panels right side out. Gently push out the seams and press.
9. Fold the completed panels into an envelope shape and press well.
10. Slip stitch the two front seams closed.
11. Feather stitch along the stitched seams and the top edge.
12. Attach the button to the front in line with the button loop.
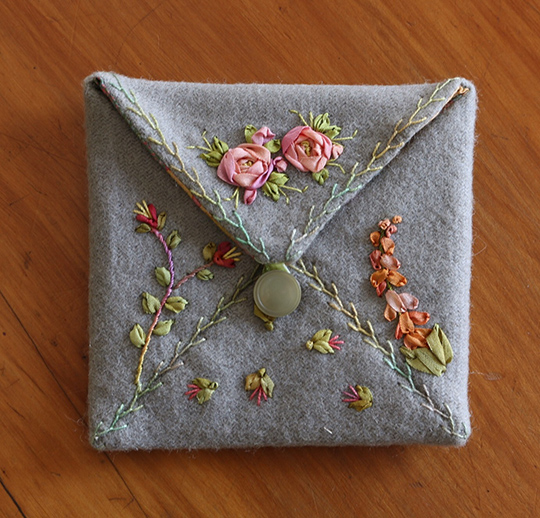
Attached button
Completed Project;
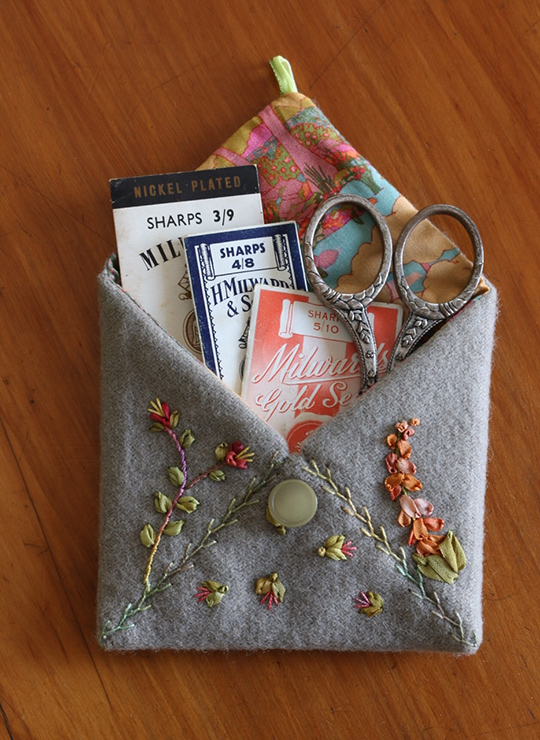
Enjoy!


