Free Project: Cuddle Fleece Scarf
Dec 9th 2021
If you have kids, you’re probably thinking about fun ways to keep them entertained during winter break, before school starts again in January.
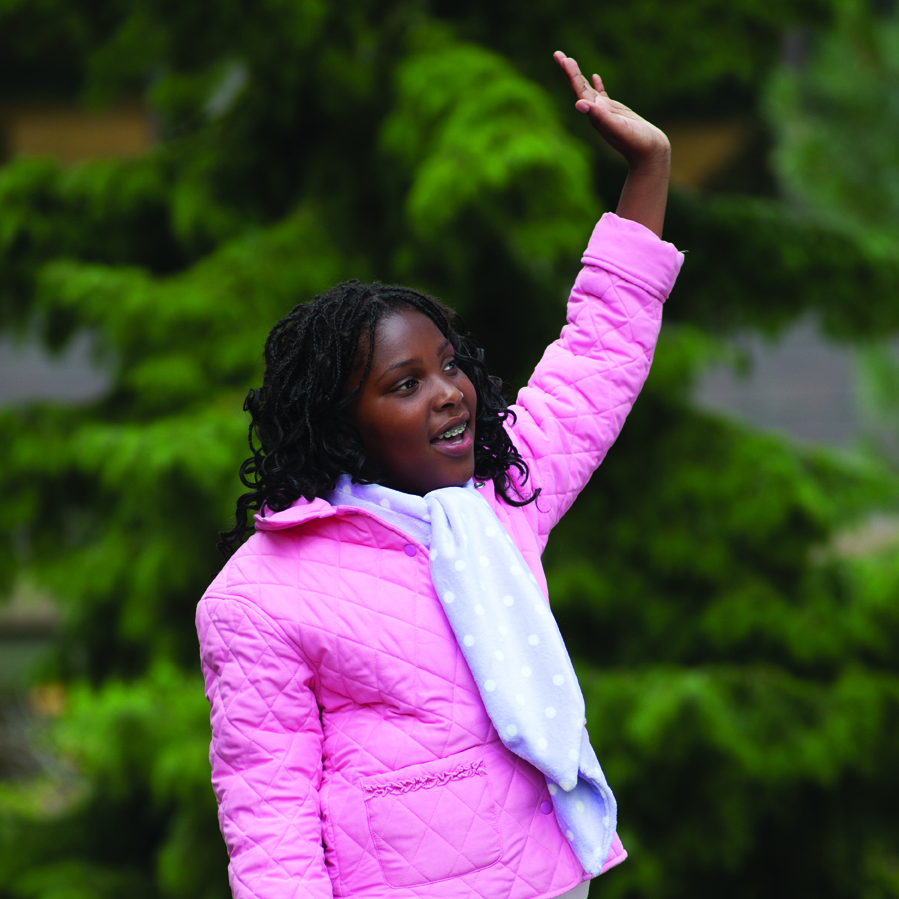
Made by kids, for kids, you’ll love this simple, free project: Cuddle Fleece Scarf by Sophie Kerr with Weeks Ringle and Bill Kerr of Modern Quilt Studio.
Cuddle Fleece Scarf
MATERIALS
1/2 yard of 60˝-wide cuddle fleece
Matching thread
TOOLS AND SUPPLIES
Sewing machine
Scissors or rotary cutter and mat
Straight pins
Chalk or water-soluble marker
Measuring tape
CUTTING AND SEWING
Use a 5/8˝ seam allowance for this project.
1. Cut 2 pieces 71/4˝ wide. Cut them selvage to selvage, which is about 60˝, depending on the exact width of your fabric.
2. With right sides together, pin along each of the long sides but not the ends. This illustration shows just the ends.
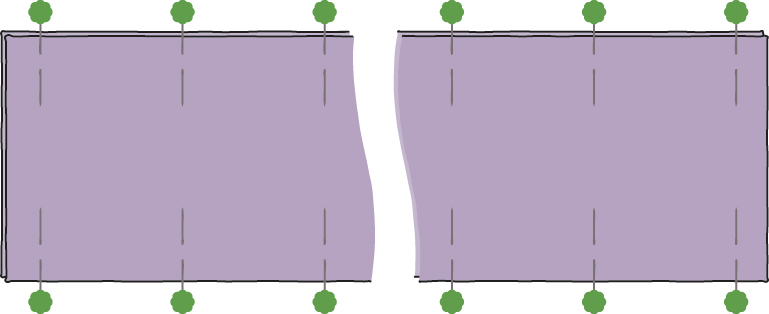
3. Sew each side using a 5/8˝ seam allowance so you have a tube that’s sewn on both sides.

4. Lay out the scarf flat and cut off the selvages (about 1˝ on each end).
5. Get the water-soluble marking pen or chalk. Draw a parallel line 5/8˝ from an end of the scarf. Mark the center of the line. Next mark a point 5˝ from the end of the scarf on the seam line of each side. Draw a line from the center point to each side point.
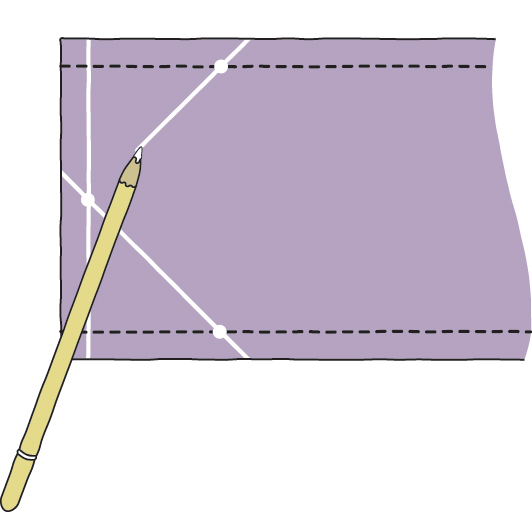
6. Sew along each of the angled lines.
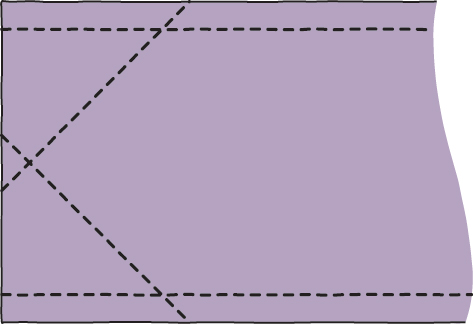
7. Draw a line 5/8˝ away from the angled seams and trim along the line.
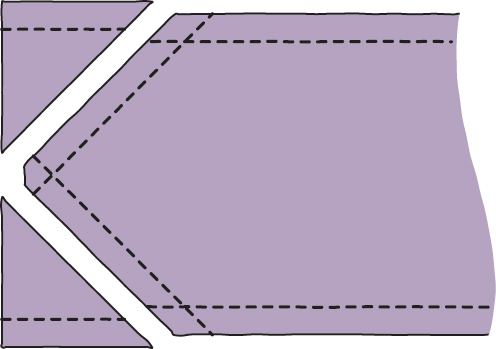
8. Repeat Step 5 on the other end.
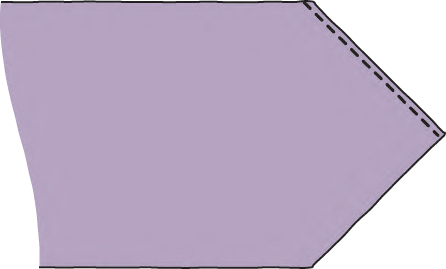
9. Sew along just 1 of the 2 angled lines. Leave the last line unsewn so you’ll be able to turn the scarf right side out. Trim 5/8˝ from both the sewn and unsewn lines.
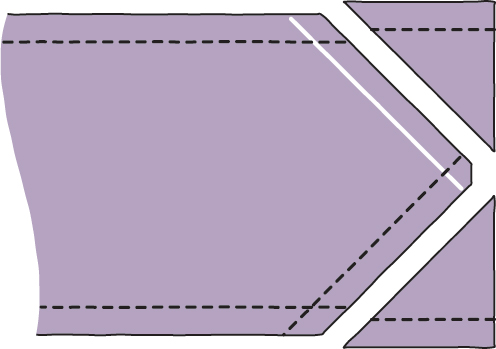
10. Turn the scarf right side out. It’s helpful to use a chopstick or the eraser end of a pencil on the inside of the scarf to help poke out the pointed end.
After you’ve turned the scarf inside out, tuck the unsewn edges in so there’s a 5/8˝ seam allowance.
11. Topstitch the open side closed, backtacking at each end of the stitching line.
