Five Tips to Make Free-Motion Quilting Easier
Posted by Cindy Grisdela on Sep 26th 2017
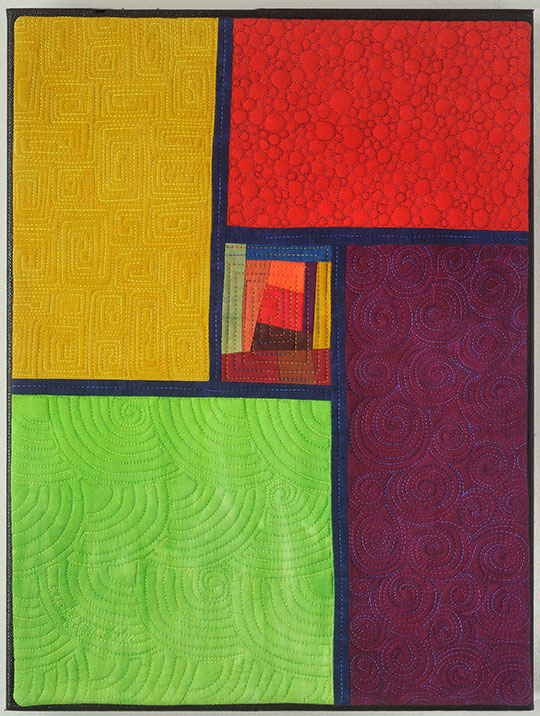
Free-motion quilting can be intimidating for many quilters, and it takes practice to become good at it. Here are five tips to make the process easier and have a little fun too!
1. Start Small
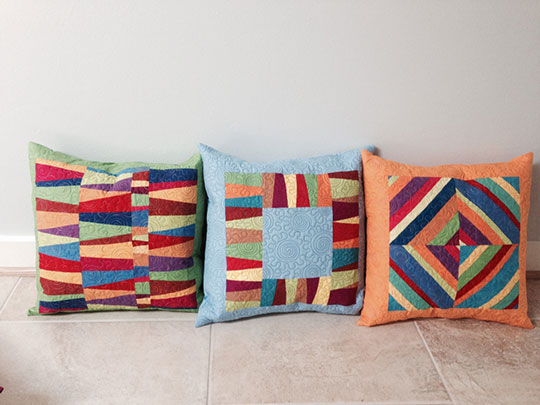
Choose a smaller project for your first attempts at free-motion quilting. Think pillows, place mats, and table runners—not a quilt for your bed. Smaller projects are easier to move under the machine needle, and you don’t have to worry so much about what to do with the bulk of a larger piece. My first effort at free motion was a table runner, and it was awful—uneven stitches, varying stitch width—you name it!
Remember that everyone starts at the same place. You have to put in some time and have patience with yourself to get past that awkward stage.
After that first table runner, I made a series of baby quilts and gave them away. I chose a basic meander stitch, and after I had made four or five of them, I was pretty good at meandering. And the babies didn’t care!
2. Practice with Felt
I never had much patience with the idea of practice for practice’s sake. And who has time to find fabric and batting and make a quilt sandwich just to practice on?
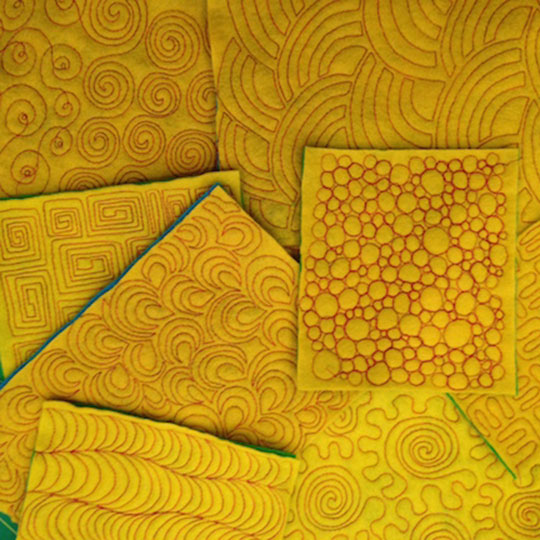
Use two squares of felt to practice your motifs instead. It’s inexpensive, readily available, and takes little time to grab a couple of pieces of felt and try something new or practice before you start stitching.
And you can keep your squares for reference the next time you’re deciding what motif to use.
3. Use Rug Grippers for Stability
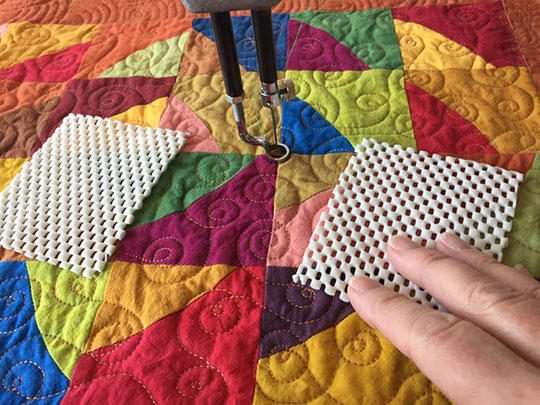
When you’re driving the fabric under your machine to create your free-motion motifs, you need to have some stability for your fingers. Some people like gloves, but I use 3” squares of rug-gripper material to hold my hands steady on the quilt as I move it under the needle. The squares let my fingers breathe, and if I misplace them, they are easy and inexpensive to replace.
4. Think Goldilocks
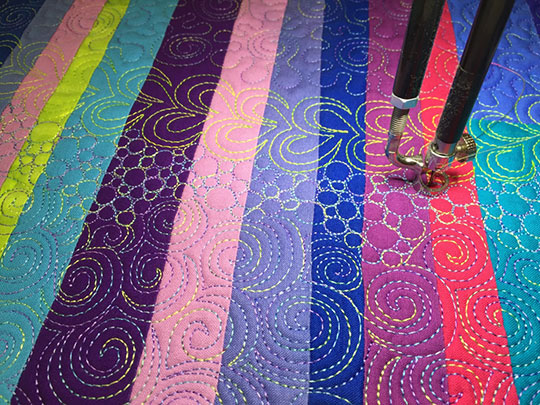
Successful free-motion stitching depends on coordination between your hands moving the quilt under the needle and your foot controlling the speed of the machine. If either moves too fast, you’ll have small tight stitches. Too slow and your stitches may become uneven. To complicate matters, the right speed is different for each quilter. So you’ll need to experiment to discover what speed works for you.
Not too fast, not too slow, but just right!
5. It Won’t Be Perfect
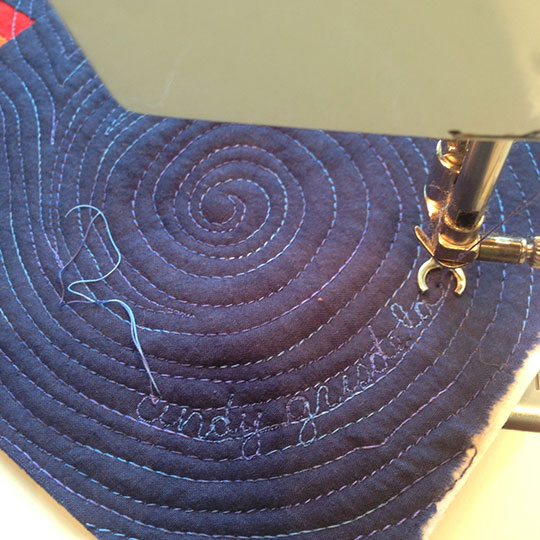
Finally, and perhaps most importantly, realize that it won’t be perfect. Although you are using the sewing machine to create your free-motion designs, it is essentially a hand process because you are moving the quilt under the needle to create your designs.
As I stitch, if I make a mistake, I force myself to keep going. Once the quilt is finished, I’ll go back and see if I can find the area of concern. Most times, I can’t even find the problem. Other times, I realize that trying to fix it might make it worse. Particularly when you have a lot of free-motion stitching going on, the overall pattern will obscure any small bobbles.
I hope you find these tips helpful. There is much more information on free-motion quilting in my book, Artful Improv: Explore Color Recipes, Building Blocks & Free-Motion Quilting, which you can enter to win a free ebook copy of right here: a Rafflecopter giveaway.
I’d love to hear your favorite tip for successful free-motion quilting!