

Do You Appliqué?
Posted by Jenifer Dick on Sep 25th 2017
What is your favorite quilting technique? Are you a precision piecer? An improv aficionado? An extreme paper piecer? An appliqué artiste? Bet you didn’t say appliqué! People either love or hate appliqué—there doesn’t seem to be an in-between! I used to be an appliqué skeptic, but I learned that there are many ways to appliqué; I just had to find what worked for me!
I caught the appliqué bug about twenty years ago. Early on in my quilting life, I figured out I wanted a machine method that was turned-edge and looked as much like hand appliqué as possible. By using freezer paper to prepare the shapes and invisible thread and a zigzag stitch to sew it down, I found a mock hand-appliqué method that looks as perfect as I want!
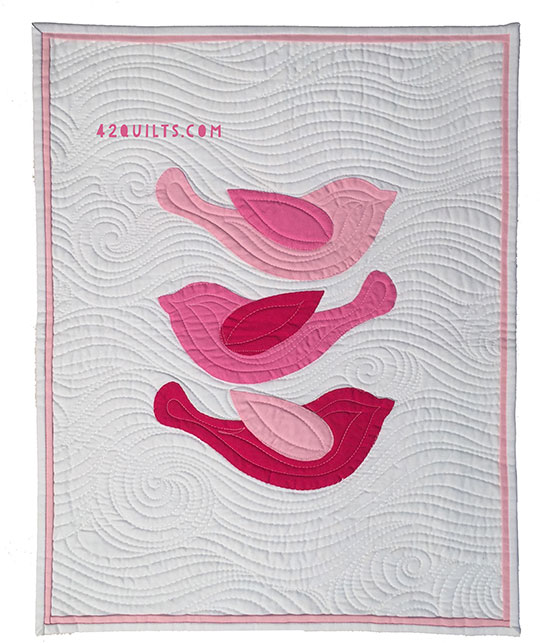
Birds, 16" x 20", as seen in The Modern Appliqué Workbook by Jenifer Dick. Quilted by Angela Walters. Using invisible thread and a zigzag stitch, you can mimic hand appliqué on almost any project.
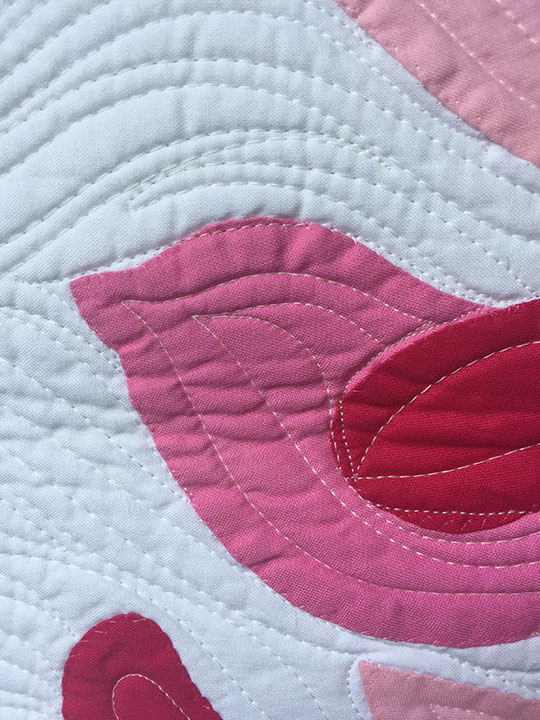
Birds, close-up. It is hard to see the stitches even close up!
For years, this was my only way to appliqué. But today, I find that mimicking handwork isn’t as important to me as it once was. Although it’s still my go-to method, I find I am now more willing to experiment with threads, stitches, and yes, even raw edge!
My new favorite current style is one that has a casual, contemporary elegance to it. I call it triple straight-line appliqué. It looks good on most kinds of appliqué projects and is very forgiving of mistakes! In fact, mistakes are what gives it character and makes it perfect!
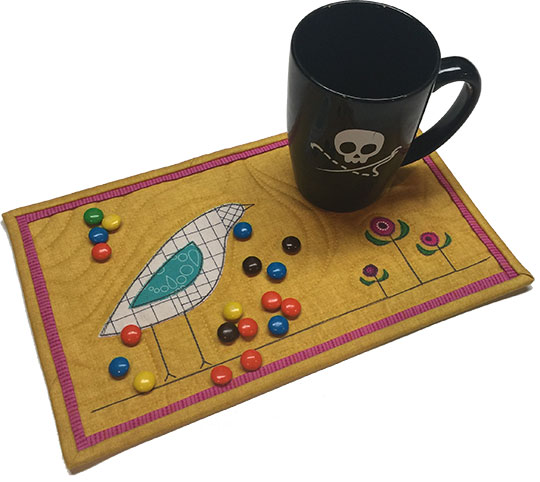
Mug rugs are the prefect small project to practice a new technique!
As the name says, it’s simply sewing around each shape three times with a straight stitch. It’s durable enough for quilts that will get daily use, and it’s a little unexpected! You also can add in details that might be too small to appliqué or just for fun!
Basics of Triple Straight-Line Appliqué
There really isn’t a right way or a wrong way to triple straight-line stitch. Just start and you’ll find what works best for you as you go! First, make your appliqué shapes in your favorite way—either raw-edge or a turned-edge method—this works with them all!
Here are some helpful tips to get you started:
- Use a contrasting thread; I like dark gray rather than black to give it more of a contemporary look, but any color will look great as long as it stands out from the appliqué shape fabric!
- Pick a starting point on your shape—but not on a point or corner—and start stitching!
- The first round, get as close to the edge as possible. When you get back to the beginning, stitch over the starting point to lock in the starting stitches.
- The second round, stitch near the first round, but try not to stitch on top of it. If you do, it’s okay.
- The third round, go a little crazy! Stitch in waves on both sides of the first two rounds! Go as wild as you like, or keep it more controlled! The choice is yours and there is no wrong decision. Backstitch a few times to lock the stitches at the end.
- Add in details as you like. For example, with the bird’s beaks and legs, as seen in the mug rug, make sure to stitch around these at least three or even four times, especially if they are on a busy background. You want the details to show!
- Use stabilizer! It is very important to stabilize the background with a medium-weight sew-in or fusible stabilizer. The stitching, especially the details that are done off the appliqué shapes, will draw up the background, causing ripples and distortion of the block. A way around this is to add in the stitched details when you quilt the top, rather than when you are making the block.
That’s really all you need to know to get started. As you work on your project, you’ll figure out what looks best to you and what doesn’t work. To try your hand at the triple straight-line appliqué, I designed a mug rug just for you! A mug rug is a great project to try out a new technique. They are small, easy to complete in one sitting, and functional. They also make cute little token thank-you gifts for friends and family.
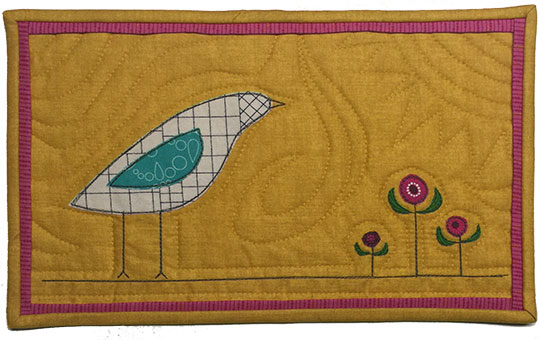
Bird and Flowers mug rug. 12" x 7" by Jenifer Dick.
Click here for the complete pattern for Bird and Flowers Mug Rug.

Jenifer Dick began quilting 24 years ago when she took a beginning quiltmaking class on a whim! Since then, her quilts have been accepted (and rejected) by some of the top quilt shows in the nation. She began sharing her knowledge at quilt guilds across the country and teaching quilting in 2002. In 2005, she wrote her first book and has written four more with her sixth, Nine-Patch Revolution, coming out in Spring 2018. She publishes her patterns through Everyday Stitches, which you can find at www.everydaystitches.com. Jenifer blogs at www.42quilts.com and you can find her on FB at 42 Quilts and on IG @jeniferdick.
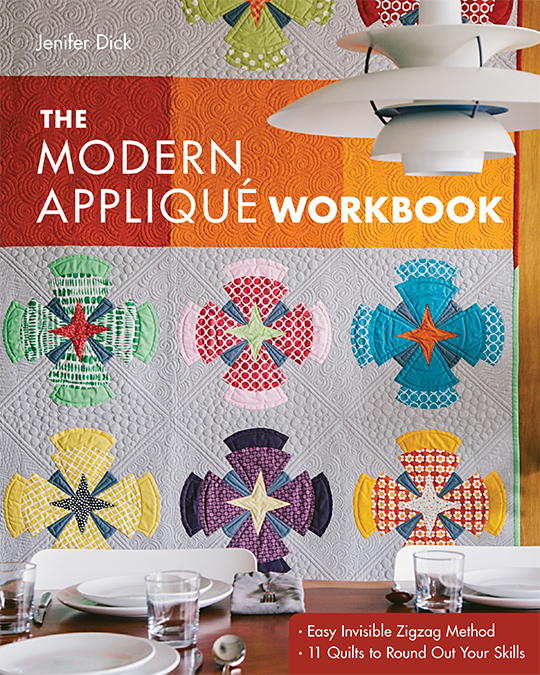
You can find step-by-step instructions for how to appliqué the way Jenifer does in her book, The Modern Appliqué Workbook. For an autographed copy, click here. Enter to win a free ebook copy here: a Rafflecopter giveaway. To purchase the eBook, click here. Look for her new book, Nine-Patch Revolution, coming out Spring 2018.


