

Creative Embroidery, Variations on a Theme
Posted by Christen Brown on Apr 13th 2023

Projects by Design
I have a new book that recently came out in March of this year, Creative Embroidery, Mixing the Old with The New. The book's emphasis is to create something from your stash of both vintage and new fabrics, hankies, table linens, doilies, laces, appliqués, trims, ribbons, threads, buttons, beads, notions, and more.
In the chapter Projects by Design, there are three projects that use a variety of materials, threads, ribbons, beads, and other embellishments. There are 2 different block designs for each project. If you wanted to make a smaller project, you could just choose one design and make a smaller piece.
To help me promote the book, I asked a good friend to help me create versions of these projects. Carolyn chose one of the projects to interpret with her own stash, and I took the other two projects, and this is what we came up with.
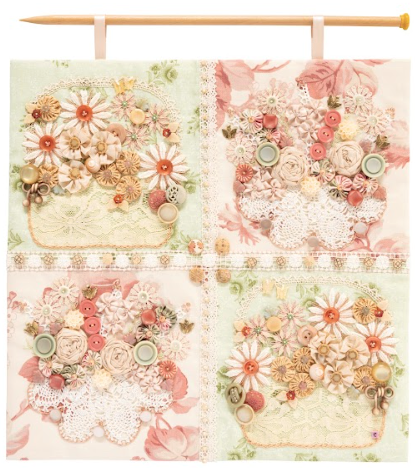
Ribbons and Trims Squared
Autumn Ribbons and Lace
Christen’s Notes:
I chose to make one block of this design and cut my silk fabric in an oval pattern instead of a square. I combined two different vintage lace designs with vintage cotton jacquard ribbon and new woven and satin ribbons.
The design is very simple, with the lace and ribbons hand-stitched to the base.
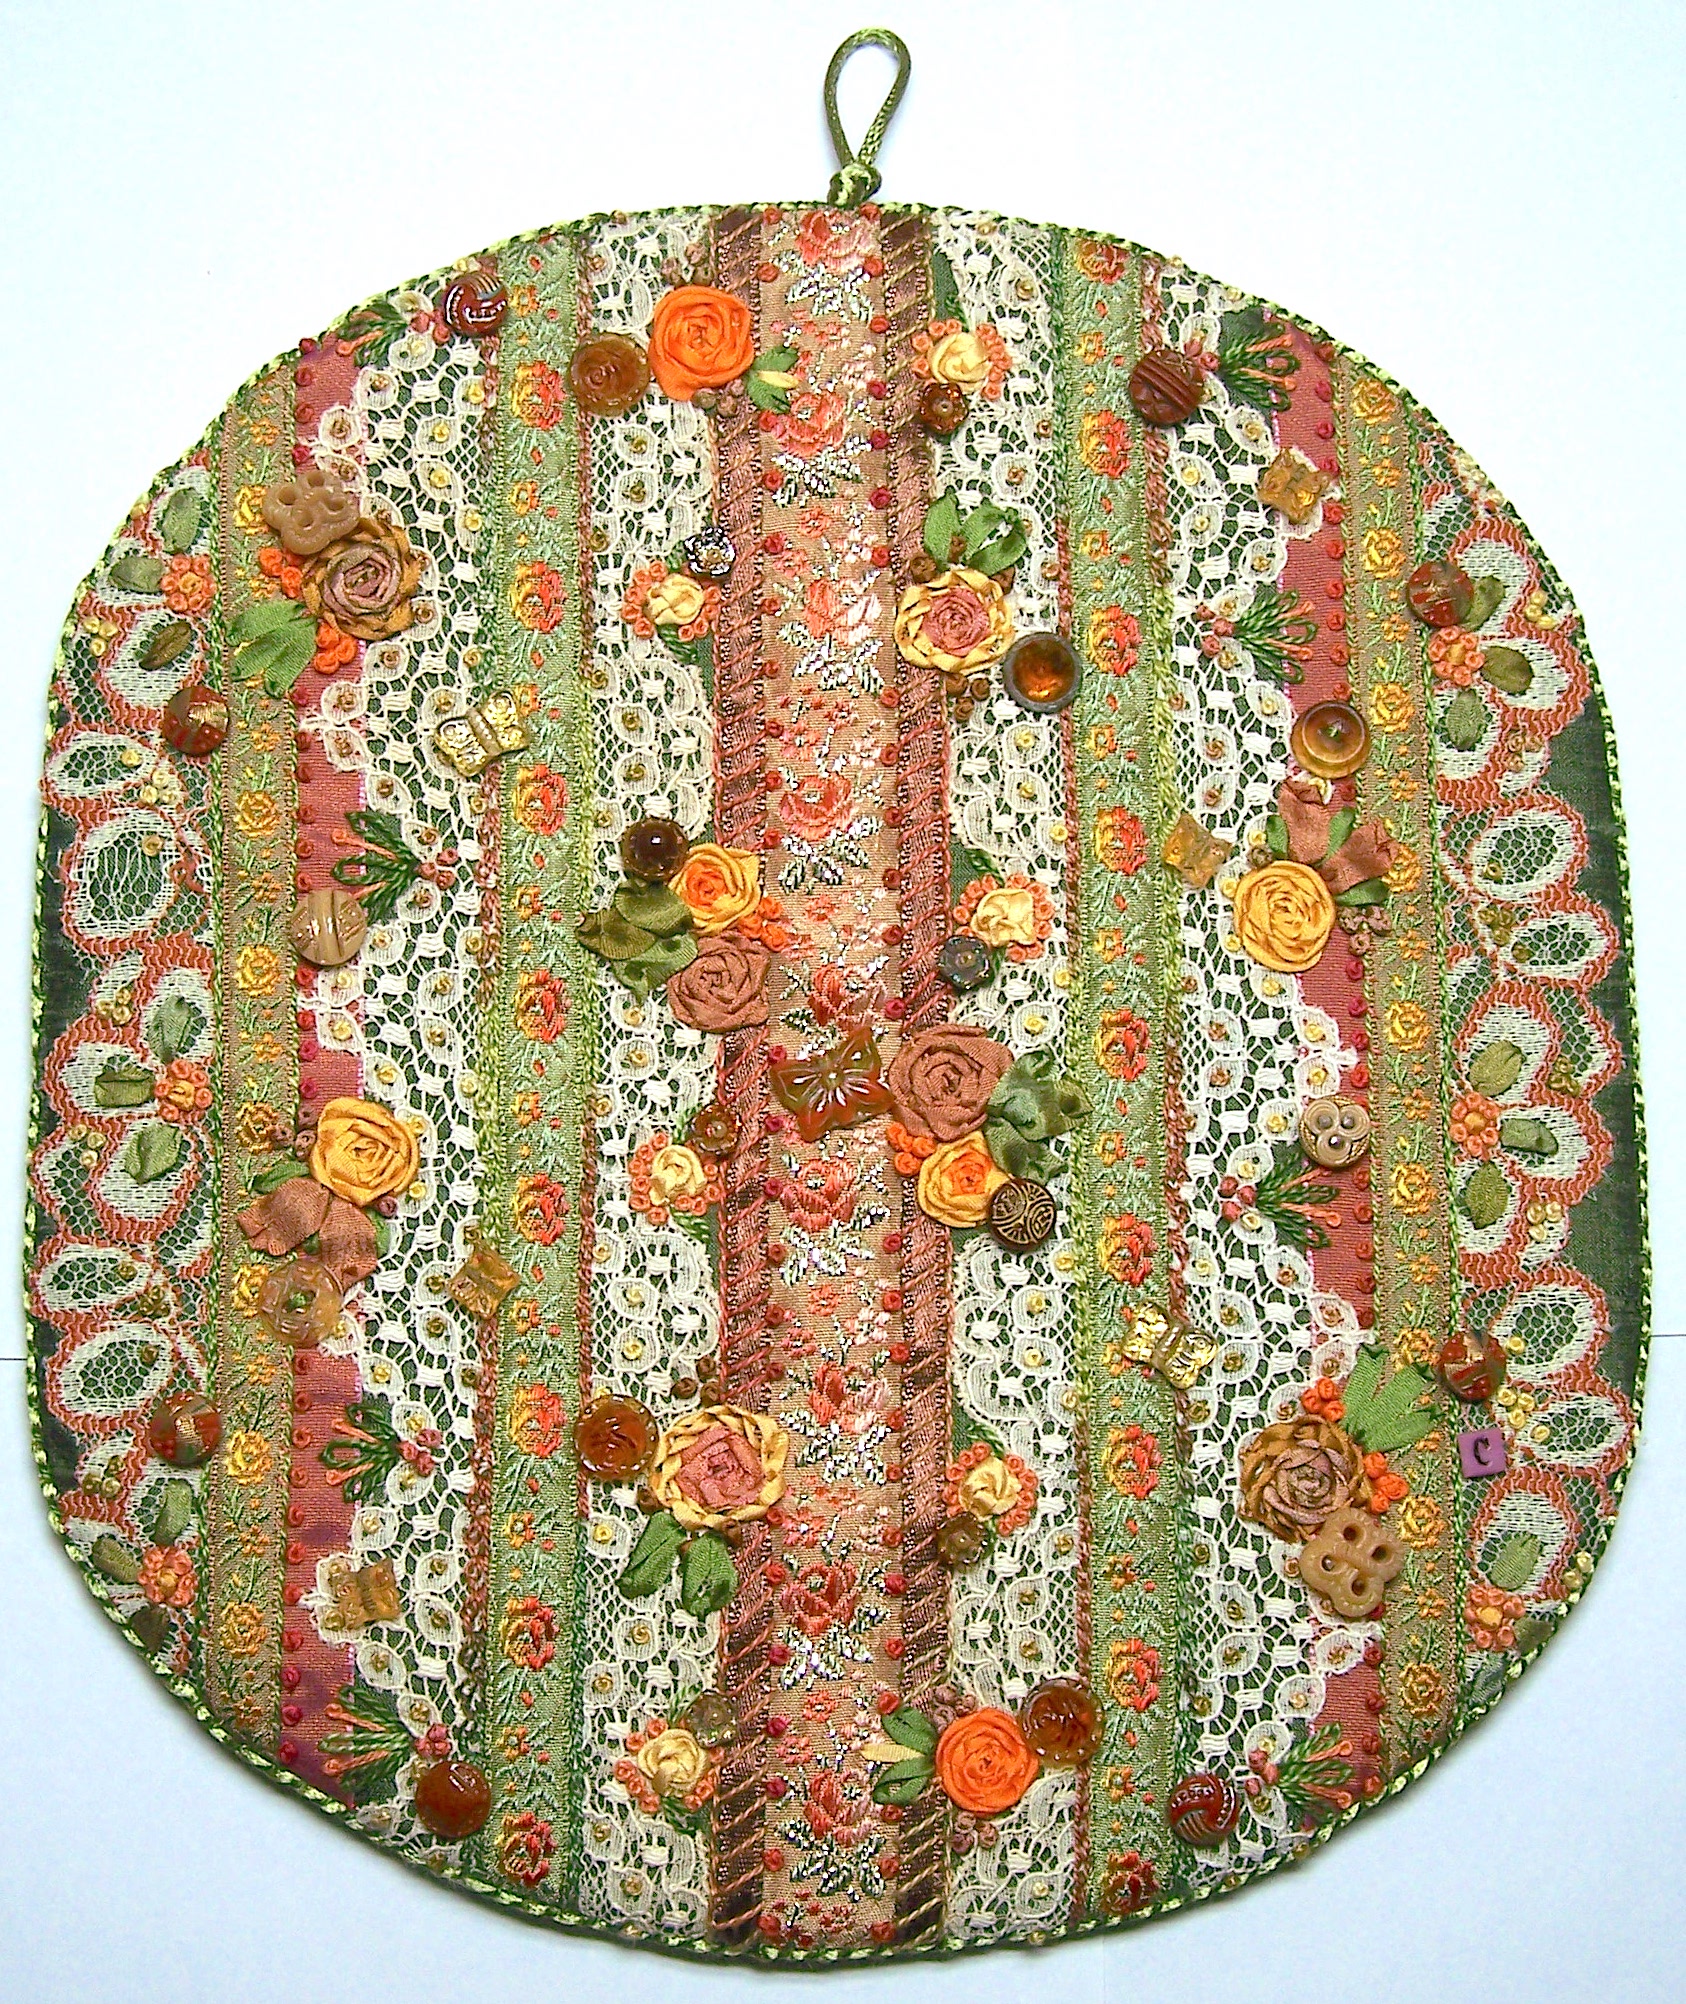
I embroidered on or around the ribbons and laces with pearl cotton using the blanket stitch, chain stitch, lazy daisy stitch, and French knot stitch. I embroidered small vignettes in silk embroidery ribbon using the woven rose stitch, woven rose stitch variation, Ellen Matilda’s rose stitch (named after my grandmother), French knot bud stitch, ribbon stitch, lazy daisy stitch, and French knot stitches. Additional embellishments included vintage and new glass butterfly beads and vintage glass and plastic buttons.
All the embroidery stitches that I used are in the chapter Embroidery and Embellishments Stitches. I used the Alternate Foundation technique on page 137 to finish off the base. Then, I couched a rayon cord around the outer edge and created a hanging loop at the top.
Lace Doilies and Appliques
Sage and Cornflower
Christen’s Notes:
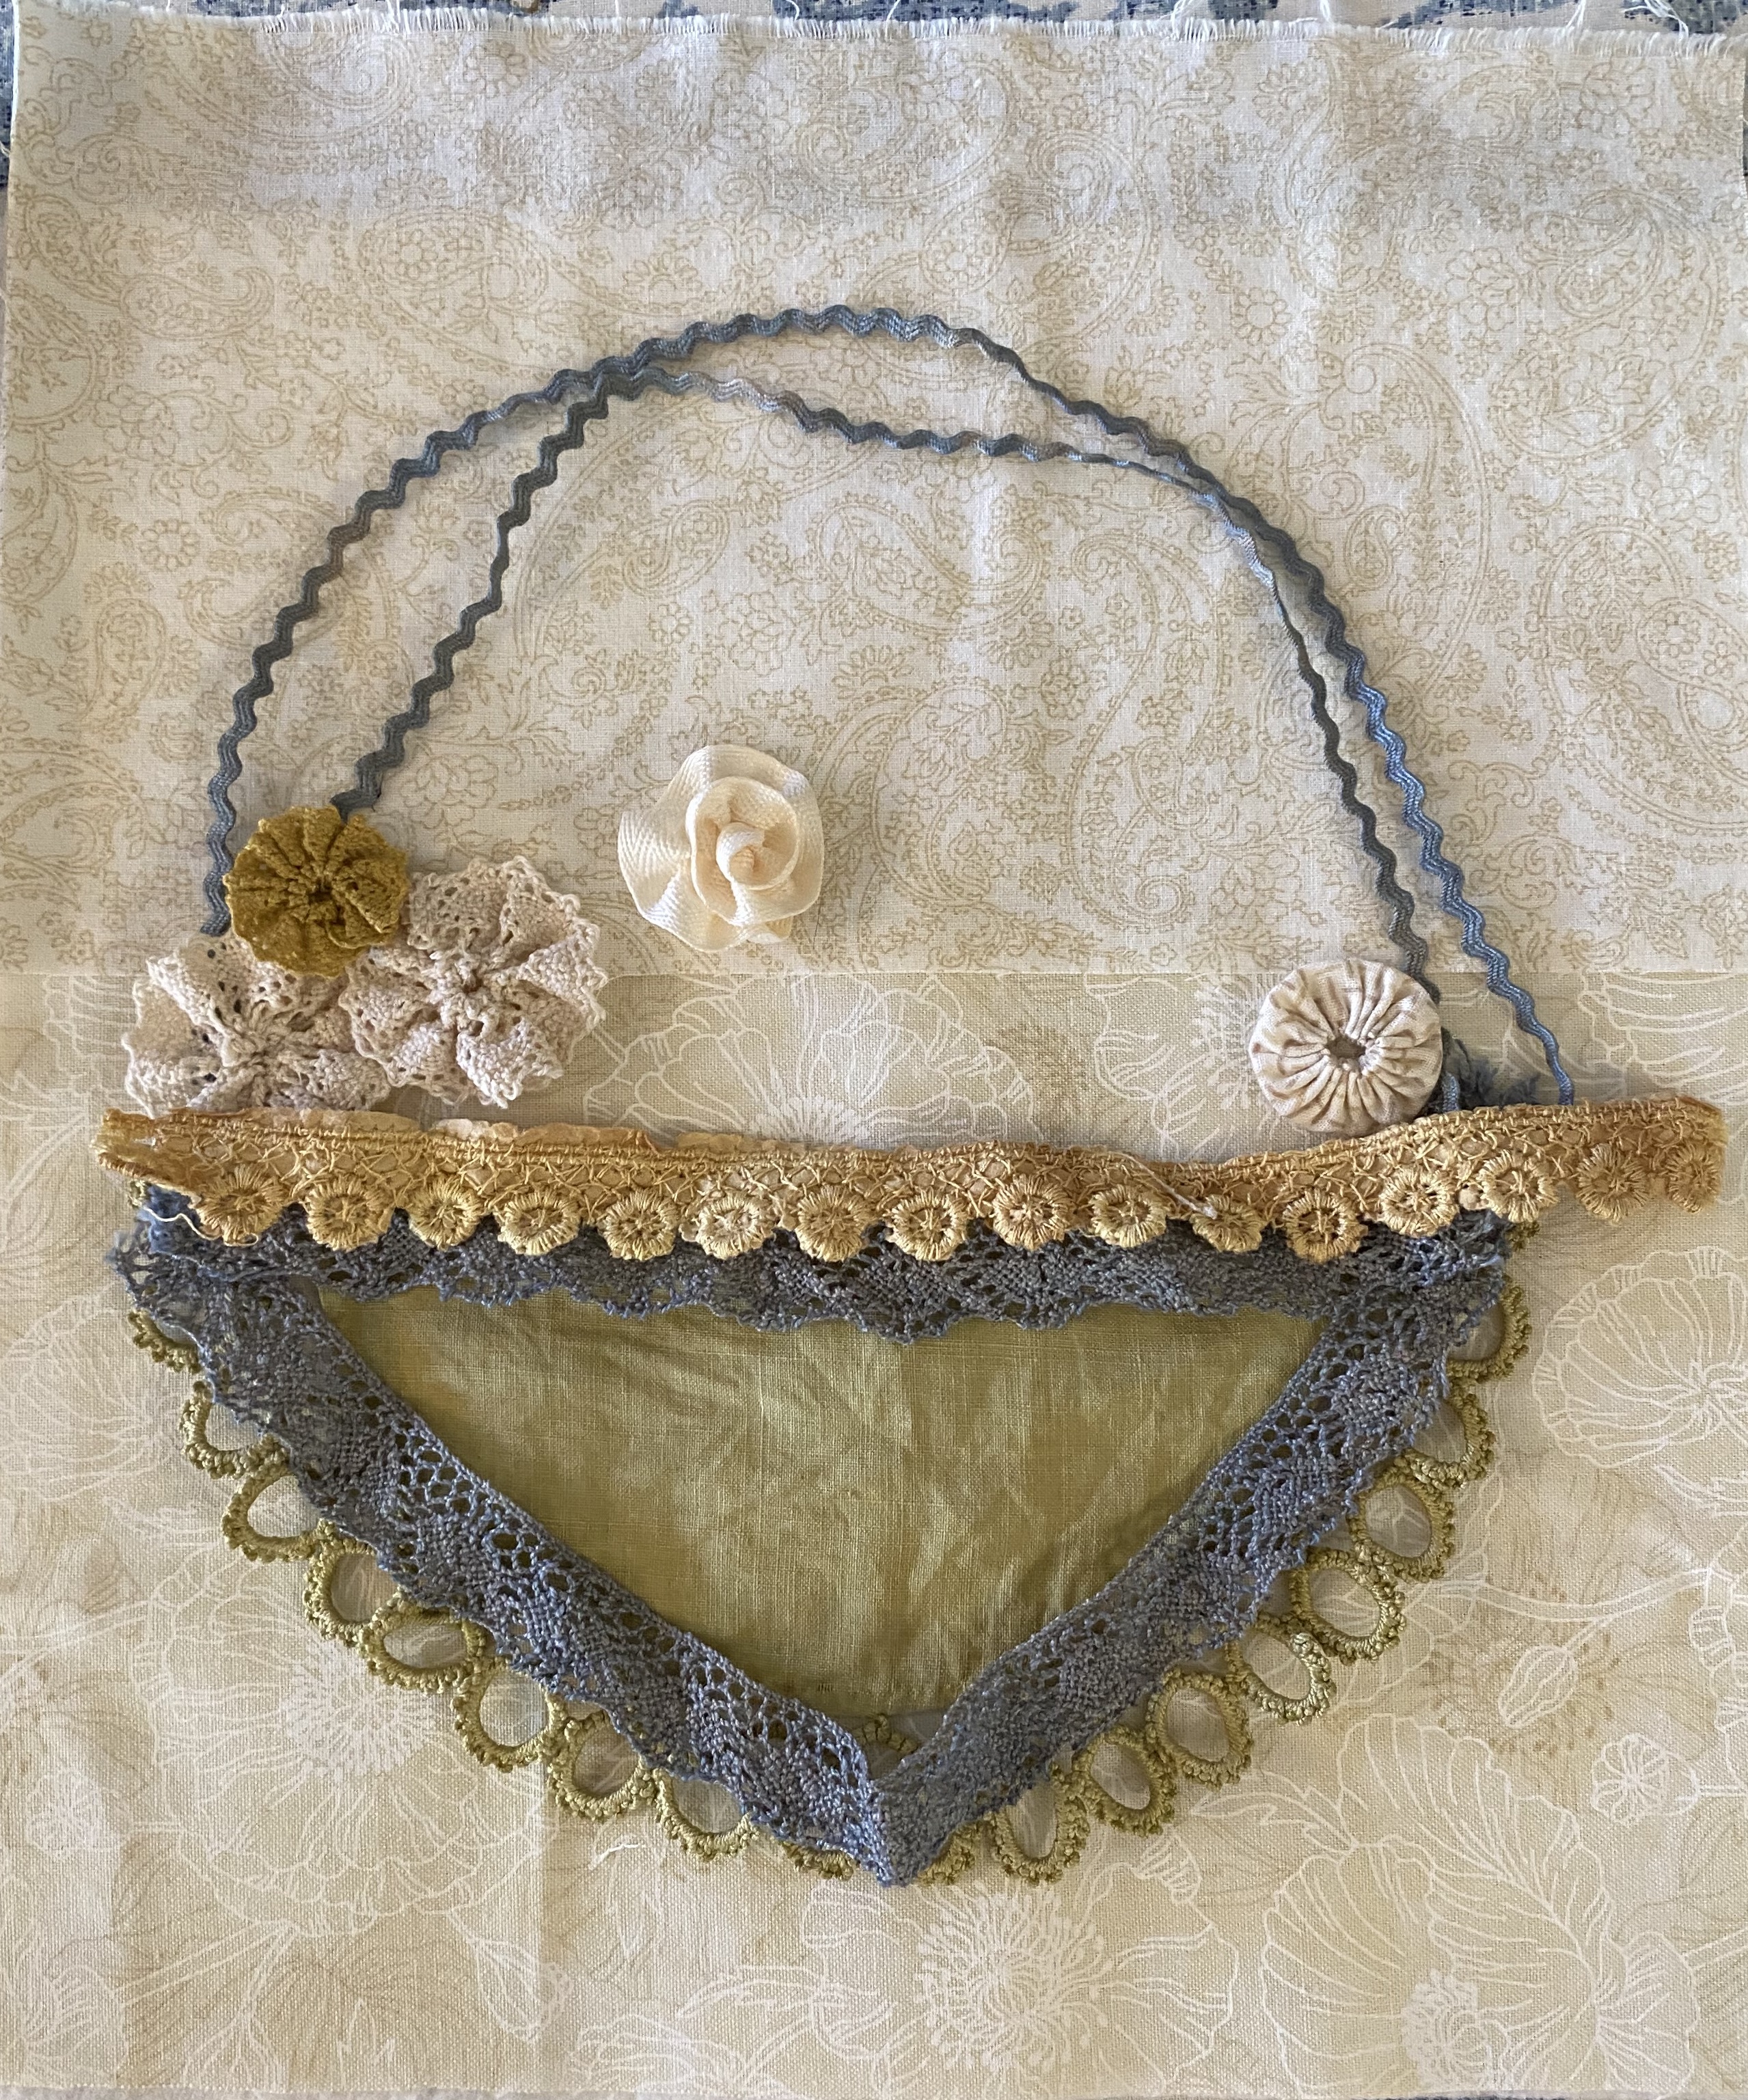
I found a cotton doily that I thought would make a beautiful basket. Unfortunately, the doily had a hole in it and a few stains, but I had no worries! I dyed the doily an olive color to blend with a few left-over pieces of dyed lace, rickrack trim, and grosgrain ribbon from another project.
I machine-quilted a cotton print, then sewed the doily onto the base. I stitched a wide lace along the bottom portion of the basket and a narrower lace for the rim of the basket that covered the raw edge of the doily and to create a handle.
I made rosettes from grosgrain ribbon and cotton lace, and yo-yos from two cotton fabrics. I stitched the rickrack trim along the bottom edge of the fabric base, and the rest of the wider lace at the upper corners.
I stitched an appliqué to hide the hole in the basket and balanced the design with two additional appliqués. I stitched the rosettes and yo-yos into the basket, and more yo-yos at the corners of the fabric base.
I embroidered the basket with the chain stitch, and the handle with the blanket stitch. Detail and decorative stitches include straight stitch, lazy daisy stitch, French knot stitch, single bead stitch, and stacked bead stitch. Additional embellishments include vintage buttons, glass beads, and metal charms.
Note: There is a chapter in the book called Altering the Past, which includes directions for dyeing with Colorhue Dyes, making a rosette, and yo-yos. All the embroidery stitches that I used are in the chapter Embroidery and Embellishments Stitches.
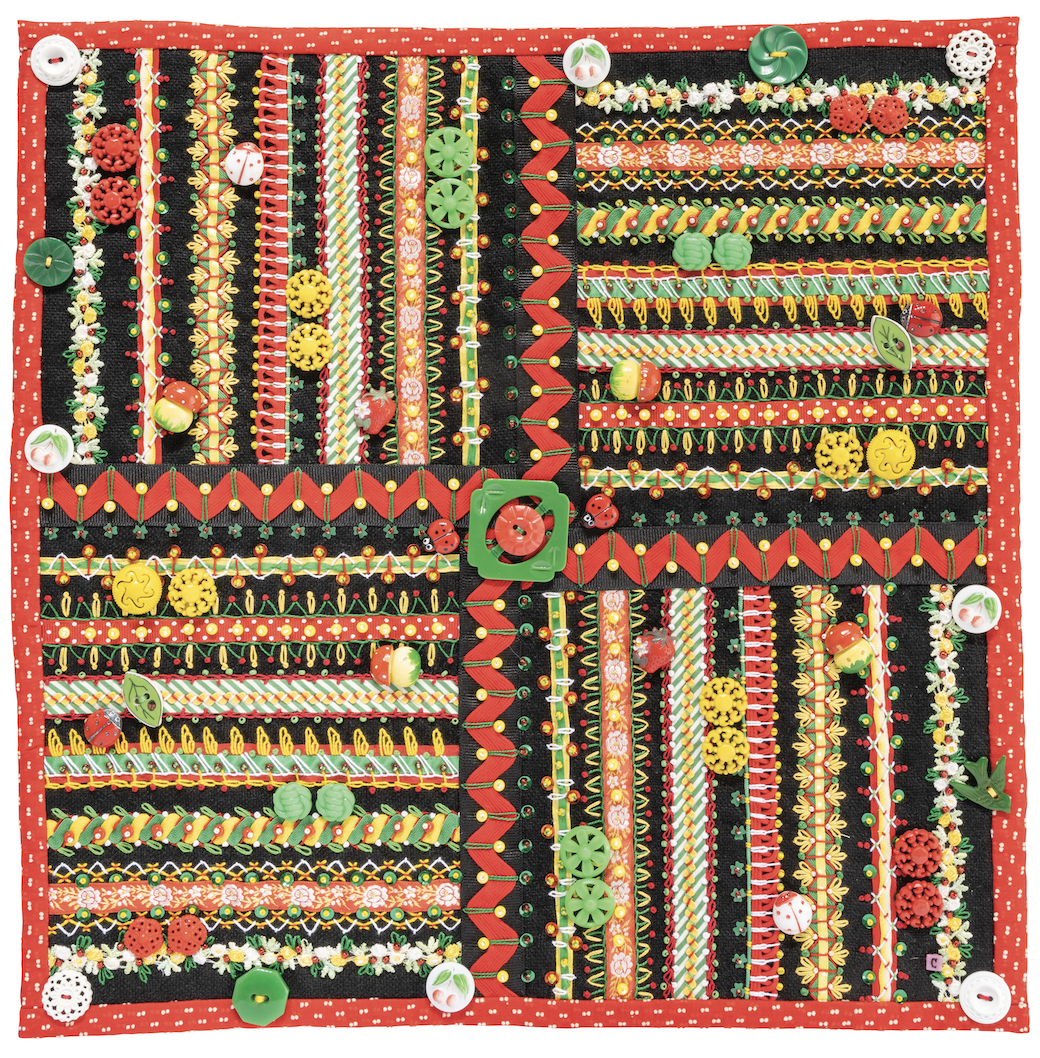
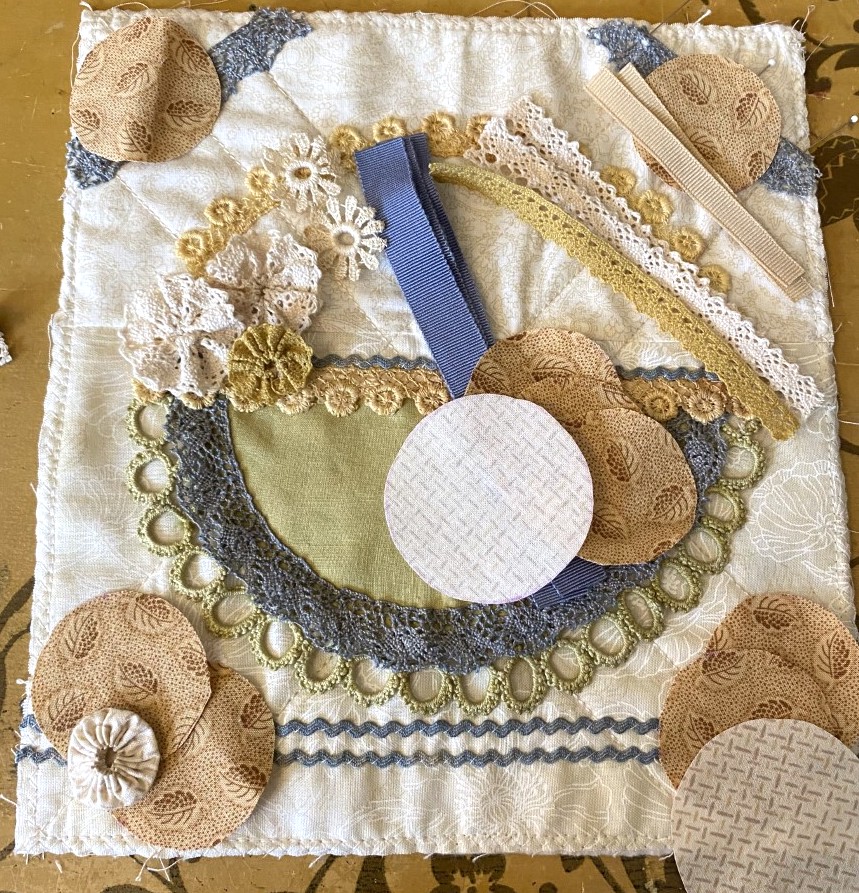
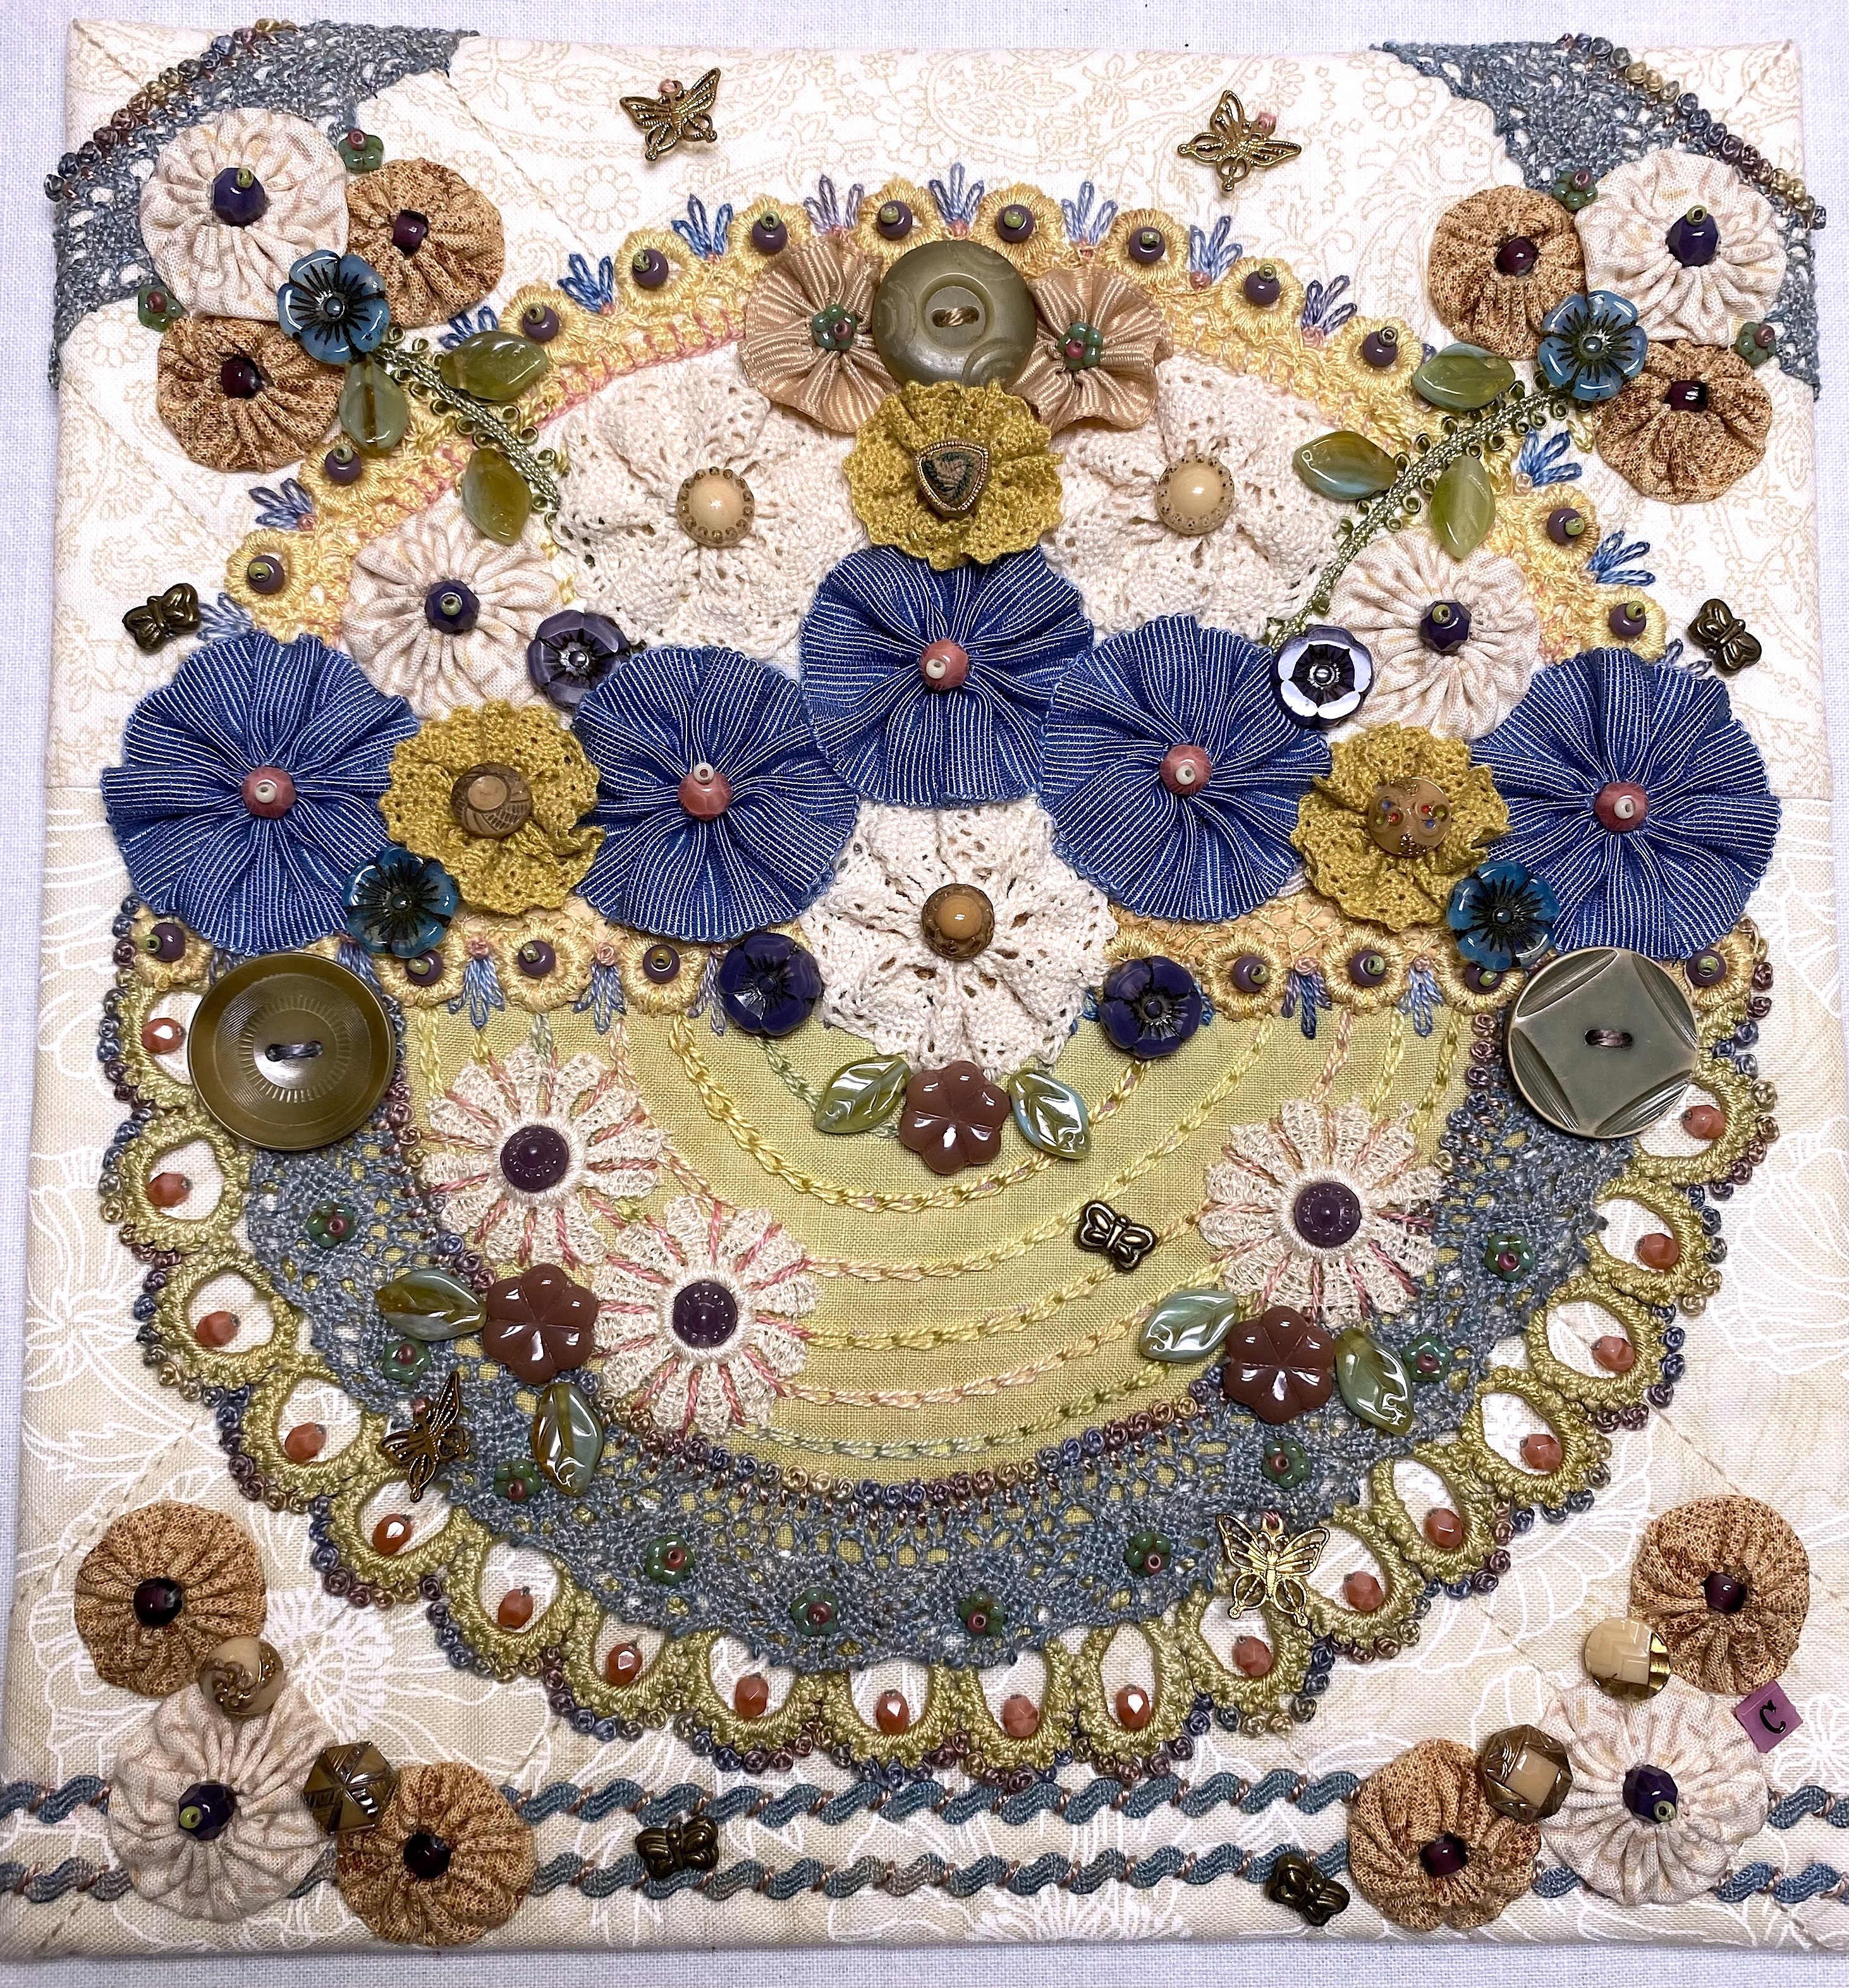
Hankies and Lace Collage
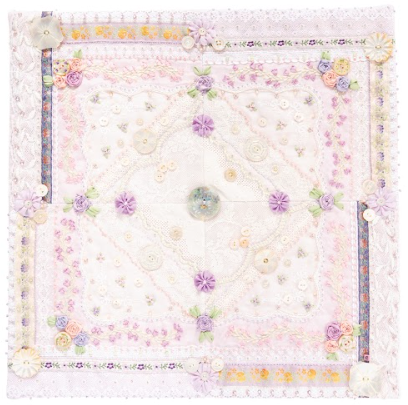
Threads that Connect Precious Mementos
Carolyn’s Notes:
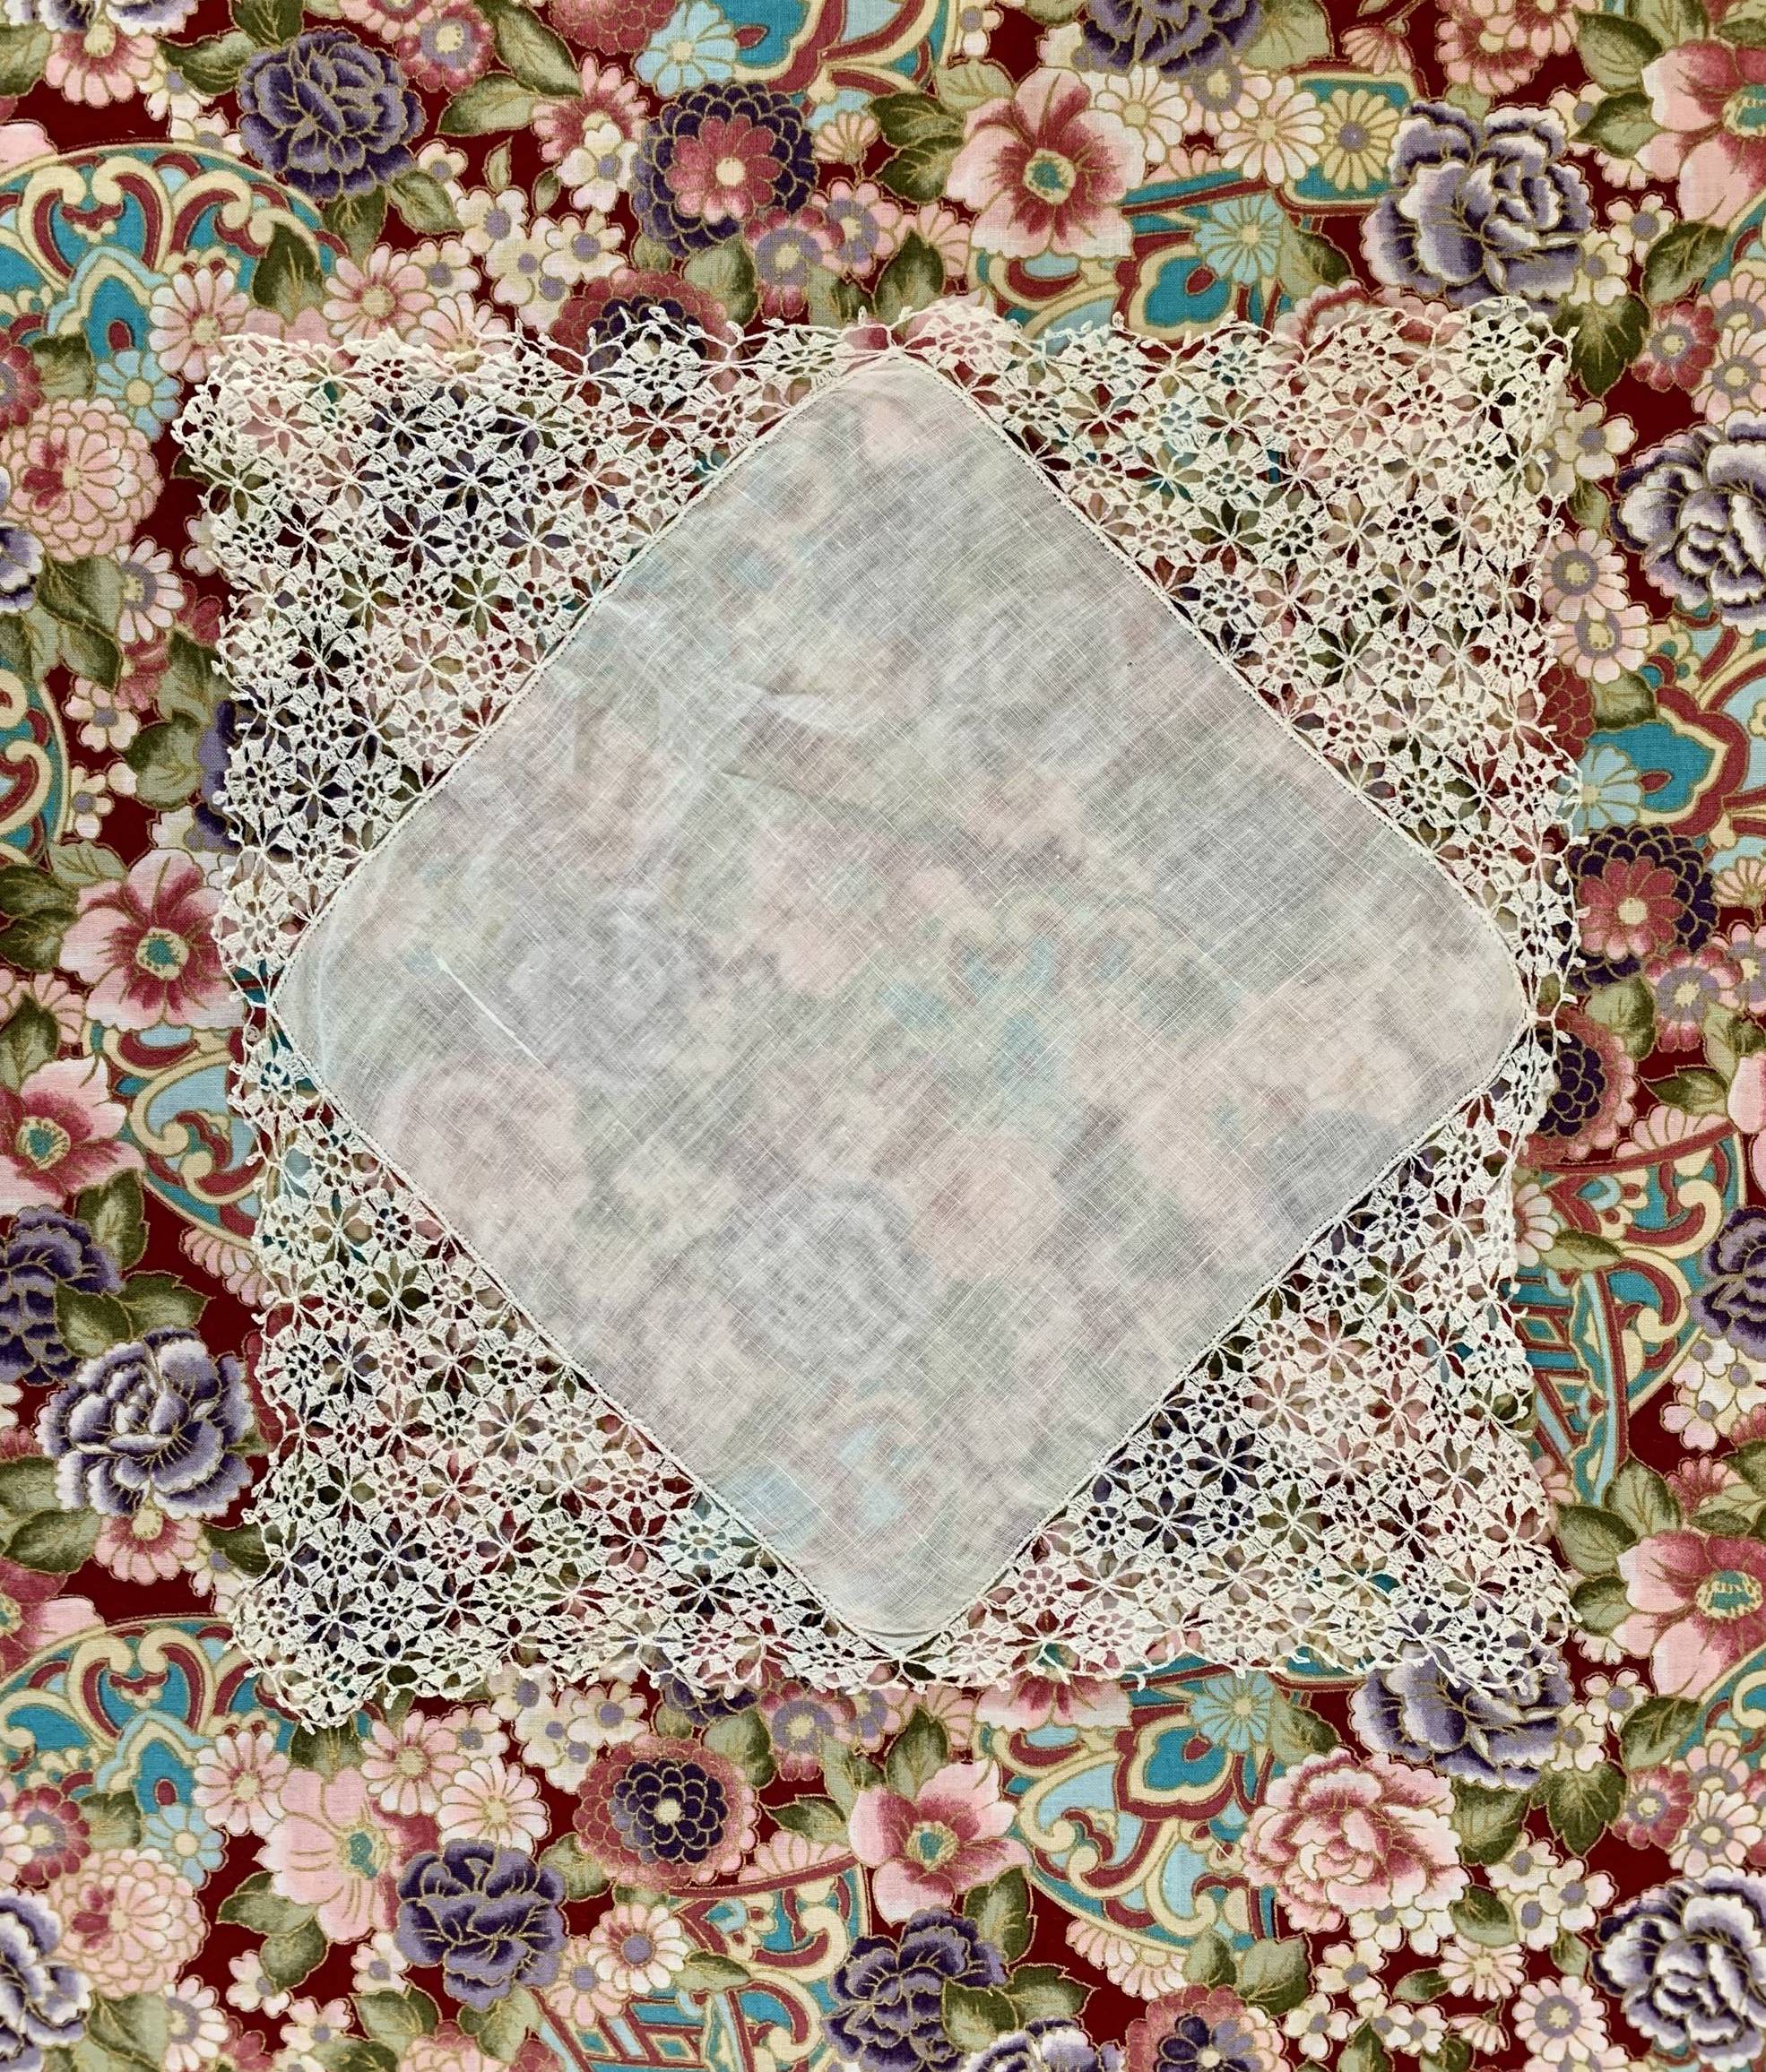
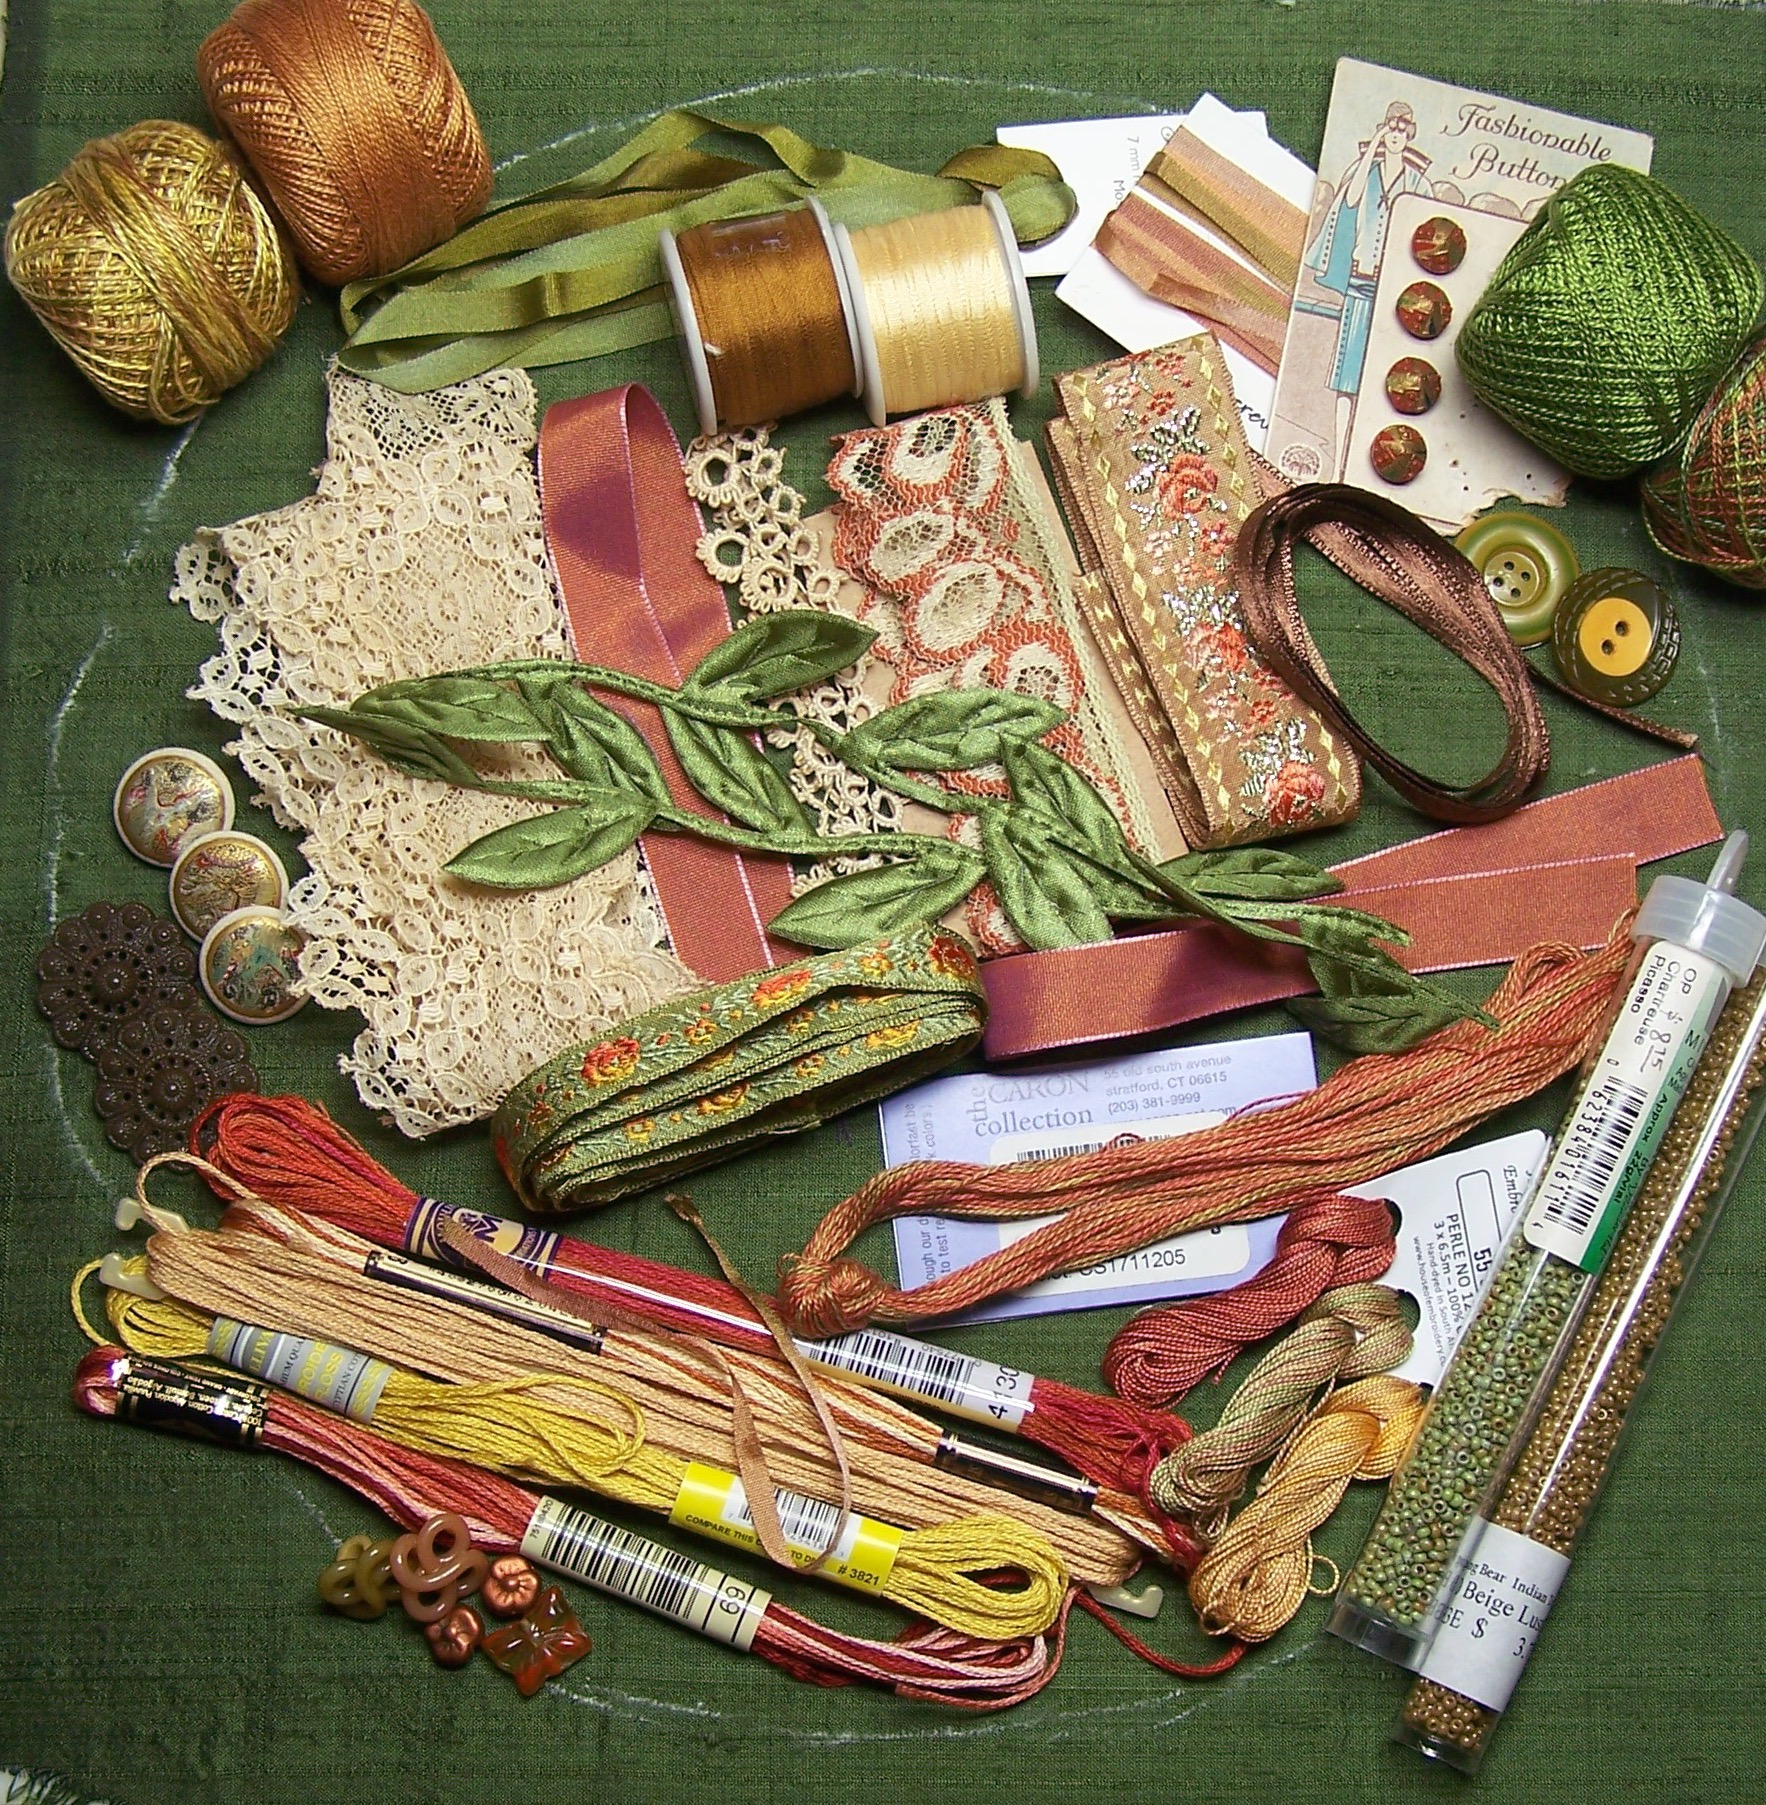
Using Christen’s Hankies and Lace Collage, Project by Design as my guide and inspiration, my intention was to use only materials that I had in my stash. Although I intended to follow her directions exactly, the difference in materials encouraged me to be creative. The hanky that I used was given to me by my husband’s paternal grandmother, Mabelle, to carry on our wedding day. She had carried it on her wedding day in 1912. The photo is of the hanky and the base fabric, the beginning.
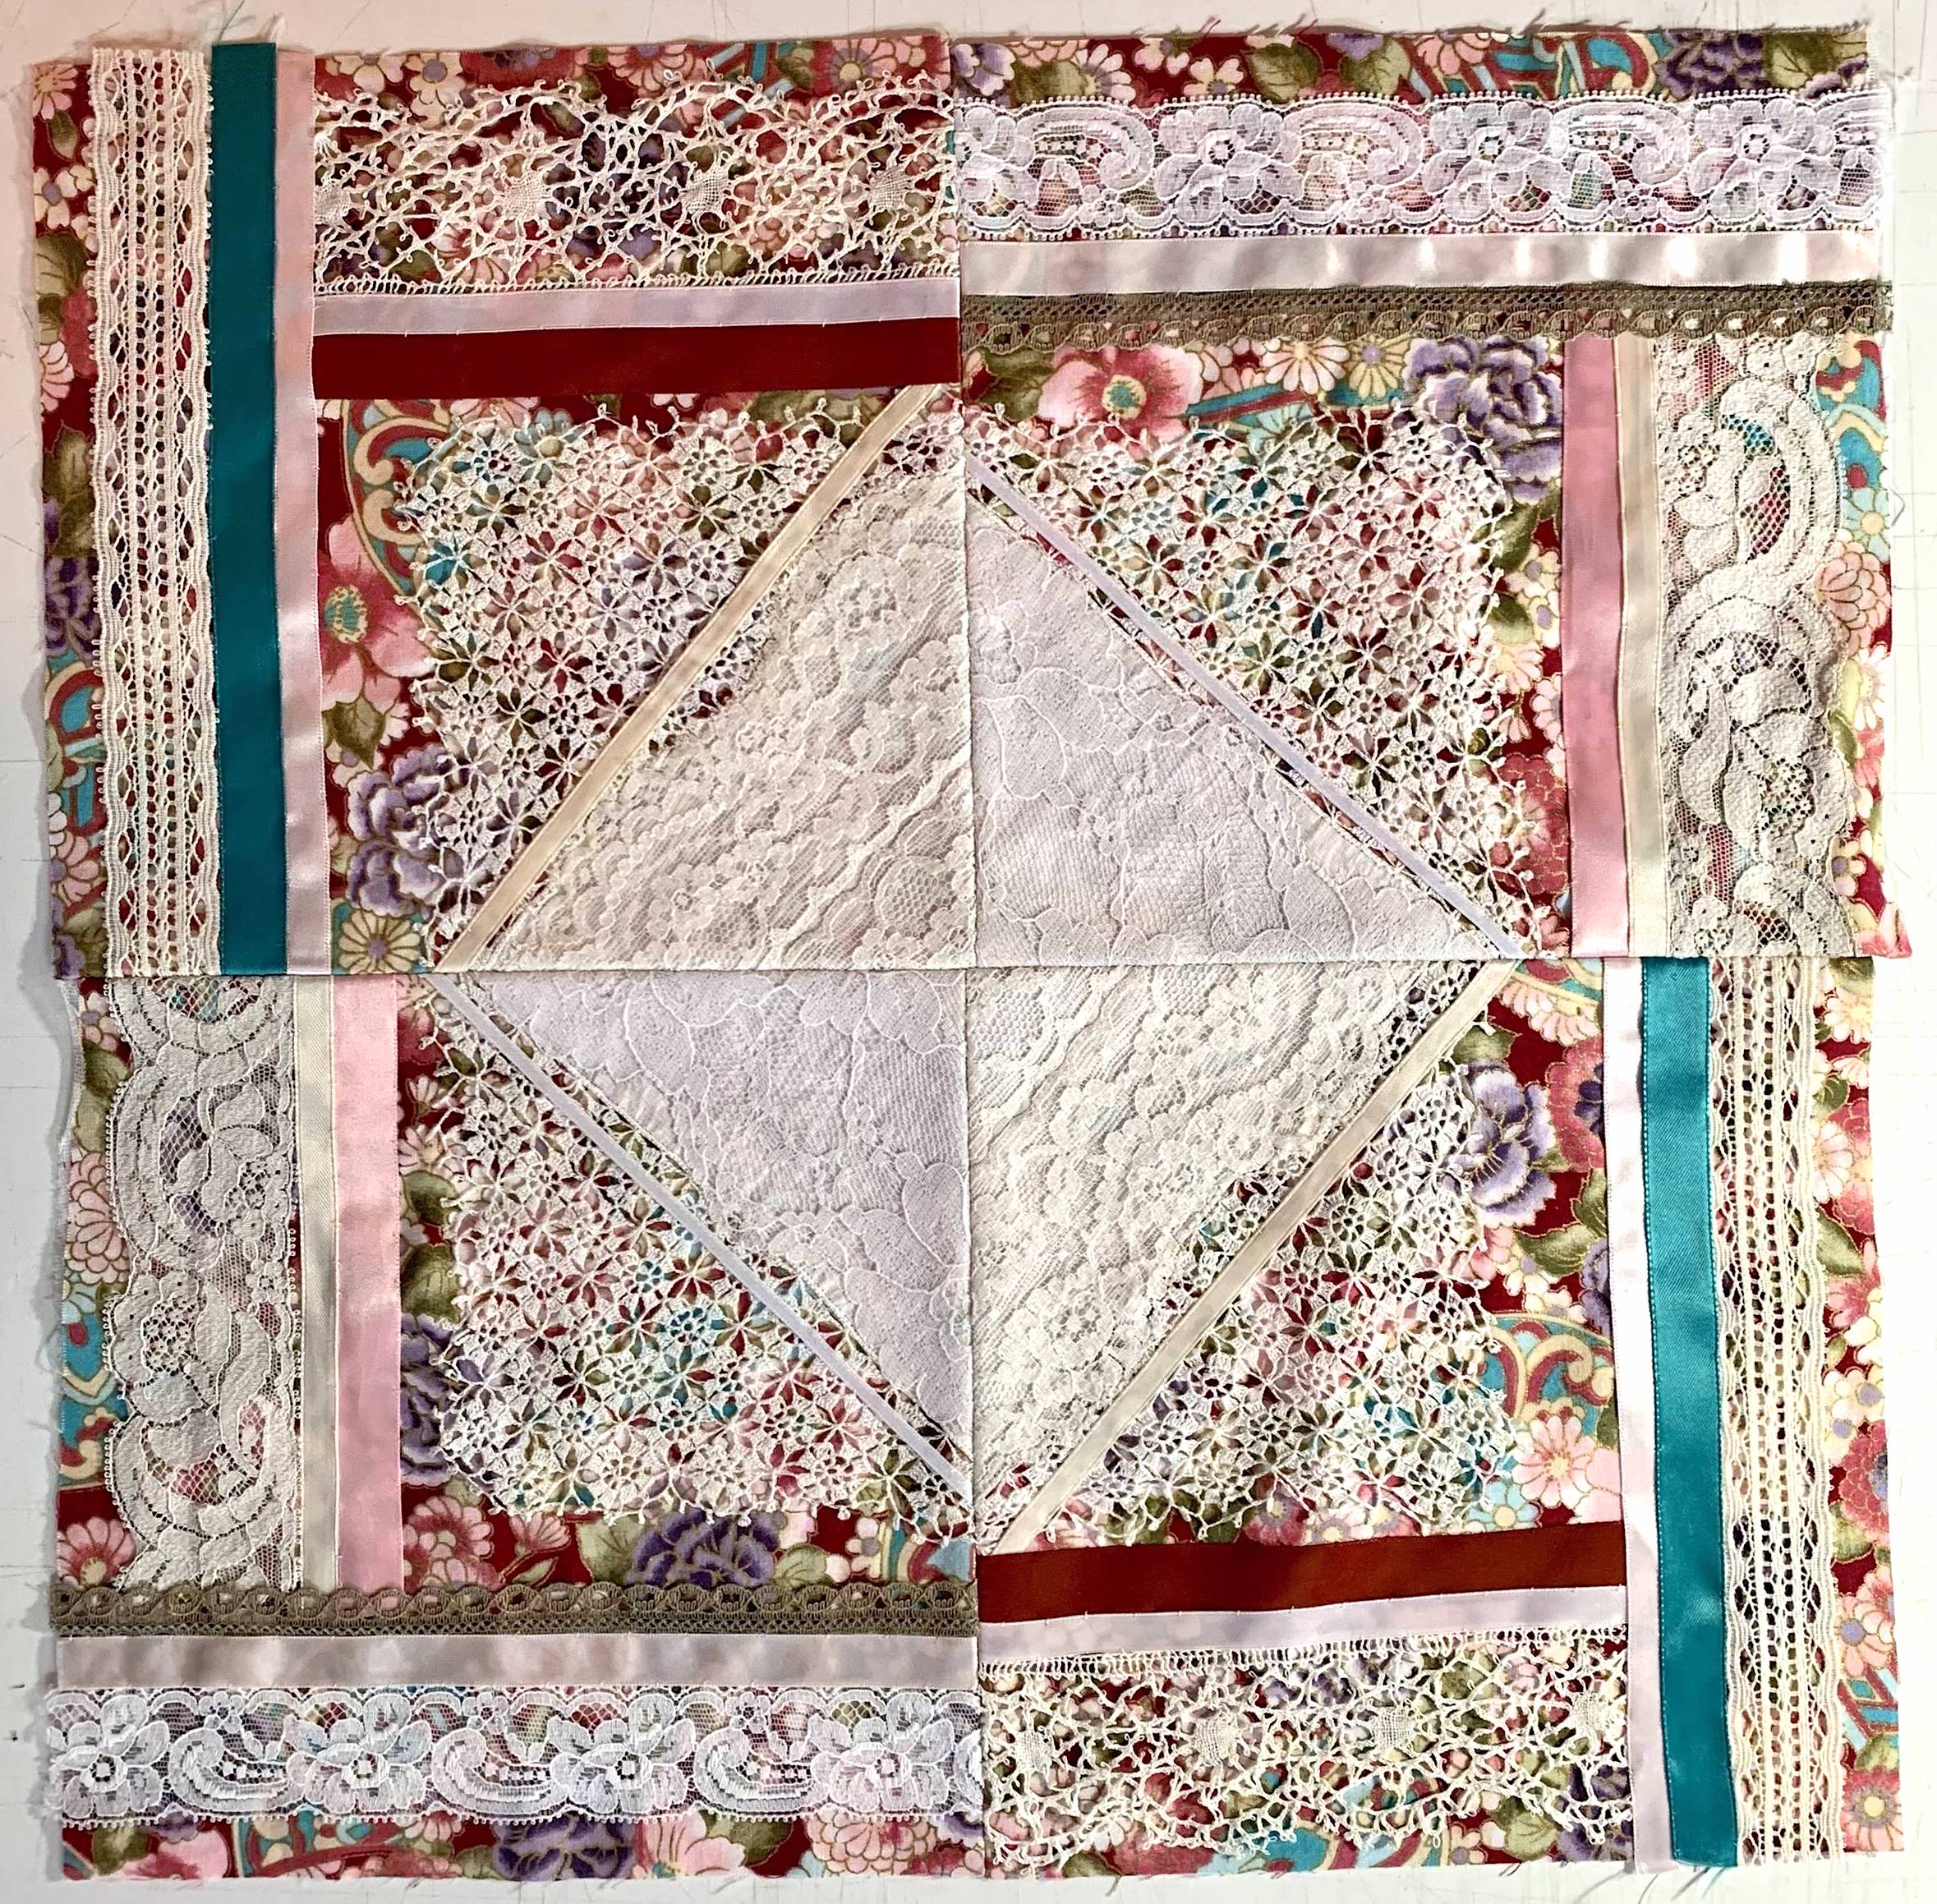
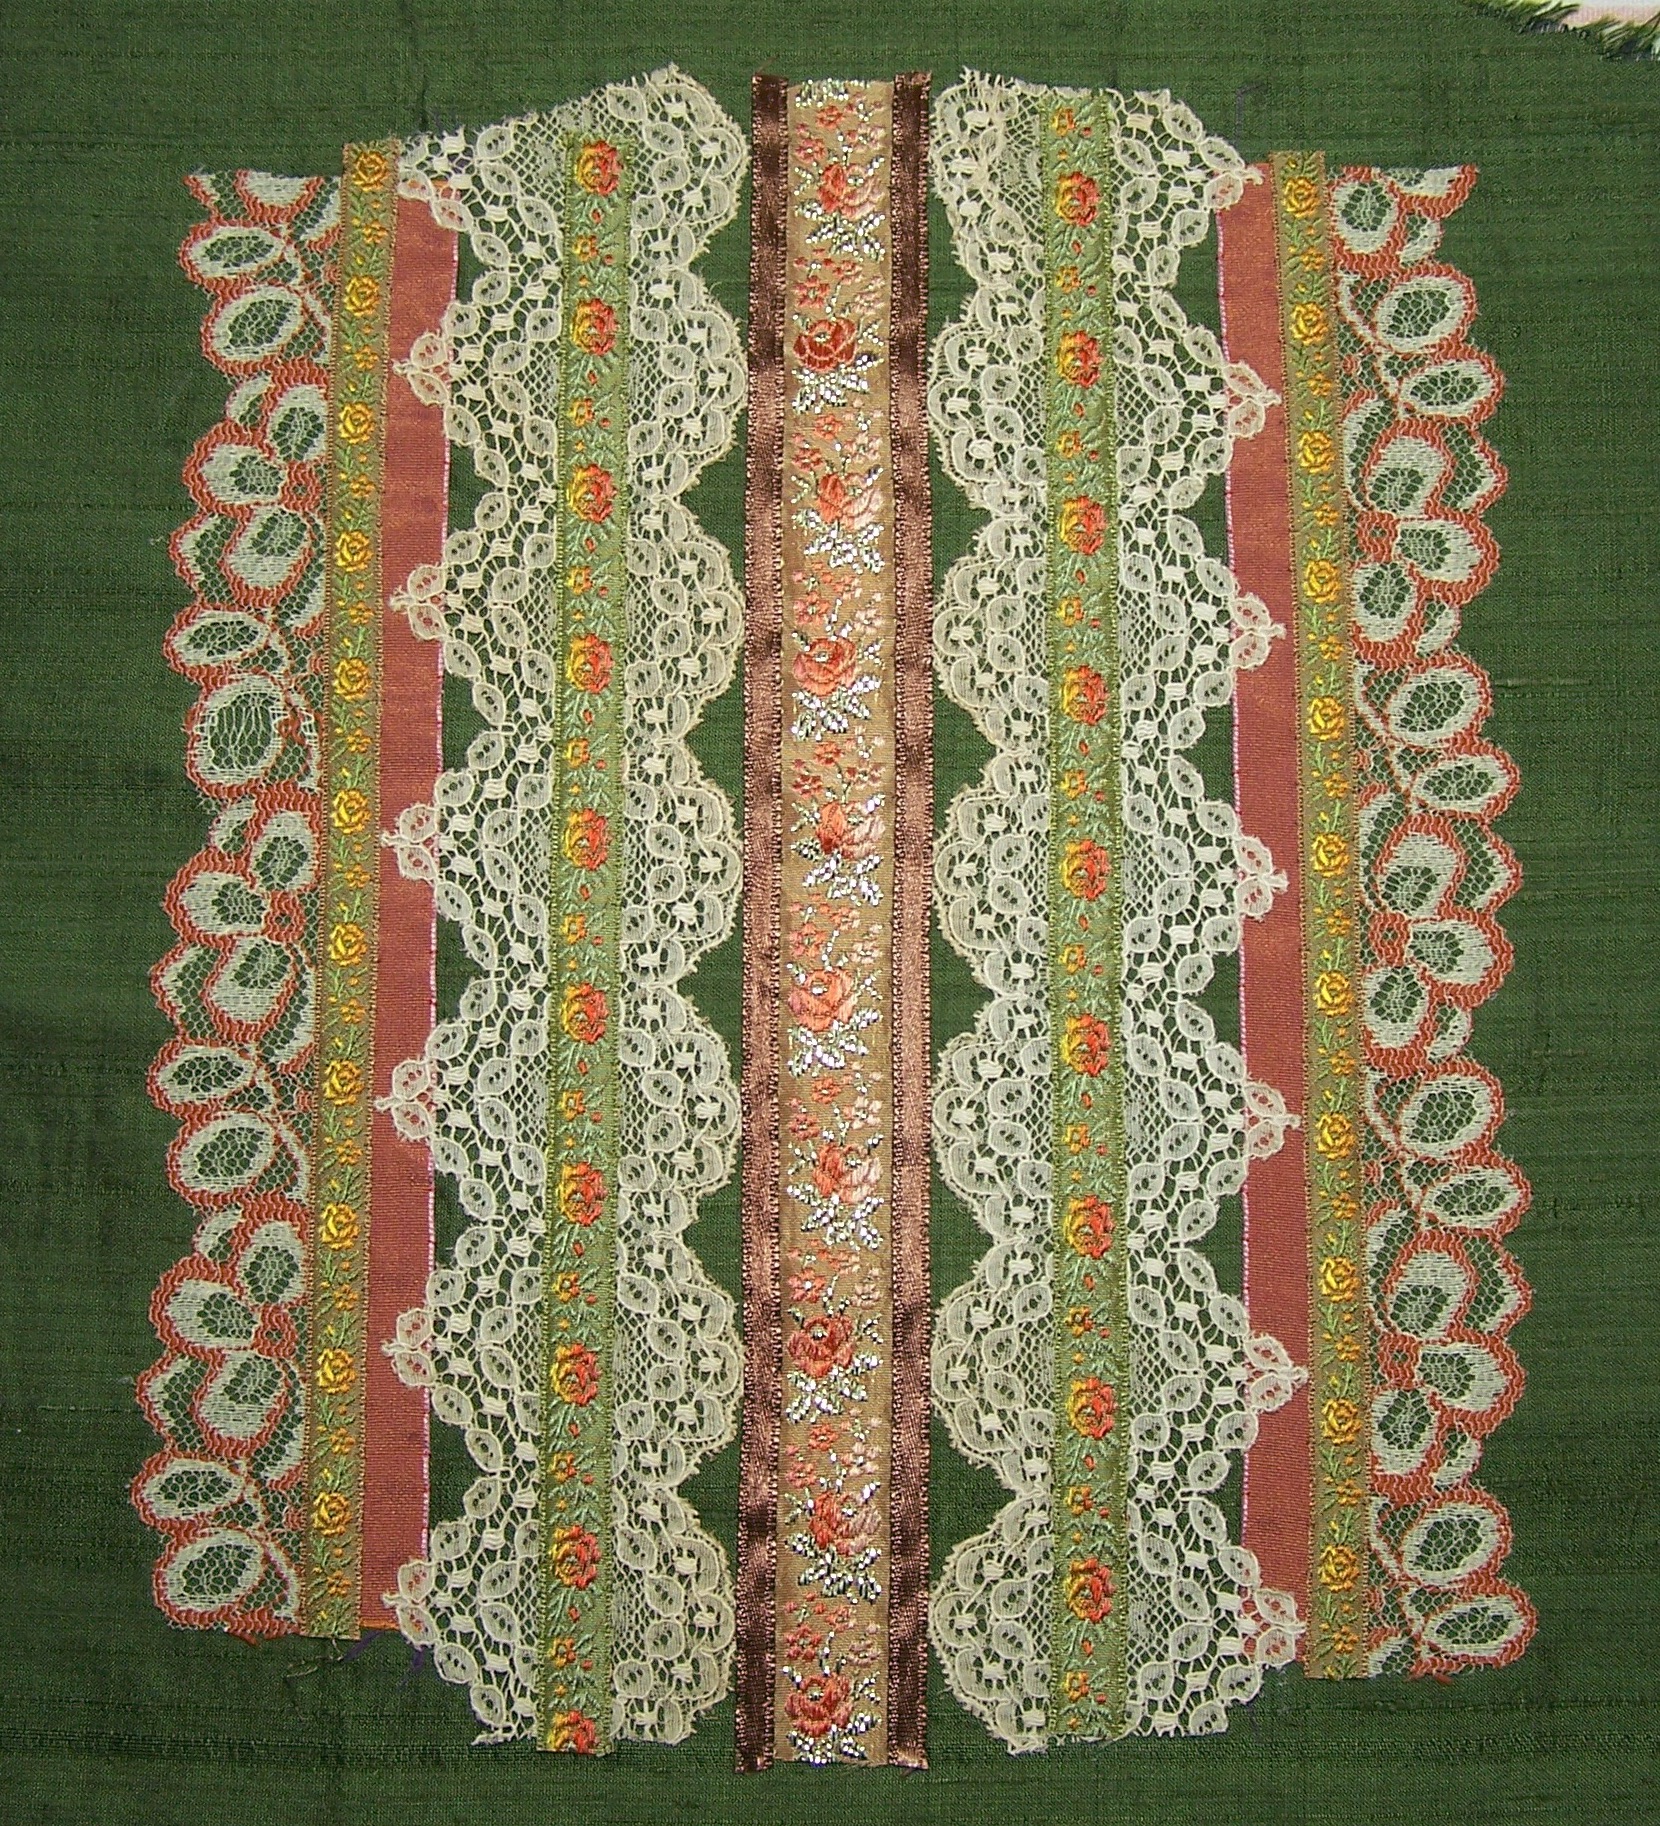
Then, I hand-stitched the hanky, lace trims, and ribbons in place, following the design suggestions for the project. The lace trims were given to me by my maternal grandmother’s sister, Rose, and by my friend Judy.
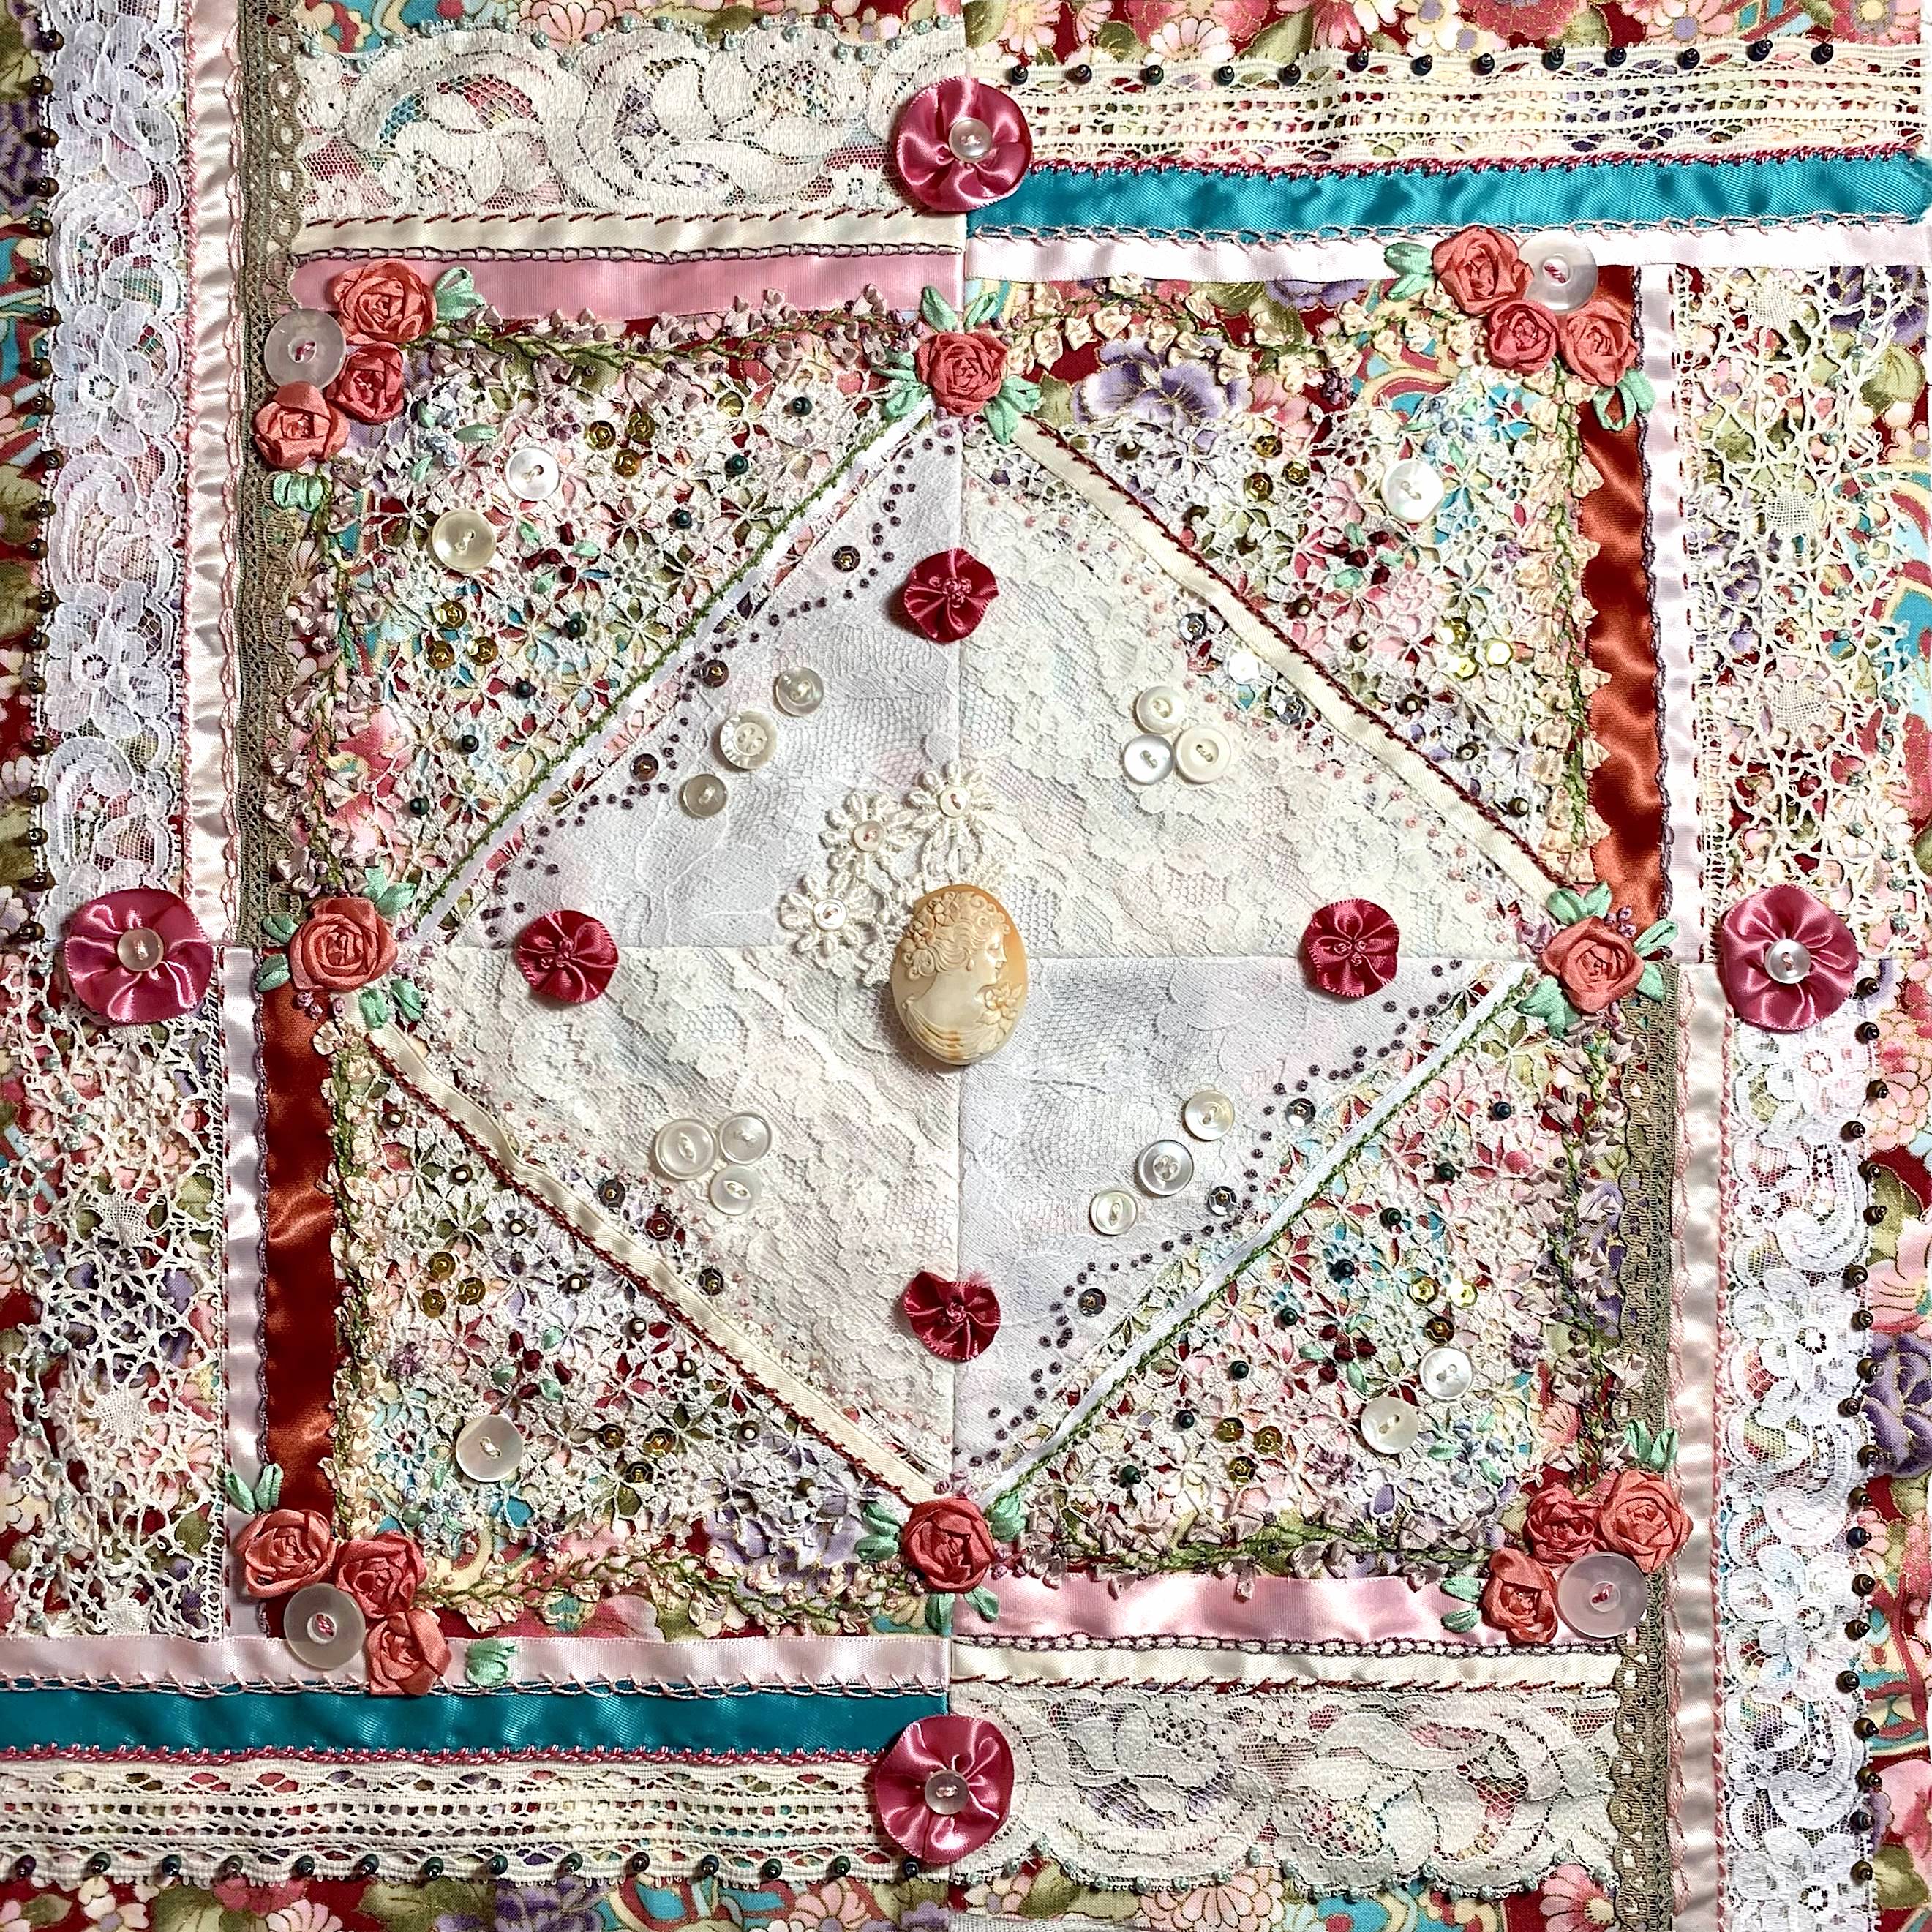
Then, I embroidered and embellished the base, around the laces and ribbons. The cameo in the center, was given to me by my maternal grandmother, Veronica. The threads, ribbons, buttons, beads, and sequins were parts of other projects made in classes that I had previously taken from Christen. The ribbon rosettes were made in Christen’s class “A Walk Through My Flower Garden” in 1993. “Olds” have been turned into something “New”.
Carolyn’s Final Notes
Thank you for inviting me to participate, it was a wonderful experience. At 80, I was able to muster the energy to meet a deadline that was months away! I’m grateful to you for introducing me to, and encouraging me, the ability to create with fabric and thread, since 1993.
Christen’s Final Notes
Again, I wish to express my sincerest gratitude to Carolyn Barkow, artist, friend, photographer, and lover of our environment. Thank you so much for helping me with this post, my friend!
...
Shop Creative Embroidery, Mixing the Old with the New
Christen Brown teaches embroidery, quilting, crazy quilting, ribbon work, mixed media, and beadwork in her best-selling books.


