

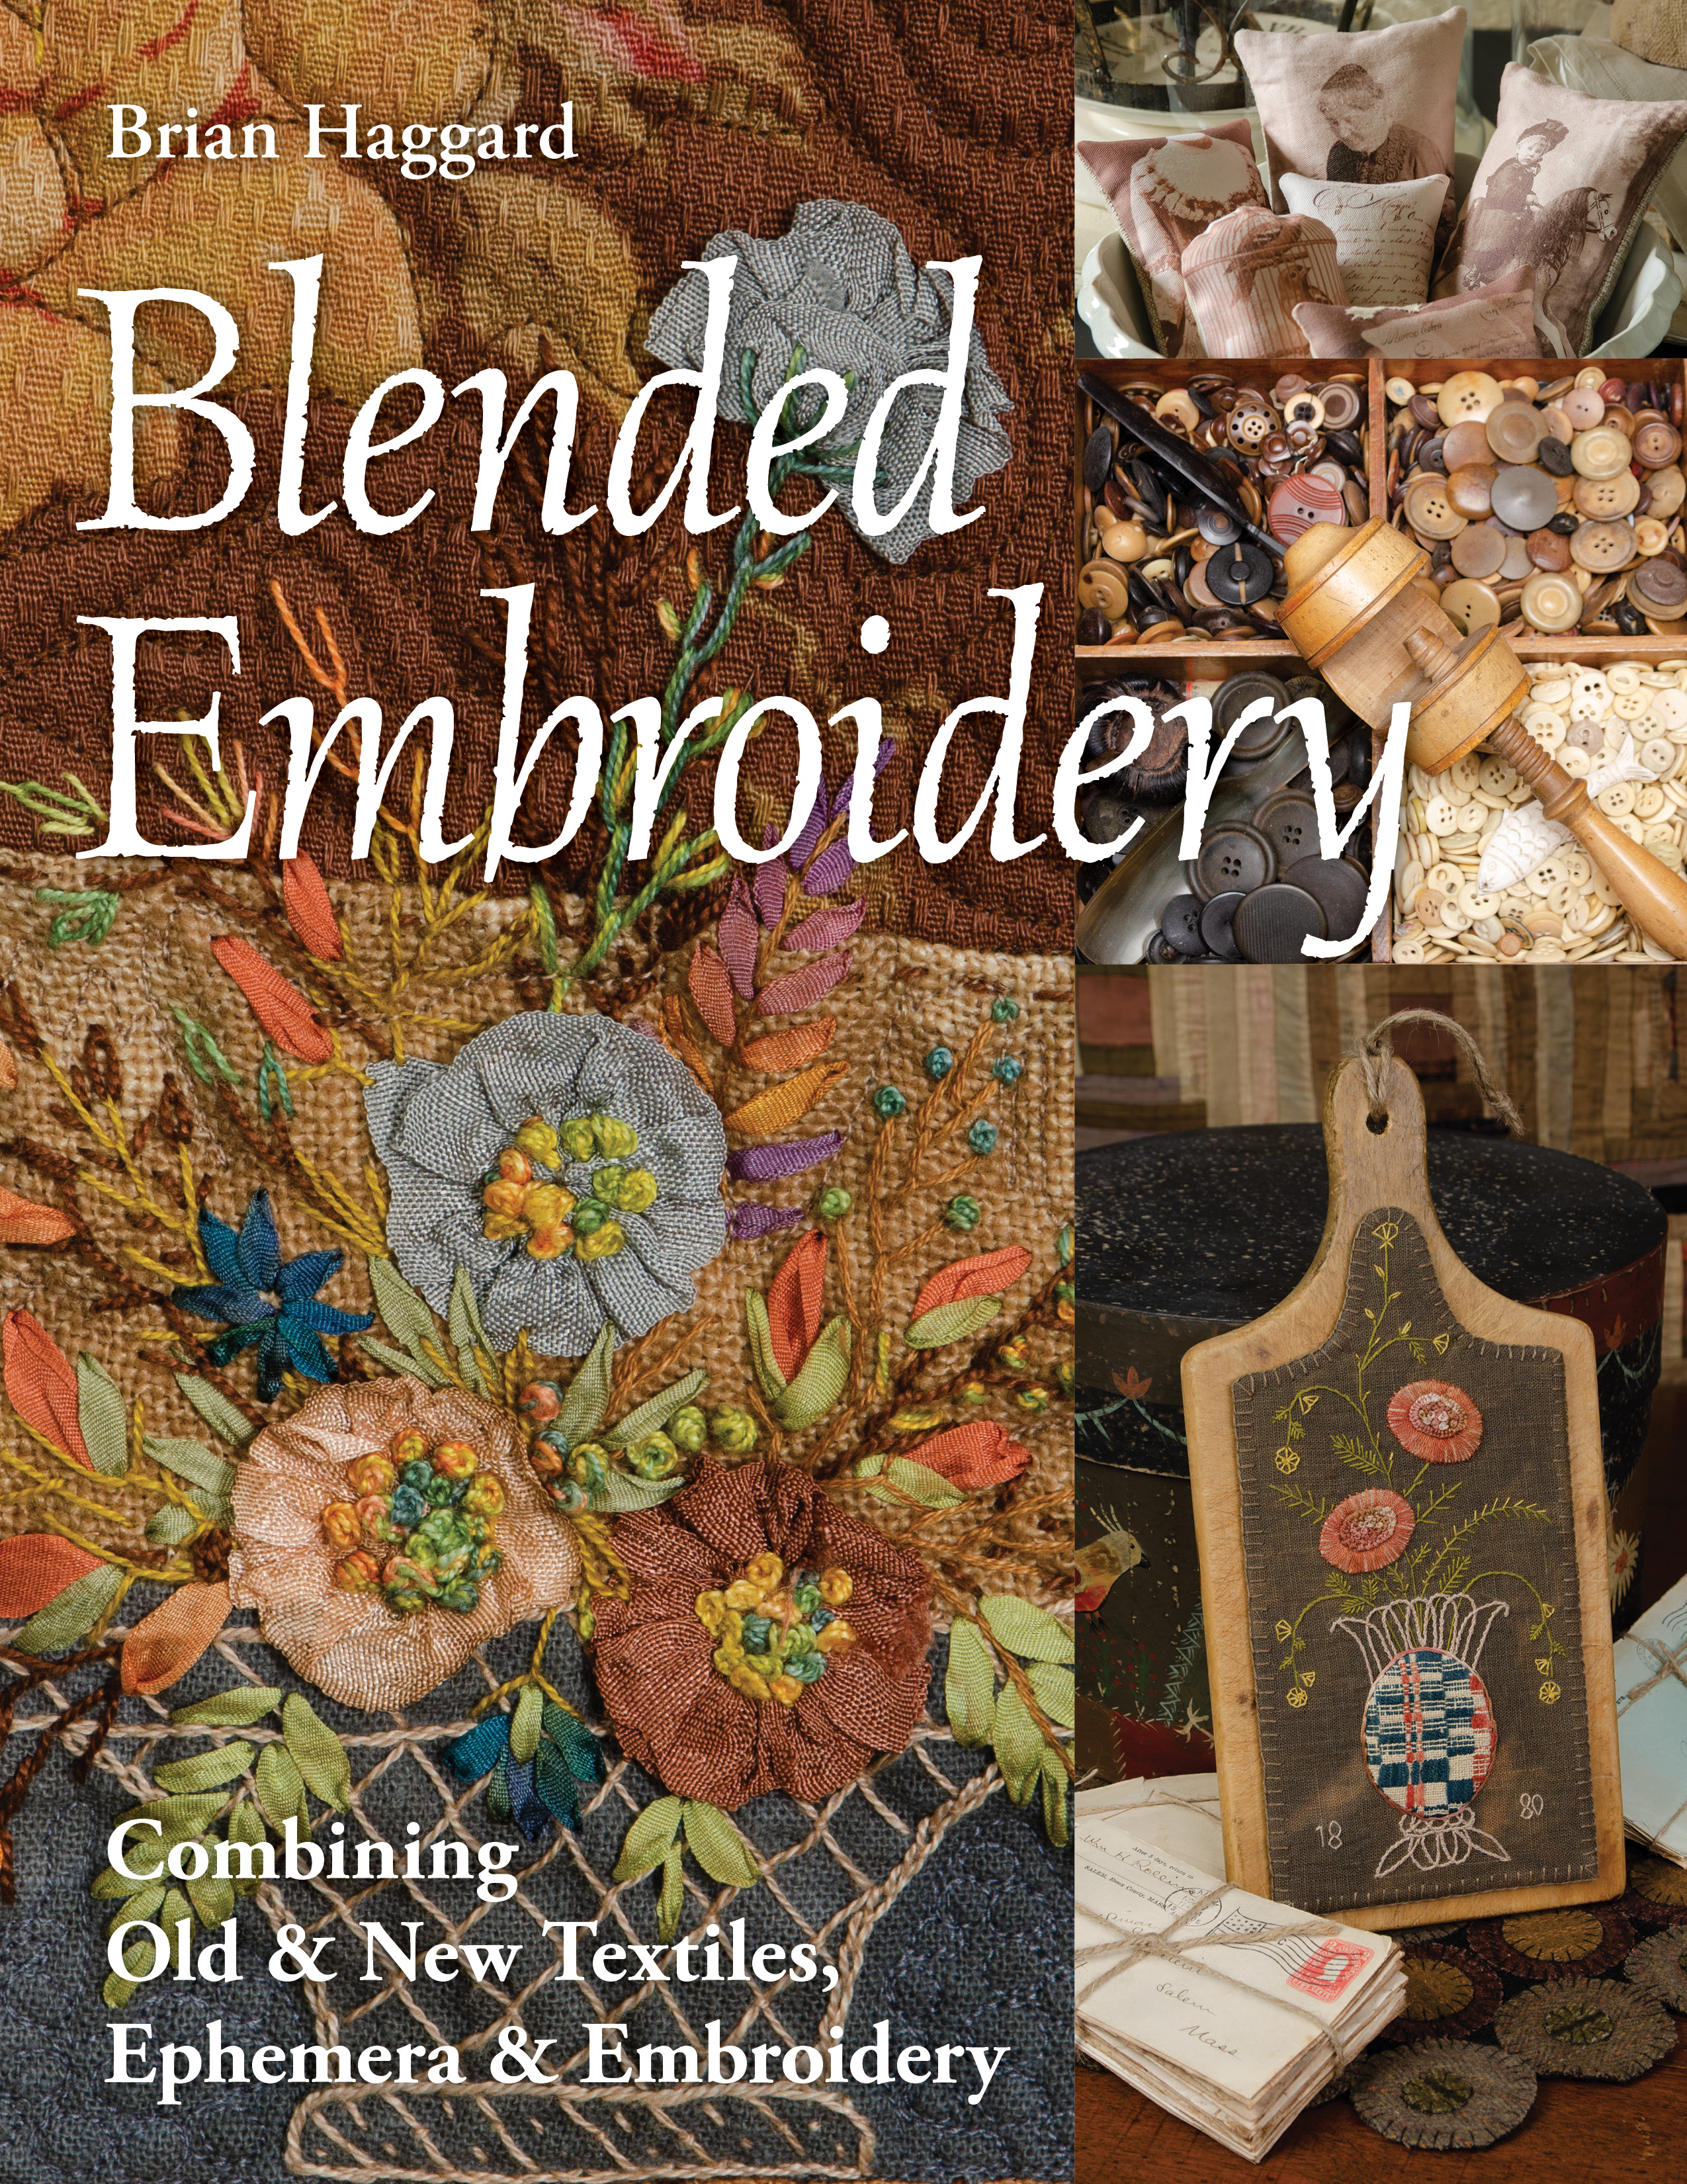
Create a cute and functional Scissors Sheath
Aug 11th 2021
The following information is from Blended Embroidery by Brian Haggard. Create a personalized scissor sheath that will be forever handy and cute in your sewing box.
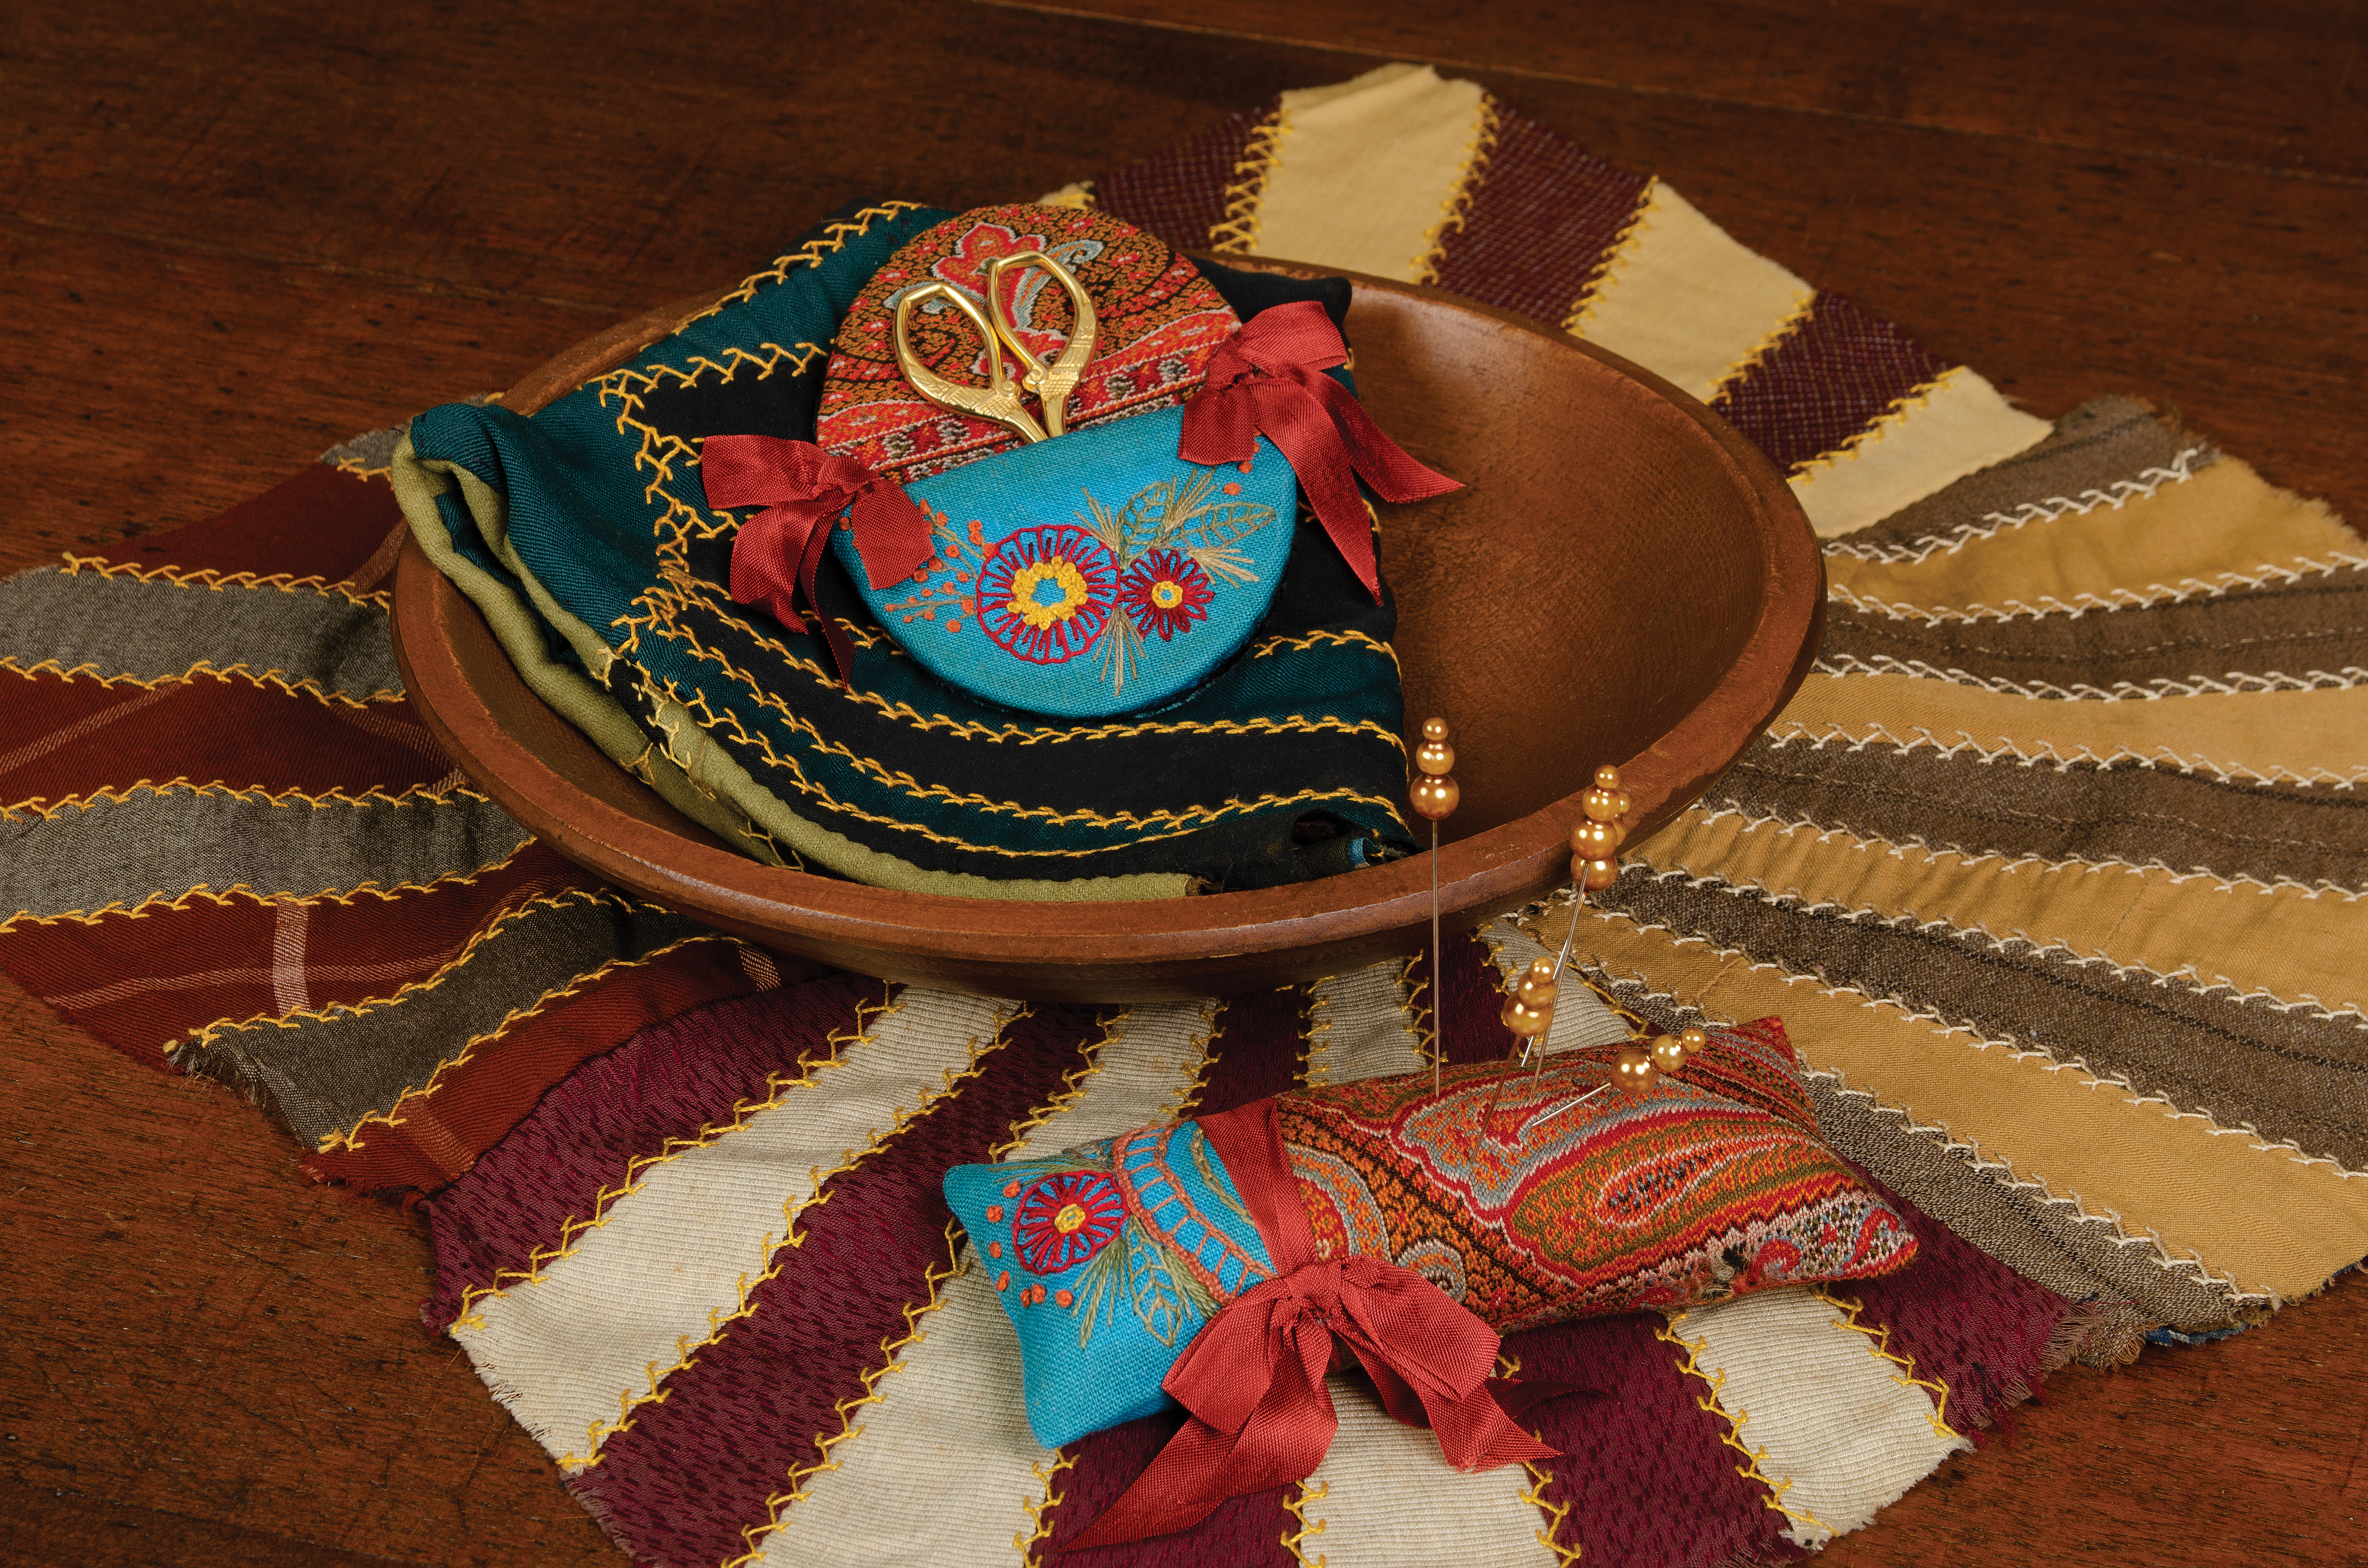
Finished scissors sheath: 31/2 ̋ × 41/2 ̋
MATERIALS
CONSTRUCTION
I suggest that you use the solid fabric on the inside, as I did, so your embroidery on the pocket is the focal point.
1. Cut 2 front and back ovals and 1 front pocket from the chipboard using the patterns. (LINK TO PATTERN)
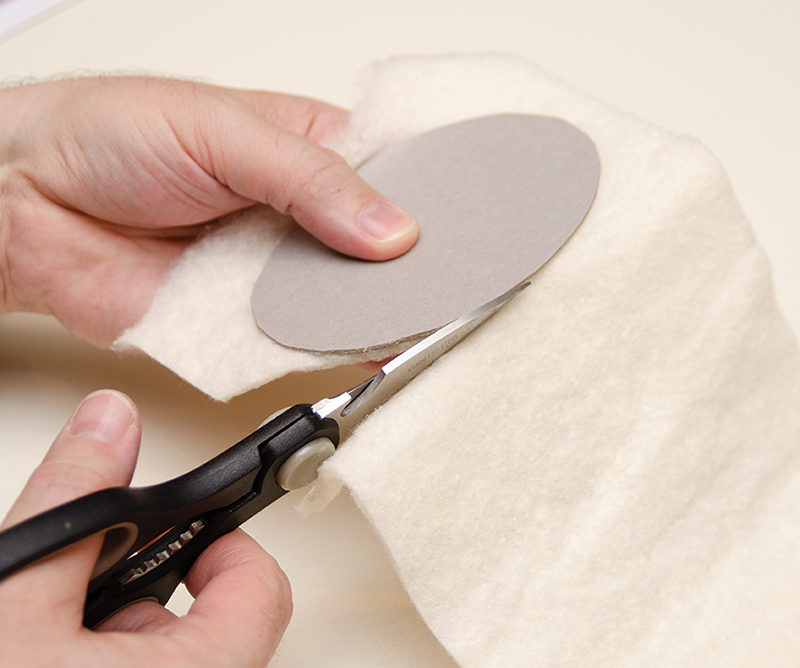
2. Place the 2 oval chipboard pieces on the cotton batting.
3. Use the glue stick to adhere the cotton batting to the back of the 2 ovals, and cut out along the edge of the chipboard. Finished scissors sheath: 31/2 ̋ × 41/2 ̋
4. Center the ovals on the print and the backing fabrics. Cut away the excess fabric, leaving an approximate 1/2 ̋ turn-under allowance.
5. Stitch the drawstring at approximately 1/4 ̋. As shown below, you have created a sandwich of cardboard, batting, and fabric.
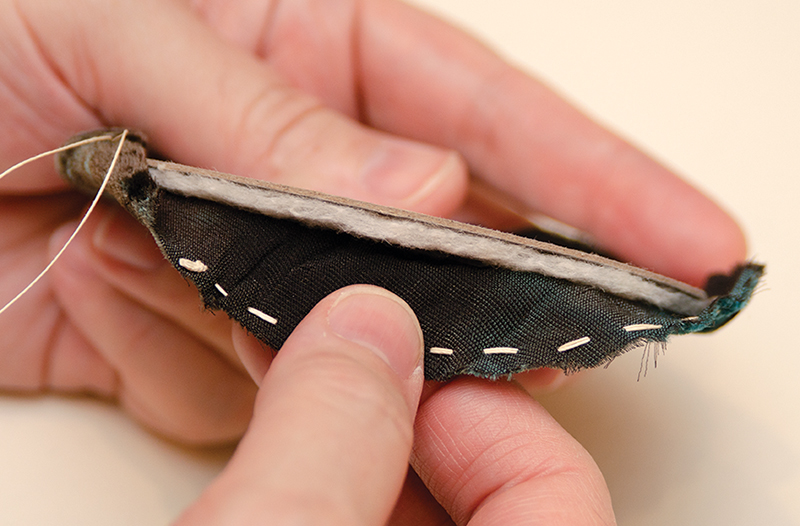
6. Gather the drawstring so the fabric rolls over the edge, creating what you see below. Knot off the thread and cut.
7. Adhere the half-oval chipboard piece to the cotton batting and cut out. You are ready to transfer your pattern to the pocket fabric!
8. Using a FriXion pen, transfer the design (page 42) or trace around a quarter for the large flower and around a dime for the small flower.
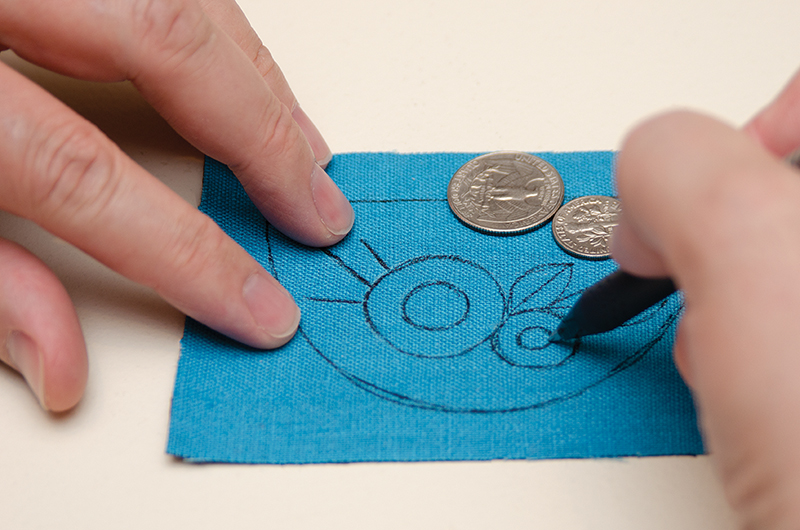
9. Freehand the remaining details. Draw a smaller circle inside each of the circles you traced.
10. Add 2 eye-shaped leaves with a line through the center. You are drawing these items to help you with placement. Precision is not necessary here—don’t sweat the small stuff!
11. Draw 3 rays from the larger flower that will serve as the stems of the buttonhole stitch, and then feel free to create additional details, as I have, once you have started embroidering.
12. Begin stitching the large flower with the buttonhole stitch from the inside out, going around the flower one time to create the petals.
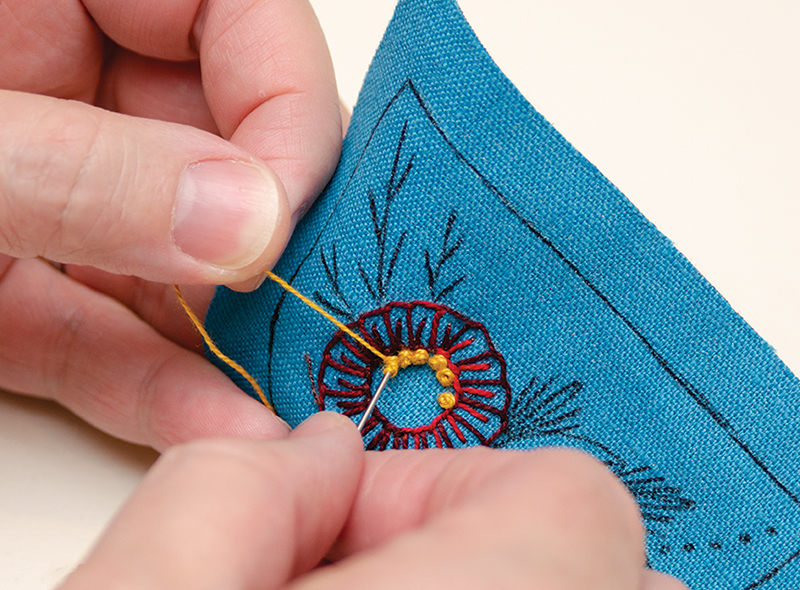
13. To create the detail on the petals, stitch the button-hole stitch from the middle of each petal to the center.
14. Stitch a row of French knots on the inside of the larger flower. Stitch a second row of French knots and stagger them somewhat to make them appear more random.
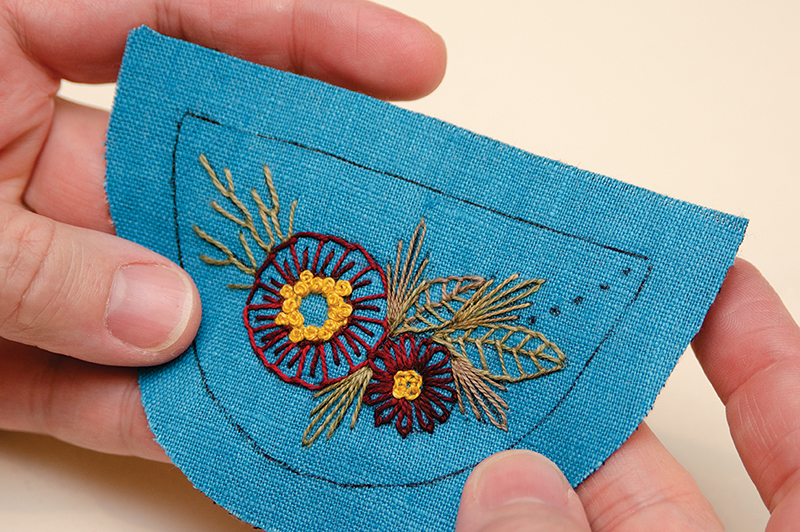
15. Now that the focal flowers are finished, use green thread to create foliage.
16. To create the leaves, use the fishbone leaf stitch.
17. The foliage made up of long stitches is created with 1 skinny lazy daisy stitch (the longest) and 2 of Brian’s Y stitches from the base of the lazy daisy.
18. To create the small flowers on the upper left-hand side of the design, begin with an alternating buttonhole stitch to create the stems.
19. Make French knot flowers along the stems.
20. I added 5 French knots to the upper right-hand side of the design to create visual tension in the design.
FINISHING
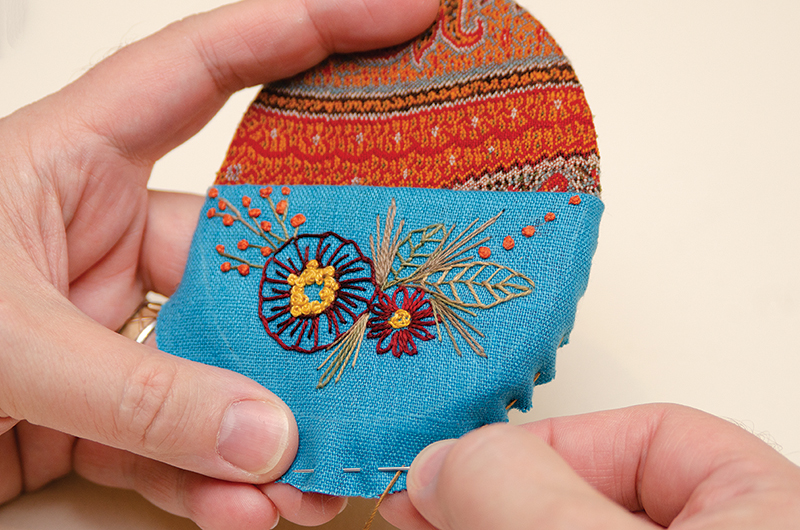
1. Once your embroidery work is complete, place it on the batting side of the half-oval chipboard shape. Fold and press the top (straight) seam allowance to the wrong side and glue to the chipboard.
2. Place the pocket onto the front of the scissors sheath. To secure the pocket in place, make 1 long stitch from behind, from one side to the other, at the top of the pocket. Run a gathering thread approximately 1/4 ̋ from the curved edge.
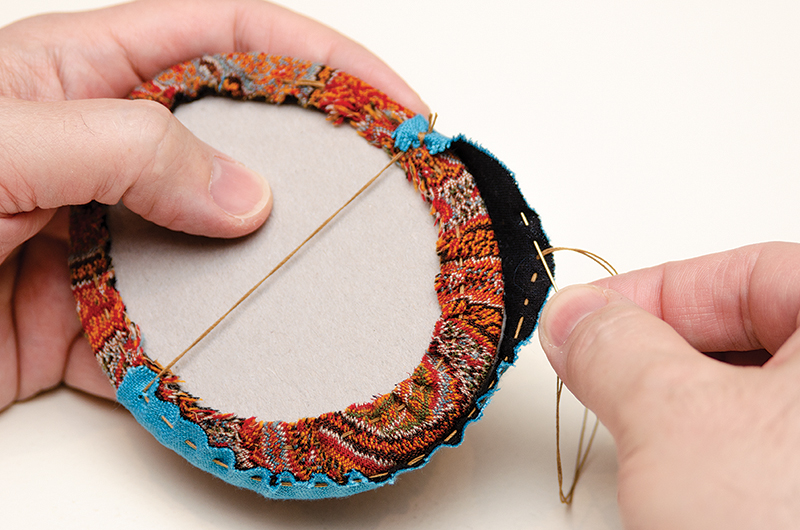
3. Pull the gathering thread so the fabric rolls over the edge, encasing the front as shown.
4. Make 2–3 whipstitches to hold in place.
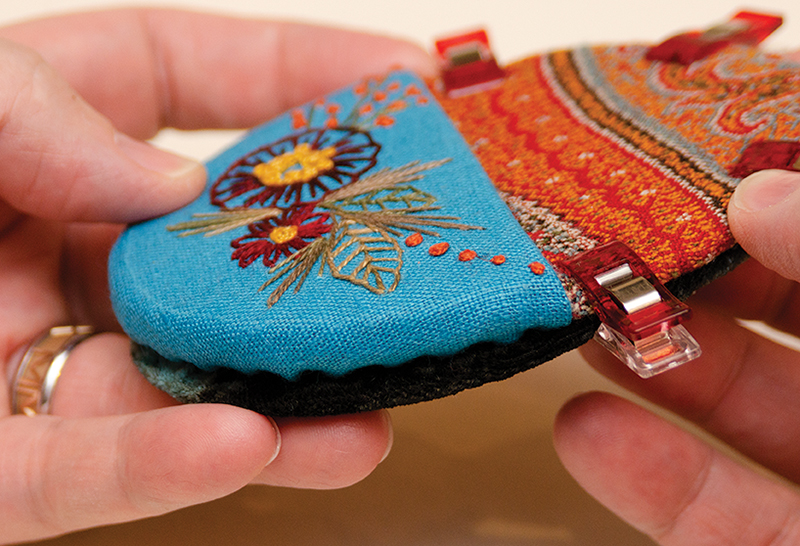
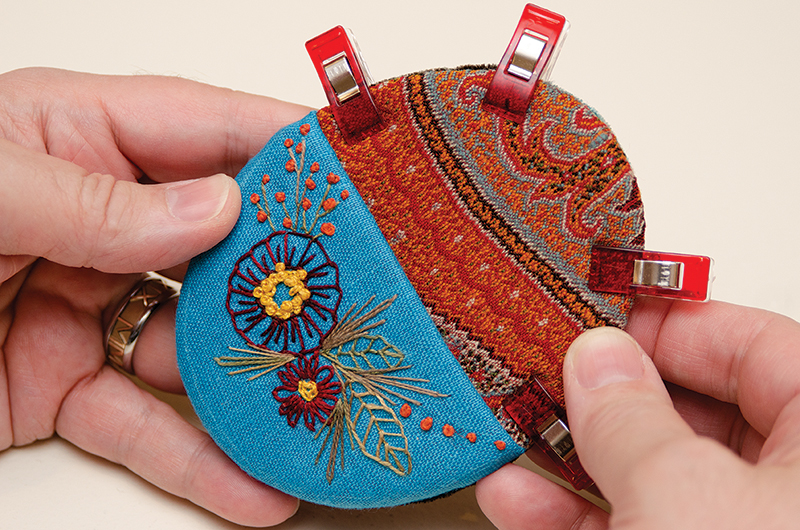
5. Place the front and back ovals wrong sides together and whipstitch the edges. I think it helps stabilize the pieces if you start at one side of the pocket and whipstitch the bottom portion together before you whipstitch the top portion.
 6. Add ribbon bows to either side of the pocket.
-


