

Color Your Baby Happy
Posted by Donna di Natale on Sep 15th 2015
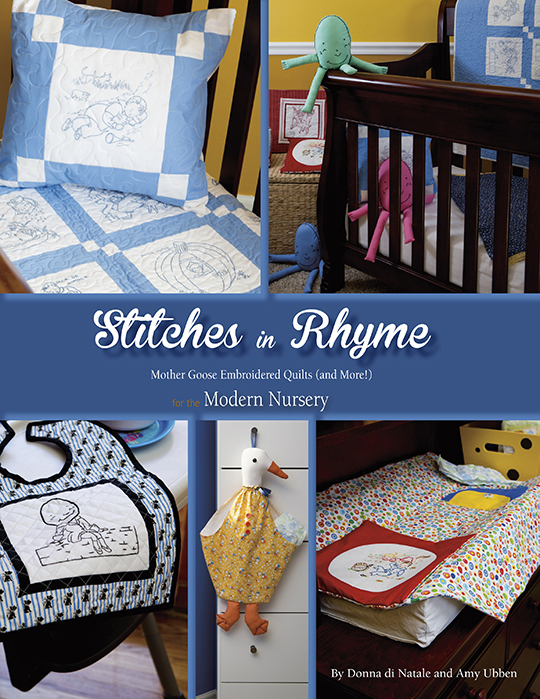
For National Sewing Month, Donna di Natale, one of the authors of Stitches in Rhyme, is sharing her method for adding color to embroidery designs. Take it away Donna!
Enhancing embroidered quilts is easy and fun. All it takes is a box of crayons.

My recent book, Stitches in Rhyme, perfect for making happy, colorful quilts for a special baby or youth, uses this technique of filling in the embroidery design using crayons (before you stitch the embroidery) on some of the useful projects included in the book, such as the Magic Changing Pad. Any of the designs in the book can be colored in this manner. The result is reminiscent of those fabulous painted linens from the early 1900s.
To get started, first iron your 100% cotton fabric to make sure it is really smooth. I suggest using a bit of spray starch, such as Best Press. Prepare an extra block for practicing your coloring skills.
Using a sunny window or a light box, trace the design onto the fabric using a permanent marker. Do not use the kind of marker that disappears when heat is applied, or you will be very sorry.
 Next, iron a piece of freezer paper to the
back of the fabric, again making sure the fabric is extra smooth. Iron freezer
paper to the back of your test square, too.
Next, iron a piece of freezer paper to the
back of the fabric, again making sure the fabric is extra smooth. Iron freezer
paper to the back of your test square, too.
Now the fun begins. Get out your box of crayons and get ready to be a kid again. First and foremost, use only Crayola brand crayons, and make sure that they are not the washable kind. You don’t want your artwork to disappear in the wash. Use a pencil sharpener to create a point on the crayon if needed. One of those little handheld sharpeners work best; electric sharpeners will just eat your crayons.
Before you begin, decide what color you want each part of the design to be. You will use the same or similar hues for both coloring the design and stitching the embroidery. And don’t forget about the skin–it needs to be filled in, too.
Sit in a comfy chair, shake your hands out, and start coloring. To practice, draw a big five-pointed star on your test fabric. Color the star using a different crayon for each section. Color lightly at first. This will create a transparent, pastel look. Press harder and add another layer of crayon to deepen the color. Use another color to add shading if you are feeling especially artistic. When you are comfortable with coloring on the fabric it’s time to work on your blocks.
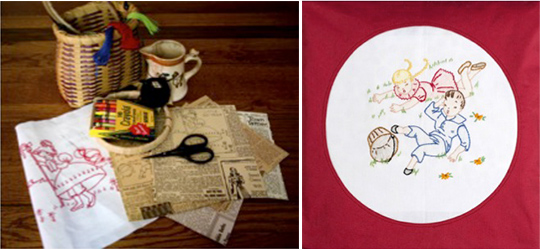
I usually color smaller areas first, when I’m more relaxed, and finish with the larger areas. I also like to color just one area at a time in case I change my mind along the way. Leave the background blank and just color in the design. For the Jack and Jill block I used pastel colors. I did not color the bits of grass or the flowers.
 When the areas to be colored are done,
place the block face up on your ironing board. Place a paper towel on top of
the block, making sure all the colored areas are covered by the towel. Using a
hot iron,
press the block. Do not move the iron around; just set it down, wait
a few seconds, and lift it straight up. The heat from the iron will melt the
crayon into the fabric. The paper towel will absorb the extra wax from the
crayon.
When the areas to be colored are done,
place the block face up on your ironing board. Place a paper towel on top of
the block, making sure all the colored areas are covered by the towel. Using a
hot iron,
press the block. Do not move the iron around; just set it down, wait
a few seconds, and lift it straight up. The heat from the iron will melt the
crayon into the fabric. The paper towel will absorb the extra wax from the
crayon.
Lift the paper towel. Can you tell that the color has melted into the fabric? If you have lightly colored the fabric it won’t be easy to tell. If you want deeper hues, color again using a little more pressure to transfer more of the crayon to the fabric.
Using a clean paper towel, press again to make sure you have the results you want and that the color has been set.
Remove the freezer paper from the back. Back your block with muslin or stabilizer and stitch the embroidery design. Follow the instructions to complete your project.
Now how much fun was that? Go ahead–color all your embroidery designs and make a colorful quilt for that special baby in your life. It’s like being a kid all over again.
Want to win a copy of Donna di Natale's book Stitches in Rhyme so you can color and embroider all of her beautiful designs? Enter our giveaway here: a Rafflecopter giveaway! Open to US residents only; winner will be randomly chosen and announced one week from today.
Congratulations to Linda Cartwright, winner of the giveaway! I'm sure you'll love making all the projects in the book. And thank you to everyone who entered!


