


5 Tips on Drawing with Thread
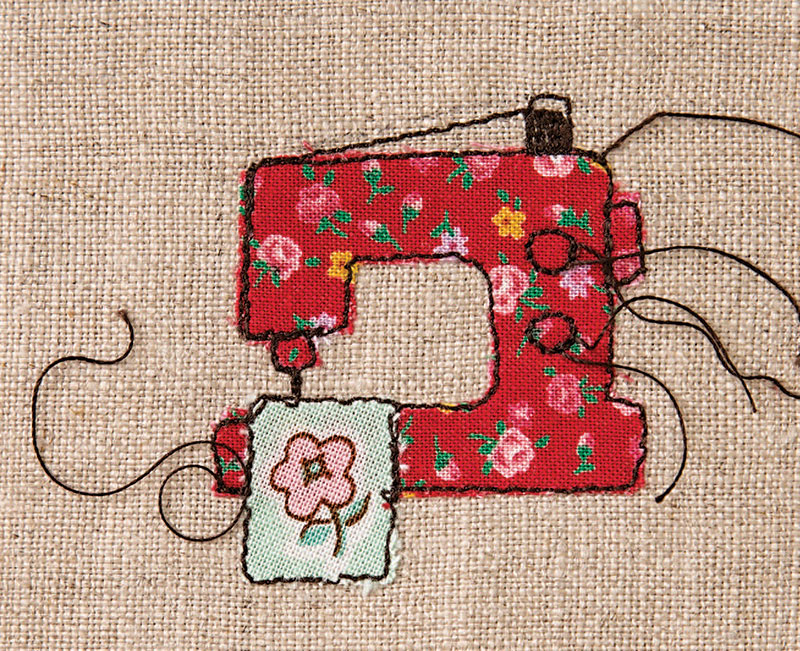
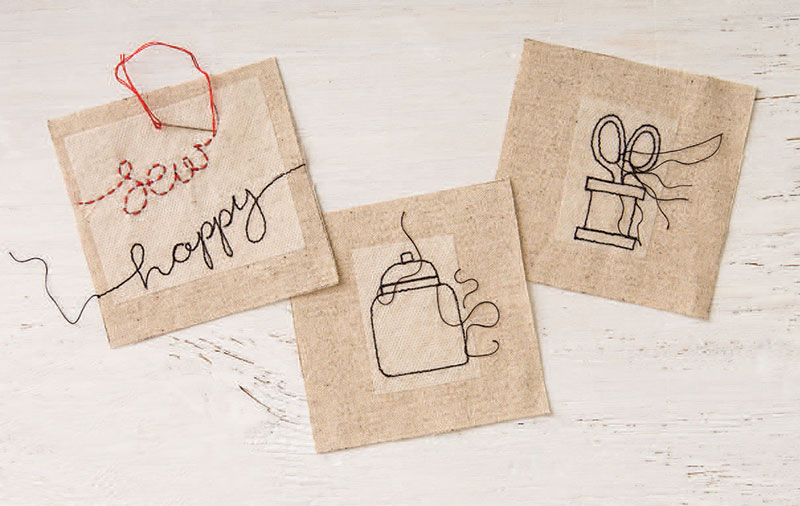
These helpful tips are taken from Sew Illustrated—35 Charming Fabric & Thread Designs by Minki Kim and Kristin Esser. Sewing illustration is a charming and surprisingly easy technique created by Minki to create unique art pieces and embellish everyday items like coasters, bags, and placemats. The technique is endlessly adaptable! Get started with the hints below. Oh, and scroll down to the end of the post to our giveaway for an ebook copy of Sew Illustrated!
1. Sewing illustration is simply drawing with thread. Just as you might use a pen with a thicker or thinner tip to create the look you want when drawing, play around with different weights of thread in the same way. Sometimes you’ll want a heavier outline, almost like a hand-embroidered look, and can use an 8- or 12-weight thread. But sometimes a more delicate line is what a design calls for, so try 40- or 50-weight thread. There are times when you might need to outline a design several times to achieve the look you want, and sometimes once will be sufficient. Play around to find the look and thread weights that you prefer.
2. Let go of perfectionism! Each project is a unique work of art. It doesn’t have to be perfect to be beautiful! Enjoy the process, practice, and it will get easier. It is often the imperfections that create the charm.
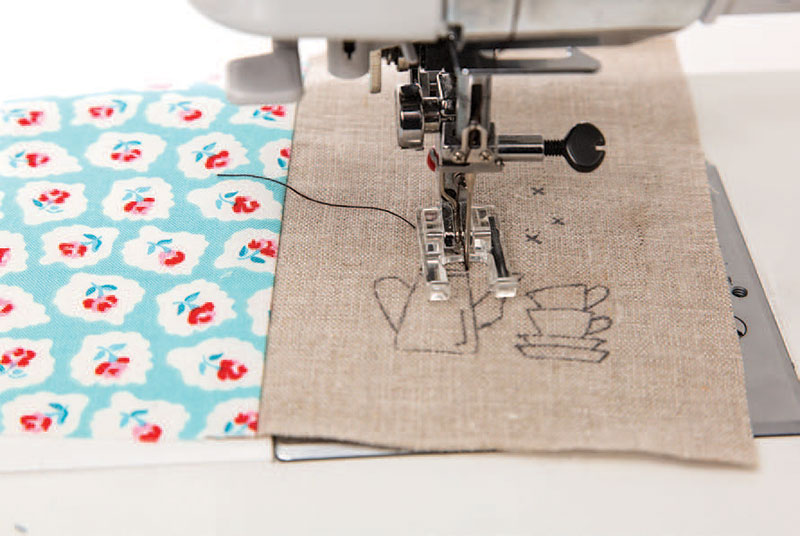
3. You can do sewing illustration on any type of sewing machine; no special equipment is required. The first thing you need to do is to shorten the stitch length. Check the user’s manual if you don’t know how to change the stitch length. For a look similar to the projects presented in this book, set it somewhere between 1.4 and 1.8. There are a few reasons for shortening the stitch length. The first is that the smaller the stitch is, the smoother the line of stitching is, which creates a look that resembles drawing. If your design is large and simple, a 1.8 will work fine, but if it is smaller and more detailed, especially if it has curves, you will get a smoother line from a stitch length of 1.6 or 1.4. Smaller stitch lengths do slow down the sewing, so you have to find the balance that works for you.
4. If you have a hard time keeping your running stitches straight when stitching lines, use a ruler and an erasable pen such as a Frixion or water-soluble marking pen to draw guidelines. Remove the lines when you are done.
5. Any of the designs in this book can be created with hand embroidery if you prefer—the results are equally charming. When sewing by hand, be sure to bury the knots so they don’t show on the back. Take a stitch from the front of the linen, with the needle coming up where you want your first stitch to start. Give your thread a little tug until the knot pops under the fabric. Begin the running stitch. At the end of your stitching, tie a small knot in the thread about ¼ ̋ from the fabric. Take a small stitch, tug the knot under the fabric, and clip the thread.
Giveaway now closed.


