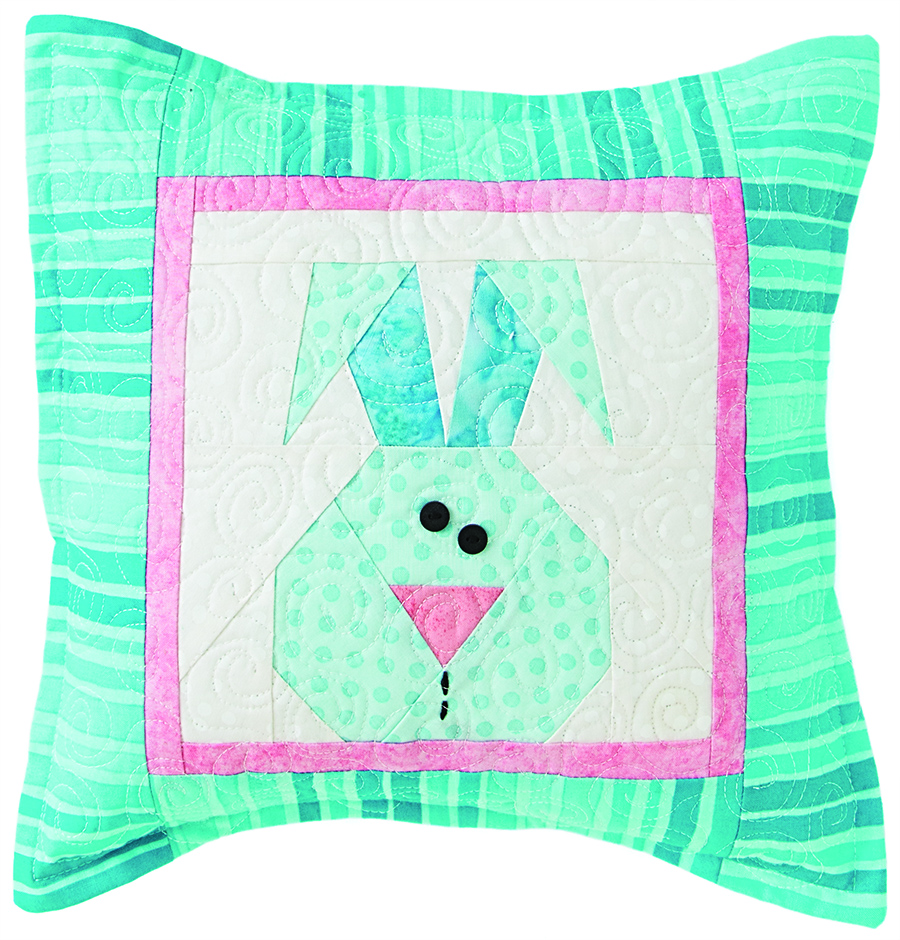
Paper-Pieced Bunny Throw Pillow

From Sew Cute and Clever Farm and Forest Friends
By Mary Hertel of Made by Marney
Class Description:
The perfect class to teach the basic skills required to paper piece (foundation piece) an easy block. Great for a beginner or for an intermediate paper piecer who needs to refresh their skills.
The students will paper piece the Bunny block and sew it into a Throw Pillow. Once students have mastered paper piecing, they can use any of the sixteen block patterns in the book to create throw pillows, as all of the block patterns and projects are interchangeable.
Class Length:
You may teach this class in a 1-day workshop, 6 hours long. The morning 3 hours (9 am–12 pm) are for paper-piecing basics and constructing the Bunny block. Take a short break (12 pm–1 pm) for lunch—1 hour or less (or have students bring along a bag lunch). The 2 hours in the afternoon (1 pm–3 pm) are for constructing the pillow.
Class Supply List:
- Sewing machine
- Iron and pressing board
- Small cutting mat (your shop might carry a multi- functioning ironing board/cutting mat)
- Add-A-Quarter Ruler
- Seam ripper
- Flat-head straight pins
- Sharp scissors
Fabric:
- ½ yard for outer border and pillow back (please use non-directional fabric)
- 1/8 yard for border
- ½ yard for lining (muslin recommended)
- Assorted scraps for paper piecing 1 block
- 14˝ x14˝ square of fusiblefleece
- 12˝ x12˝ pillow form
- 2 black ¼˝buttons
- Black embroidery floss and crewel embroidery needle
Classroom Preparation:
For students: Make 2 copies of the Bunny block (p. 53) on any thin printing paper. (If you are an overachiever, you may want to bring some copies of another block to work on as other students catch up to you.) Refer to the directions for each block (pp. 37–53) as to how many copies are needed for each block. Cut all of the pieces for the Throw Pillow BEFORE class. Refer to p. 34 in the book.
For instructors: You are encouraged to bring some extra copies of the Bunny block if there is no copy machine available during class. Inevitably, a student will forget to bring extra copies.
Class Agenda:
Hour 1:
1. Show students how to cut the 2 copies apart so as to keep a 1/4˝seam allowance (p. 8, Preparing the Patterns).
2. Following the steps in Paper Piecing a Segment (p. 8), demonstrate how to position and pin the first piece of fabric in place on the back of Segment A.
3. Working step by step with the students, assemble Segment A of the paper-pieced block (pp. 8–9).
Hour 2:
With your guided assistance, students should assemble Segment B.
Hour 3:
1. Demonstrate how to trim the seam allowance areas on each segment and Join the Segments (p. 10).
2. Students will add the embroidery details with embroidery floss by using reverse stitching and referring to the stitching lines on the pattern.
Hour 4:
Break for lunch.
Hour 5:
1. Assemble the front of the pillow: Add the Sashing and Add the Border (pp. 34–36).
2. To assemble the entire pillow during class, students will not be able to quilt the pillow unless you want to include free-motion quilting as part of this class, which would take another entire class session. INSTEAD, have the students:
a) Remove the paper from the back of the paper-pieced block
b) Press the fusible interfacing square to the back of the pillow front. (By using fusible interfacing, students can skip the quilting step.)
c) Layer the piece of lining under the fusible interfacing and pin in place.
d) Trim the pillow front to 13½˝ x 13½˝.
e) Hand sew any necessary buttons to the paper-pieced block, sewing through all thicknesses.
Hour 6:
Prepare the Pillow Back and Assemble the Pillow (p. 36).


