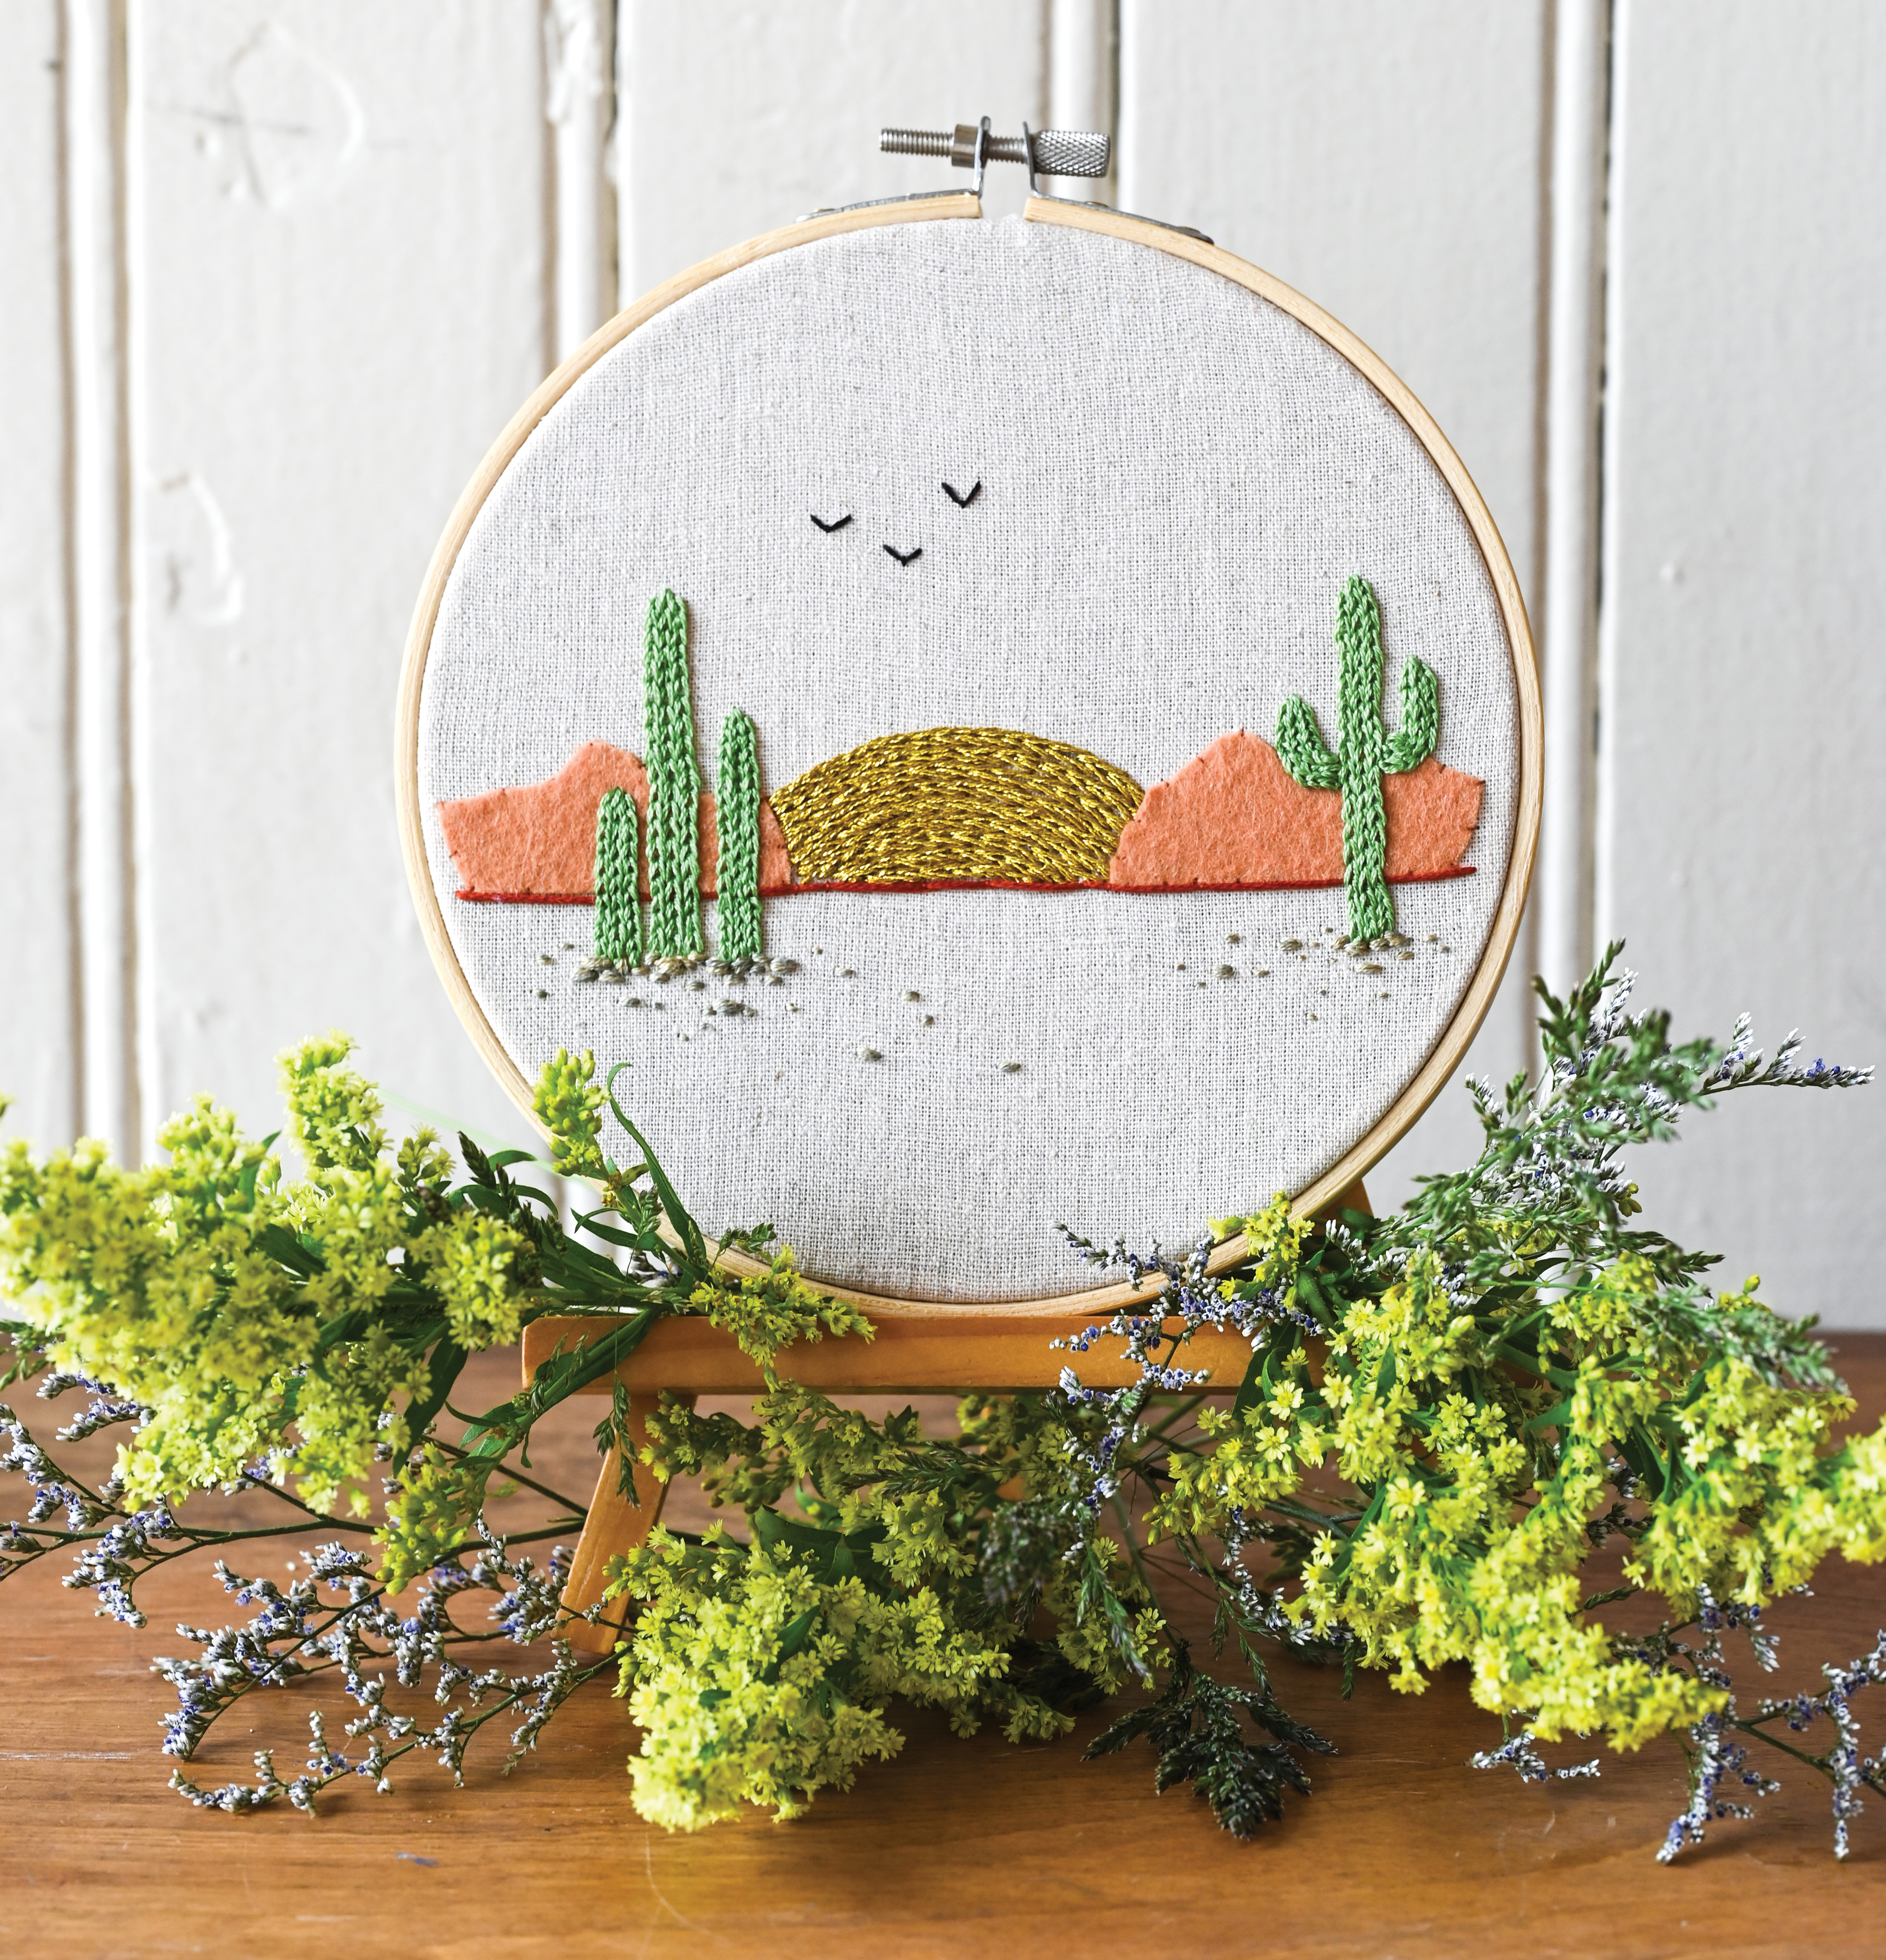
AN EASY DESERT LANDSCAPE CLASS PLAN
From Hand-Stitched Oasis by Theresa M. Lawson

Page 106
Class Description
An Easy Desert Landscape is the perfect introduction to designing and stitching your own desert oasis. Students will be introduced to the embroidery design techniques of the book but with the security of a predesigned project. This class is perfect for the beginner with something new to learn for advanced stitchers alike. Students will create their designs, transfer them, and begin embroidering in class. At the end of class, they will take with them a simple project they can finish at home, along with newfound embroidery skills and creative confidence.
Class Length
2 hours with a 15-minute break
Class Supply List
-
Required Text: Hand-stitched Oasis by Theresa M. Lawson
-
1 round 6” (15cm) embroidery hoop (Opportunity to shop!)
-
1 square 10” × 10” (25 × 25cm) linen color of choice (Opportunity to shop!)
-
1 square 6” x 6” 2mm felt for mountains, color of choice (Opportunity to shop!)
-
Gold metallic thread (Opportunity to shop!)
-
Green embroidery floss (Opportunity to shop!)
-
Mountain color embroidery floss, color of choice (Opportunity to shop!)
-
Mountain color sewing thread (Opportunity to shop!)
-
Grey embroidery floss (Opportunity to shop!)
-
Brown embroidery floss (Opportunity to shop!)
-
Black embroidery floss (Opportunity to shop!)
-
Transfer method and supplies of choice (Opportunity to shop!)
-
1 size 5 or 8 crewel/embroidery needle
Classroom Preparation
Students should have their own workspace large enough to embroider comfortably. We recommend a communal table with space in the middle to store and share floss colors or supplies. This way, students can converse and swap ideas and materials. However, individual shop Covid precautions should take precedence over workspace placement. Embroidery stands would be useful if available but not necessary.
Class Agenda
-
Students should begin class by reviewing the project and choosing their colors and supplies
-
Once supplies are gathered, students should set up their fabric in their hoop and transfer the provided pattern to their canvas. Refer to page 79 of the book.
This is a great opportunity for teachers or shop owners to share their tips or knowledge.
-
At this point, teachers should review the technique library with the students, pointing out the particular stitches required for this project (page 52). Students should feel free to add techniques or patterns that they feel would enhance their final project. Refer to page 114+ for additional element patterns.
This is a great opportunity for teachers to expand on design techniques and fuel the imagination and creativity of their students. Teachers may refer to the design techniques in the book if a refresher is needed.
-
By this time, students should be excited to start stitching. Follow the project instructions in the book (page 107)
-
Students may not have time to finish their project in class, so supplies should be given or purchased by the end of class to ensure they are able to complete their project at home.


