Complementary Curves Pillow
Posted by Cindy Grisdela on Apr 12th 2017
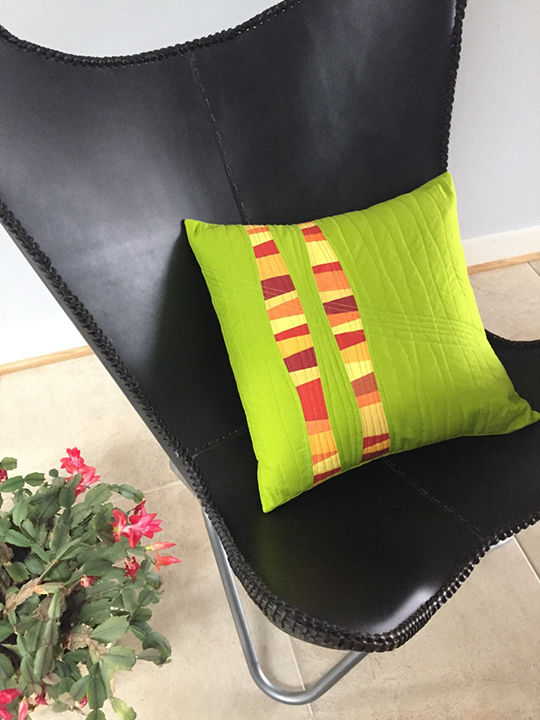
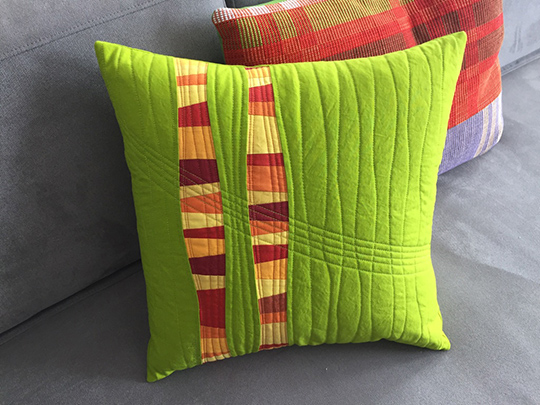
This improv pillow in a complementary red-and-green color recipe is just the thing to brighten up your home for spring! With just one yard of fabric and a handful of scraps, you can stitch it up in no time to keep or give as a gift. Creating with curved strips is just one of the many improv techniques you’ll learn in my book, Artful Improv: Explore Color Recipes, Building Blocks & Free-Motion Quilting.
Fits an 18" square pillow form.
Materials:
- 1 yd green solid
- Scraps of red, yellow, and gold that are at least 3” on one side
- Coordinating thread for piecing and stitching
- 20" square batting
- 20" square backing fabric (any color—it won’t show)
- 18" square pillow form
Cutting:
All measurements include 1/4" seam allowance.
1. From green fabric, cut one strip 4 1/2" x width of fabric, then subcut into one strip 4 1/2" x 19" and one strip 2 1/2" x 19".
2. Cut one rectangle 12" x 19".
3. Cut one strip 12" x width of fabric for pillow back.
Assembling the Pillow Top
1. Arrange your scraps in two strip sets that are 2 1/2" wide and 19" long. When choosing your scraps, try to include a variety of values—light, medium, and dark—as well as a variety of widths.
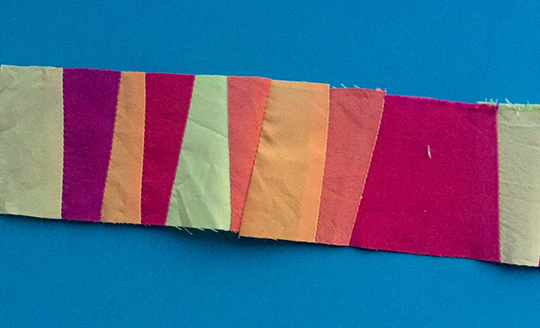
2. Sew your scraps together with straight lines, or add some angles. To add an angle, overlap two fabrics, right sides up, and cut a gentle angle through both layers.
3. Sew the pieces together with right sides together. Press seam to one side.
4. Continue in this manner until you have completed your stripes.
5. Lay the 4 1/2" x 18" strip and one of your stripes on the cutting mat right sides up and overlapping about 1". The plain strip will be one outside edge of your pillow top.
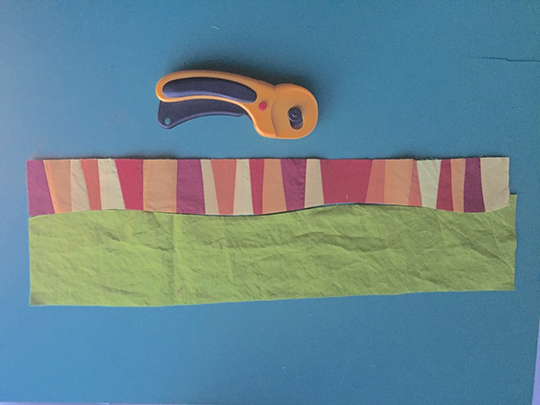
6. Use your rotary cutter to cut a gentle curve within the 1" overlap through both layers.
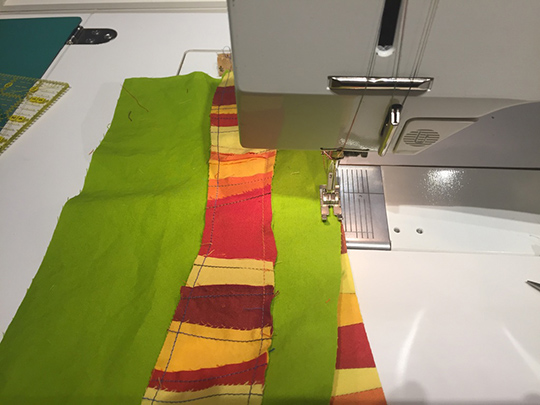
7. Sew the seam, right sides together. It may look like it won’t fit, but it will! Just sew slowly and ease the edges together as you stitch.
8. Press seam toward the plain strip.
9. Overlap the second plain strip on the other side of the stripe on the unit you just created, and use your rotary cutter to cut a gentle curve with the 1" overlap through both layers.
10. Press seam toward the plain strip.
11. Add the second stripe to the completed unit in the same manner, then the large 12" x 19" rectangle, to complete the pillow top.
12. Sandwich the pillow top, batting, and backing fabric and quilt as desired. I stitched wavy vertical lines first, and then added a series of diagonal lines for interest.
13. Trim pillow top to 17 1/2" square.
Assembling Pillow Back
1. Cut the remaining 12" strip into two rectangles, each 12" x 17 1/2".
2.Press under 1/4" on one long side of each rectangle, then turn under again and press.
3. Stitch down the middle of the pressed edge.
4. Lay the rectangles on the pillow top, right sides together, with the pressed edges overlapping in the center. Pin in place along the raw edges.
5. Stitch around the entire top with a 1/4" seam.
6. Clip the corners and turn the pillow right side out.
7. Insert the pillow form and enjoy!