


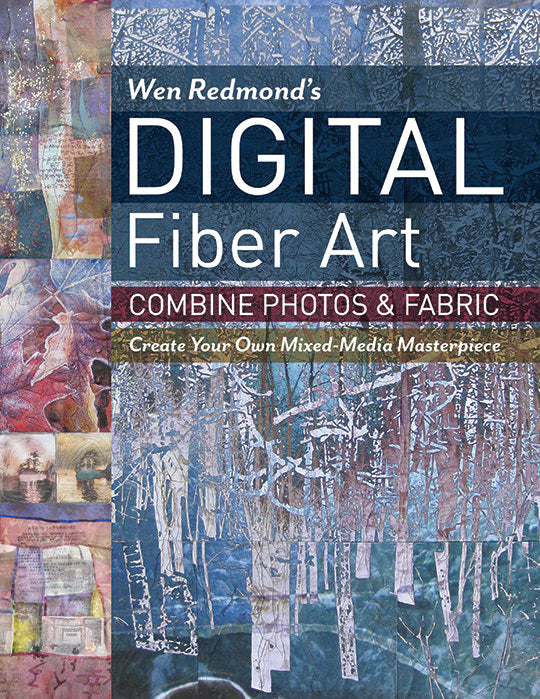
New Book! Wen Redmond's Digital Fiber Art: Combine Photos & Fabric • Create Your Own Mixed-Media Masterpiece

Since I was a teenager, my passion has been photography. With the availability of the digital process on my computer, I learned how to print my photographs on cloth. My work quickly evolved and exploded! Today I am proud and honored to be able to share my passion with you in my new book, Wen Redmond's Digital Fiber Art, full of digital fiber art and mixed media ideas.
The book is full of inspirational processes for printing on digital-ready fabrics, but it also includes instructions on how to make your own painted fabrics printable, as well as ideas for working with all kinds of papers and mixed media. Several of my most well-known projects are holographic images and textured photographs, and these are featured too.
Holographic images are mounted silk photographs that are transparent and mounted with fabric on artist bars. They create a three-dimensional effect.
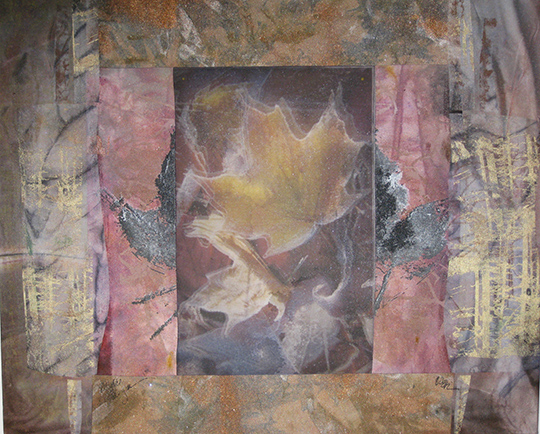
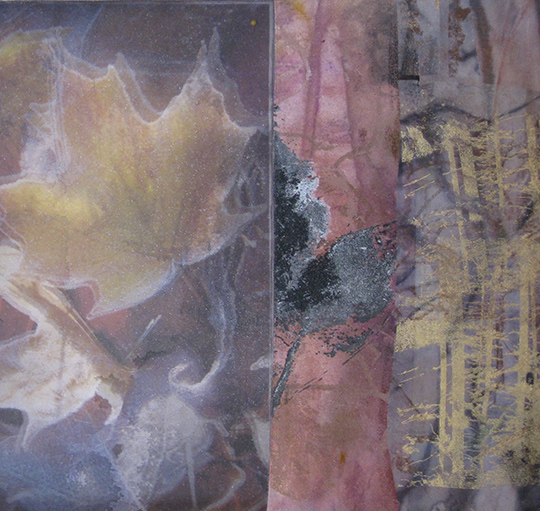
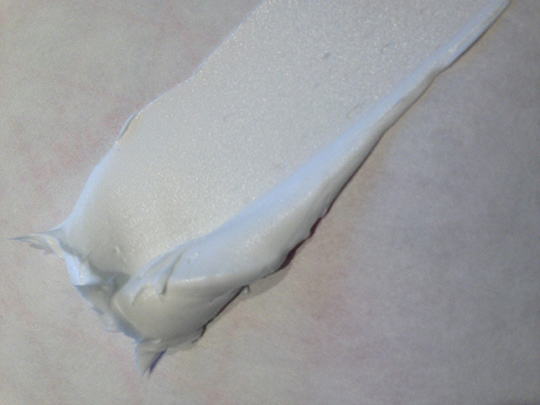
Textured photographs are made with a thin layer of molding paste and printed.
I have several works made entirely this way.
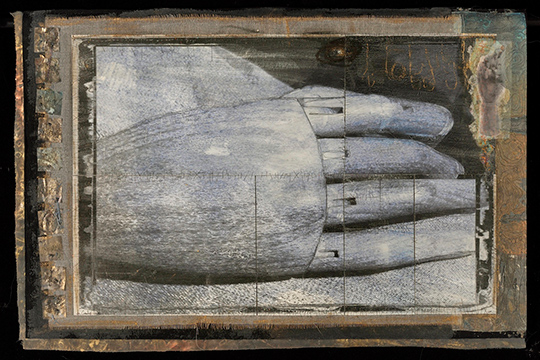
One work, called The Creative Hand, is hanging at Breakout: Quilt Visions exhibition at the Visions Art Museum in California. I was honored to receive the Quilts Japan Award for it!
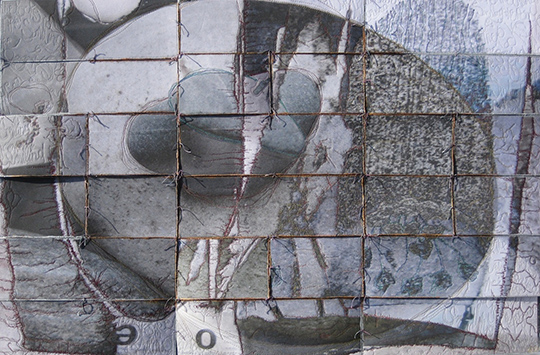
Another technique in the book is my new segmented quilts! They use a brand new edge treatment that allows them to be folded. There are so many ideas—you’ll just have to see the book!
But I do want to share a tip today on how to print on fusible webbing!
You may have heard of painting on paper-backed fusible webbing, so why not print your photographs on paper-backed fusible too?
Some years ago, folks would paint fusible webbing and iron this on to their fabric projects to create interesting patterns and designs. So I thought this would be a great way to add photographic texture or layering to a surface of your choice. The fusible has a webbed surface that is very alluring when printed. Did you know you can even iron fusible webbing to paper?
There are several different kinds of fusible, and I have tried out many of them. The key here is to use a webbing that is paper-backed. Paper-backed fusible makes printing a breeze, as the paper backing becomes the carrier sheet.
The first step is to select your photograph. You may wish to increase saturation and contrast, as the webbing is somewhat transparent. I love combining photographs in a number of different ways, as shown in my book, including a sneaky layering technique!
Cut the size you want (and a size that your printer can print). Print! Allow the ink to dry and iron onto the surface of your choice. Peel off paper.

Remember, when you iron, always protect the surface of your art and your iron with parchment paper, or use the recycled release paper from the fusible webbing.
Tip: Save the fusible paper backing! It makes a great substitute for freezer paper carrier sheets, and it can be used as on top of substrates for protection when ironing.
And here's another idea: you could lightly paint your fusible with digital grounds first! Remember that background colors, whether on the webbing or on the surface you fuse to, will affect the final result.
Good luck!


