

Free Create a Card Project
Posted by Deirdre Quirk on Sep 13th 2017
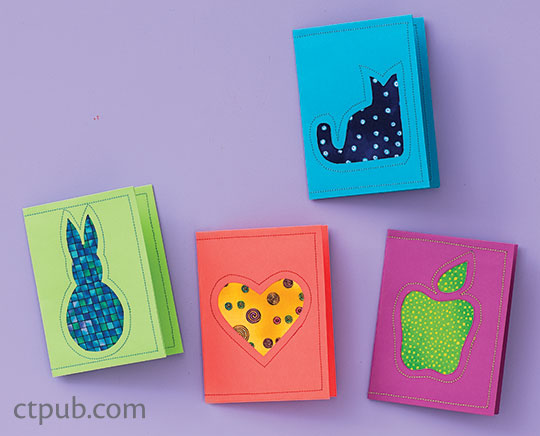
With this free project from the second edition of The Best of Sewing Machine Fun for Kids, children can create their own one-of-a-kind greeting cards and discover stitching around curves and corners.
Ready?
• scraps of fabric: 4˝ × 5˝ (11 cm × 13 cm)
• lightweight construction paper:
• 8 1/2˝ × 11˝ (22 cm × 28 cm)
• paper-backed fusible web: 4˝ × 5˝ (11 cm × 13 cm)
• thread
• sewing basket
Set?
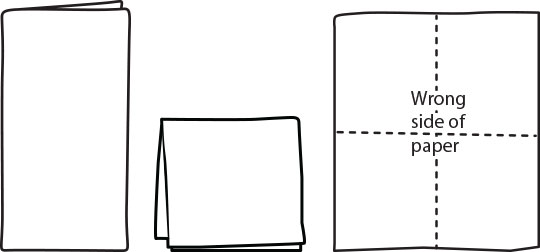
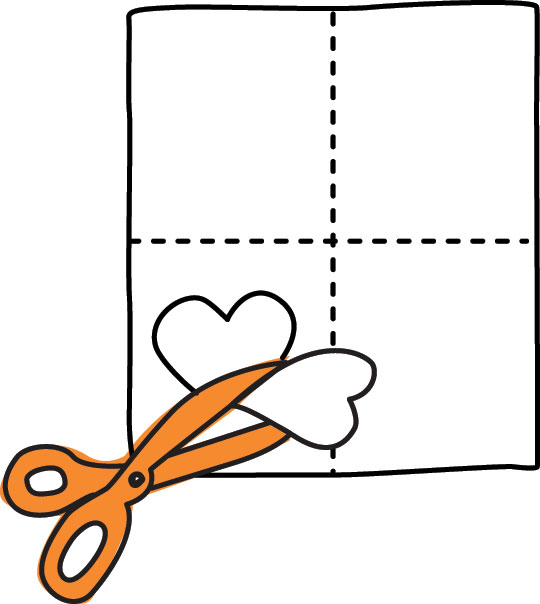
1. Carefully fold the construction paper in half. Fold it in half again. Crease. Unfold the paper so that the wrong side of the paper is facing up.
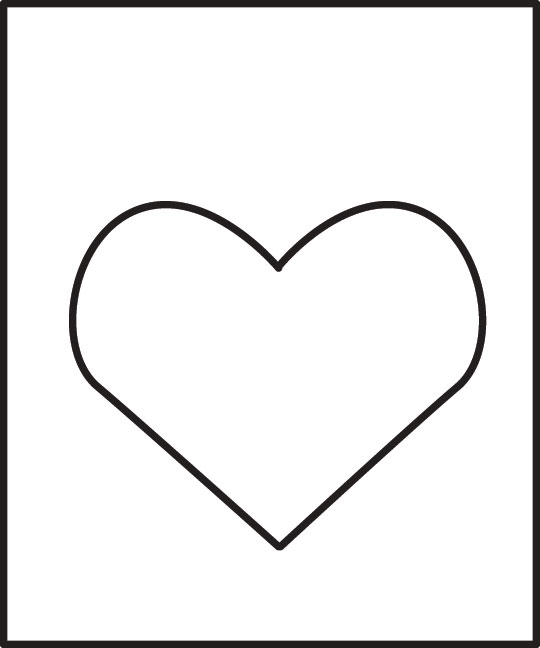
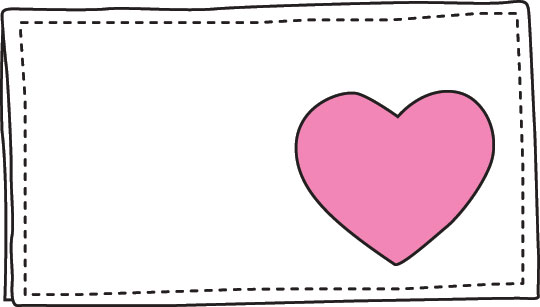
2. Trace the heart onto the paper side of the fusible web. To download and print the shapes for easier tracing, download here.
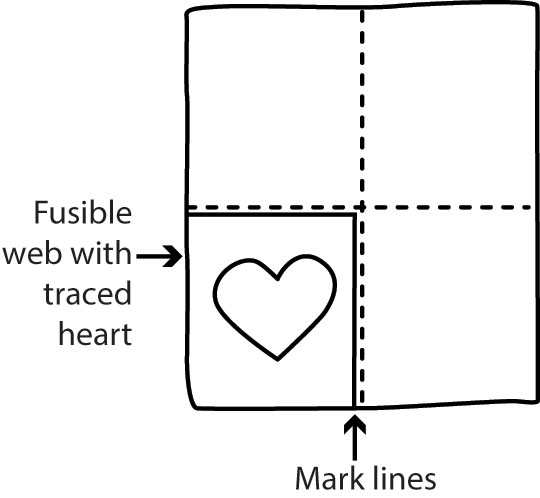
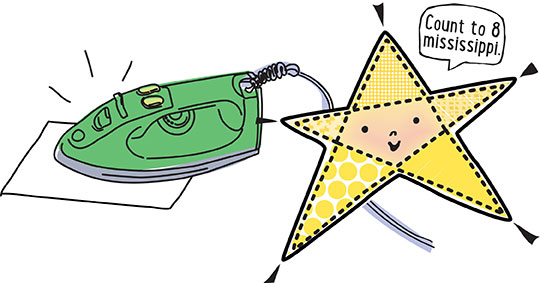
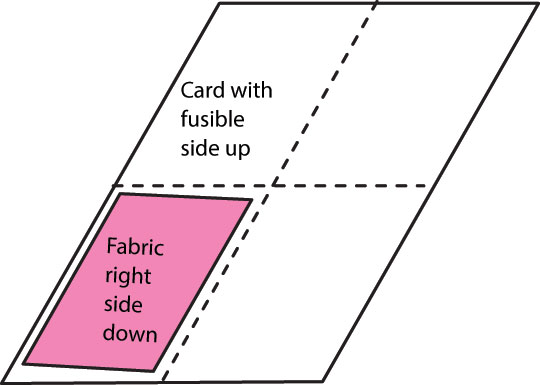
3. Place the rectangle with the traced heart on the bottom left corner of the wrong side of the card, paper side up. Keep the edges even. Press for 8–10 seconds using a hot, dry iron to fuse the web to the paper.
4. Poke scissors through the center of the heart and carefully cut it out to make a heart-shaped window. Carefully peel the paper backing off the fusible web that is around the window.
5. Place the 4˝ × 5˝ piece of fabric, with the RIGHT side facing the paper, over the fusible web. Press for 8–10 seconds to fuse the fabric to the card.
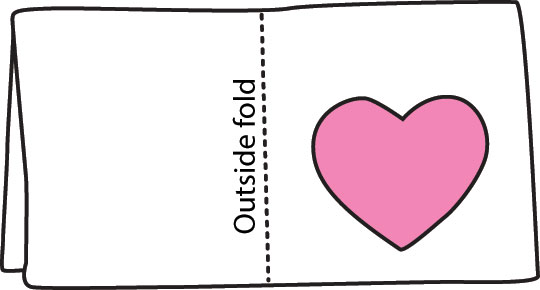
6. Fold the card in half.
Sew!
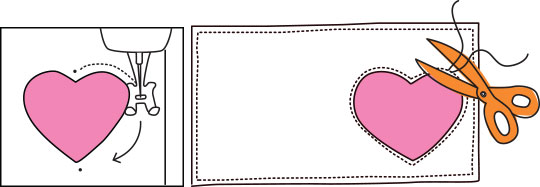
1. Stitch around the entire outside of the card, keeping the edge of the presser foot even with the edge of the card. Pivot at the corners. Remove the card and clip the threads.
2. Place the edge of the presser foot even with the side edge of the heart. Stitch around the entire heart. Pivot at the bottom point and the top inside point. Stitch over a few of your beginning stitches to keep them from coming out. Remove the card and clip the threads.
3. Personalize your card with glitter paints, marking pens, stickers, thumbprint designs, and a special message.
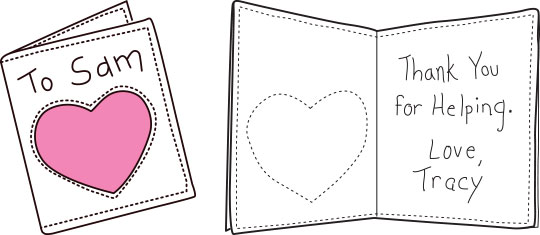
Choose your favorite shapes or design your own.


