


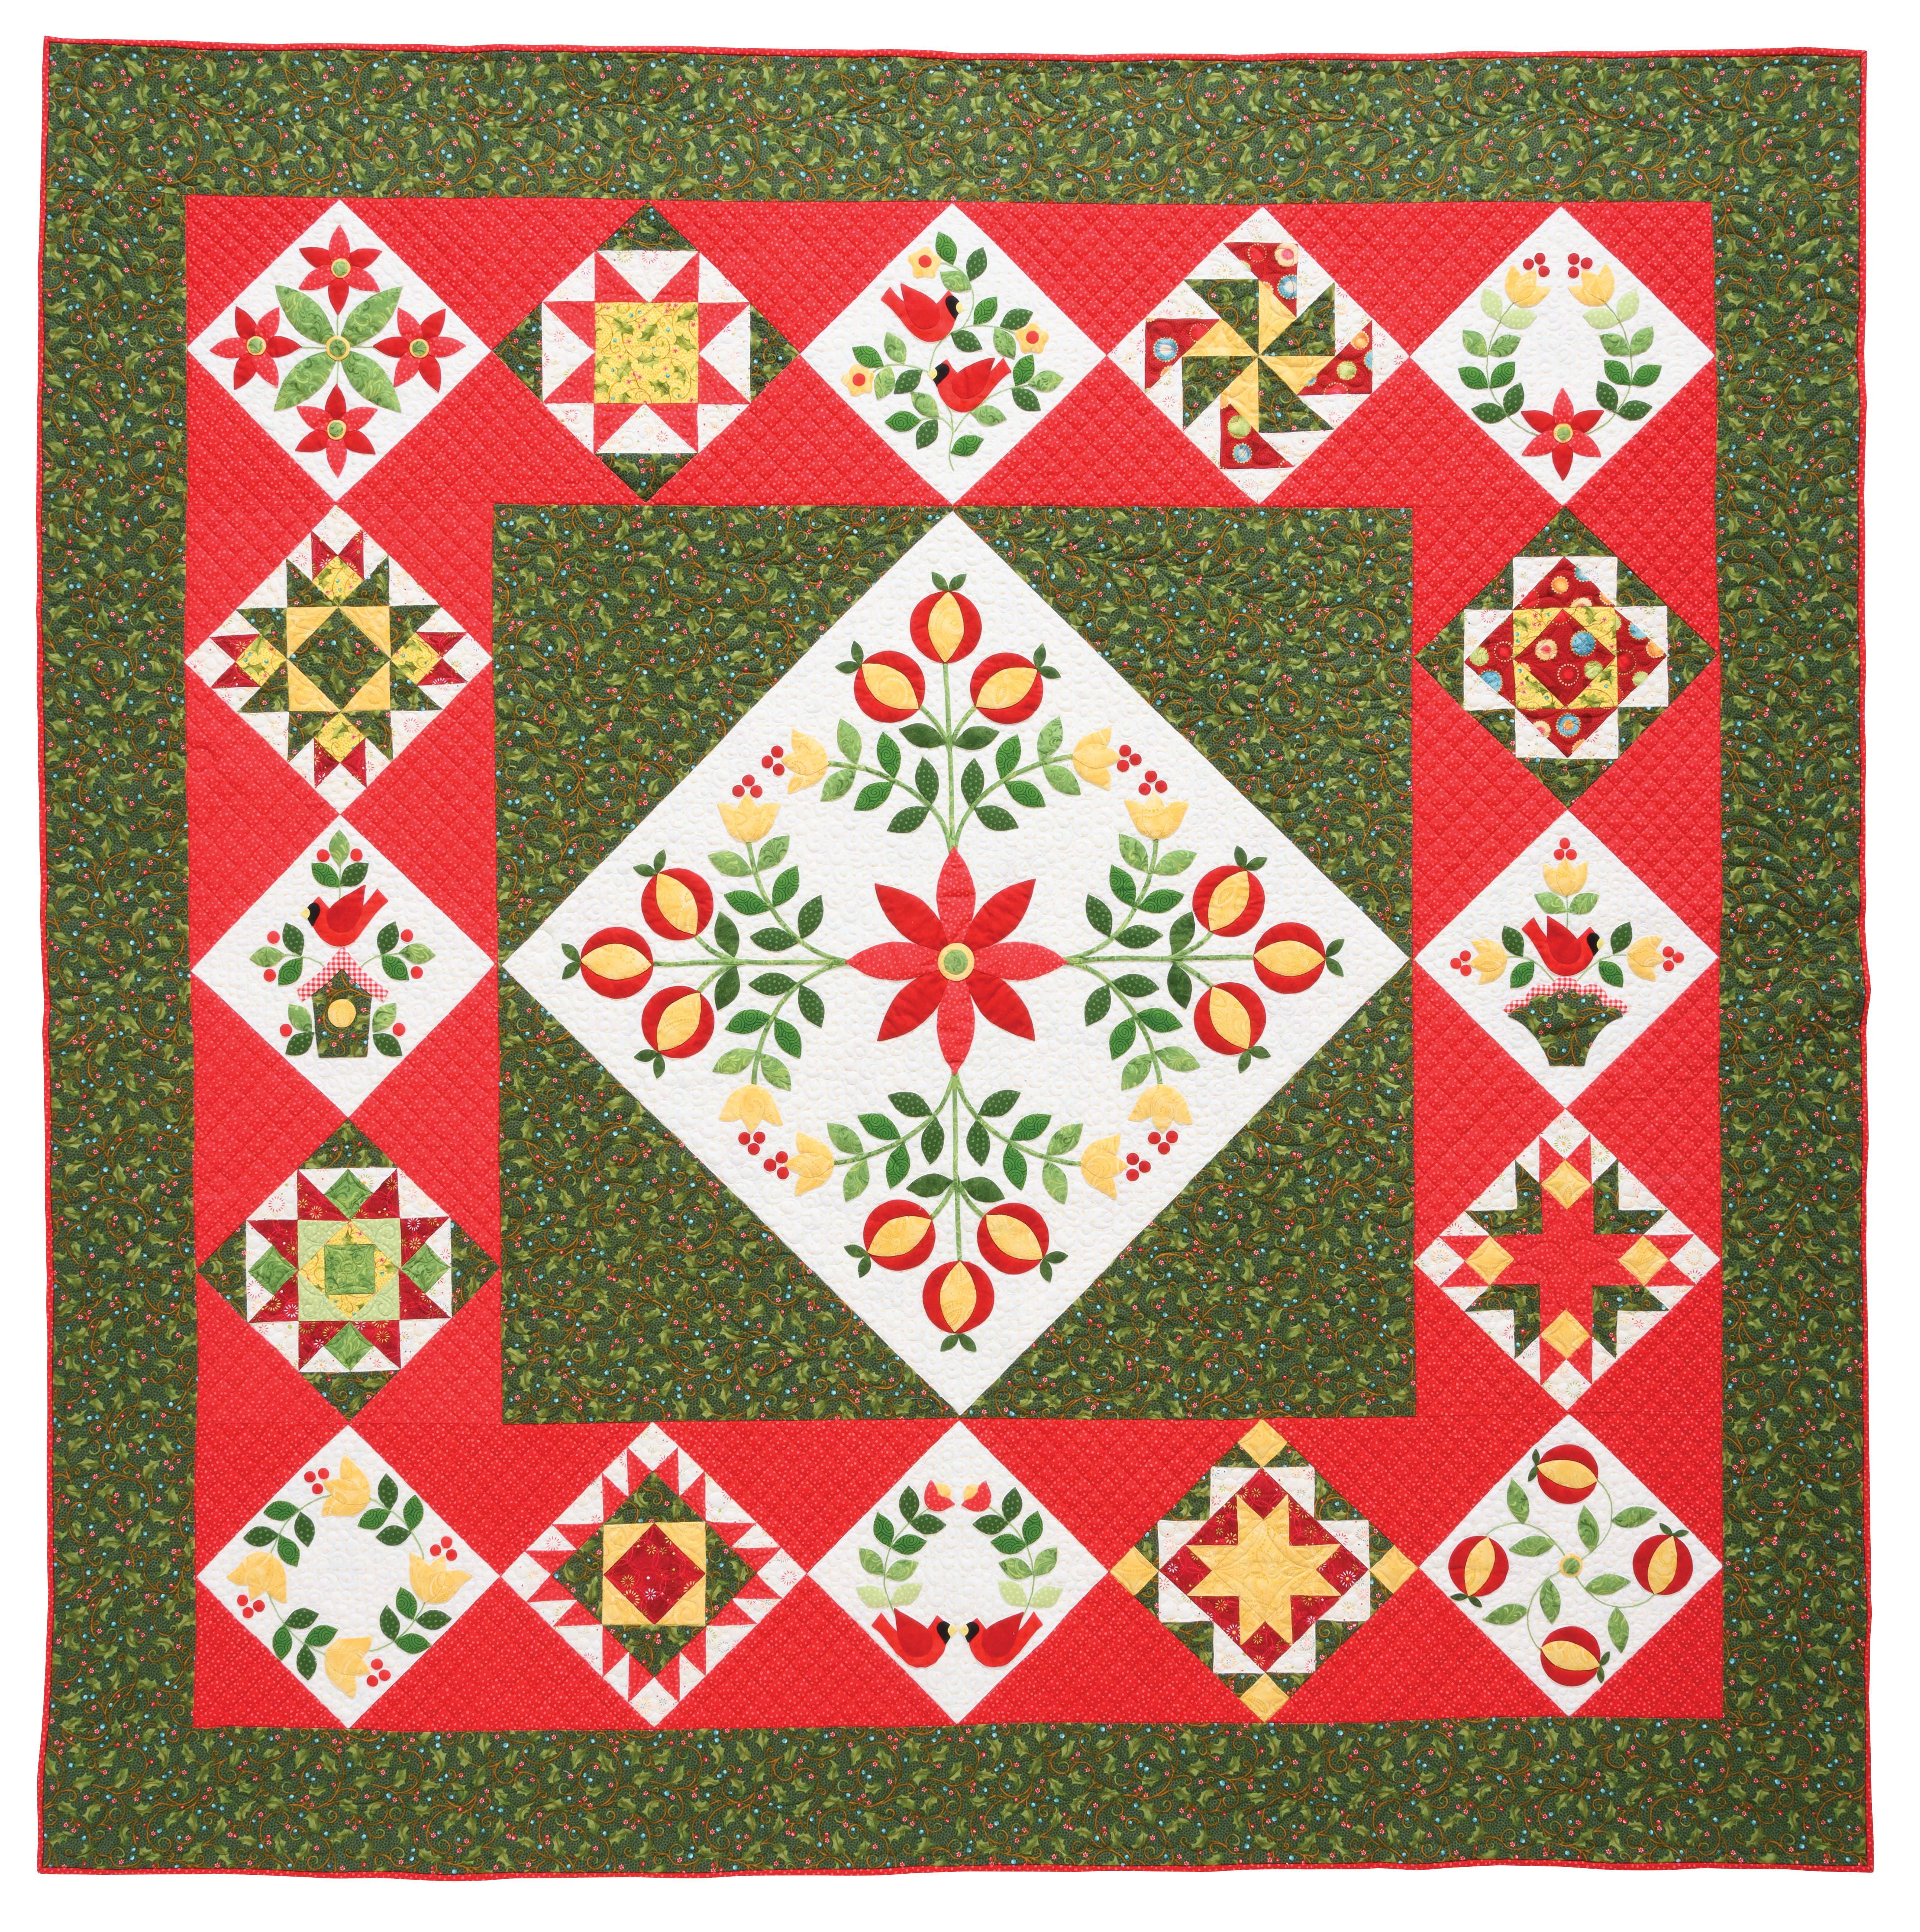
Turned Edge Appliqu� : A Technique for The Jingle Quilt

I have loved appliqu� ever since I began quilting. Like many quilters, I struggled to find a technique that gave me the results I wanted while still being enjoyable. Seriously, I tried every technique out there! Then I learned how to prepare my appliqu� shapes BEFORE I stitched them to the background and PROBLEM SOLVED! Now I use this for all my quilts. Here's a little tutorial to show you how you can use it to make a simple leaf.
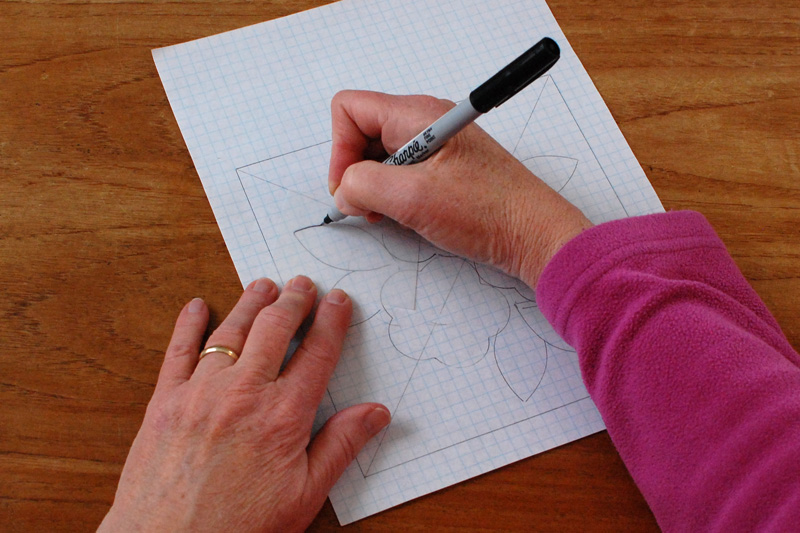
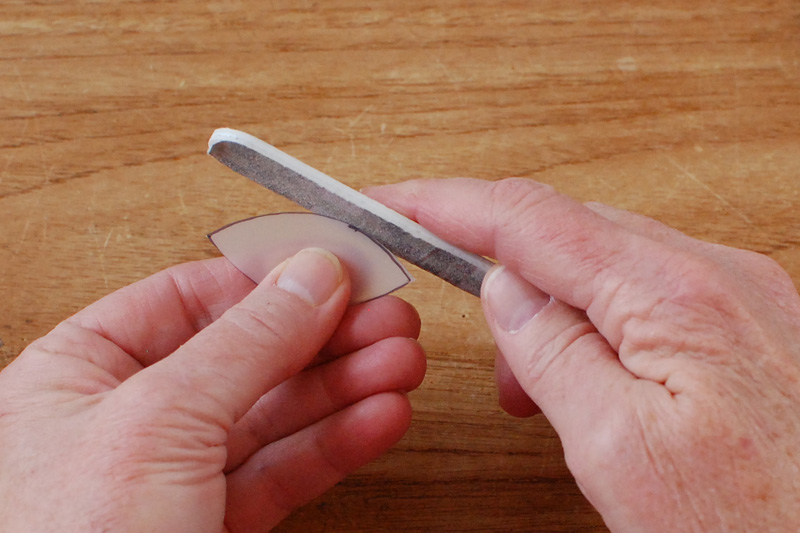
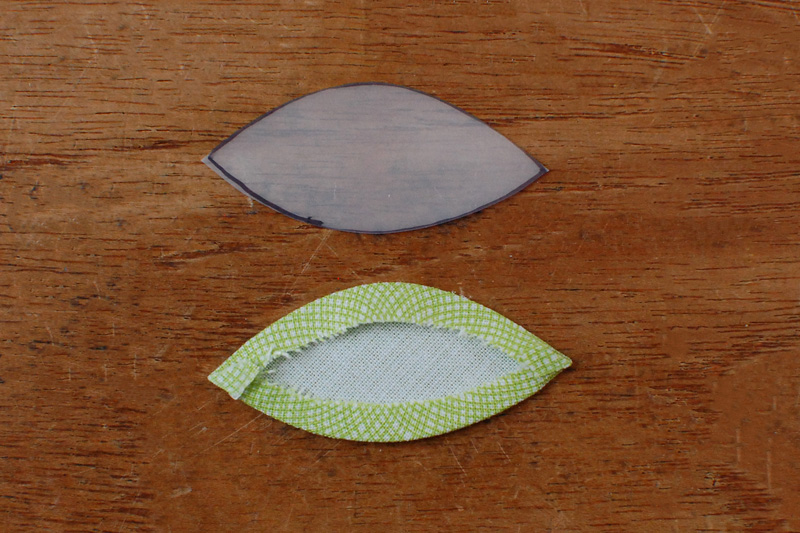
The first step is to make a template using heat-resistant template plastic. Trace you design onto the plastic and cut it out. If you have any rough spots or bumps you can smooth them with an emery board.
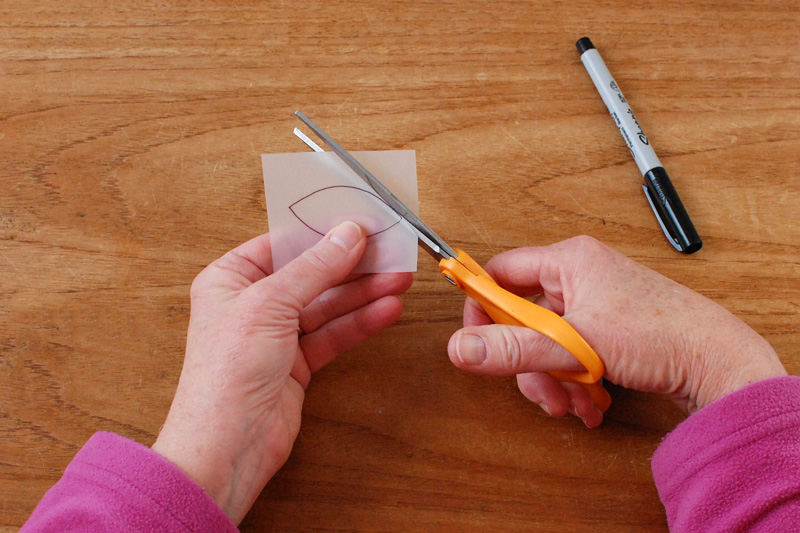
The next step is to trace this shape onto the wrong side of your appliqu� fabric and cut it out using a scant quarter inch.
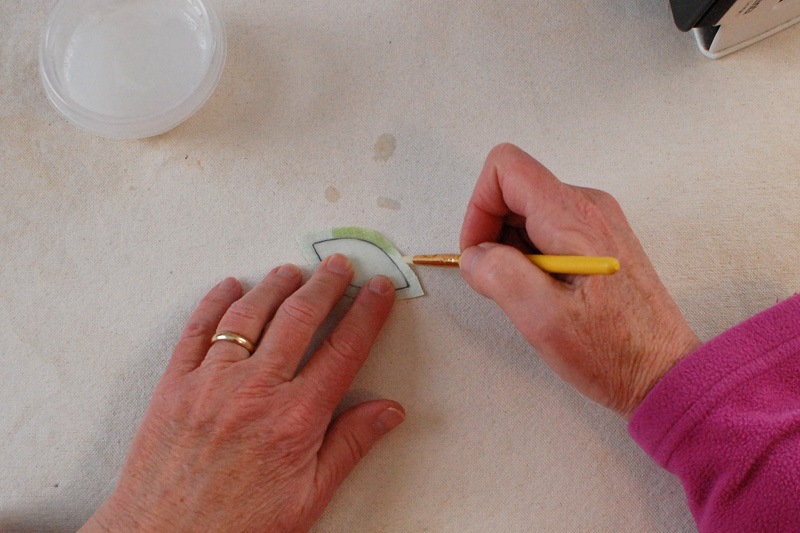
Now comes the fun part. With the template still on the wrong side of your appliqu� shape, dab some dilute starch onto the seam allowance using a small stencil brush. Use the stencil brush to lift the seam allowance a little. Now, using a dry iron on medium high heat press the seam allowance to the back of the template. Continue doing this a little at a time until you complete one side. Repeat on the other side.
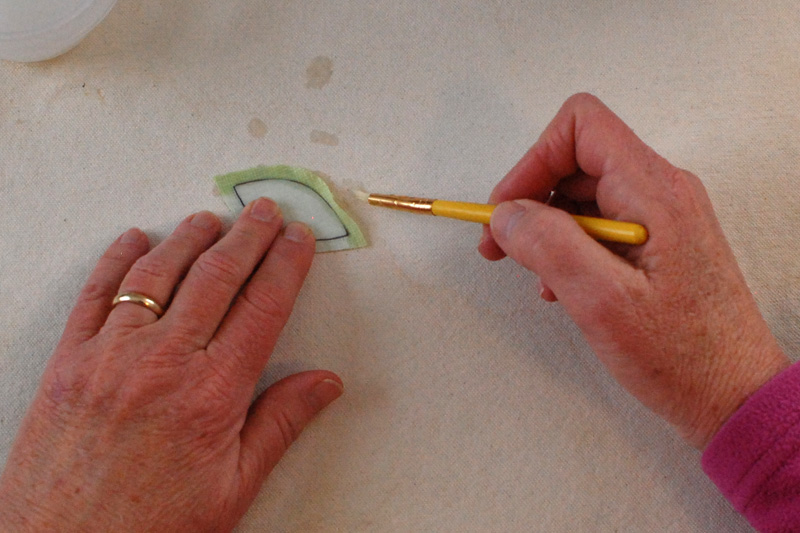
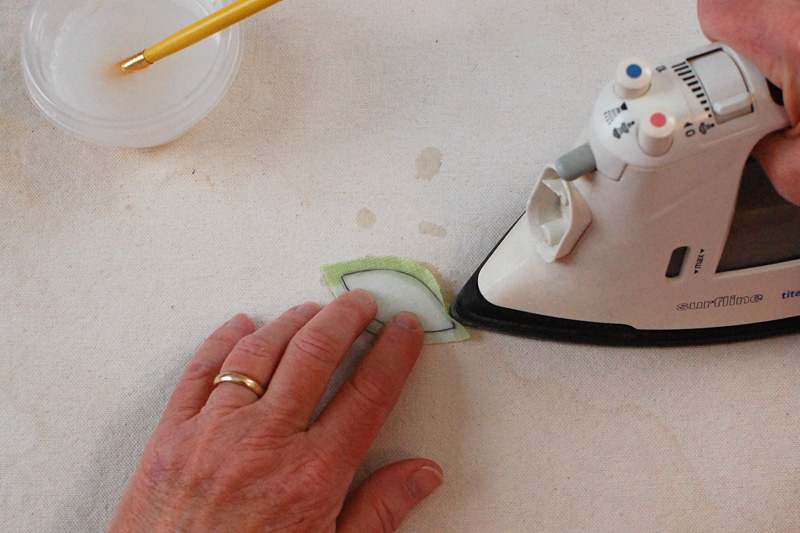
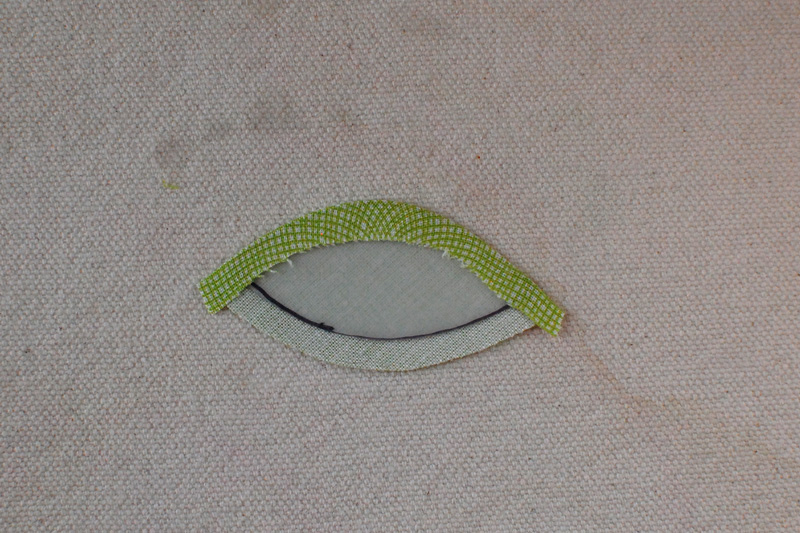
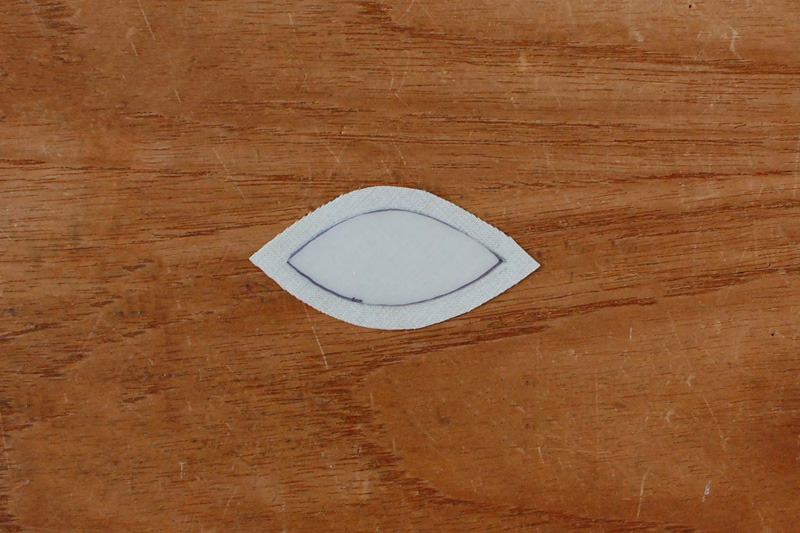
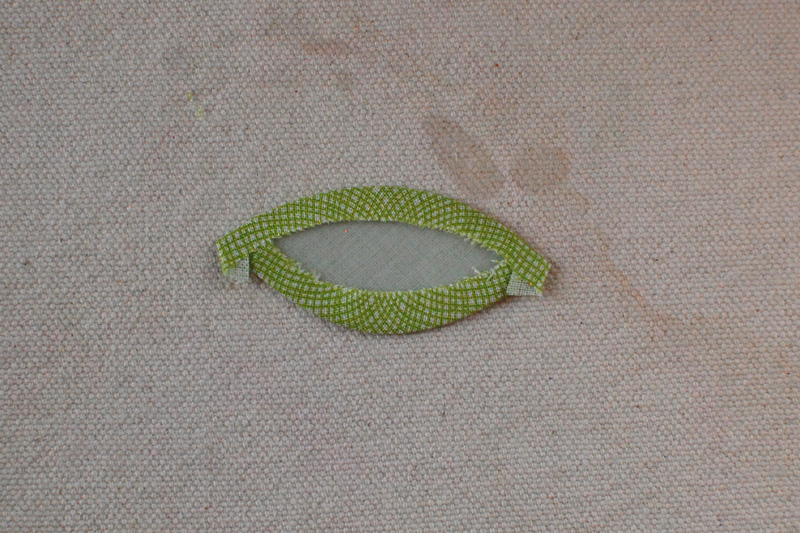 If you have seam allowance showing at the points you can fold it in, dab it with a little starch and press. When you are done, remove the template. These templates can be reused hundreds of times.
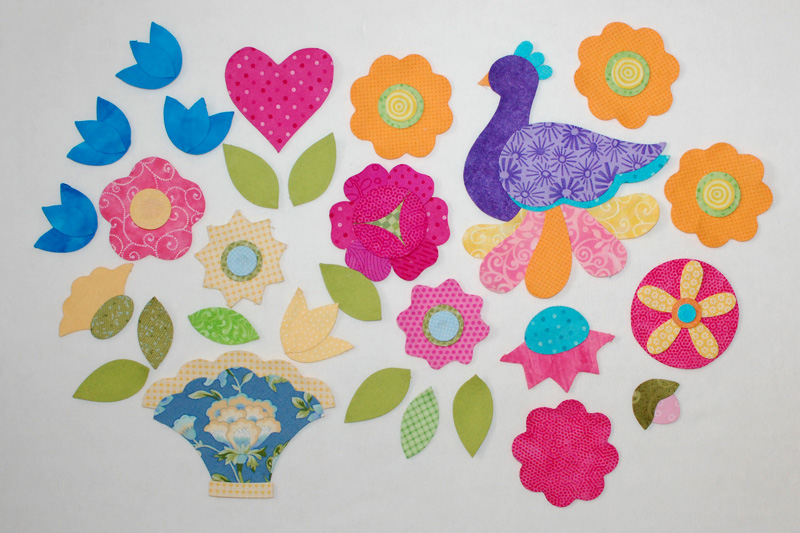
The best part of this process is that it can be used to make TONS of appliqu� shapes. I used it to make all the appliqu� in the Jingle Quilt as well as all these shapes.
-


