


National Sewing Month: Toss Pillow from Sew Magical
Happy National Sewing month! All month long we are celebrating by sharing some of our favorite sewing projects right from inside of our books!
The following project is from Sew Magical by Mary Hertel. Create this magical pillow perfect for all unicorn lovers.
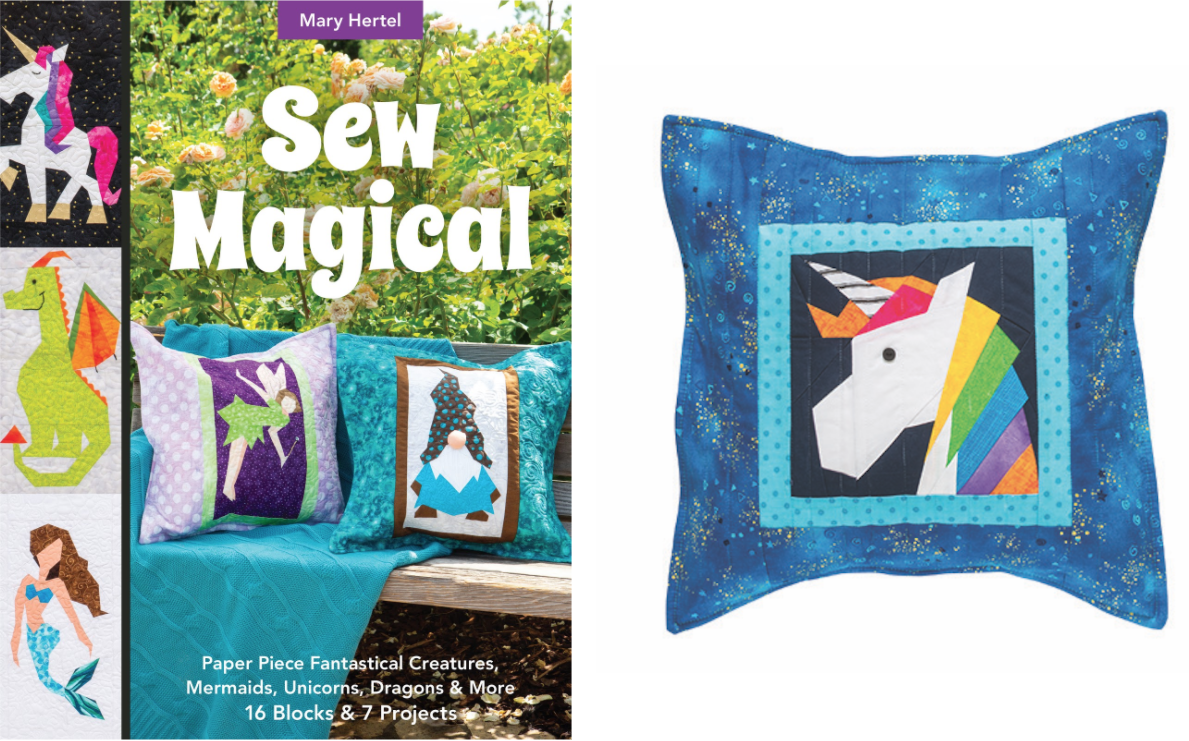
Toss Pillow Finished Pillow: 16 1/2" x 16 1/2"
This magical pillow will look adorable in any space. The throw pillow is designed for any 8˝ × 8˝ block—you could even use Part 1 of a rectangular block. It’s your choice!
Materials
Refer to your chosen block’s materials list for additional paper-piecing and embellishment requirements.
Fabric A: 1 yard for border and pillow back
(includes enough for directional fabrics as well)
Fabric B: 1/8 yard or 1 fat eighth (9˝ × 21˝)
for inner border
Fabric C: 1/2 yard for lining (Muslin is recommended.)
Batting: 18˝ × 18˝ square
Pillow form: 16˝ × 16˝
Cutting
WOF = width of fabric. Fold fabric selvage to selvage.
Fabric A
- Cut 1 strip 17˝ × WOF. Subcut into 2 rectangles 12 1/2˝ × 17˝ for pillow back and 2 rectangles 4˝ × 17˝ for outer border.
- Cut 1 strip 4˝ × WOF. Subcut into 2 rectangles 4˝ × 10˝ for outer border.
Fabric B
- Cut 1 strip 11/2˝ × WOF. Subcut into 2 strips 11/2˝ × 10˝ and 2 strips 11/2˝ × 8˝.
Fabric C
- Cut 1 square 18˝ × 18˝.
Sewing
Use 1/4˝ seams throughout, unless otherwise directed.
PAPER-PIECED BLOCK
- Paper piece 1 selected square block, using the assorted scraps.
- Trim the block to 8˝ × 8˝.
- Add any necessary embroidery. Do not add any buttons at this time, but mark their placement. If this pillow is to be used for a baby, go ahead and appliqué fabric circles for the eyes instead of using buttons, which might be a choking hazard.
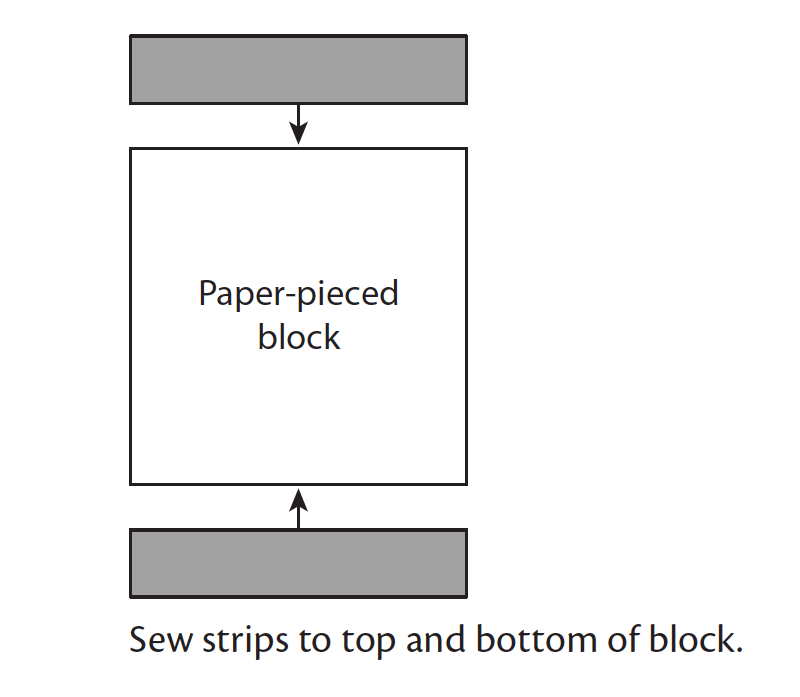
ADD THE INNER BORDER
1. Sew the Fabric B 11/2˝ × 8˝ strips to the top and bottom of the paper-pieced block. Press the seams toward the sashing.
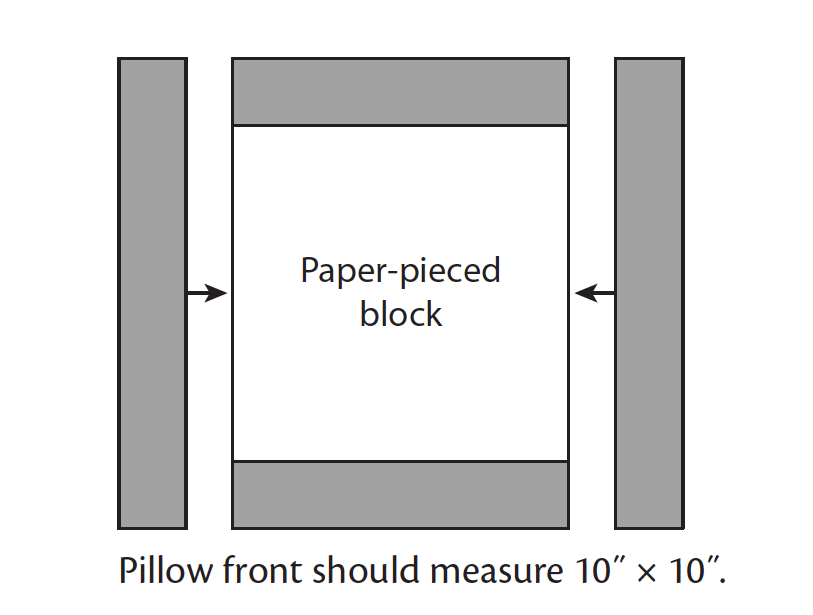
2. Sew the Fabric B 11/2˝ × 10˝ strips to the sides of the paper-pieced block. Press the seams toward the sashing.
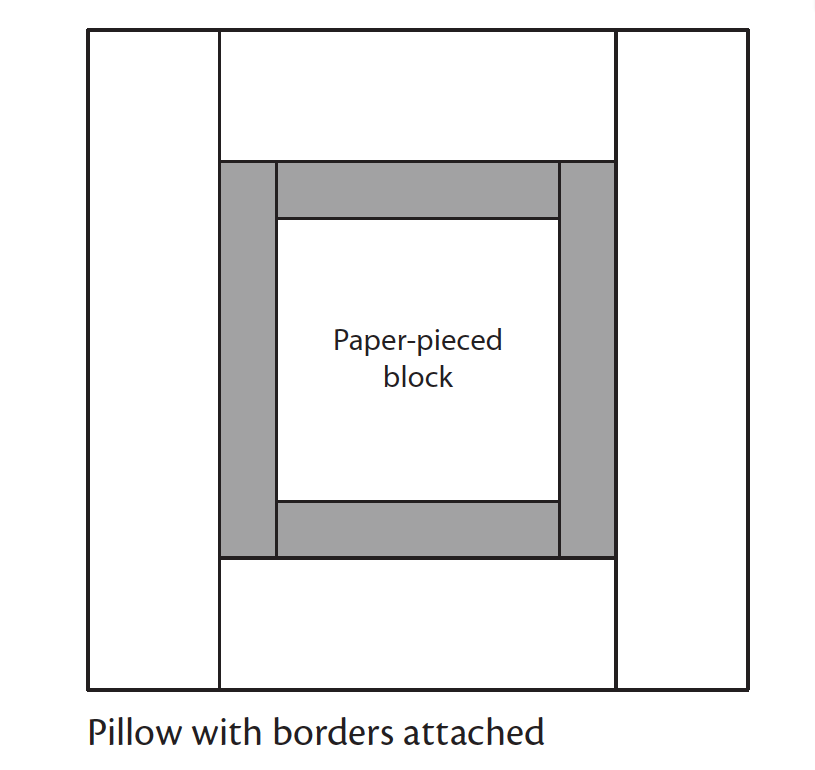
ADD THE OUTER BORDER
1. To add the outer border, follow Add the Inner Border, Steps 1 and 2 (page 13). Use the 2 Fabric A 4˝ × 10˝ rectangles for top and bottom; then sew the 2 Fabric A 4˝ × 17˝ rectangles to the sides. Press the seams toward the borders.
2. Remove the paper from the back of the paper-pieced block.
QUILT THE PILLOW FRONT
1. Layer the pillow lining (right side facing down), batting, and pillow front (right side facing up).
2. Pin together all 3 layers and quilt as desired.
3. Trim the quilted pillow front to 17˝ × 17˝.
4. Hand sew any required buttons in place.
PREPARE THE PILLOW BACK
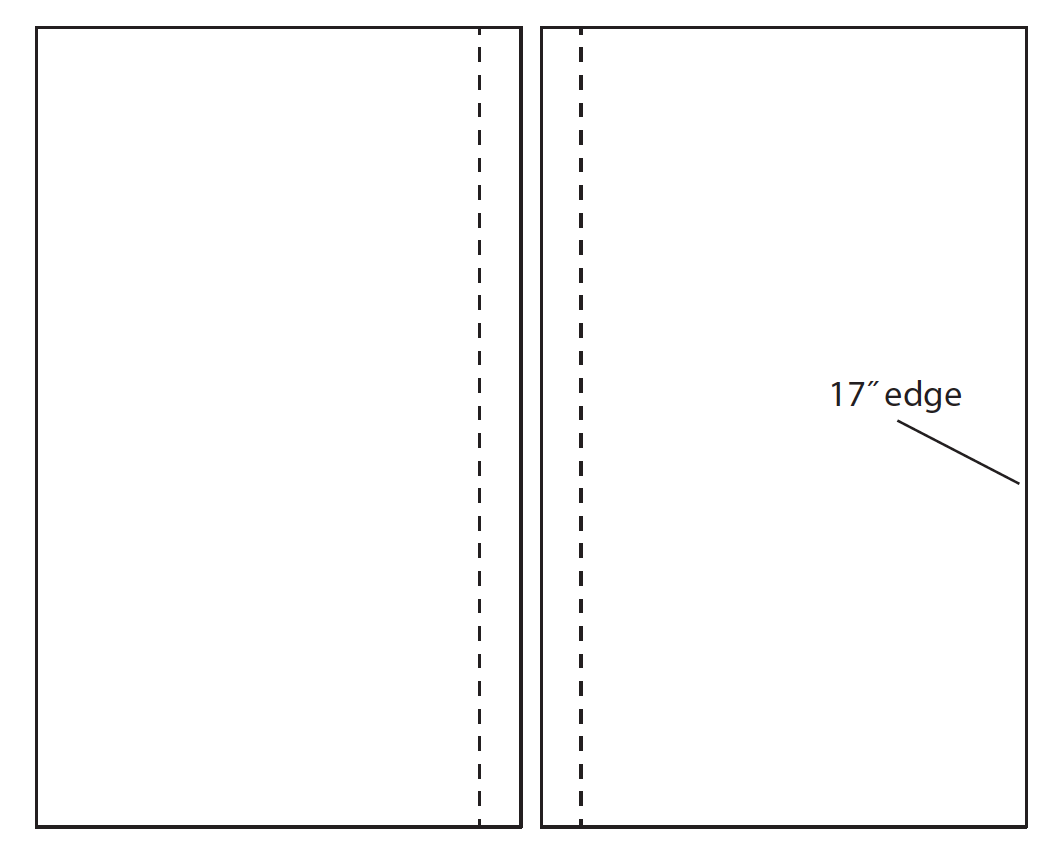
1. Hem the Fabric A 121/2˝ × 17˝ rectangles by pressing under 1˝ on a 17˝ edge of each rectangle. Press under another 1˝ on the same 2 edges.
2. Topstitch the pressed edges to form a hem along one edge of each rectangle.
3. With the right sides both facing forward, overlap the hemmed edges of the 2 rectangles by approximately 4˝–5˝ so the total shape will measure exactly 17˝ × 17˝. Pin in place.

JOIN THE PILLOW FRONT TO THE PILLOW BACK
1. Pin the pillow front to the pillow back, right sides together.
2. Sew around the 4 sides of the pillow, using a 1/4˝ seam allowance.
3. Remove the pins and turn the pillow right side out. Gently push out the corners. Press the edges flat.
4. Topstitch around the pillow a generous 1/4˝ from the edge.
5. Slide the 16˝ × 16˝ pillow form through the back opening.

-


