


National Embroidery Month - Learn a Herringbone and Chain Stitch!
Happy National Embroidery Month! During the month of February, we will be bringing you embroidery tutorials each week.
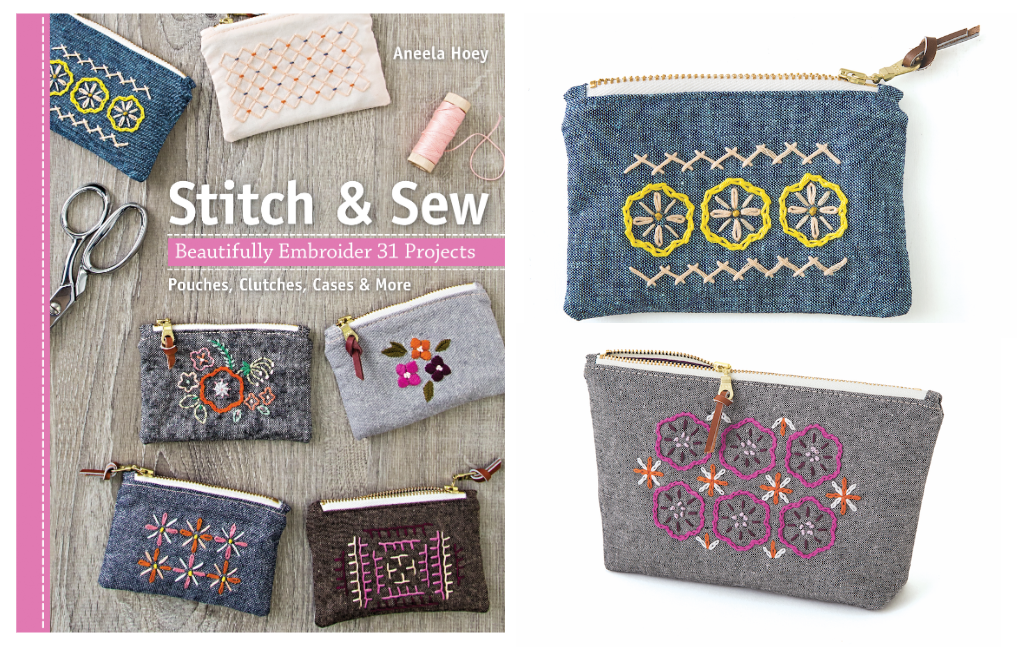
The content below is from Stitch & Sew by Aneela Hoey -- learn how to do a herringbone stitch and a chain stitch. The herringbone stitch is a beautiful, textured pattern that is perfect for small bags, pouches, and home furnishings. The chain stitch is a pillar stitch when it comes to embroidery, and you will use it all the time!
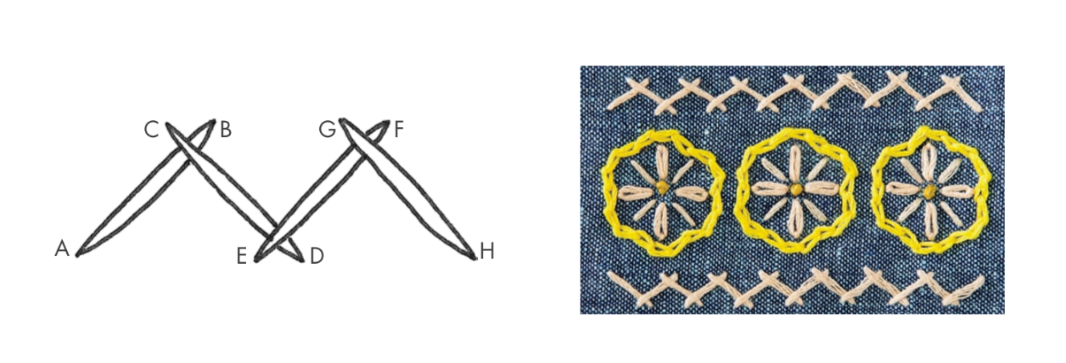
HERRINGBONE STITCH
Herringbone Stitch has a lovely open appearance. It is usually worked over straight lines but can also be worked along a curve. It has a lot of potential for variation.
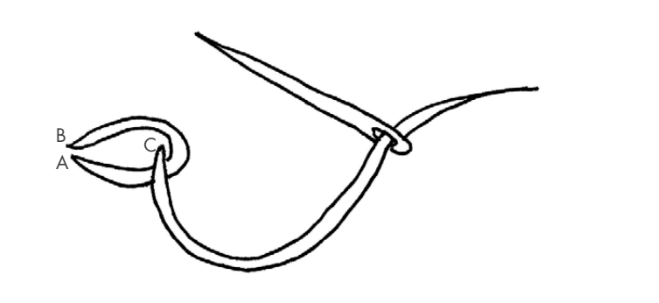
1. Bring the needle out to the front of the fabric (A).
2. Make a long diagonal stitch upward and to the right (B).
3. Bring the needle back out, about 1/4 ̋ to the left-hand side (C). Make a long diagonal stitch downward and to the right (D). Bring the needle back out about 1/4 ̋ to the left (E).
4. Repeat Steps 2 and 3 for the required length (F, G, and H).
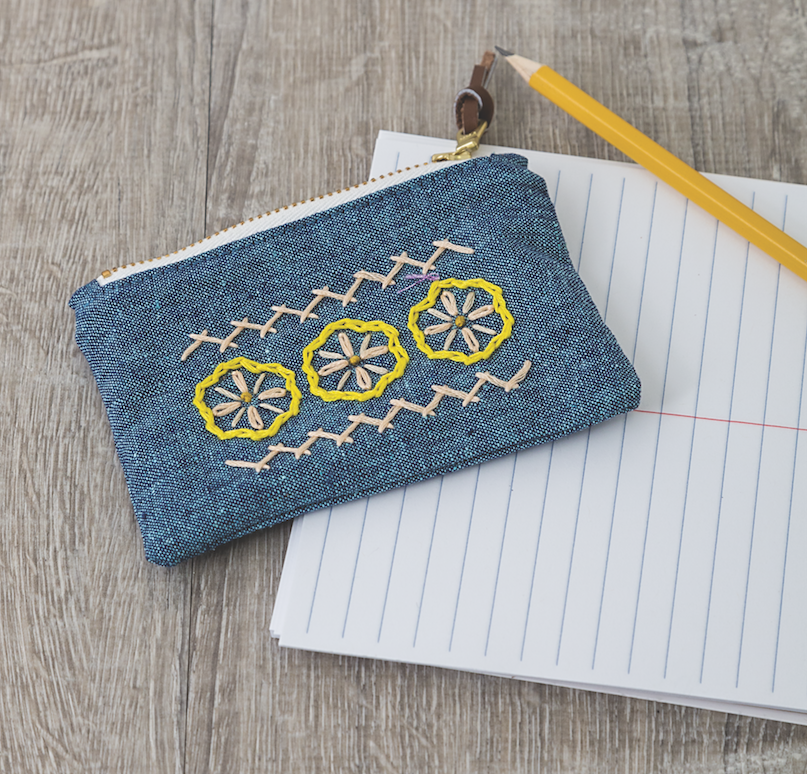
Finished Primrose Zipper Pouch using the Harringbone stitch & Chain stitch as well as French Knot, Straight Stitch, and Lazy Daisy.
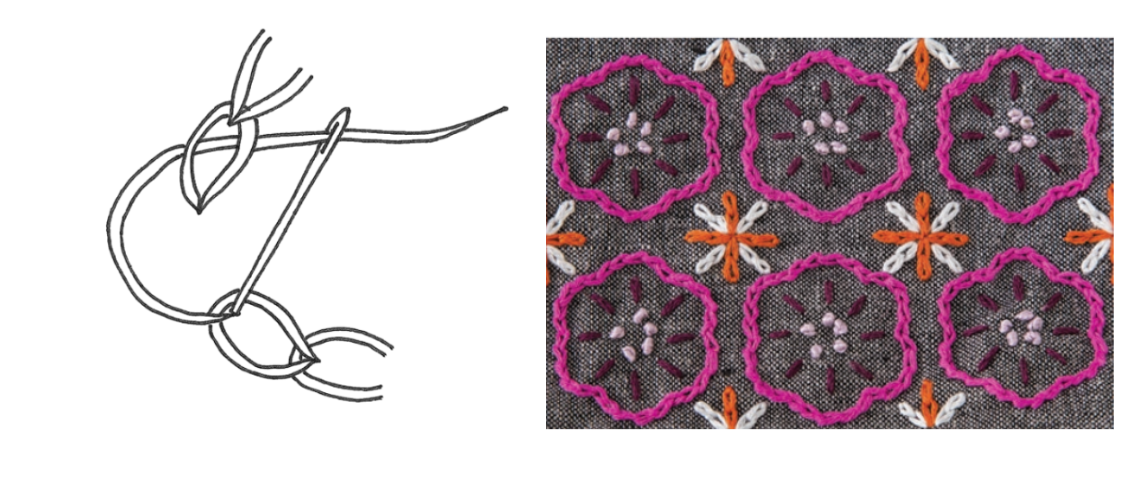
CHAIN STITCH
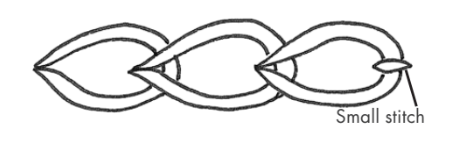
Chain Stitch is useful for working straight and curved lines or for outlining elements. It is very decorative in appearance and is composed of a chain made up of linked loops.
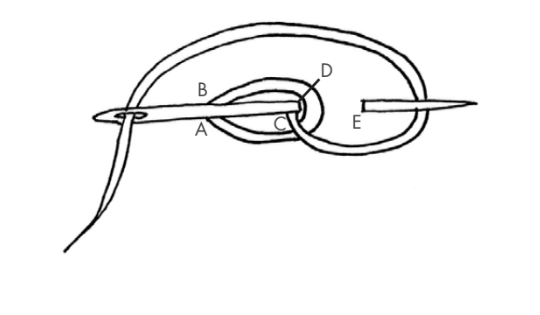
1. Bring the needle out to the front of the fabric (A).
2. Make a small loop on the fabric surface, and hold it in place with the thumb of your non-sewing hand. Exit the needle at the same entry point (B), leaving the thread loop loosely in place.
3. Bring the needle back out about 1/4 ̋ along and inside the loop. Pull the needle and thread gently to secure the loop in place (C).
4. Repeat Steps 2 and 3 to work the required length (D and E).
5. To finish a line of stitching, make a small stitch to anchor the final loop in place.
To finish a circular element where the starting point is the same as the end point, wrap the thread around the start of the first loop. Exit the fabric at the entry point of the final loop.
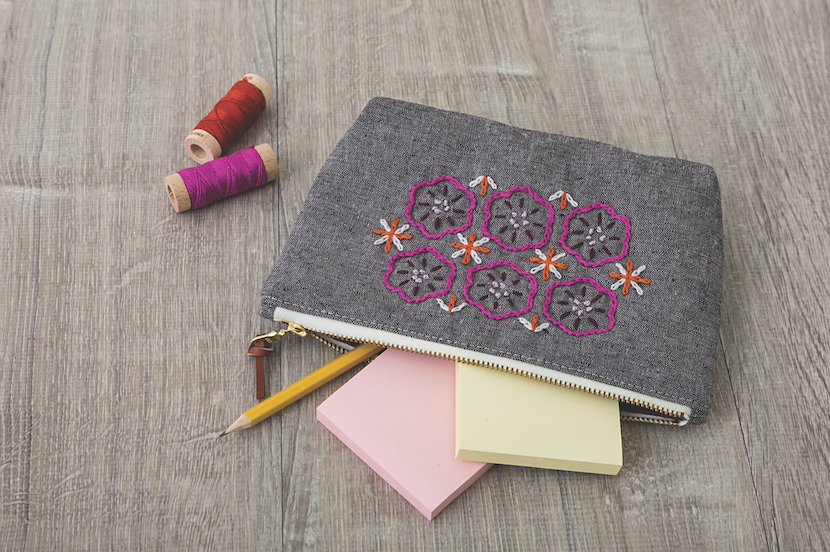
Finished Vignette Zipper Pouch using the Chain Stitch as well as the French Knot and Straight Stitch.
Giveaway now closed.
-


