Embroidery Tips and Tricks
Posted by Christen Brown on Feb 11th 2021
This year 2021, marks 58 years as a stitcher and my 30th year as a teacher. I have learned quite a bit from my mom, friends, trials and miss-steps, my teachers and students. I would like to share a few of these pearls of wisdom with you.
Embroidery Floss
Embroidery floss flummoxed me for many years, I always ended up with a tangled skein, and the individual threads always seemed to knot on me.
To avoid a tangled skein, pull the length of thread from the bottom of the skein next to the label with the color number. This tail should come out smoothly without any tangles.
When you cut off a length of floss from the skein, I suggest 16” - 18”.
Split the threads into the thickness that you want to work with (2-3 strands etc.). Then separate each thread individually from the group and reassemble these back together then thread through the needle.
Perle Cotton
Perle cotton is available both in a skein and a ball. Cut off the amount of thread, I suggest 16” - 18”, then thread through the needle.
To avoid tangles in a skein, you can cut the knot of thread, then wrap the skein into a ball or around a plastic, wood or cardboard spool. Or you can cut the thread through the knot and the entire skein. Loop the threads over a ring and tie into a loose knot. Remove one length of thread and cut in half so that you have a shorter length.
General Stitching Tips
- Condition the threads with Thread Heaven or Thread Magic.
- Cut off the tails of the working thread as these can become worn and tatty and will periodically knot around the length of thread.
- Hold the work upside down, and let the thread dangle, this should untwist the threads and prevent future knots.
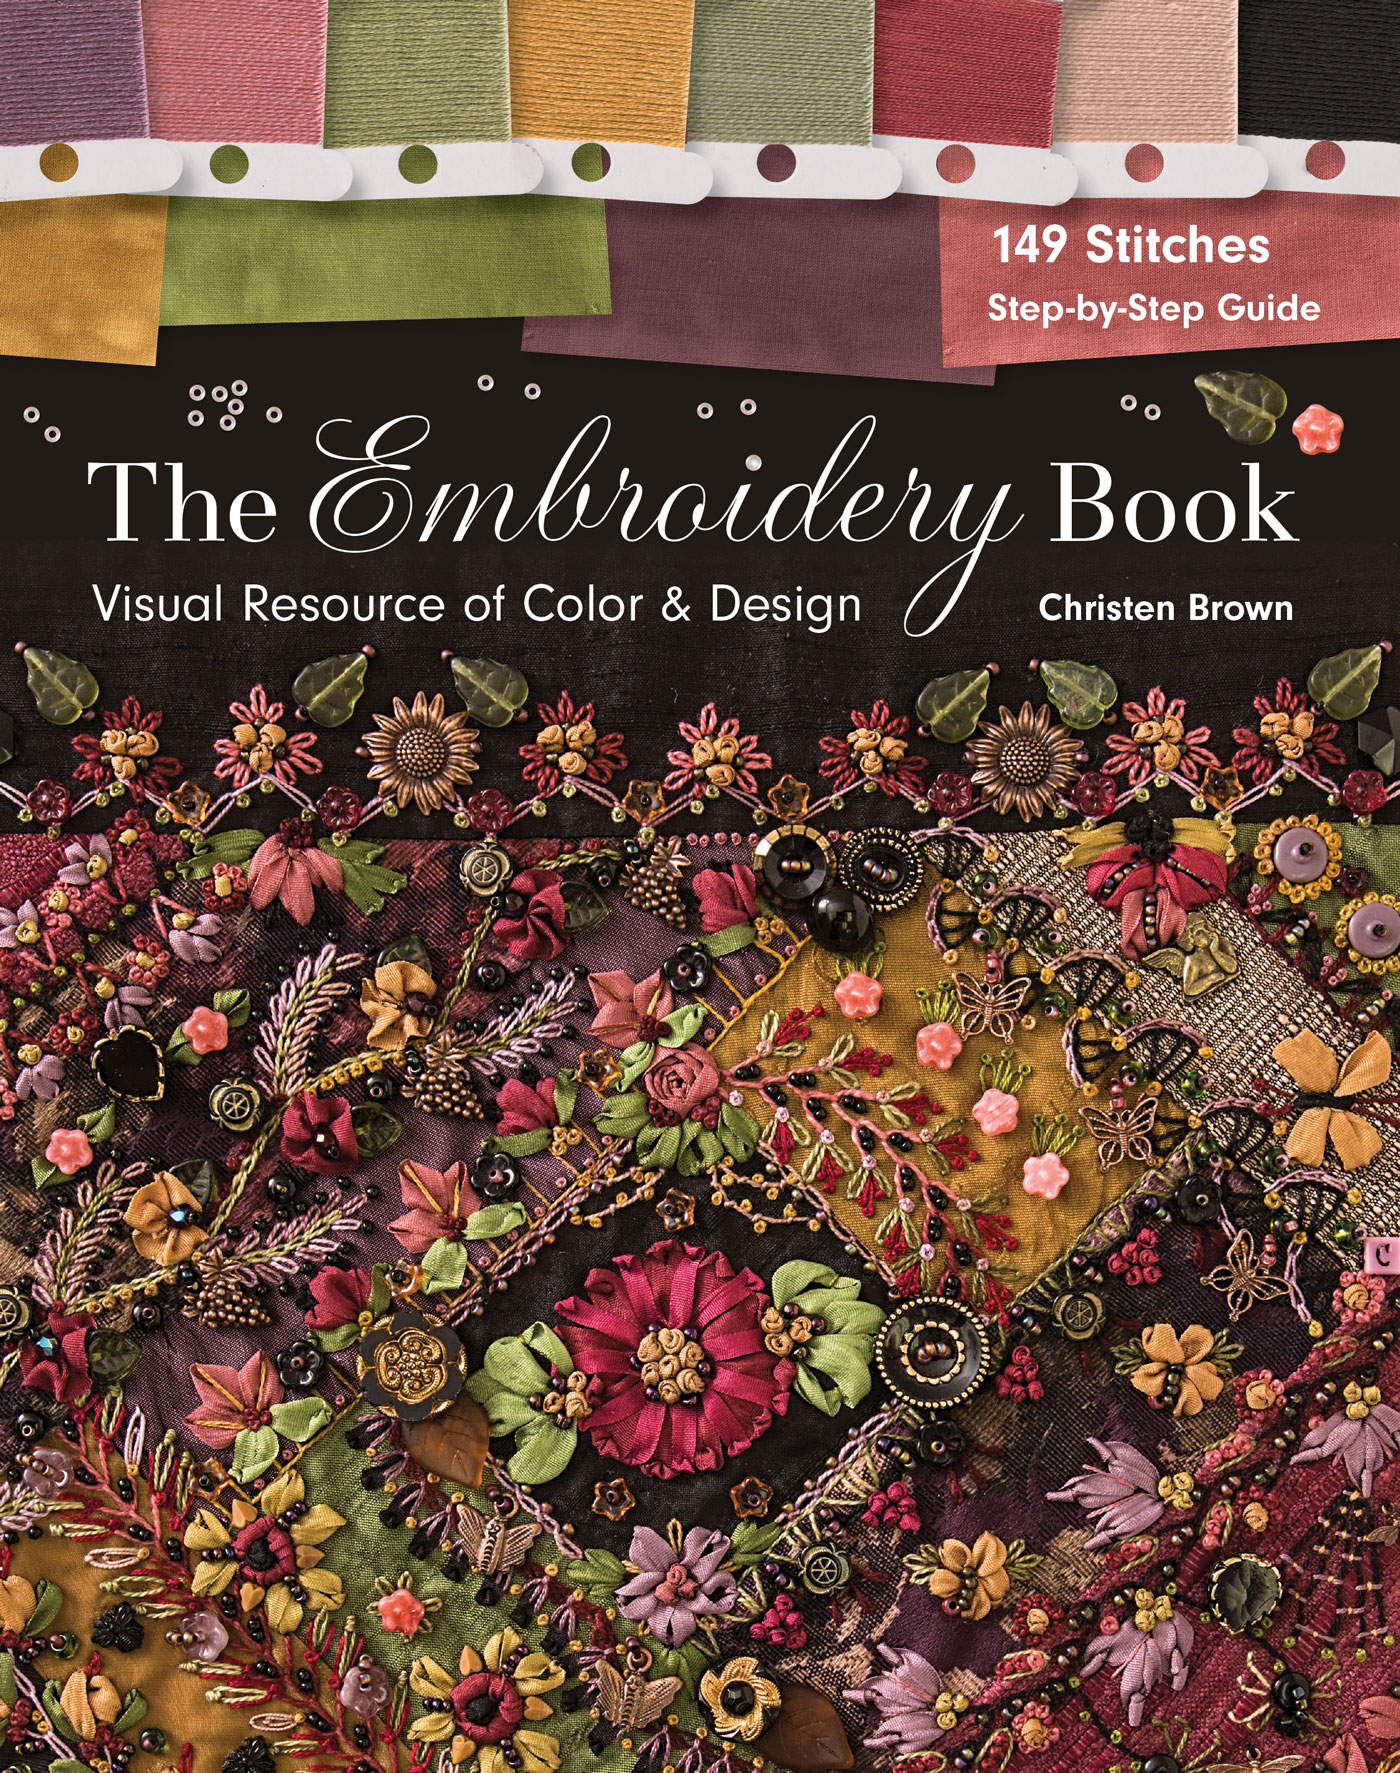
The Embroidery Book, by Christen Brown
Tips from my Colleagues
I have asked a few colleagues to provide tips and tricks that they find invaluable aids to their stitching time.
Aimee Ray, author of Doodle Stitching: Embroidery Art
Save your floss scraps! You can make super fun and easy artwork with them by stitching them all onto a piece of fabric in a hoop, or just store them together in a glass jar.
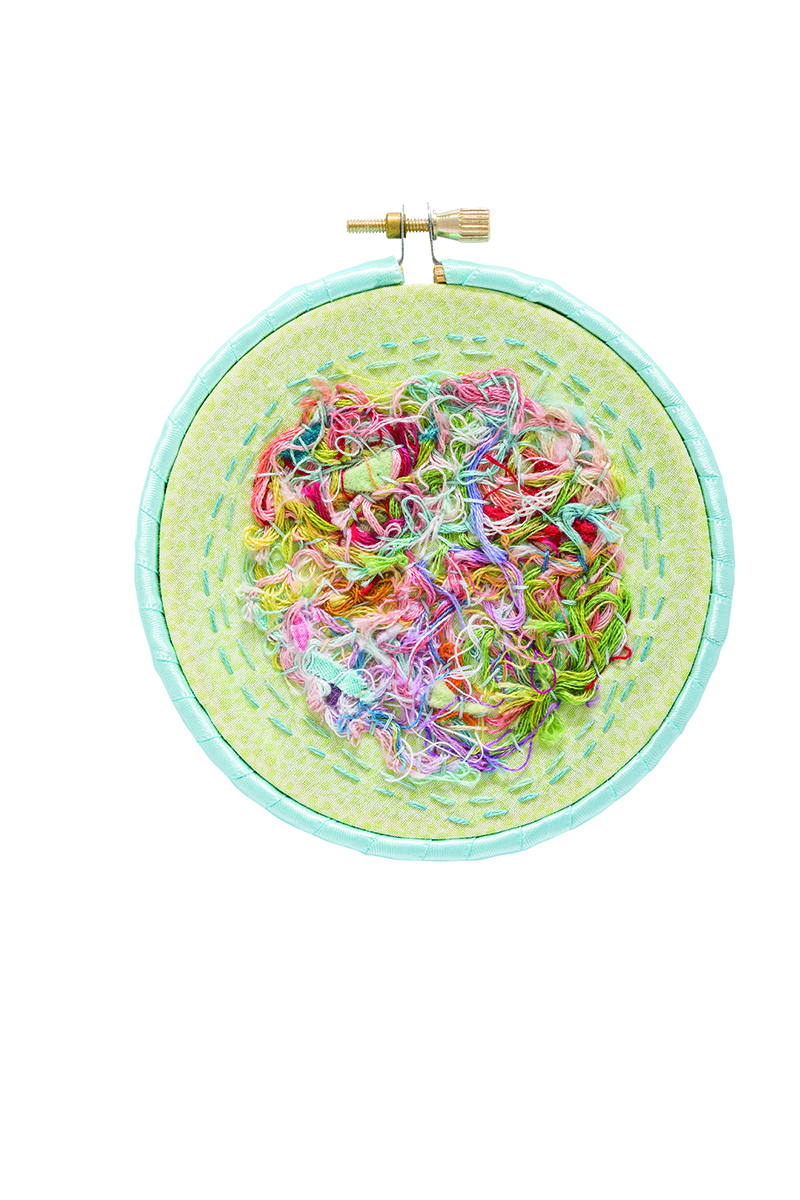
This project is featured in my book!
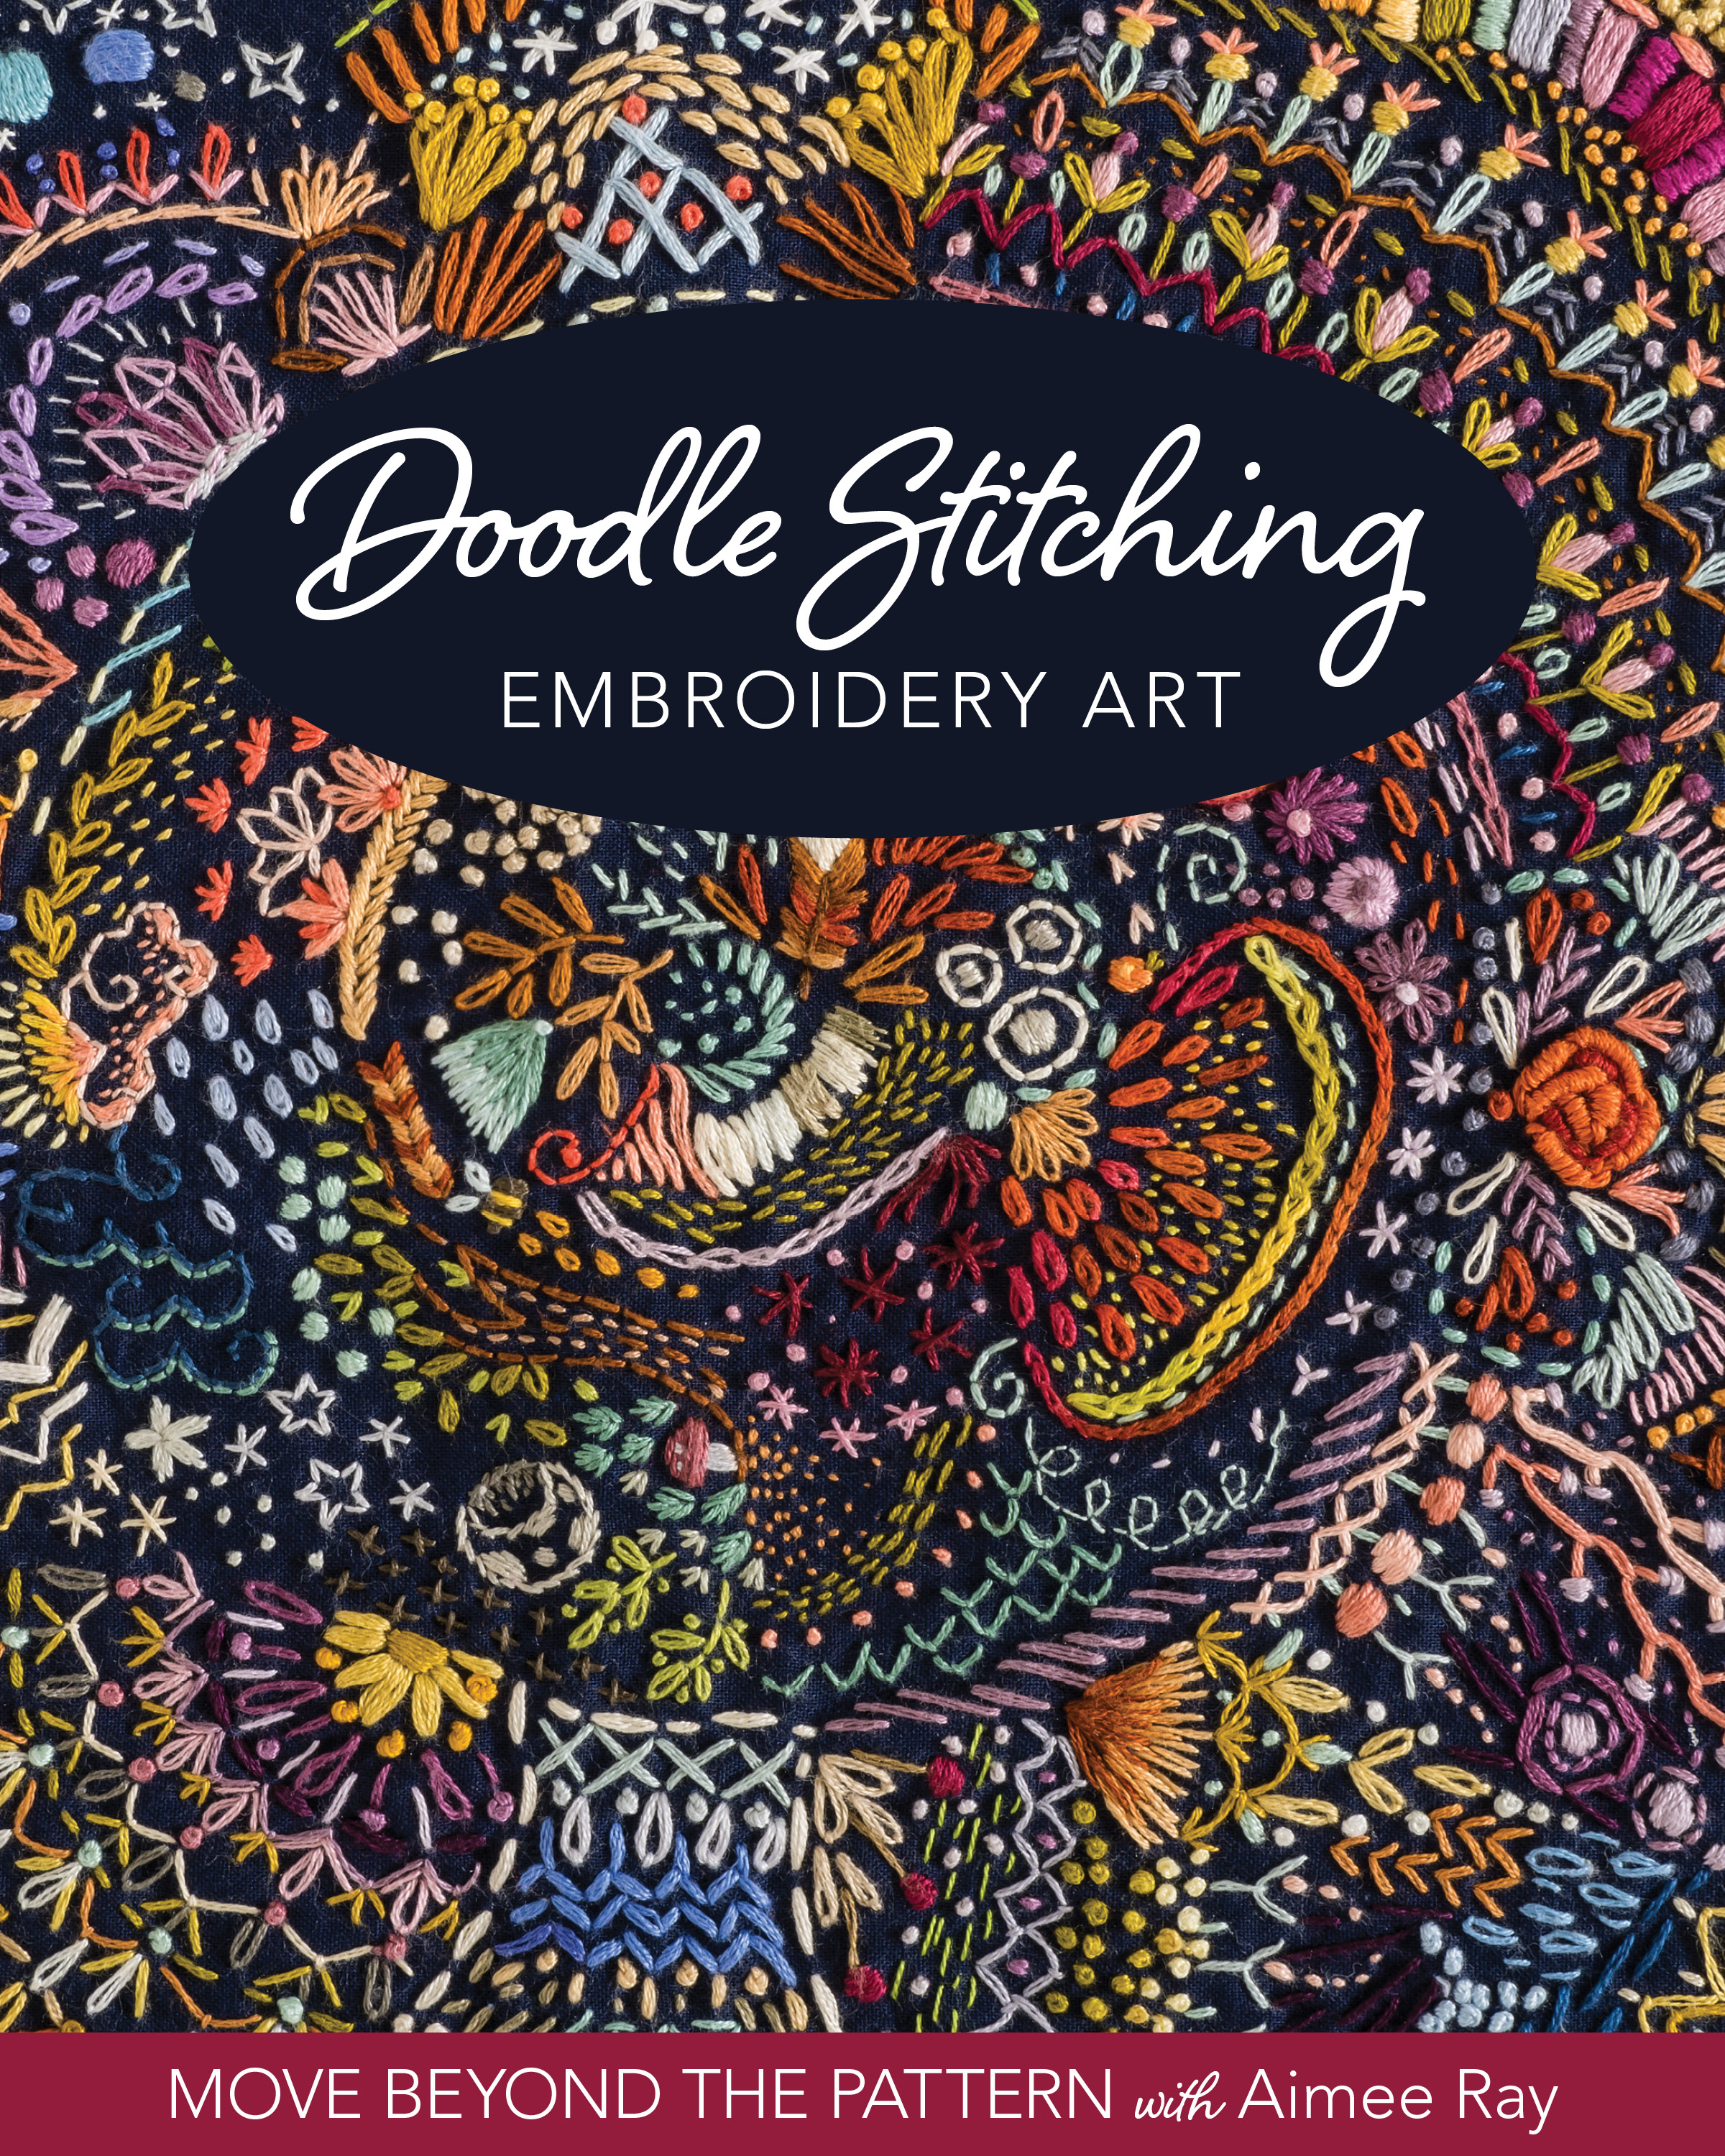
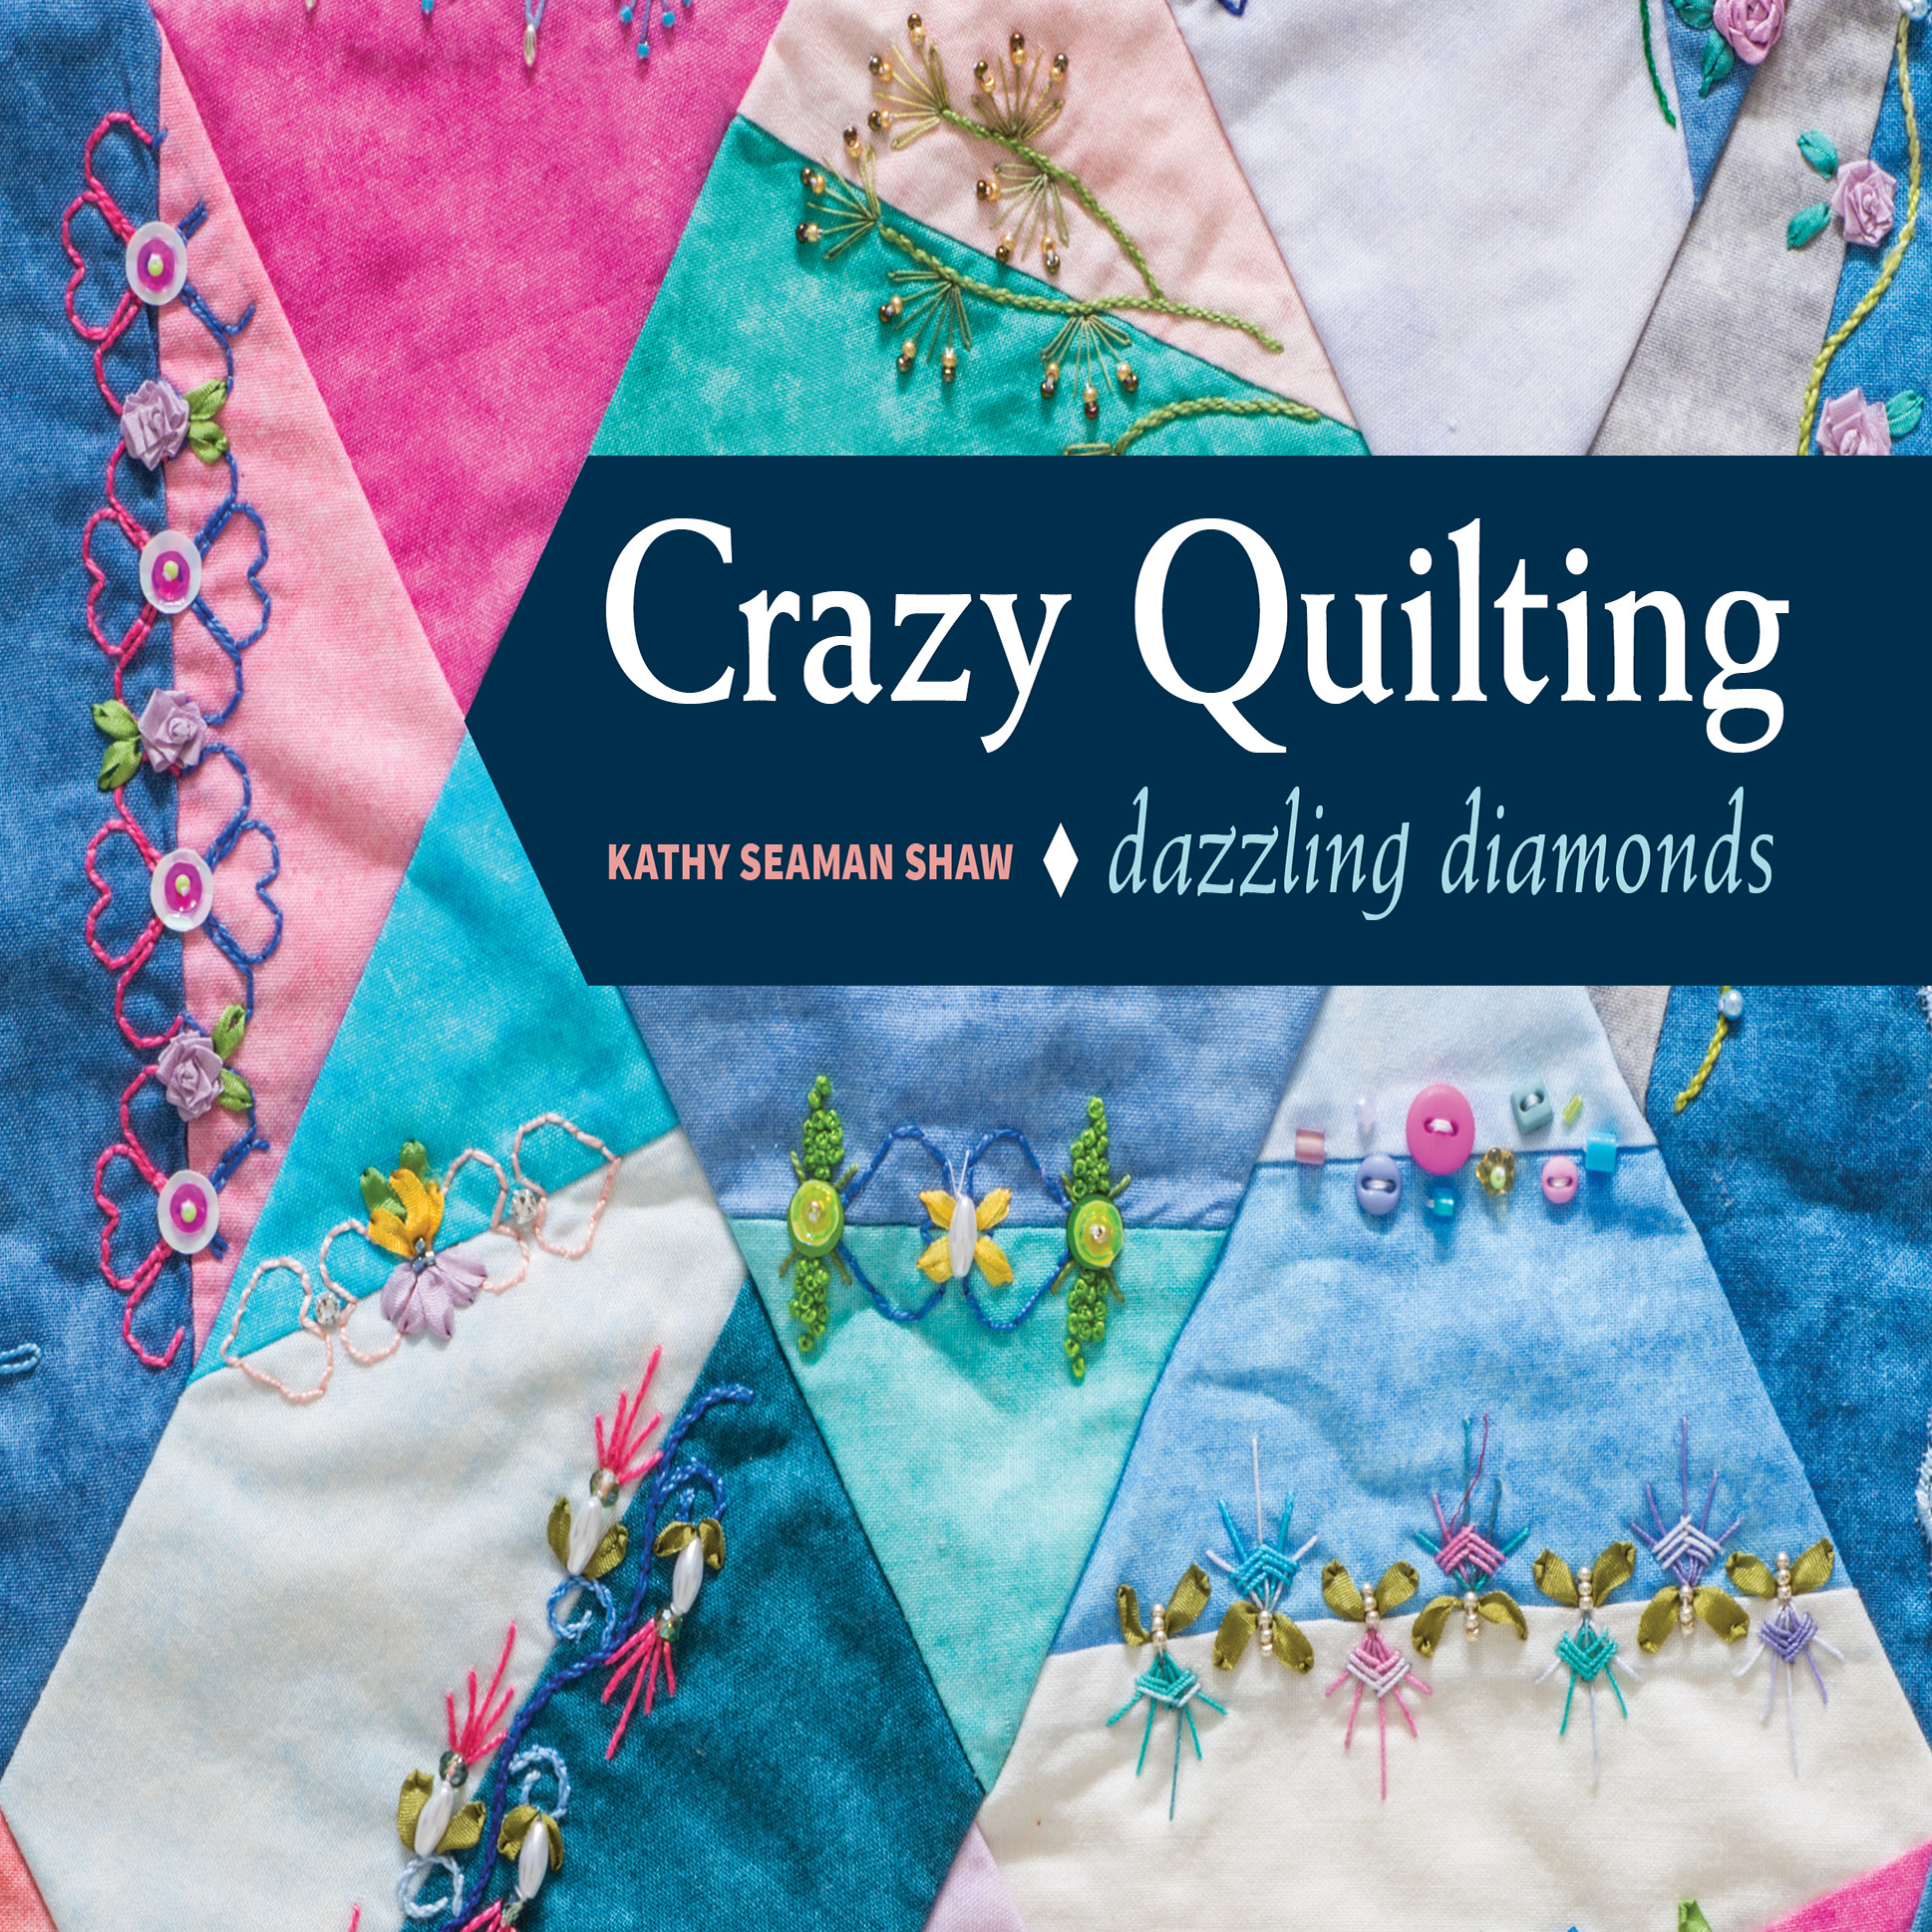
Kathy Seaman Shaw, author of Crazy Quilting Dazzling Diamonds
My life is crazy busy most days so I’m always looking for time-saving options. So, whenever possible I like to print my embroidery designs directly to a water-soluble paper and stitch over this design. Any design can usually be scanned/printed easily.
After embroidery is done, I soak the item for about 5 minutes then flip over and run cold water until all of the little “bits” of water-soluble are gone. Be sure to use color fast embroidery fibers with this tip! An entire crazy quilt was completed in this manner, just check it out in my book.
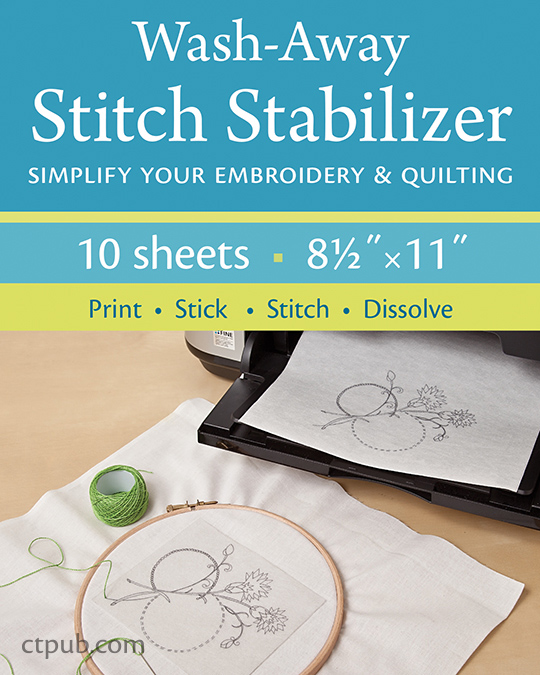
When it is not possible to get embroidery works wet by using water-soluble sheets; my 2nd best transfer method is to use gift tissue paper (thicker is better than the thin type).
The design is easily traced to the paper using a light table or bright sunny window. Even a glass coffee table and lamp can be used as a light table…literally. The tissue paper pattern can then be pinned or taped to the project for embroidery.
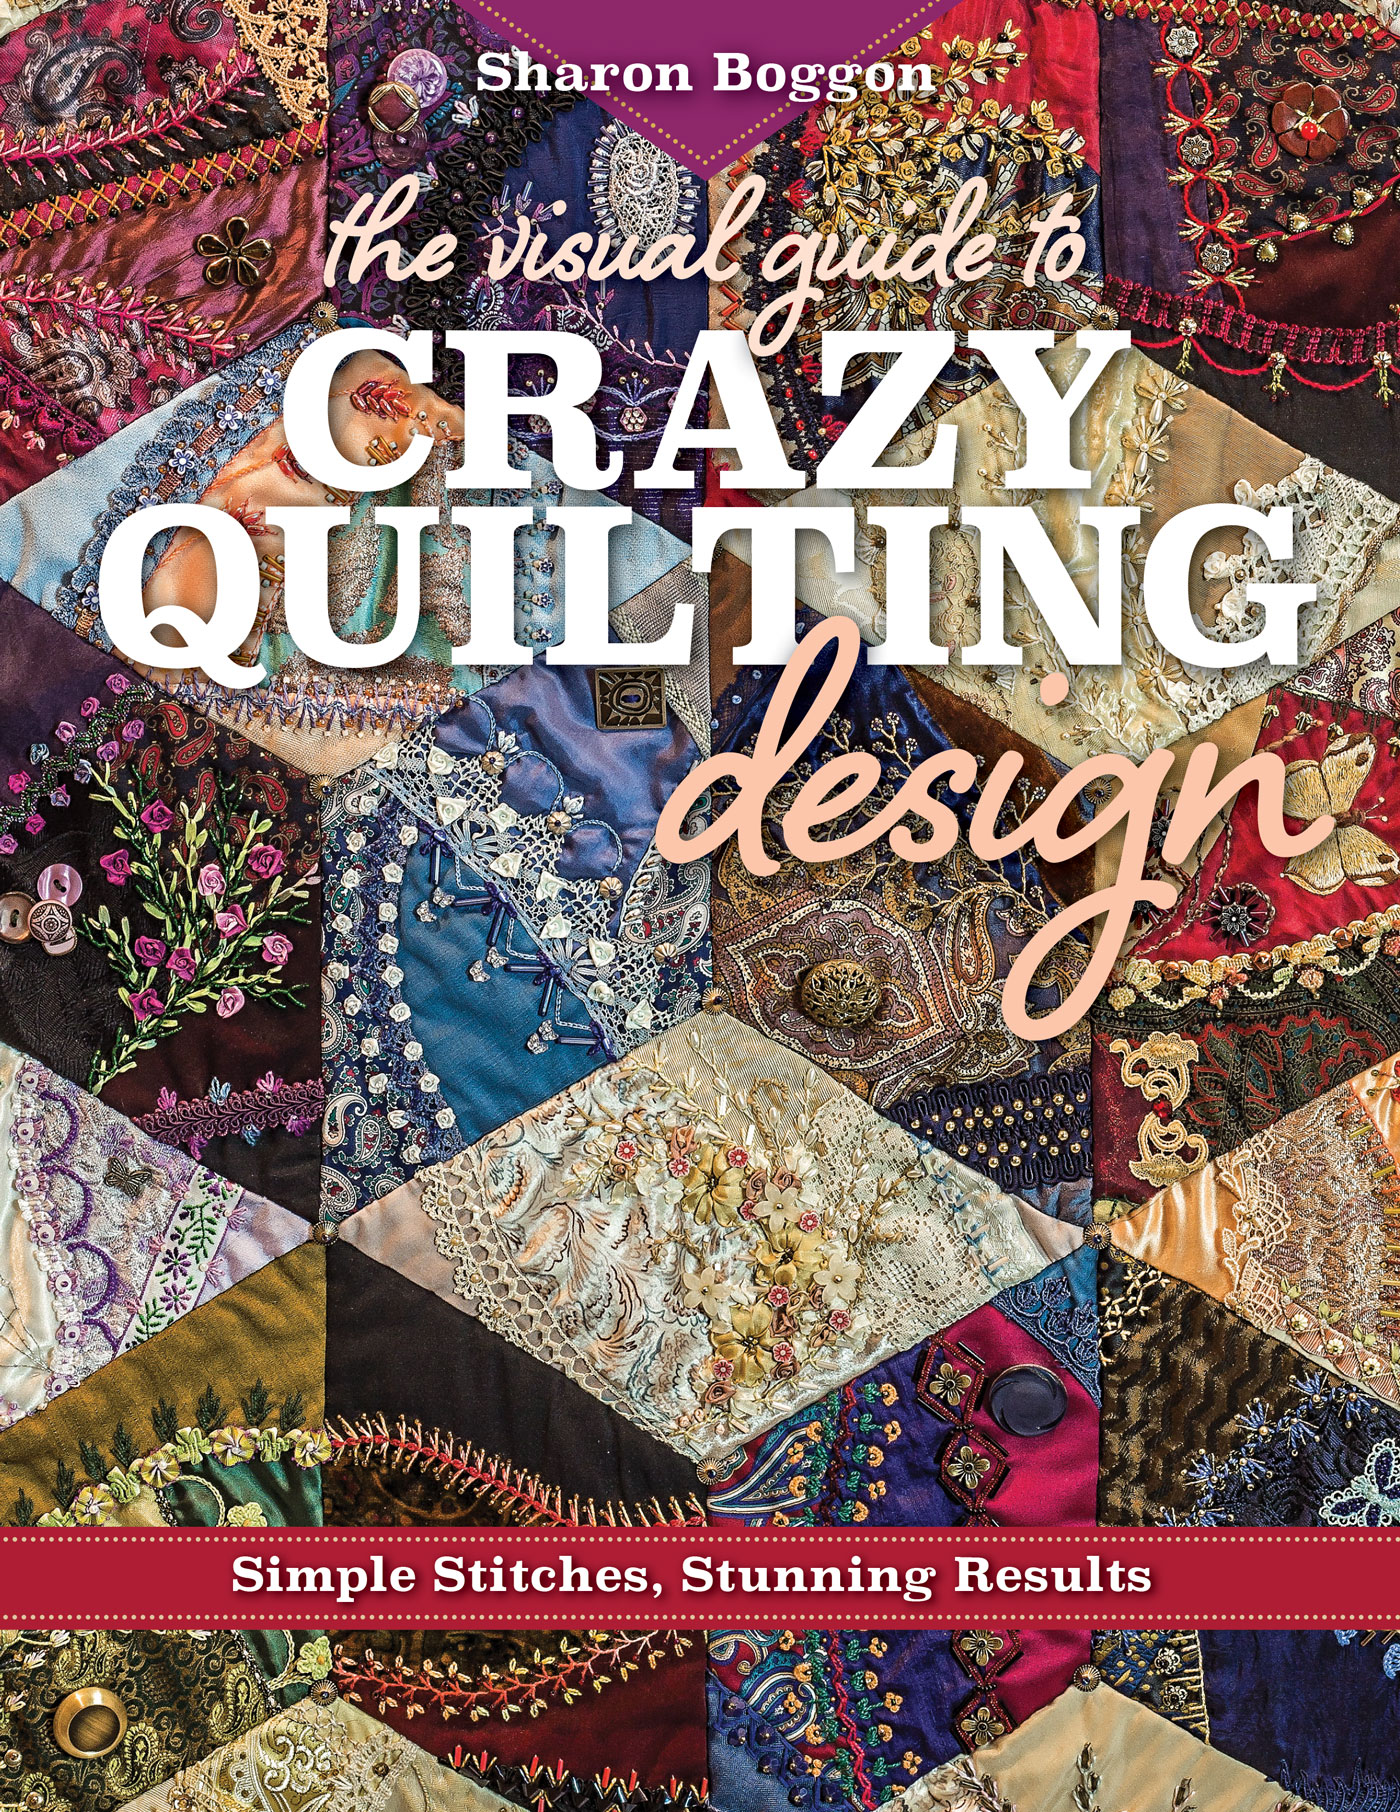
Sharon Boggon, author of The Visual Guide to Crazy Quilting Design: Simple Stitches, Stunning Results
My tip is to use a product called plastic canvas not for what it was made for but as a stitch guide. I use a water or air erasable pen to mark dots where your needle should enter and emerge from the fabric. The grid of the canvas makes an ideal guide.
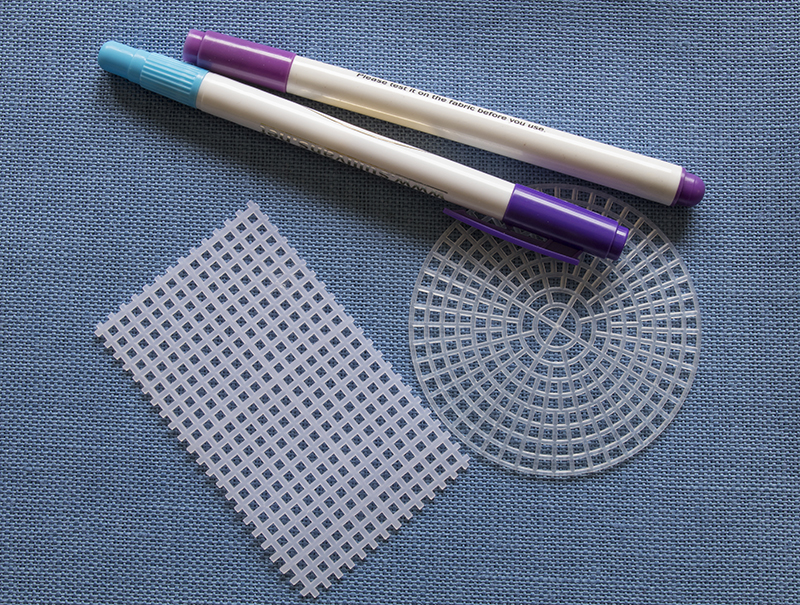
The plastic canvas comes in different sizes which means you can have a choice about your stitch spacing. It is also available in different shapes such as circles, hearts, triangles etc.
Plastic canvas is cheap as chips and can be easily cut with scissors. I have a small piece tucked in my sewing box and use it constantly. In my book I illustrate the dot patterns for the basic stitches using this technique.
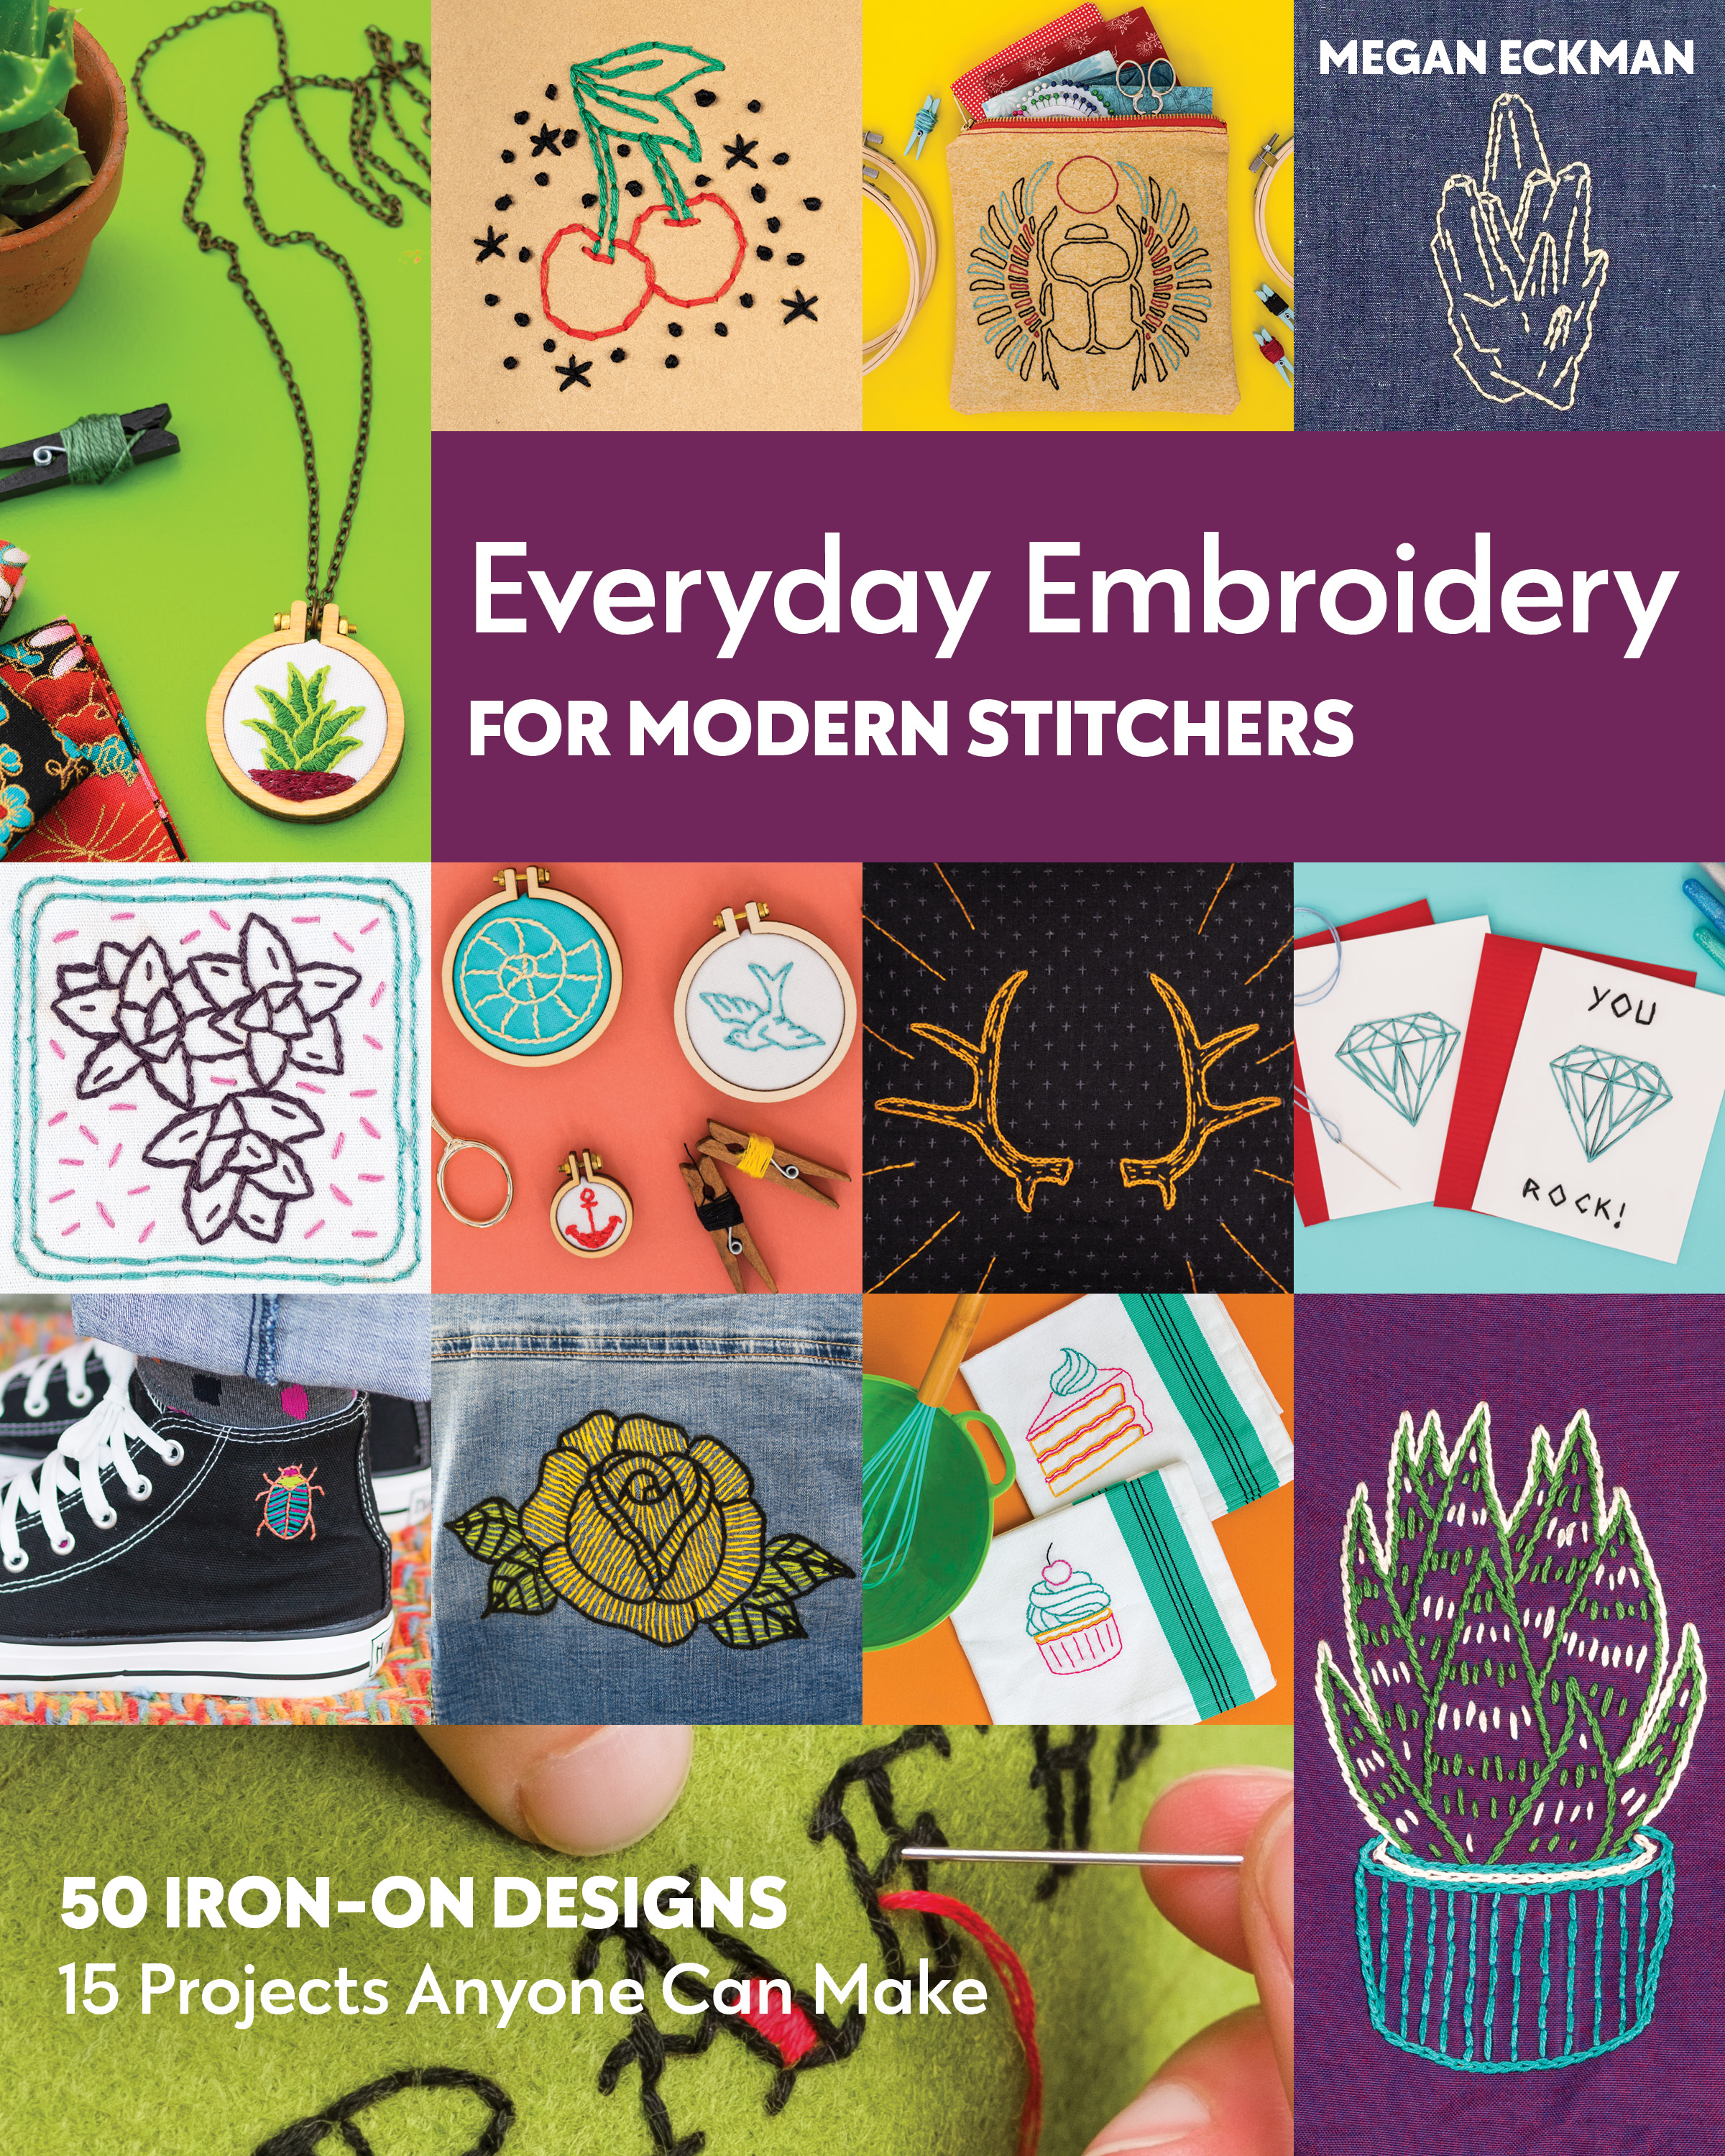
Megan Eckman, author of Everyday Embroidery for Modern Stitchers
Whether you're new to embroidery or have been sewing for ages, sometimes it helps to mix things up a bit. I always encourage my students to take a scrap piece of fabric and stitch a series of stitches (running stitch, split stitch, and stem stitch) with different numbers of strands. So, they'll stitch each of those 3 stitches with 1 strand, 2 strands, etc. all the way up to 6.
This really helps them make choices as they sew their project. If they want to emphasize an area and it uses a split stitch, 6 strands might be more than they want. Or if they want to go super thin, 2 strands might be perfect for a running stitch. Being able to see everything all at once cuts down on time spent undoing your stitches when you decide you want something to look chunkier or sleeker.
In my book, I let you decide your stitches and the number of strands you want to use, but I always discuss my personal choices so you can look at the photos for an idea of what yours might look like.
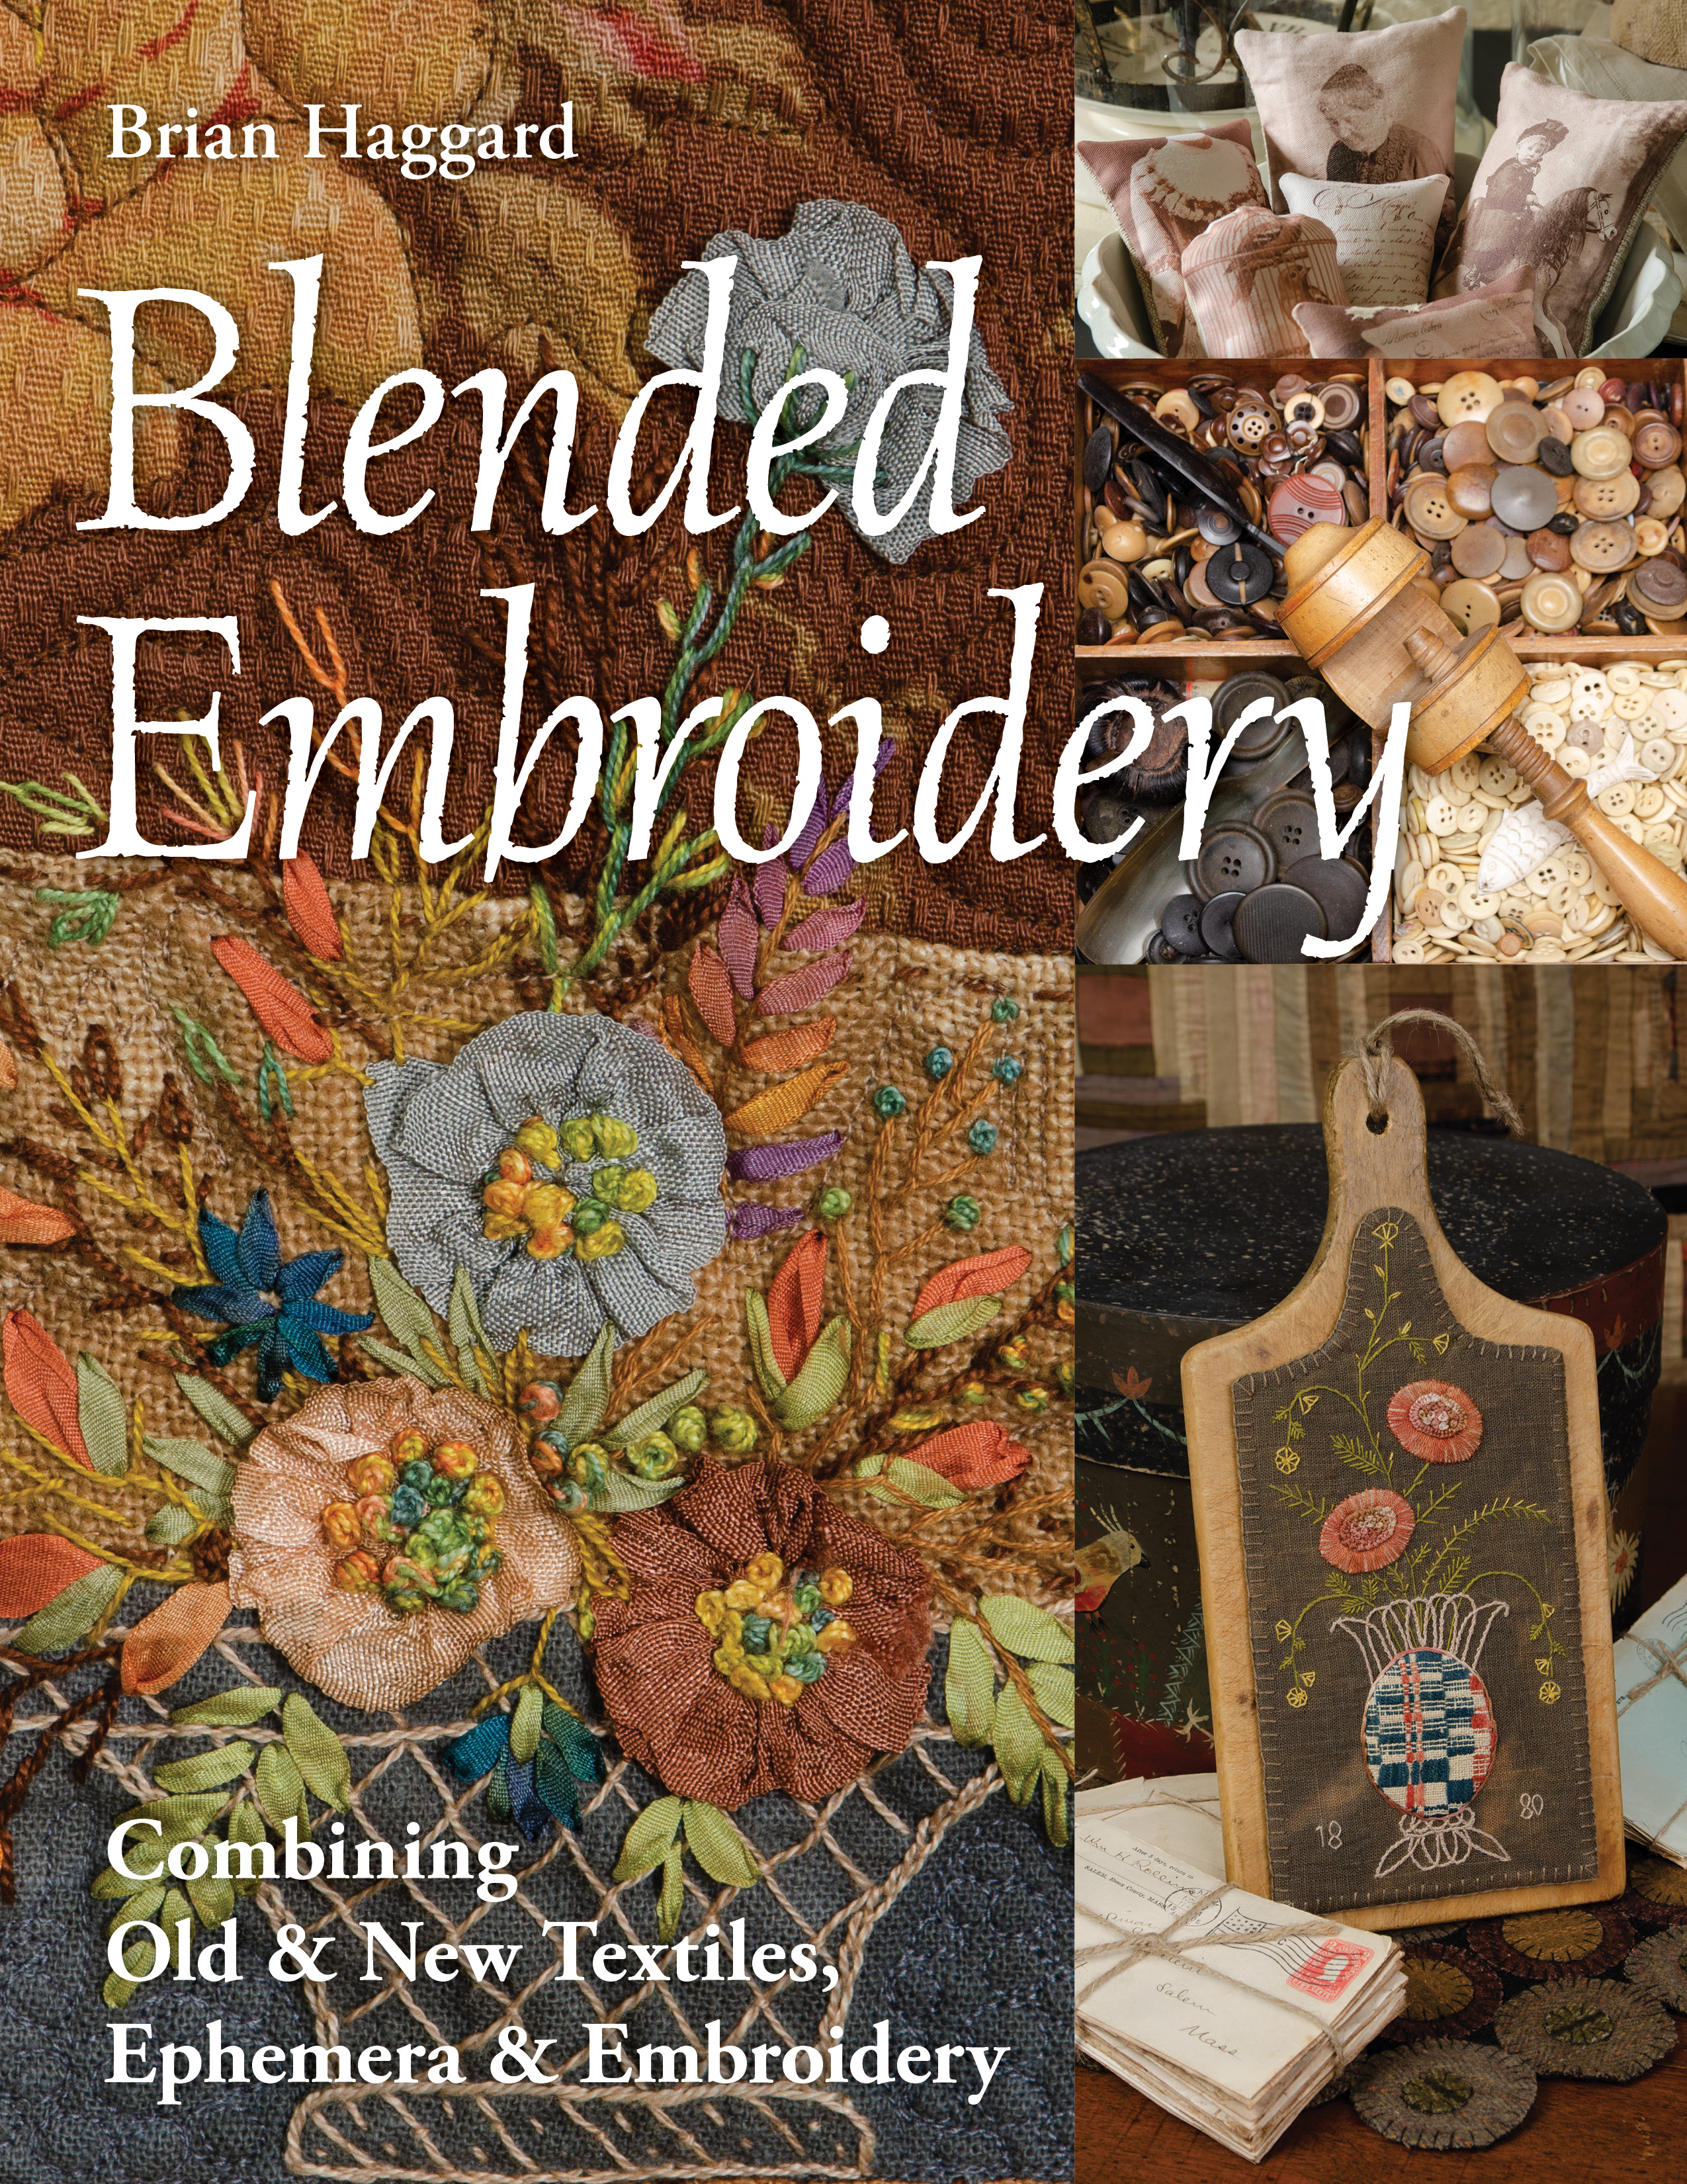
Brian Haggard, author of Blended Embroidery
When choosing a needle, ensure that the eye is larger than the width of the thread or ribbon you are using. To do otherwise will cause excess wear on the thread or ribbon you use.
I like to sort my buttons, laces, beads, and the like when I acquire them. Once inspiration sets in, I don’t want to risk losing focus by having to spend time searching and sorting for the perfect item.
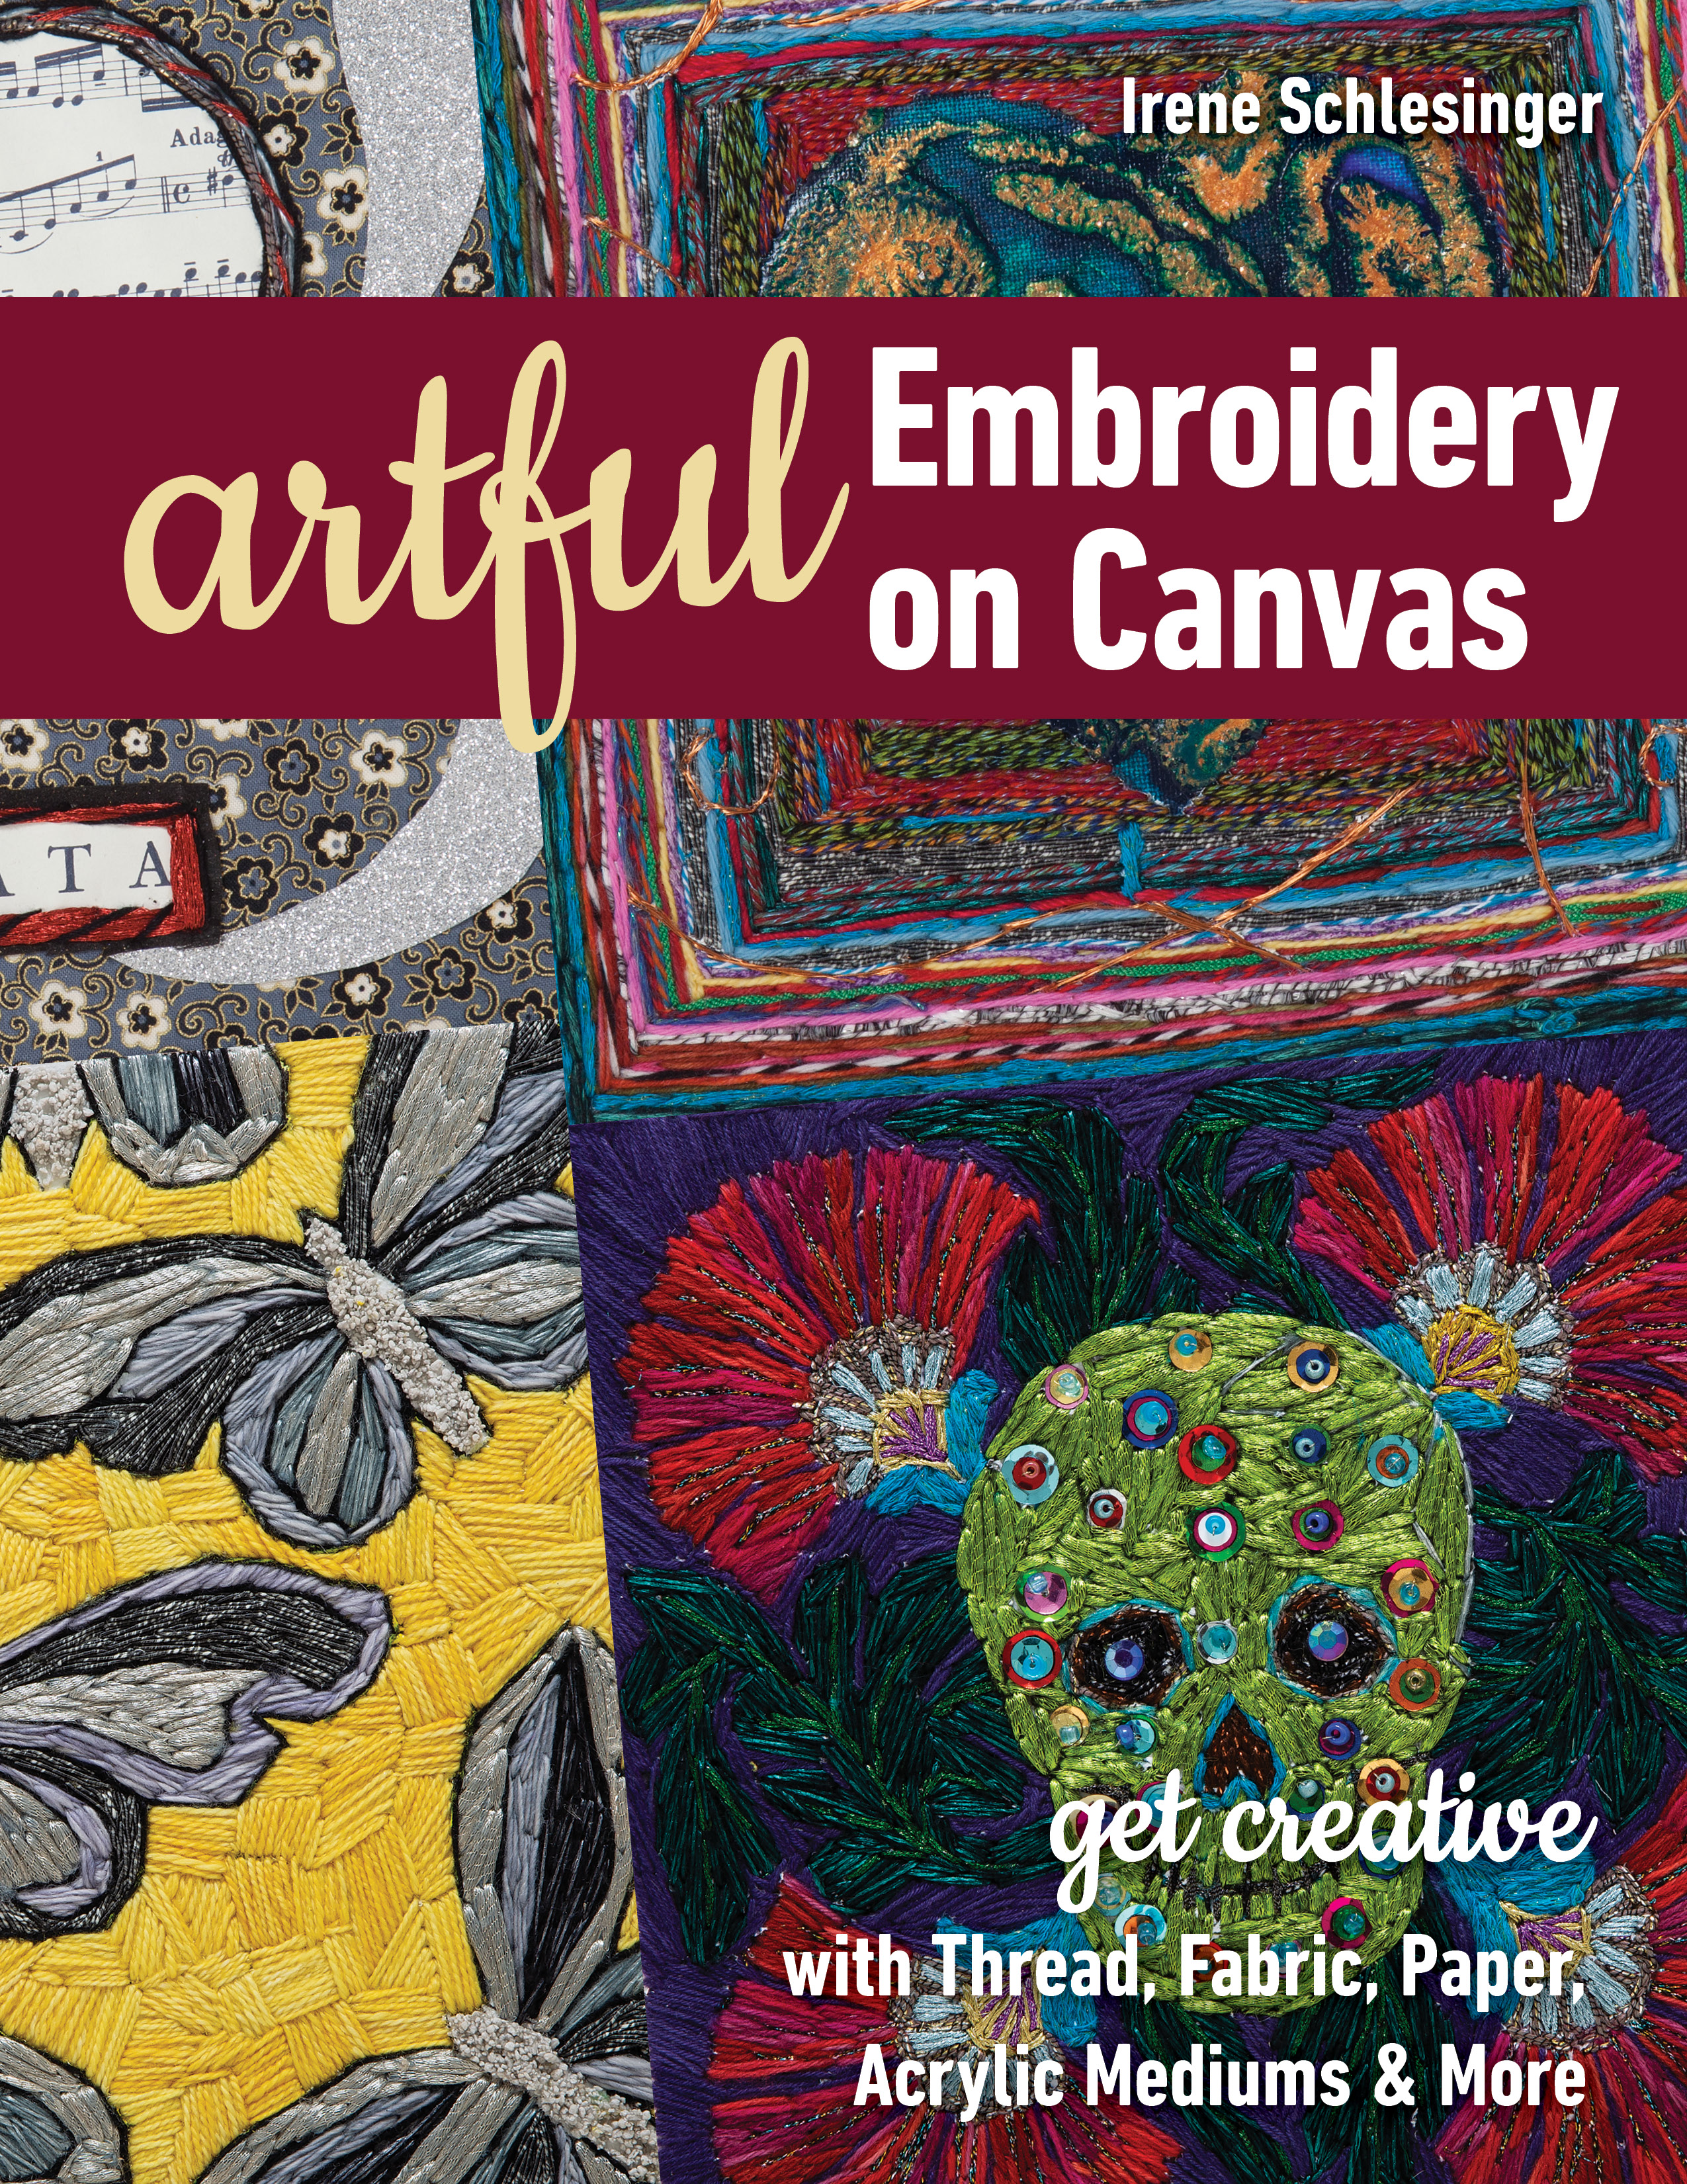
Irene Schlesinger, author of Artful Embroidery on Canvas
I work on stretched canvas and when I am going for long stitches, I sometimes use a regular glue stick on the canvas to be sure the long stitches stay tight. I can say that I've never had an issue with longer stitches.
Special Note
I would like to extend my special thanks to all that contributed to this post. Please visit C&T Publishing for the author’s titles and check out Creative Spark the new Online learning platform.
Happy Stitching!
~ Christen Brown
-
Shop:
The Embroidery Book by Christen Brown
Doodle Stitching: Embroidery Art by Aimee Ray
Crazy Quilting Dazzling Diamonds by Kathy Seaman Shaw
The Visual Guide to Crazy Quilting Design: Simple Stitches, Stunning Results by Sharon Boggon
Everyday Embroidery for Modern Stitchers by Megan Eckman
Blended Embroidery by Brian Haggard
Artful Embroidery on Canvas by Irene Schlesginer


