


Couldn't load pickup availability

Elm Creek Quilts Christmas
Turn each page to unwrap festive quilts, timeless stories, and the joy of the...

Couldn't load pickup availability

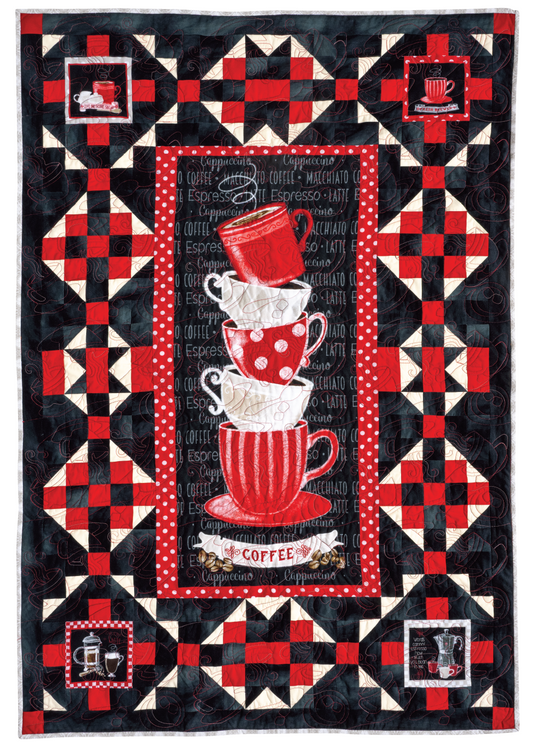
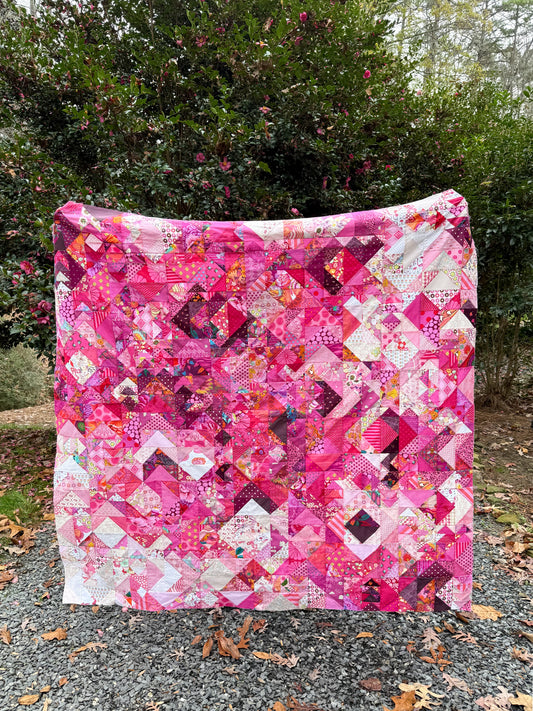
Quilt Panel Adventure: Design a Legendary Layout
A quilt panel adventure in design that transforms a single panel into a custo...
Couldn't load pickup availability

Elm Creek Quilts Christmas Eco Tote
Carry your creativity in style with the perfect bag for all your essentials. ...
Couldn't load pickup availability

Amigurumi Card Deck
Enchanting Amigurumi Anywhere: Easy, Take‑Along Crochet Projects for Beginner...
Couldn't load pickup availability

333 Origami Sheets Japanese Designs for Luck & Fortune
Elevate every origami fold with Japanese designs inspired by luck, beauty, an...
Couldn't load pickup availability

On-the-Go Embroidery Cards Set 2
Your on-the-go embroidery companion with sixty more creative stitches! ...
Couldn't load pickup availability

Sew Very Easy Dresden Fan Template
Effortlessly piece Dresden fan blocks with Laura Coia’s precut-friendly templ...
Couldn't load pickup availability

Embroidery Pocket Guide
A pocket-size encyclopedia of the most popular stitches and much more. The gu...

Couldn't load pickup availability

Quilt Builder Card Deck Kim Diehl Special Edition
Mix, match, and quilt your way to a Kim Diehl-inspired scrappy masterpiece! ...
Couldn't load pickup availability

Quilter's Quick-Reference Guide
Quilt smarter, not harder—with our go-to reference tool at your fingertips! ...
Couldn't load pickup availability
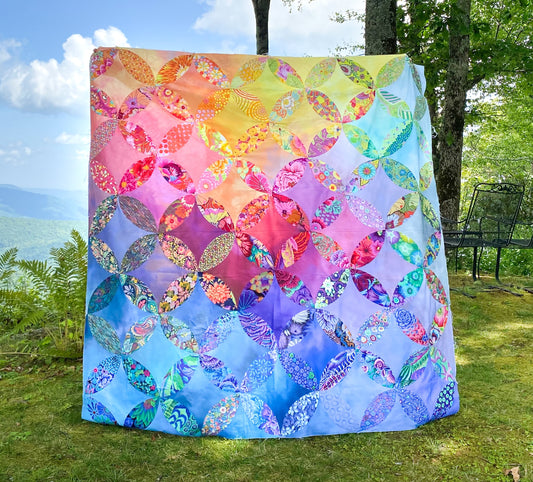
Quilt Panel Adventure: Design a Legendary Layout
A quilt panel adventure in design that transforms a single panel into a custo...
Couldn't load pickup availability

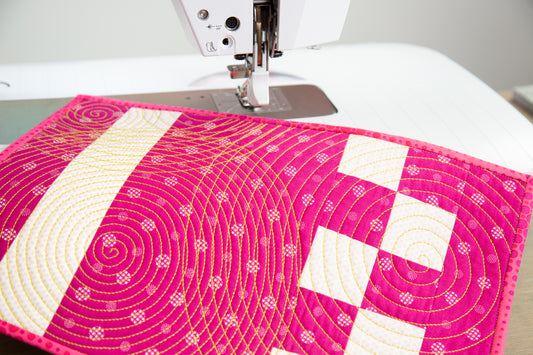
Walking Foot Quilting: From Simple to Spectacular
Master stress‑free walking‑foot quilting on any domestic machine with clear s...
Couldn't load pickup availability

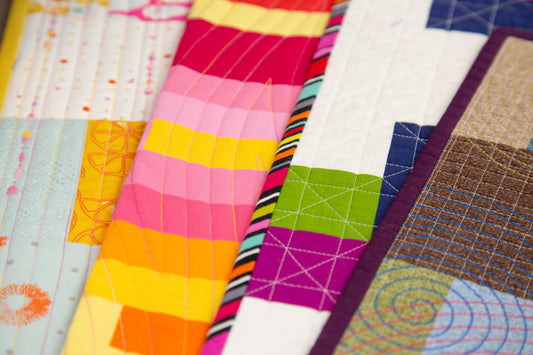
Finishing Strong: Quilt-As-You-Go & Binding Basics
Finish your quilts with confidence using simple quilt‑as‑you‑go joins, polish...
Couldn't load pickup availability

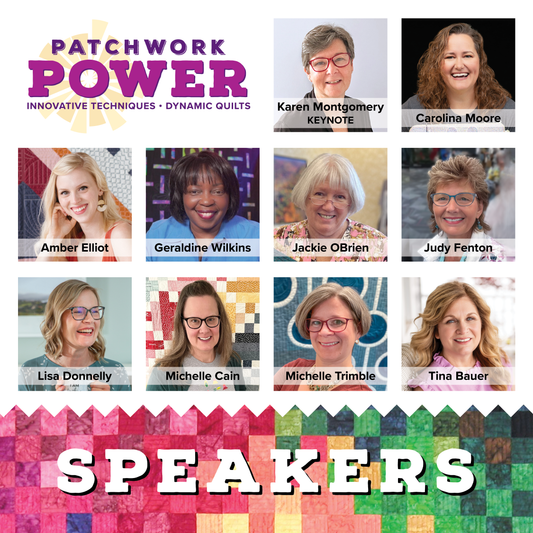
Patchwork Power: Innovative Techniques, Dynamic Quilts
Give your quilting skills a power-up in this one-day virtual retreat featurin...
Online Learning
-
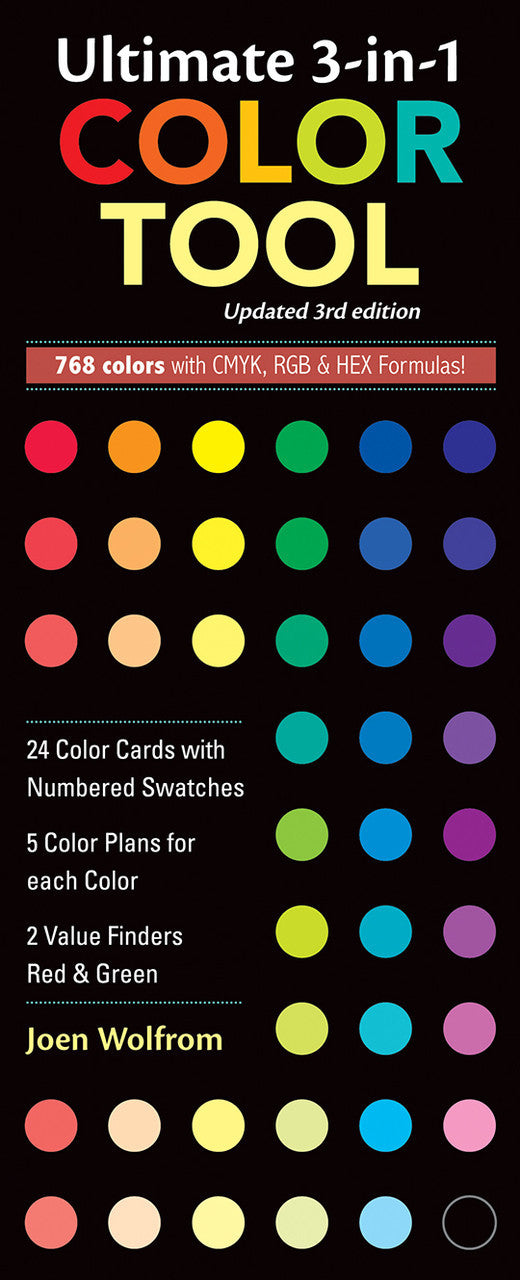
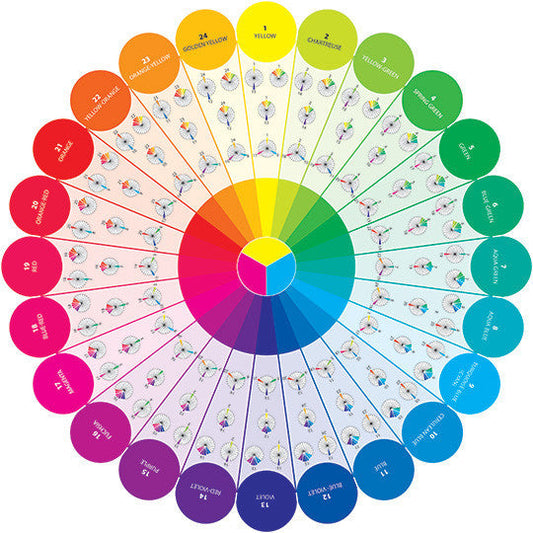
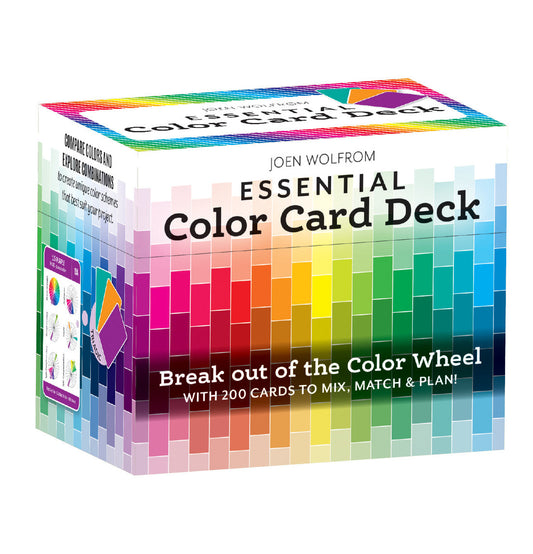
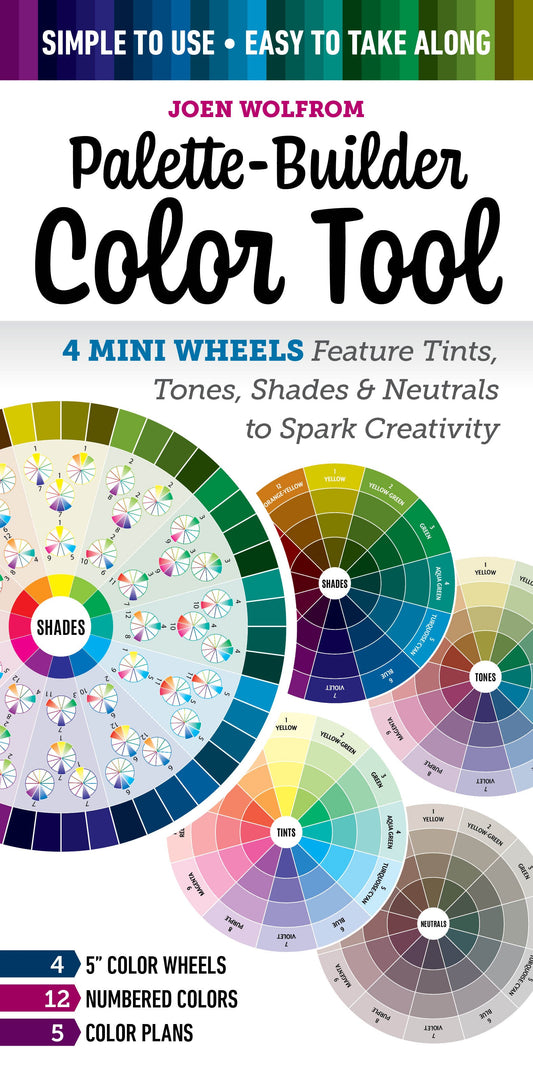
Best Selling Color Tools
-
LATEST BLOGS
-

Why Increasing Your Stitch Vocab Is Important
On Posted by C&T Publishing StaffDiscover Creative Stitches for Contemporary Embroidery Vol. 1 & 2: practical, step‑by‑step stitch guides for left- and right‑handers that treat stitches as an artist’s language, helping you explore, adapt, and...
Why Increasing Your Stitch Vocab Is Important
On Posted by C&T Publishing StaffDiscover Creative Stitches for Contemporary Embroidery Vol. 1 & 2: practical, step‑by‑step stitch guides for left- and right‑handers that treat stitches as an artist’s language, helping you explore, adapt, and...
-

The Leather in Cosplay, From Hide to Hero Book ...
On Posted by C&T Publishing StaffJoin Wig-Wig Cosplay’s 6-day, 13-stop virtual book tour for Leather in Cosplay, From Hide to Hero, starting May 26! Discover tour stops, giveaways, cosplay projects, and celebrate the release with Alan...
The Leather in Cosplay, From Hide to Hero Book ...
On Posted by C&T Publishing StaffJoin Wig-Wig Cosplay’s 6-day, 13-stop virtual book tour for Leather in Cosplay, From Hide to Hero, starting May 26! Discover tour stops, giveaways, cosplay projects, and celebrate the release with Alan...
-

Richly Stitched Landscape Embroidery Virtual Bo...
On Posted by C&T Publishing StaffJoin the Richly Stitched Landscape Embroidery virtual book tour starting May 18! Follow daily stops with inspiring hosts sharing reviews, photos, and insights into Cassandra Dias’s thread-painted landscapes. Plus, enter...
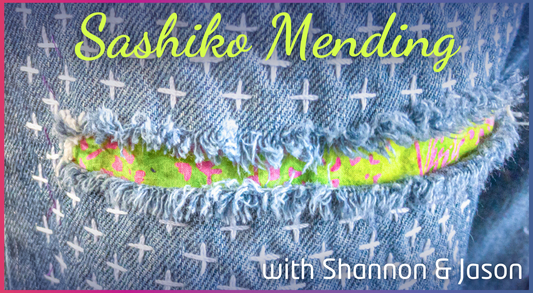
Featured YouTube Video
OUR IMPRINTS


- Choosing a selection results in a full page refresh.
- Opens in a new window.
×ExampleExampleExample(0 )ExampleView detailExampleExampleOption1Option2Option3Option1Option2Option3Sold outQuantityAdd To CartBuy NowCompareAdd WishlistShare:Guaranteed safe & secure checkout Bought Together