


All About Me & My 18" Doll: BONUS Pattern & Giveaway!
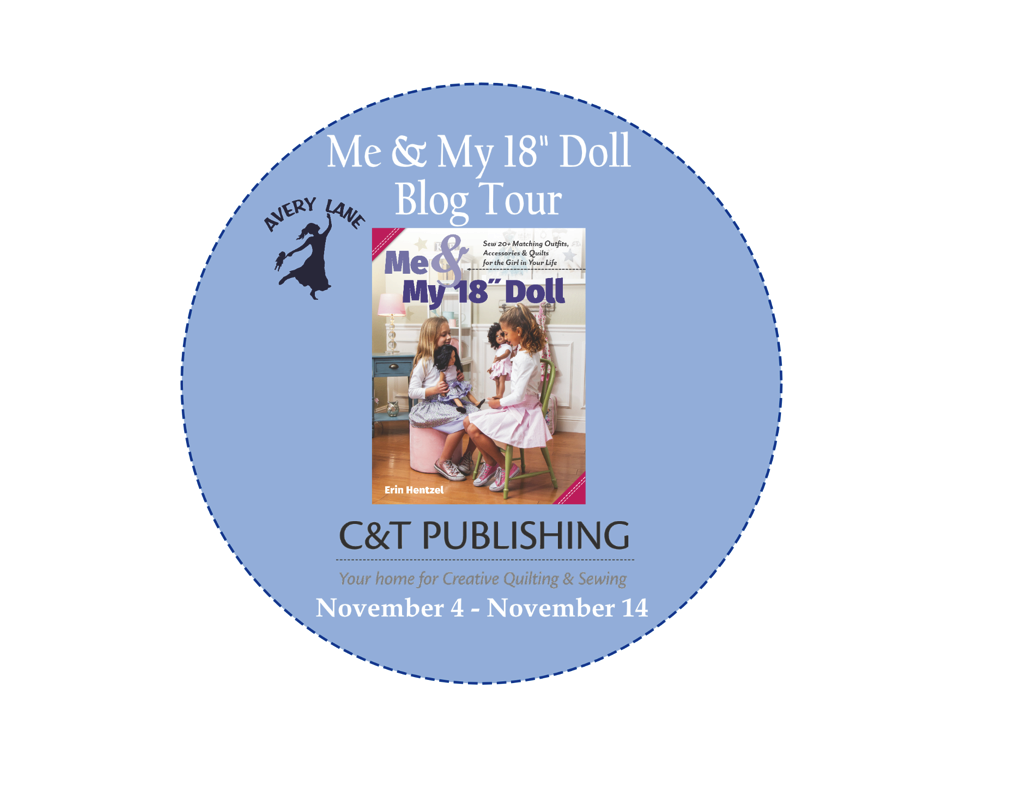
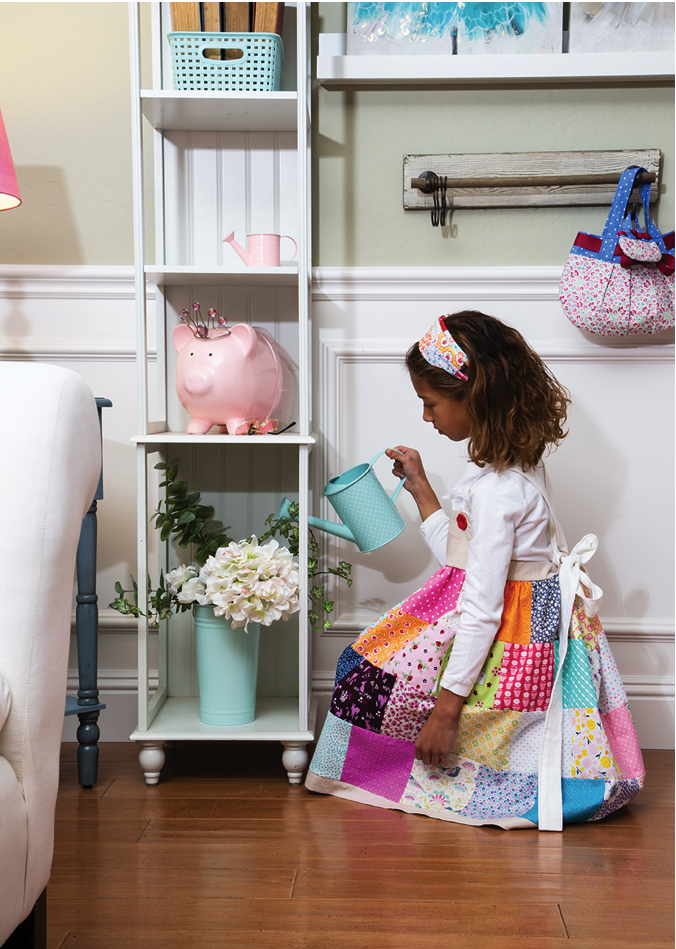
Hello and welcome to the Me & My 18” Doll book blog tour! This book is perfect for the seamstress or quilter who loves to sew gifts for little girls! The book has accessories, quilts and clothes, and includes the patterns for both girls and their dolls!
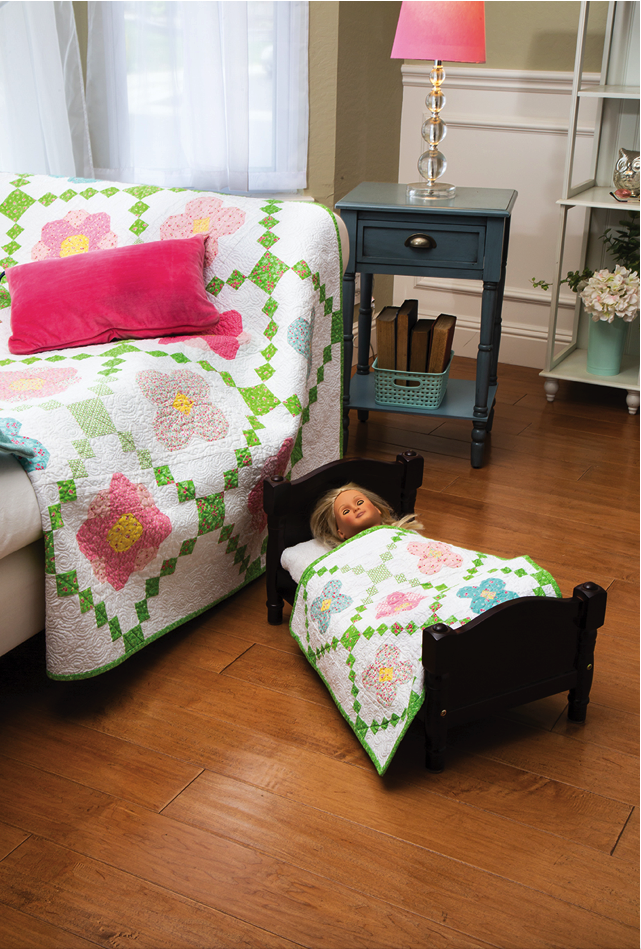
Emma’s Garden Quilt
Linen and Patchwork Pinafore
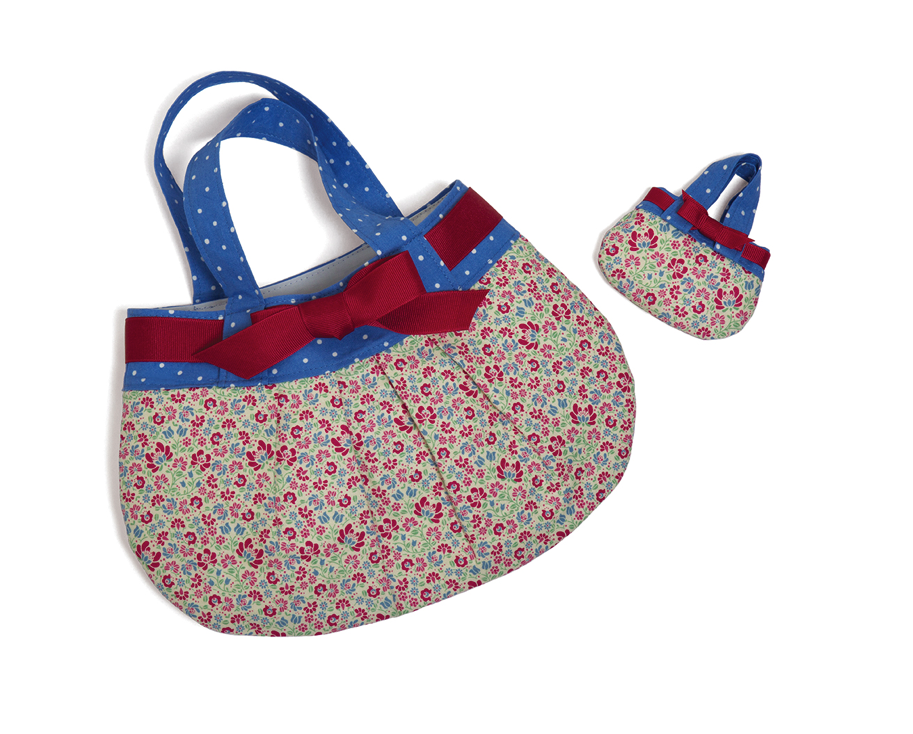
Little Handbag with a Bow
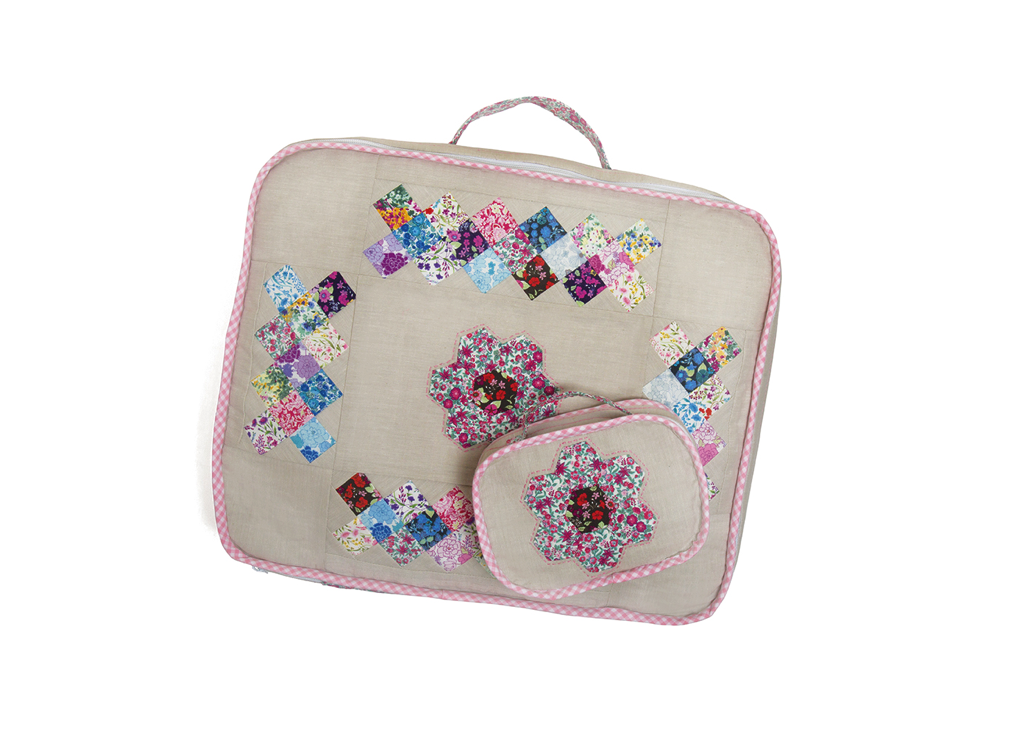
Postage Stamp Suitcase
I’m so thrilled to be guest posting for C&T and share with you some fun bonus patterns throughout the blog tour. These projects are add-ons for the book, giving you more sweet projects to make for the little girl in your life and her doll friend.
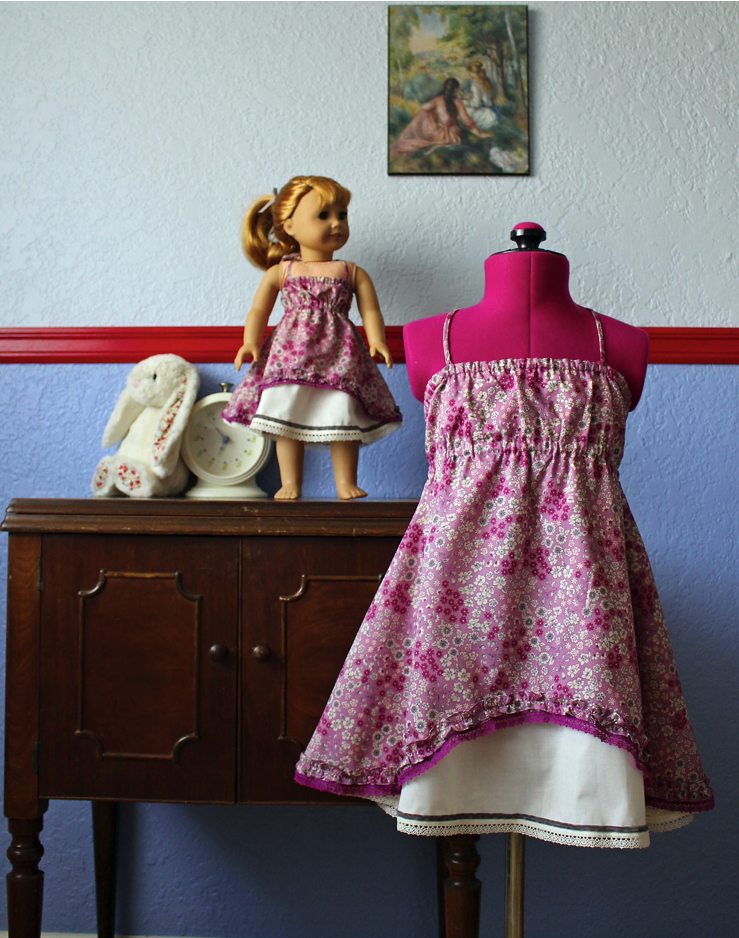
This bonus pattern is another variation of the Summer Breeze Sundress project (View C).
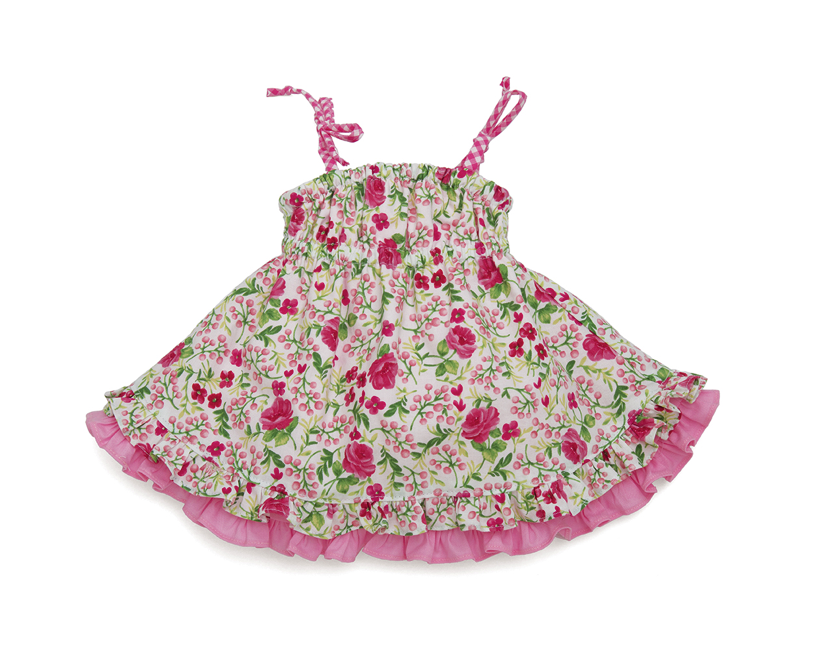
Summer Breeze Dress View A
This variation was one that could not fit into the book. It’s so hard when there isn’t enough space to include all the designs I plan. This is one of my favorites and I hope you love it as much as I do.
For the doll-sized dress, you can download the pattern piece for the dress front here.
For the View C underdress front and back pieces and overdress back piece, refer to the pullout pattern sheet in the book (doll) and the drafting instructions on page 34 for the girl dress. You will use the View A, longer length, for both the underdress (front and back) and the overdress back.
For the modified overdress front piece (girl dress), you will draft a special pattern with which to cut out the fabric. I am drafting a size 5/6. If drafting a larger size, you may widen your points an inch or so from the center front toward the side edges. The points and curves do not have to be exact. You will just want the general shape to be similar to what I’m demonstrating.
Materials Needed
- Dritz drafting ruler
- Pattern tracing paper, medical paper, or other paper on which to draw the pattern
- Pencil
- Acrylic ruler
Drafting Instructions
1. Begin by drafting an additional underdress front piece View A (page 32) the same length as your overdress back piece.
2. On the center front fold line, mark 2” and 4 1/2” up from the original hemline.
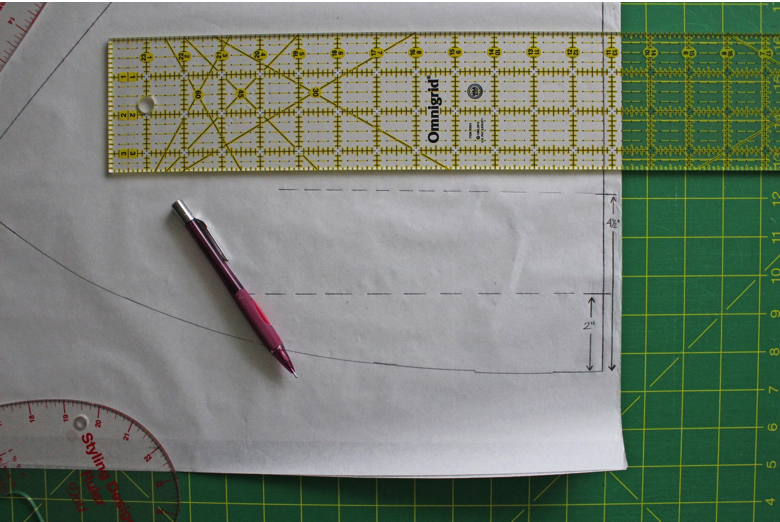
3. Draw a line at each of these points, perpendicular to the center front/fold line.
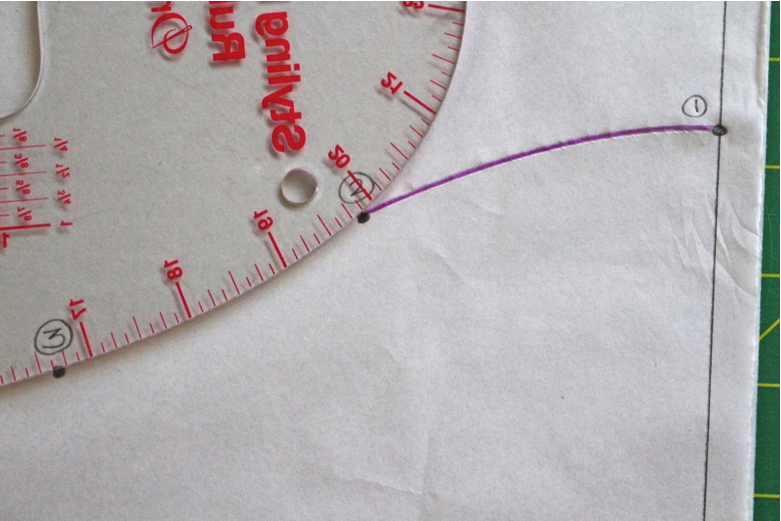
4. Mark the intersection of the fold line and the 4 ½” mark, and label it point #1.

5. Mark a point, 1” down and 3 ¼” over from point #1, and label this point #2.
6.Mark a point along the lower line, 6” in from the center front and label it #3.
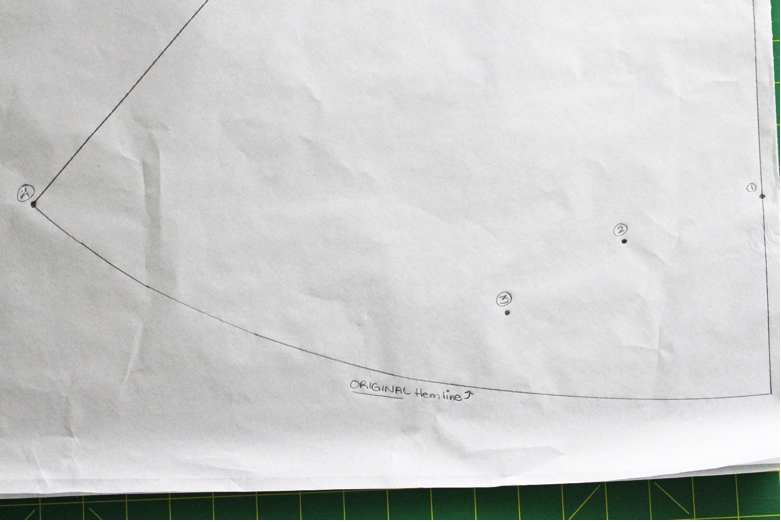 7. The last point is at the original hemline and
side cutting line intersect. Label this point #4.
7. The last point is at the original hemline and
side cutting line intersect. Label this point #4.
8. Using the rounded edge of the drafting ruler, align it to go through points 1 and 2. Draw a round line connecting the 2 points, as shown.
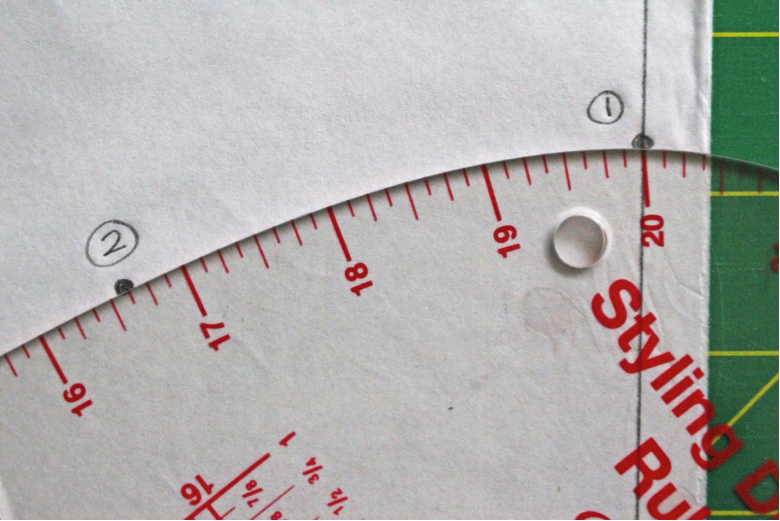
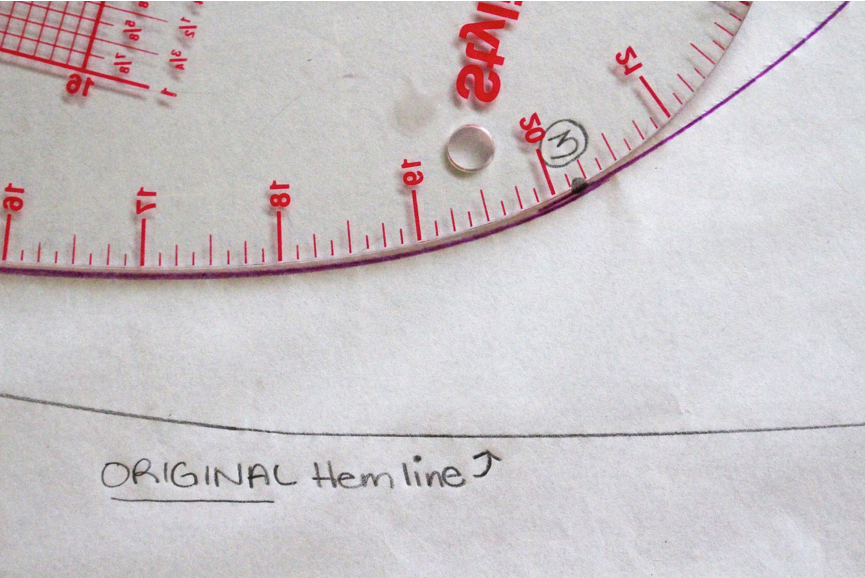
9. Flip the ruler upside down, so it is curved the opposite direction and align it to go through points 2 and 3. Draw a curved line connecting to the line drawn in step 8 and passing through points 2 and 3, as shown.
10. The last line is drawn in 2 steps: begin at the side edge, point #4, and draw a gently sloped line that comes almost to point 3 and the line drawn in step 9.
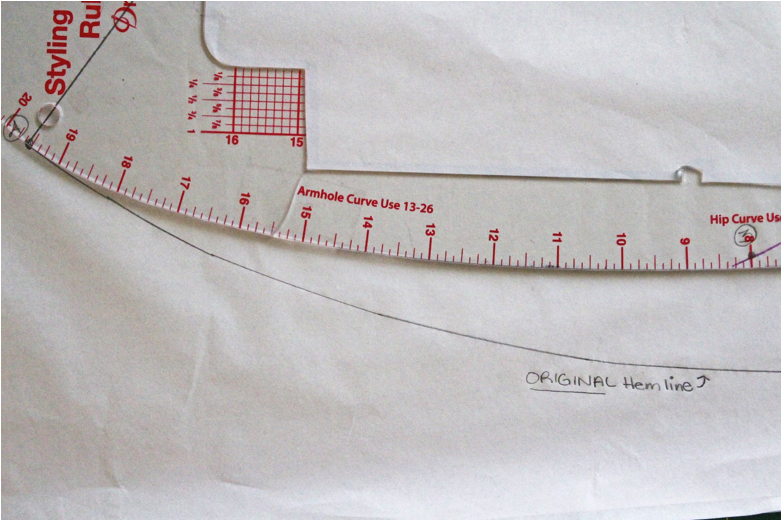
11. Use the portion of the ruler that fits best within the gap in the line and connect the 2 lines.

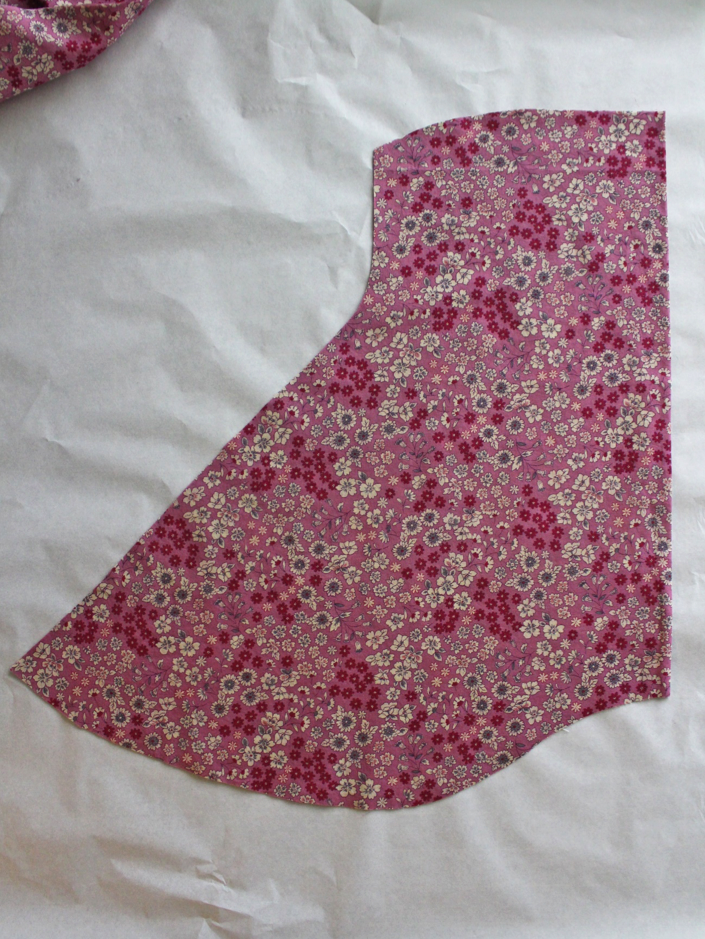
Use this new hemline to cut out the fabric for the Overdress Front piece and sew the dress according to the instructions.
Sewing Instructions
Follow the instructions on pages 35 – 36, with the following changes.
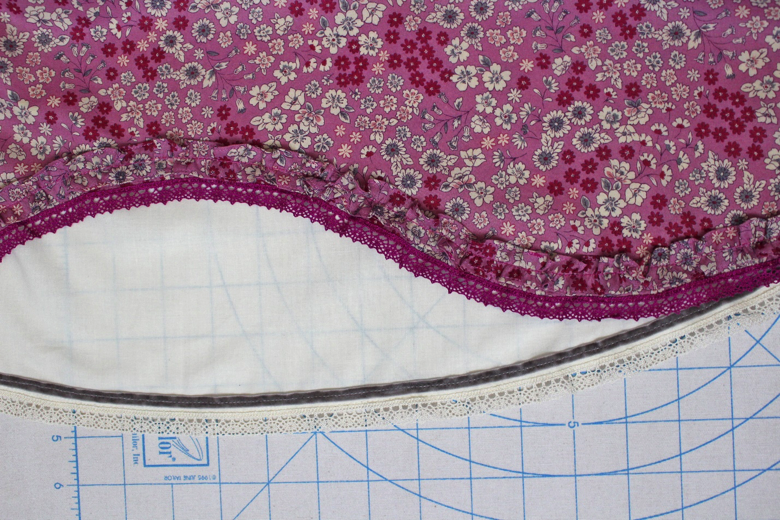
Hem
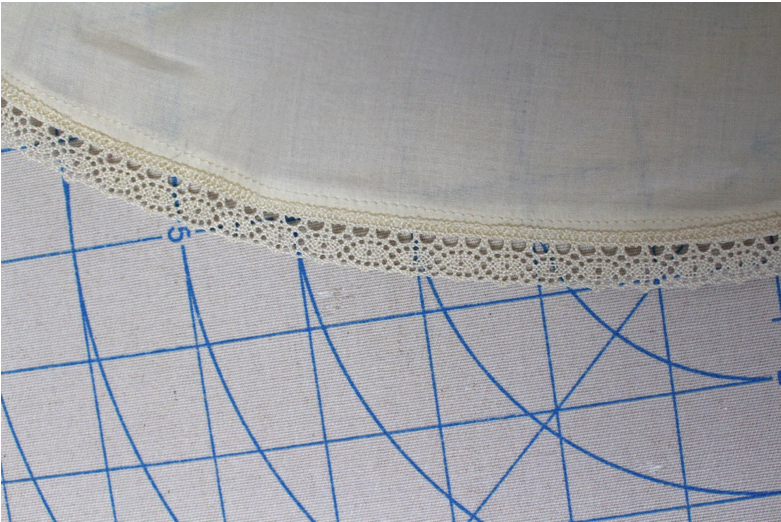
1. Hem the overdress and underdress with a narrow hems: by folding twice ¼” to the wrong side, pressing after each fold, and sewing across the folded edge. I prefer to serge the edge and press only once or I use a narrow hem presser foot.
2. Sew crochet lace trim on the hems.
Add a ruffle above the hem of the overskirt.
1. Cut 2 - 1 ½“ x WOF strips sewn together to make one long strip (girl) and a 1” strip x WOF (doll).
2. Sew the short ends together to form a loop.
3. Sew narrow hems on the long edges.
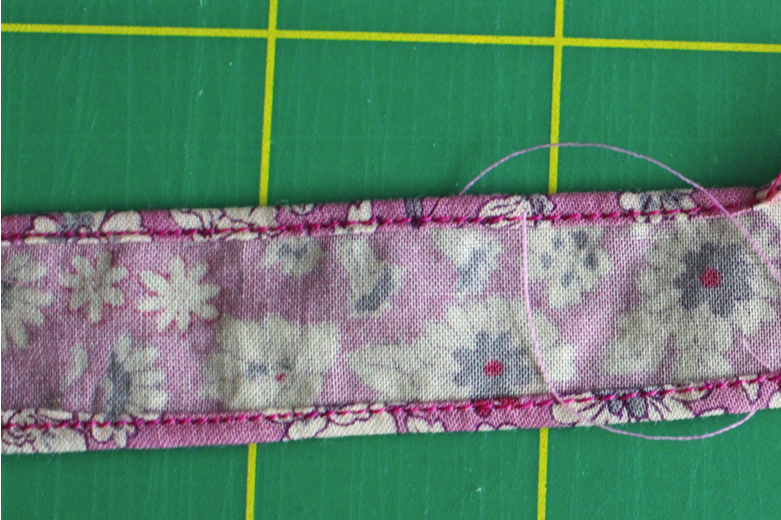
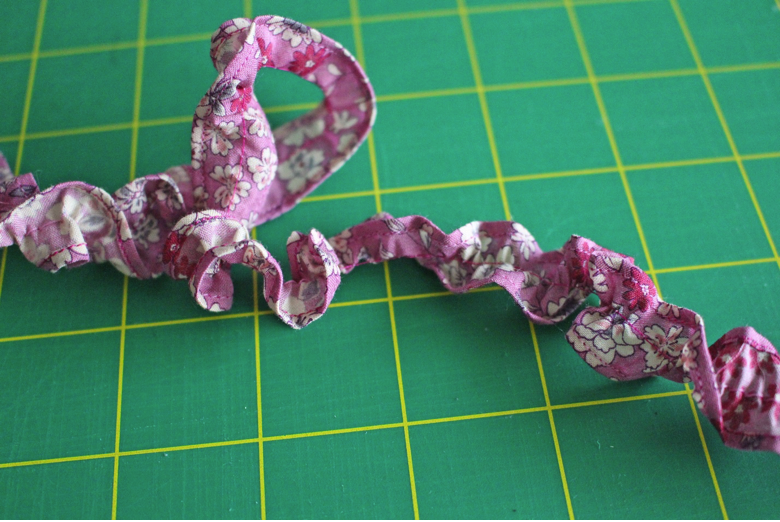
4. Sew a single row of gathering stitches in the center of the strips and gather to fit the hemmed edge of the dress.
5. Sew it to the dress directly on top of the gathering stitches, with both right sides facing up.
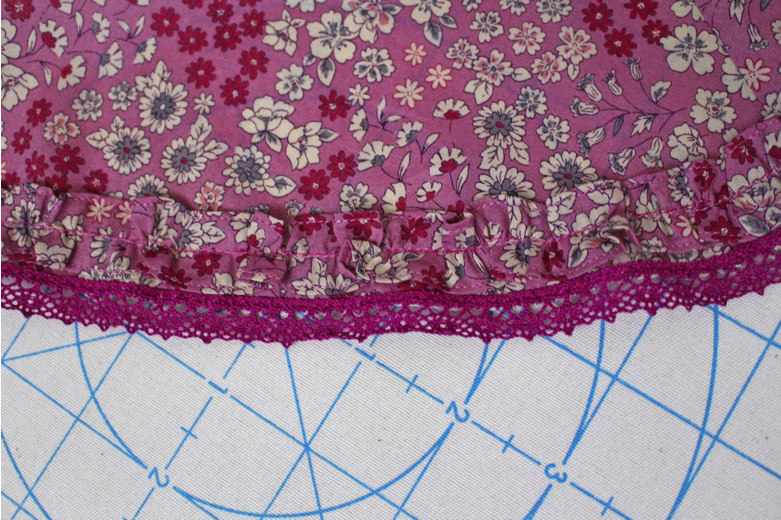
To finish, sew a velvet ribbon above the crochet lace on the underdress.
Straps
Cutting Instructions
Back Straps Lengths:
Doll: 4 ½” (2)
Girl: 10” (2)
Front Straps:
Doll: 12” (2)
Girl: 18” (2)
Sewing Instructions
Baste the straps in front as directed in the book (page 36).
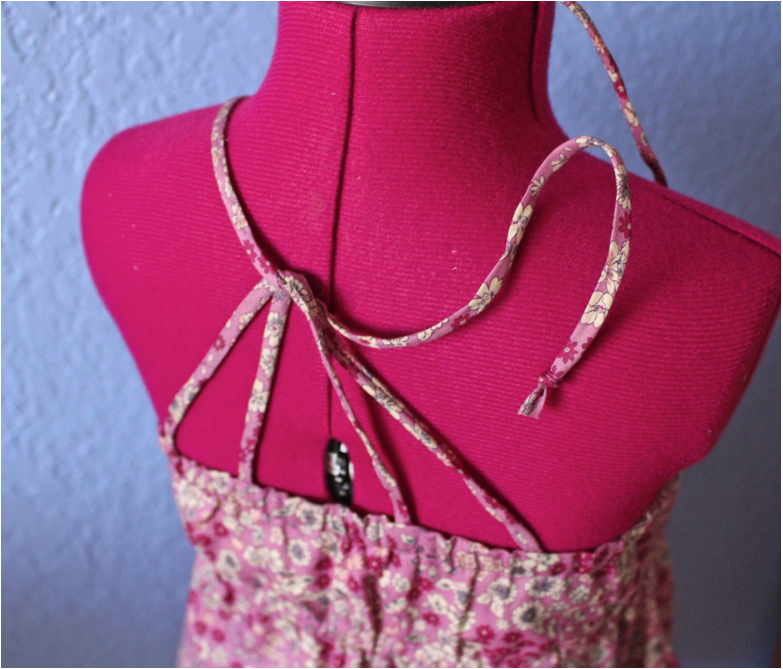
For the back straps:
The additional placement points are ¾” from the original placement (doll) and 2” from the original placement, toward the center back.
1. Pin and baste the 2 straps onto one side of the center back, with right sides together. Do not baste the other ends of the back straps.
Doll Dress

Girl Dress
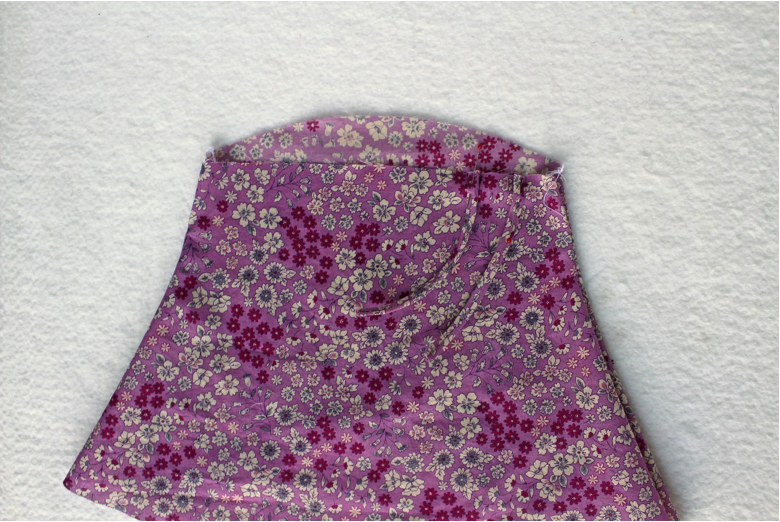
2. When sewing the underdress and overdress together at the top edge, leave an opening on the half of the back where the straps are not basted in place. Sew the top edge starting at the side and ending at the center back.
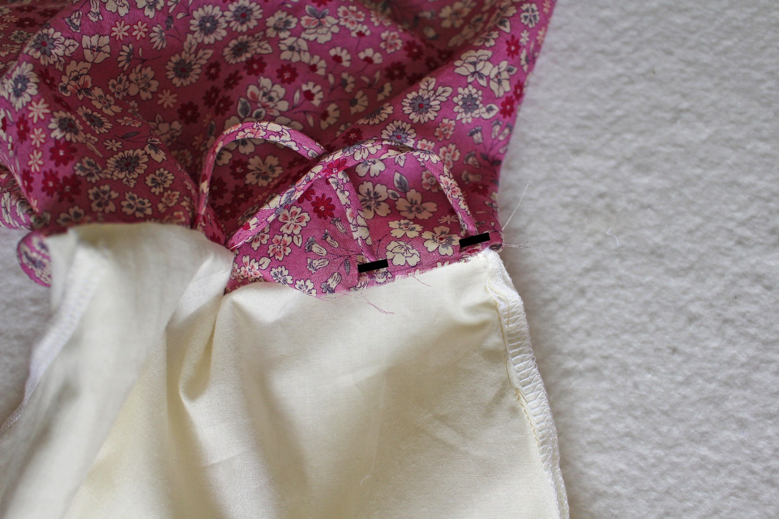
3. Separate the overdress and underdress at the opening, align the free ends of the straps to cross and baste them to the right side of the dress on the placement marks.
4. Sew the remainder of the top edge, sewing also the straps in place.
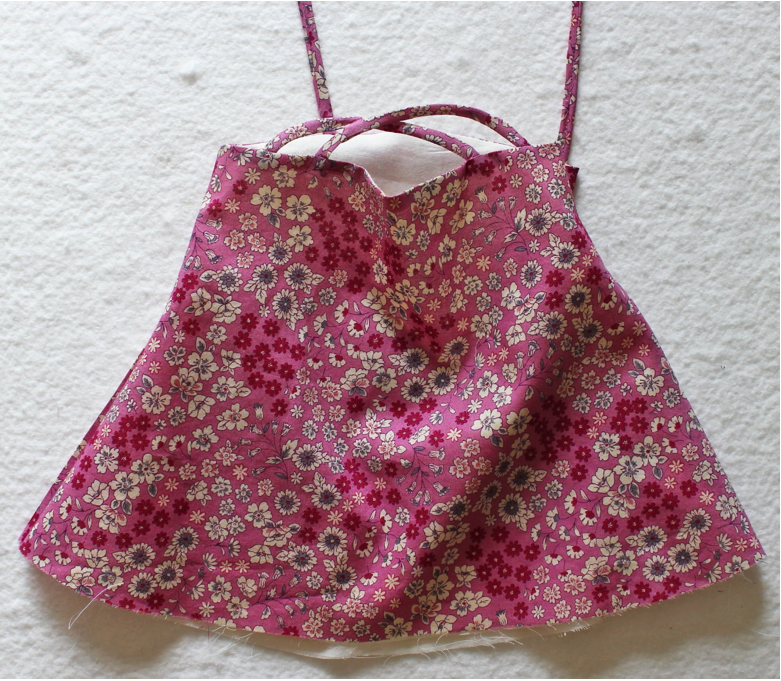
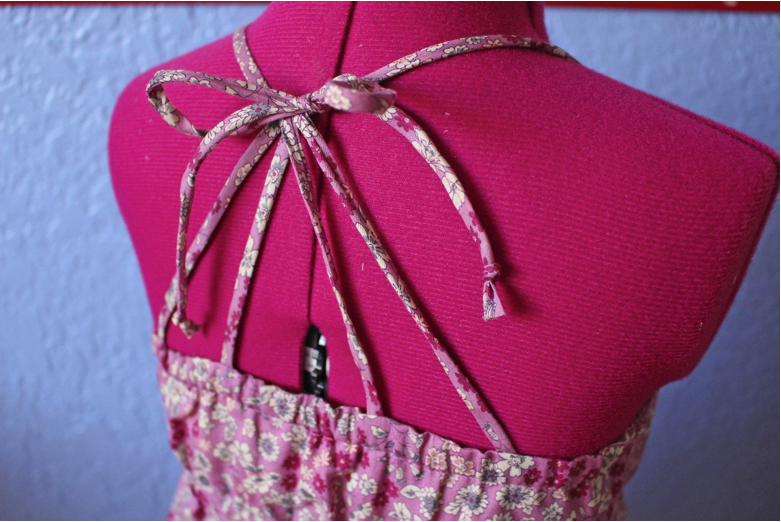
Doll Dress
Once the dress is finished, feed one front strap through the loops that the back straps create and tie the front straps together at the center of the back as shown.
I hope you enjoy sewing these fun-to-wear twirly dresses!
Follow along with the Me & My 18” Doll Blog Tour for more bonus patterns and reviews of my new book!
Blog Tour Schedule
Nov. 4 Block Tour Kickoff by Erin Hentzel on C&T Pub Blog
Nov. 5 Marge Robertson on Mer * made 9
Nov. 6 Dori Troutman on the Red Feed Sack
Nov. 7 Jane Wilkes on Janie Carroll Designs
Nov. 8 Teri Lucas on Terificreations
Nov. 11 Guest post by Erin on Clothworks Textiles
Nov. 12 Cherry Guidry on Cherry Blossoms Quilting
Nov. 13 Tracy Mooney & Lori Baker on the Quilting Company
Nov. 14 Me on Avery Lane Sewing
Giveaway now closed.


