

Tips for Wool Appliqué Basics
Apr 22nd 2020
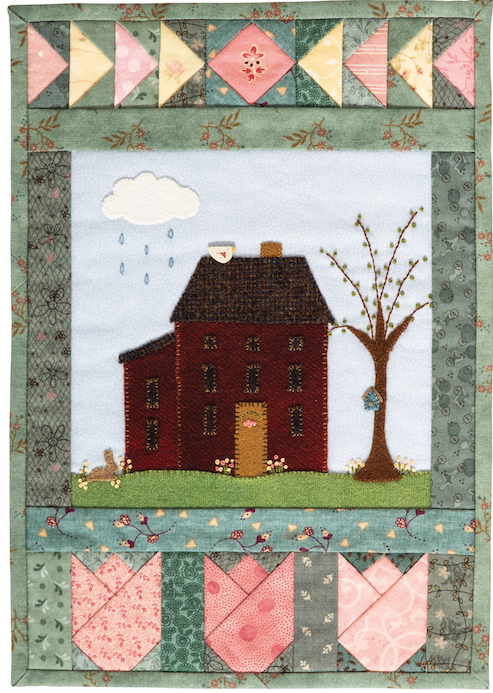
Happy Spring! The following information is from Stitching for the Seasons by Jen Daly-- learn some helpful wool appliqué basics to get you started on your next project! Plus, be sure to scroll to the bottom for a chance to win an ebook copy in our giveaway.
Wool Appliqué Basics
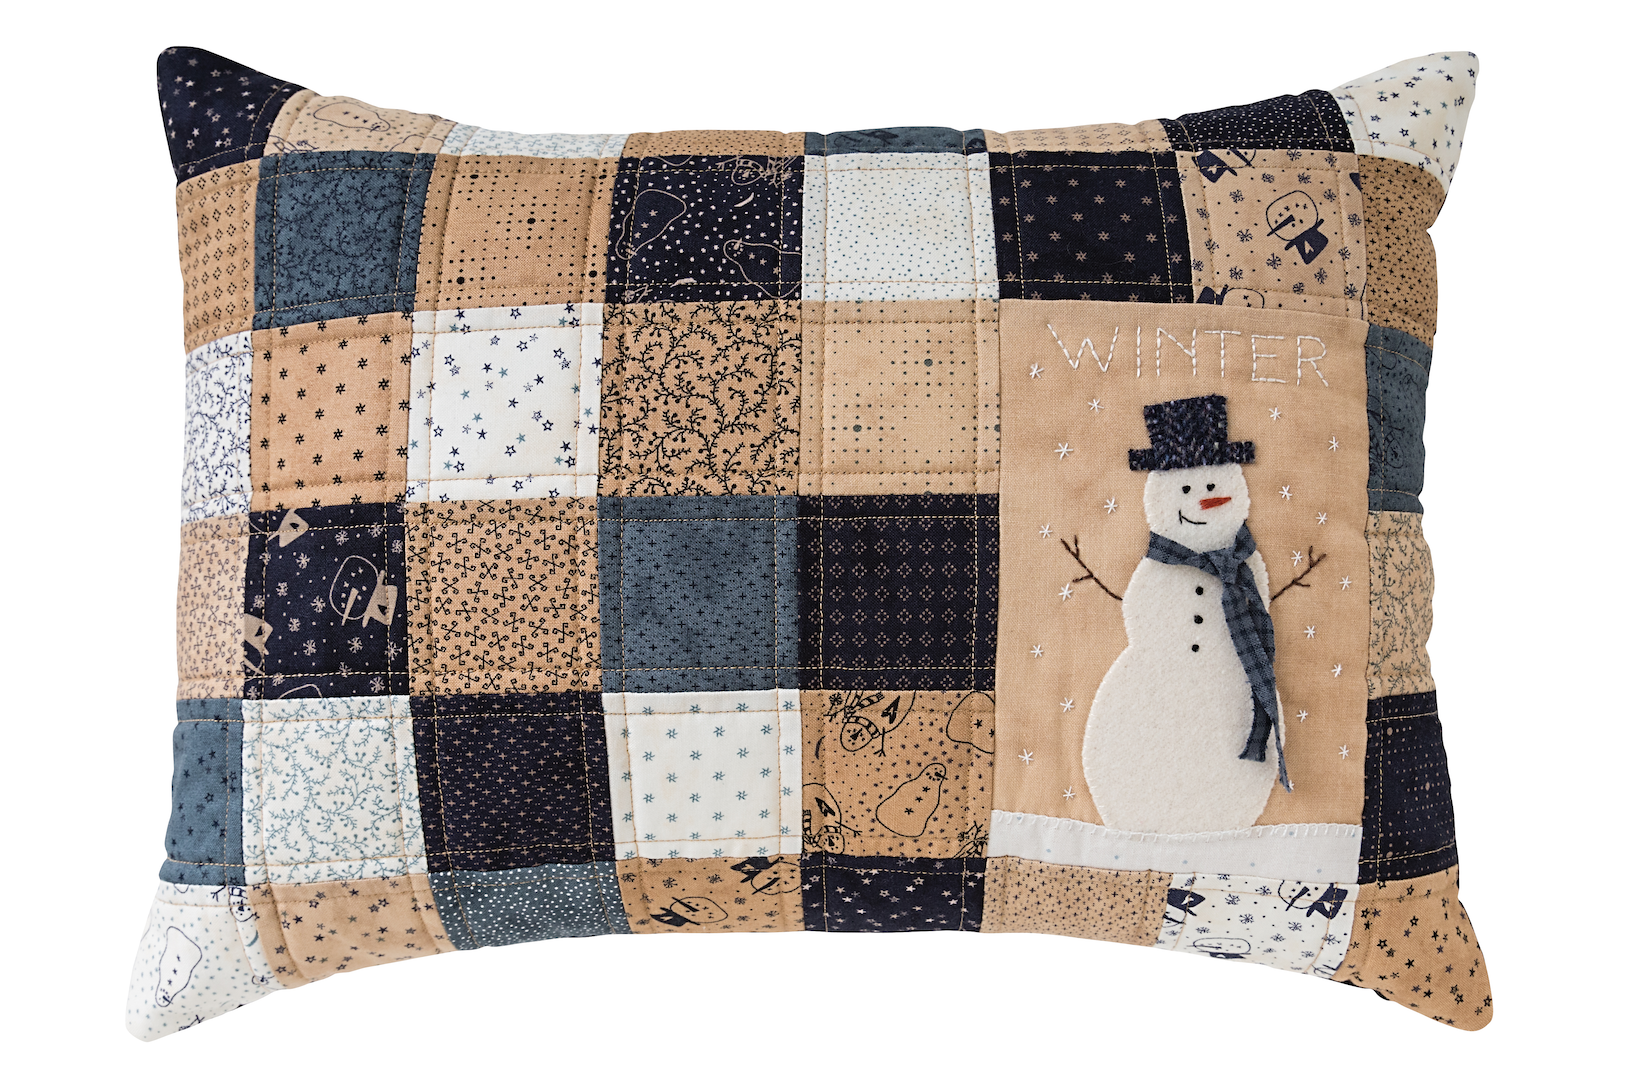
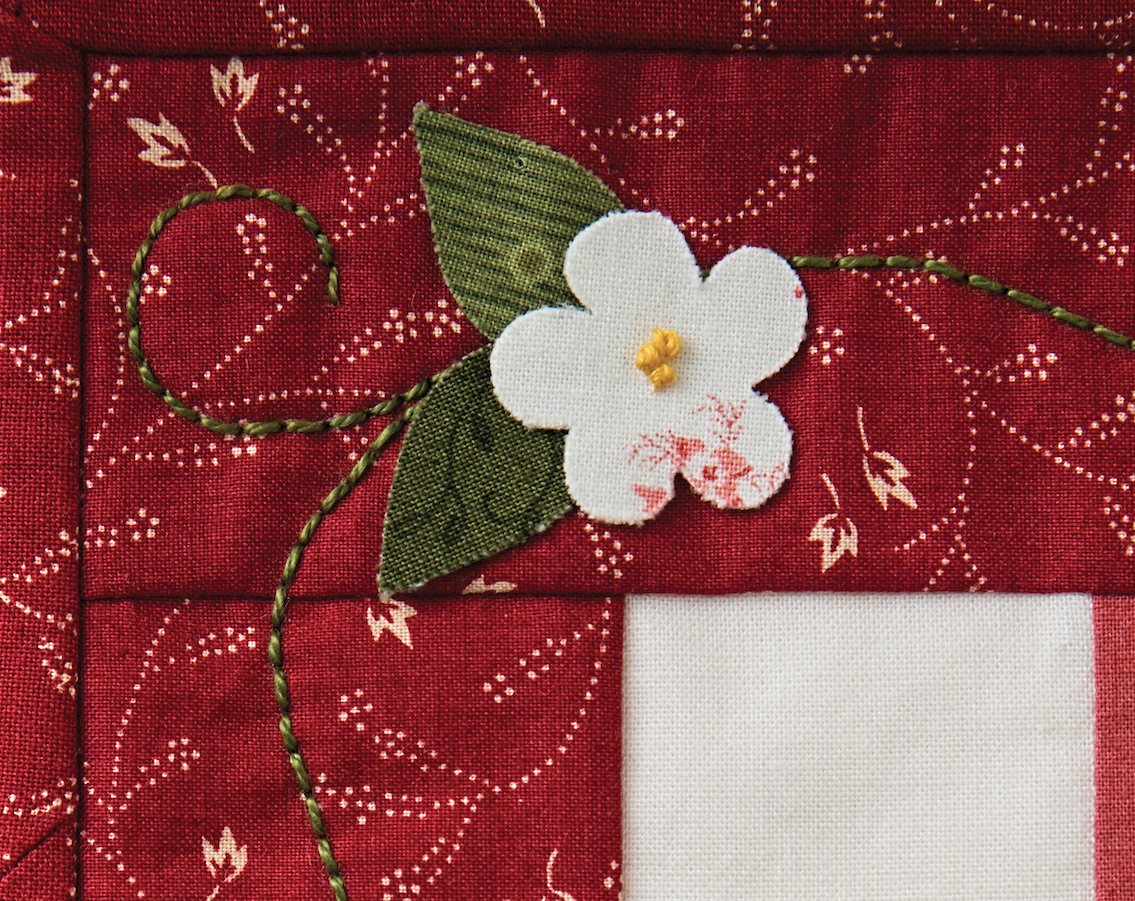
I love to embellish my quilts with wool appliqué because of the texture, dimension, and color it adds. Felted wool is a dream to work with because it resists fraying and you don’t need to turn the edges under when appliquéing it.
FELTING WOOL
Beautifully dyed felted wool is readily available online and at quilt shops, but it’s also easy to felt your own wool.
1.Make sure to use 100% wool.
2.Wool can shrink substantially during felting. The pattern measurements in this book are for pre-felted wool, so if you plan to felt your own wool, buy extra to allow for shrinkage.
3.Wash the wool in a washing machine using hot water and a small amount of laundry soap. The dye from wool can run, so be sure to wash like colors together. I often add a couple pairs of jeans to the washing machine when I’m washing wool to increase the agitation.
4.Dry the washed wool in a clothes dryer on high heat until it is almost dry. Then remove the wool and lay it flat to finish drying. Press as necessary.
TIP
Very small pieces of wool can also be felted by agitating them by hand in a sink of hot, soapy water. The more you manipulate the wool, the denser the fibers will become. Rinse the wool in cool water and position it flat to dry.
PREPARING WOOL APPLIQUÉS
I use two application methods for wool appliqué—freezer paper and fusible web. I tend to use the freezer-paper method most often because the wool shapes remain repositionable. With the freezer-paper method, there
is also no need to worry about reversing patterns and the wool doesn’t lose any of its loft during pressing. It’s also great for large shapes.
While the freezer-paper method is my preferred technique, at times the fusible web method is invaluable. I use the fusible web method for applying small shapes that I don’t want to shift or when I’m concerned about sharp points or thin shapes fraying. I also like to use fusible web when I want to fix a lot of shapes in place at once for a portable stitching project.
Freezer-Paper Method
1.Trace the appliqué shapes onto the dull side of freezer paper, leaving at least 1/2˝ between shapes.
2.Cut out each drawn shape roughly 1/4˝ outside the drawn lines.
3.With the shiny or waxed side down, iron the freezer-paper pattern onto the right side of the felted wool (there may not be a right side) using a dry iron on the wool setting.
4.Cut out each shape through all layers along the drawn lines. Remove the freezer paper.
5.Position the shapes as desired on the background and pin them in place to secure them for stitching.
Fusible Web Method
1.Trace the appliqué shapes onto the paper side of lightweight paper-backed fusible web (I use HeatnBond Lite), leaving at least 1/2˝ between shapes. When using this method, note that asymmetrical shapes should be reversed before tracing.
2.Cut out each drawn shape roughly 1/4˝ outside the drawn lines. fig. N
3.Following the manufacturer’s instructions, iron the fusible web pattern, glue side down, onto the wrong side of the felted wool (there may not be a wrong side).
4.Cut out each shape through all the layers along the drawn lines. Remove the paper backing. fig. O
5.Position the wool shapes as desired on the background, and fuse them in place using a hot, dry iron. Because of the thickness of the wool, it can take quite a bit of heat to activate the adhesive. I often use a pressing cloth during this step to ensure that the wool does not scorch.
6.After the shapes are pressed in place, flip your work over and press again from the wrong side to make sure that the shapes are fully adhered to the background.
STITCHING WOOL APPLIQUÉS
The whipstitch is my favorite stitch to use for wool appliqué. It is fast, easy, and casual in appearance. Occasionally I use a blanket stitch to appliqué wool if I want a more formal look or if I want the stitching to be more visible.My preferred thread for wool appliqué is a single strand of embroidery floss because it’s inexpensive and readily available in a rainbow of colors. I also like to use perle cotton #8 or #12 from time to time for a different effect. Most of the time, I match the color of the appliqué thread to the wool, but sometimes I use a contrasting color if I want the stitching to stand out as an additional or unifying design element.
Stitch wool appliqués with an embroidery needle (size 5) and an 18˝-long strand of floss. Make stitches 1/8˝–1/4˝ long, approximately the same distance apart, and perpendicular to the edge of the wool shape. See Stitches (page 110) for detailed diagrams of the whipstitch, the blanket stitch, and other decorative embroidery stitches.
-
Shop Stitching for the Seasons


