

Stitching Tips from Sew Emoji
Apr 28th 2020
What fun new projects are you trying? The following information is from Sew Emoji by Gailen Runge- learn some helpful tips to navigate tricky stitches! Plus, be sure to scroll to the bottom for a chance to win an ebook copy in our giveaway.
STITCHING TIPS
Here are some hints for working with any of the stitches (except straight stitch):
Pivoting is your friend. When stitching around curves, frequent pivots keep the stitches tidy. You need to pivot frequently enough to keep the stitches pointing toward the center of the work (perpendicular to the edge). To pivot, stop stitching, make sure the needle is in the down position, and rotate the fabric a hair. Start stitching again. On deep curves, you may want to pivot every stitch or two.
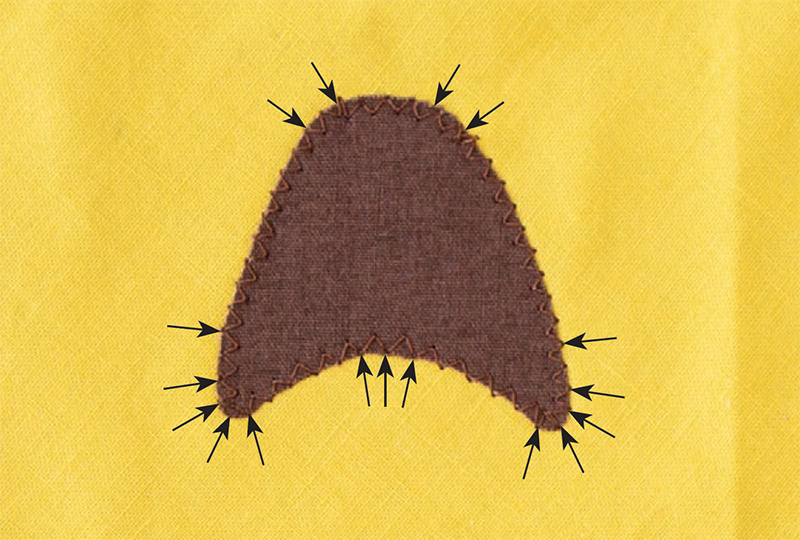
Pivot at arrows.
Be conscious of where the needle stops when pivoting and turning corners. You want to avoid creating gaps in the stitching. Creating overlaps is much less visible. If you are pivoting on an inside curve, stop with the needle in the appliqué fabric.
If you are pivoting on an outside curve, stop with the needle in the background fabric.
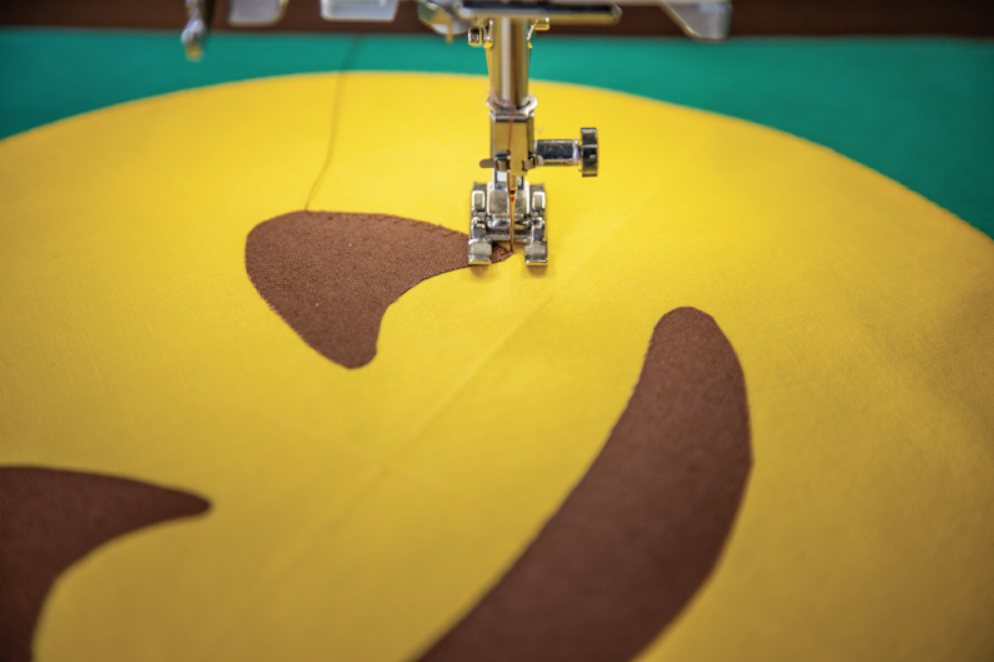
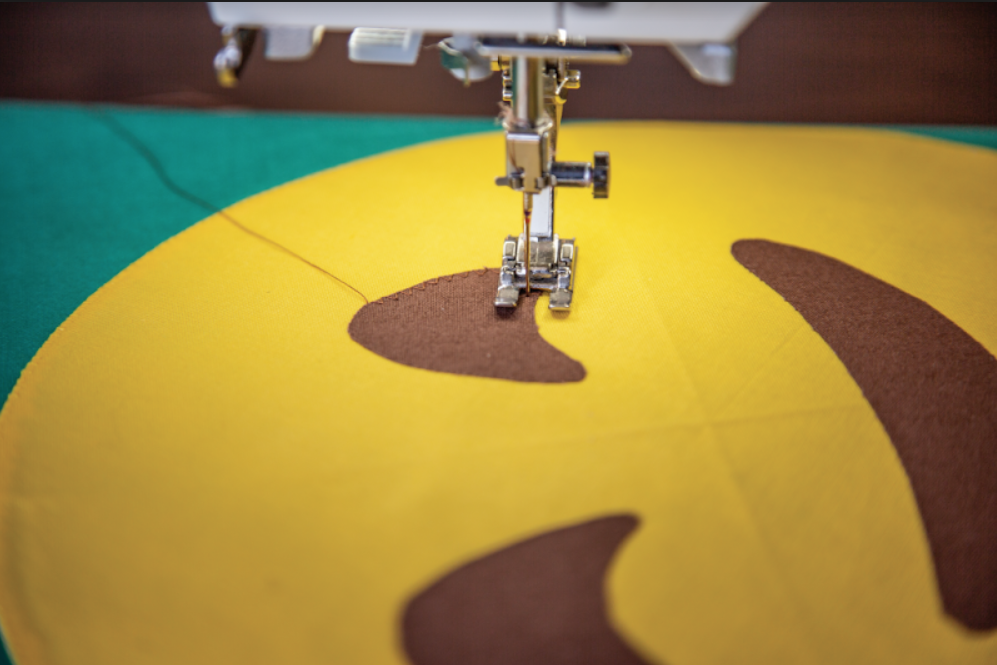
Pivoting is important in turning corners as well. To turn an outside corner, stitch a little past the end of the shape, to where you want the next line of stitching to line up on the background. Stop with the needle on the background. Make sure the needle is in the down position and pivot the project to line up the next edge of the appliqué. This forms a nice little square overlap on the outside.

To turn an inside corner, stitch a little past the inside edge of the shape, and stop with the fabric on the inside edge of the stitch. Make sure the needle is in the down position and pivot the project to line up the next edge of the appliqué.
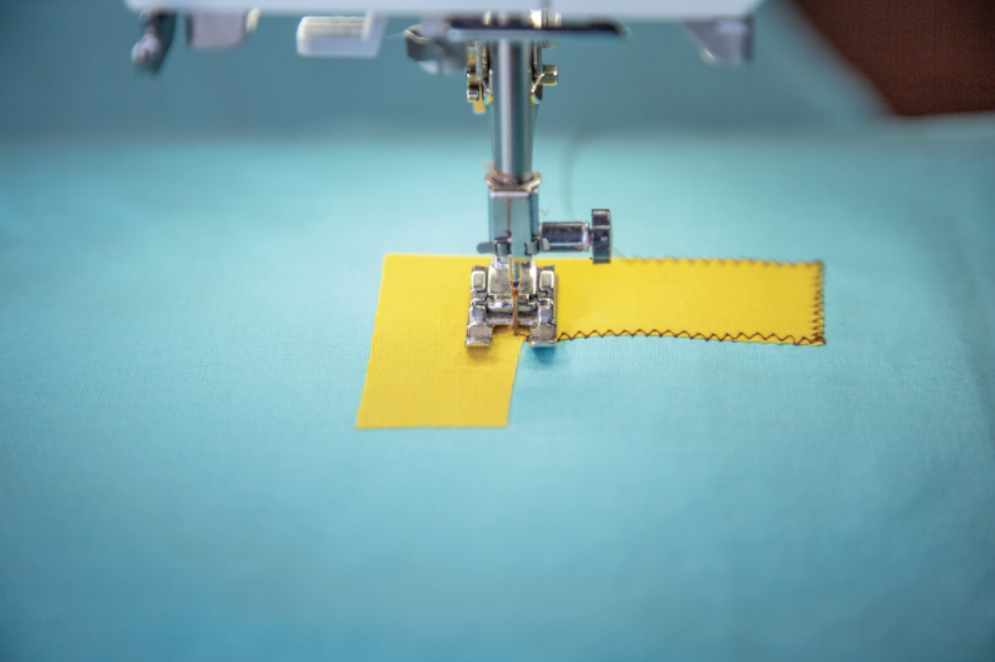
If you are new to satin stitching, here’s a little trick that will help the stitches look even and solid. Select settings that will create a stitch that is a little narrower and a little more spaced out than your desired finished stitch. Stitch around the object. When you get back to the starting point, widen the stitches a little. Then stitch around the object again, centering the first line of stitches under the new ones. The more spaced out stitches will help you more smoothly handle the curves. Covering the narrower line of stitches with wider ones allows you to make small corrections if the original line wasn’t as smooth as you like.

-


