

Muscle-Memory-Building Exercises Projects and Tips
Posted by Dara Tomasson on Mar 19th 2020
I love you shop owners- when my youngest child was 4 I got a job a quilt shop once a week for a year and I called it my ‘playdate’. I received so much insight in what it takes to be a shop owner. I am writing this tutorial for you in mind. I want to help you create a ‘done for you’ project to create buzz, excitement and money for your shop.
Tutorial
So many of your clients/quilters are really scared of free motion quilting.
My book is built to start at the very beginning- free motion quilting with a walking foot. After they finish this design they graduate to the darning foot. It is really helpful for them to get quilt sandwiches under their needle. This step will help them build confidence to keep going.
This tutorial is focusing on creating a quilt sandwich and then playing with their walking foots.
Supplies
- 2 pieces of 20 inches square pieces of solid fabric
- 1 piece of batting 20 inch square
- contrasting thread
- walking foot on their own machine
- Quilting gloves (I recommend Machingers that you can sell in your store)
- 505 spray (also sell in your store)
- My book
- Long quilting ruler
- Erasable marking pen
Lesson
In order to feel comfortable doing anything new we need to get educated and then practice, practice, practice.
The book is written with work-outs. When I was learning to run I had a running coach who helped me build up my stamina by telling me how much time to do certain things. These instructions were very helpful. This lesson is going to be a ‘work-out’ to get comfortable using a walking and darning foot. It is also a great way to get practice with using your hands to move around the quilt sandwich. Creating comfort is critical for a learning environment.
Quilt Sandwich and Introductory Work Out
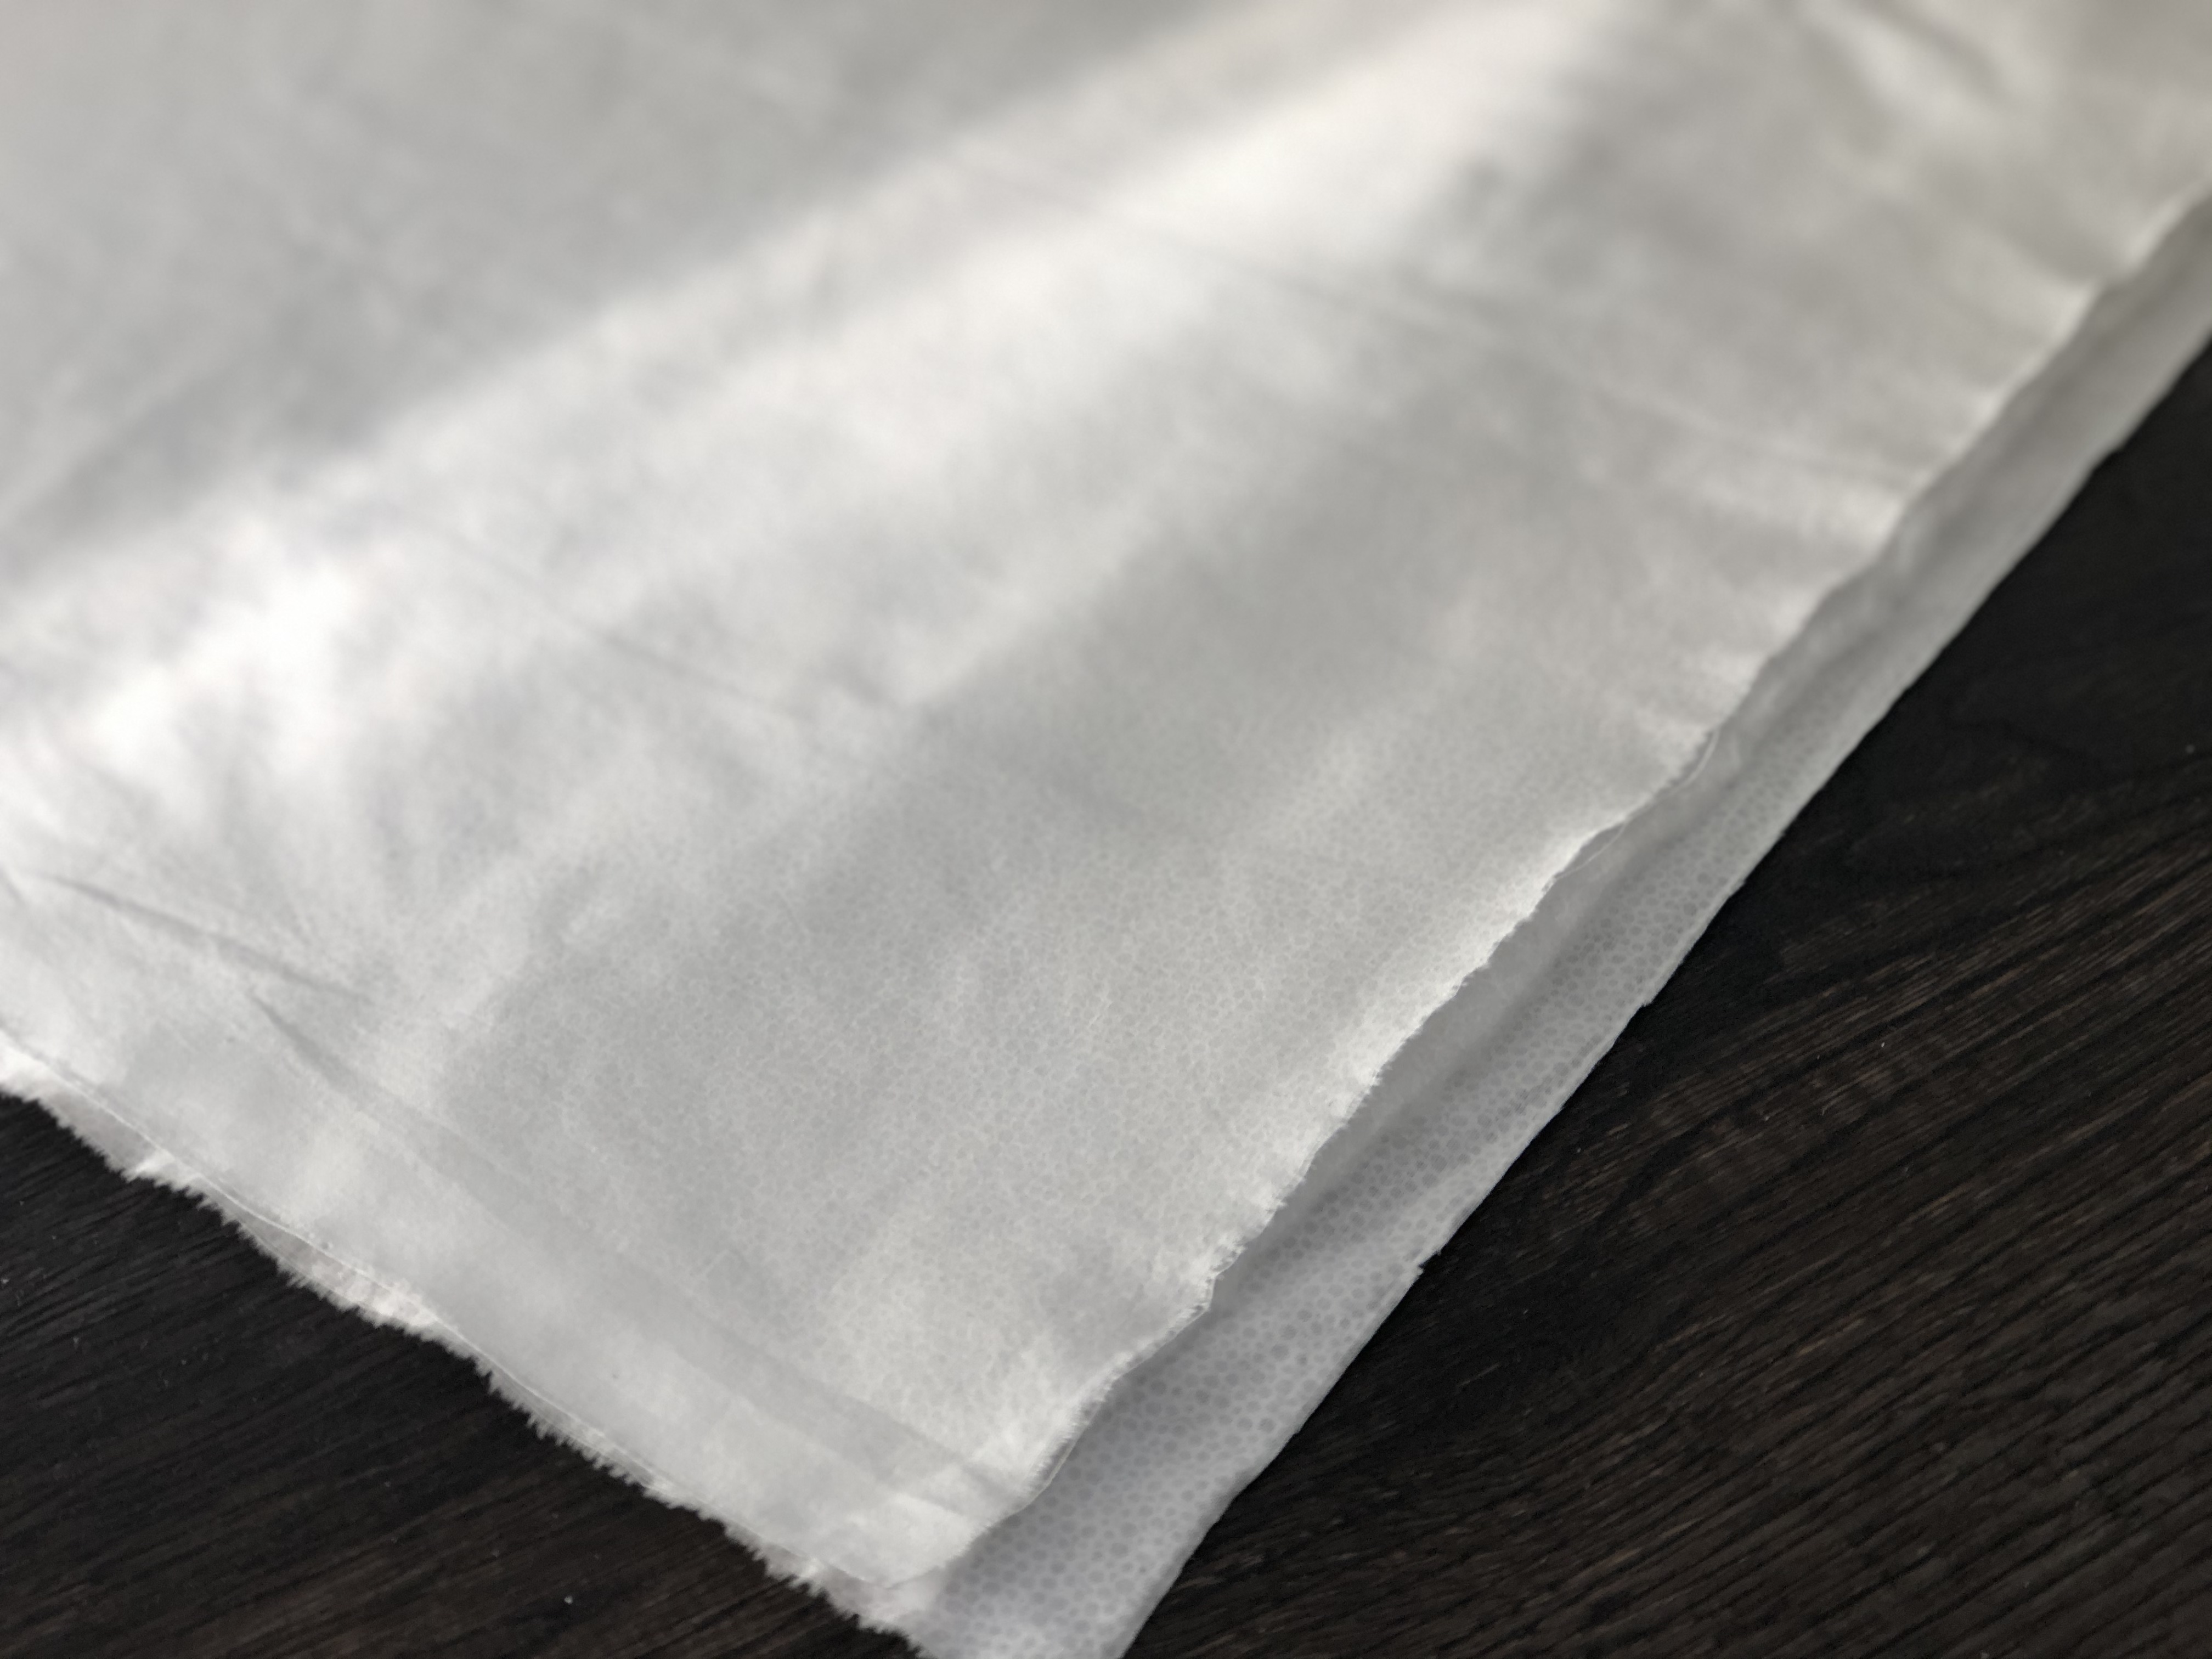
1. Take 1 piece of solid fabric 20’’ x 20’’ and another one at 18’’x18’’.
2. Put the 20’’x20’’ piece on the bottom and the 18’’x18’’ on top with a 20’’ square of batting in-between. Spray a light mist of adhesive on the inside of each to ensure the fabric doesn’t shift.
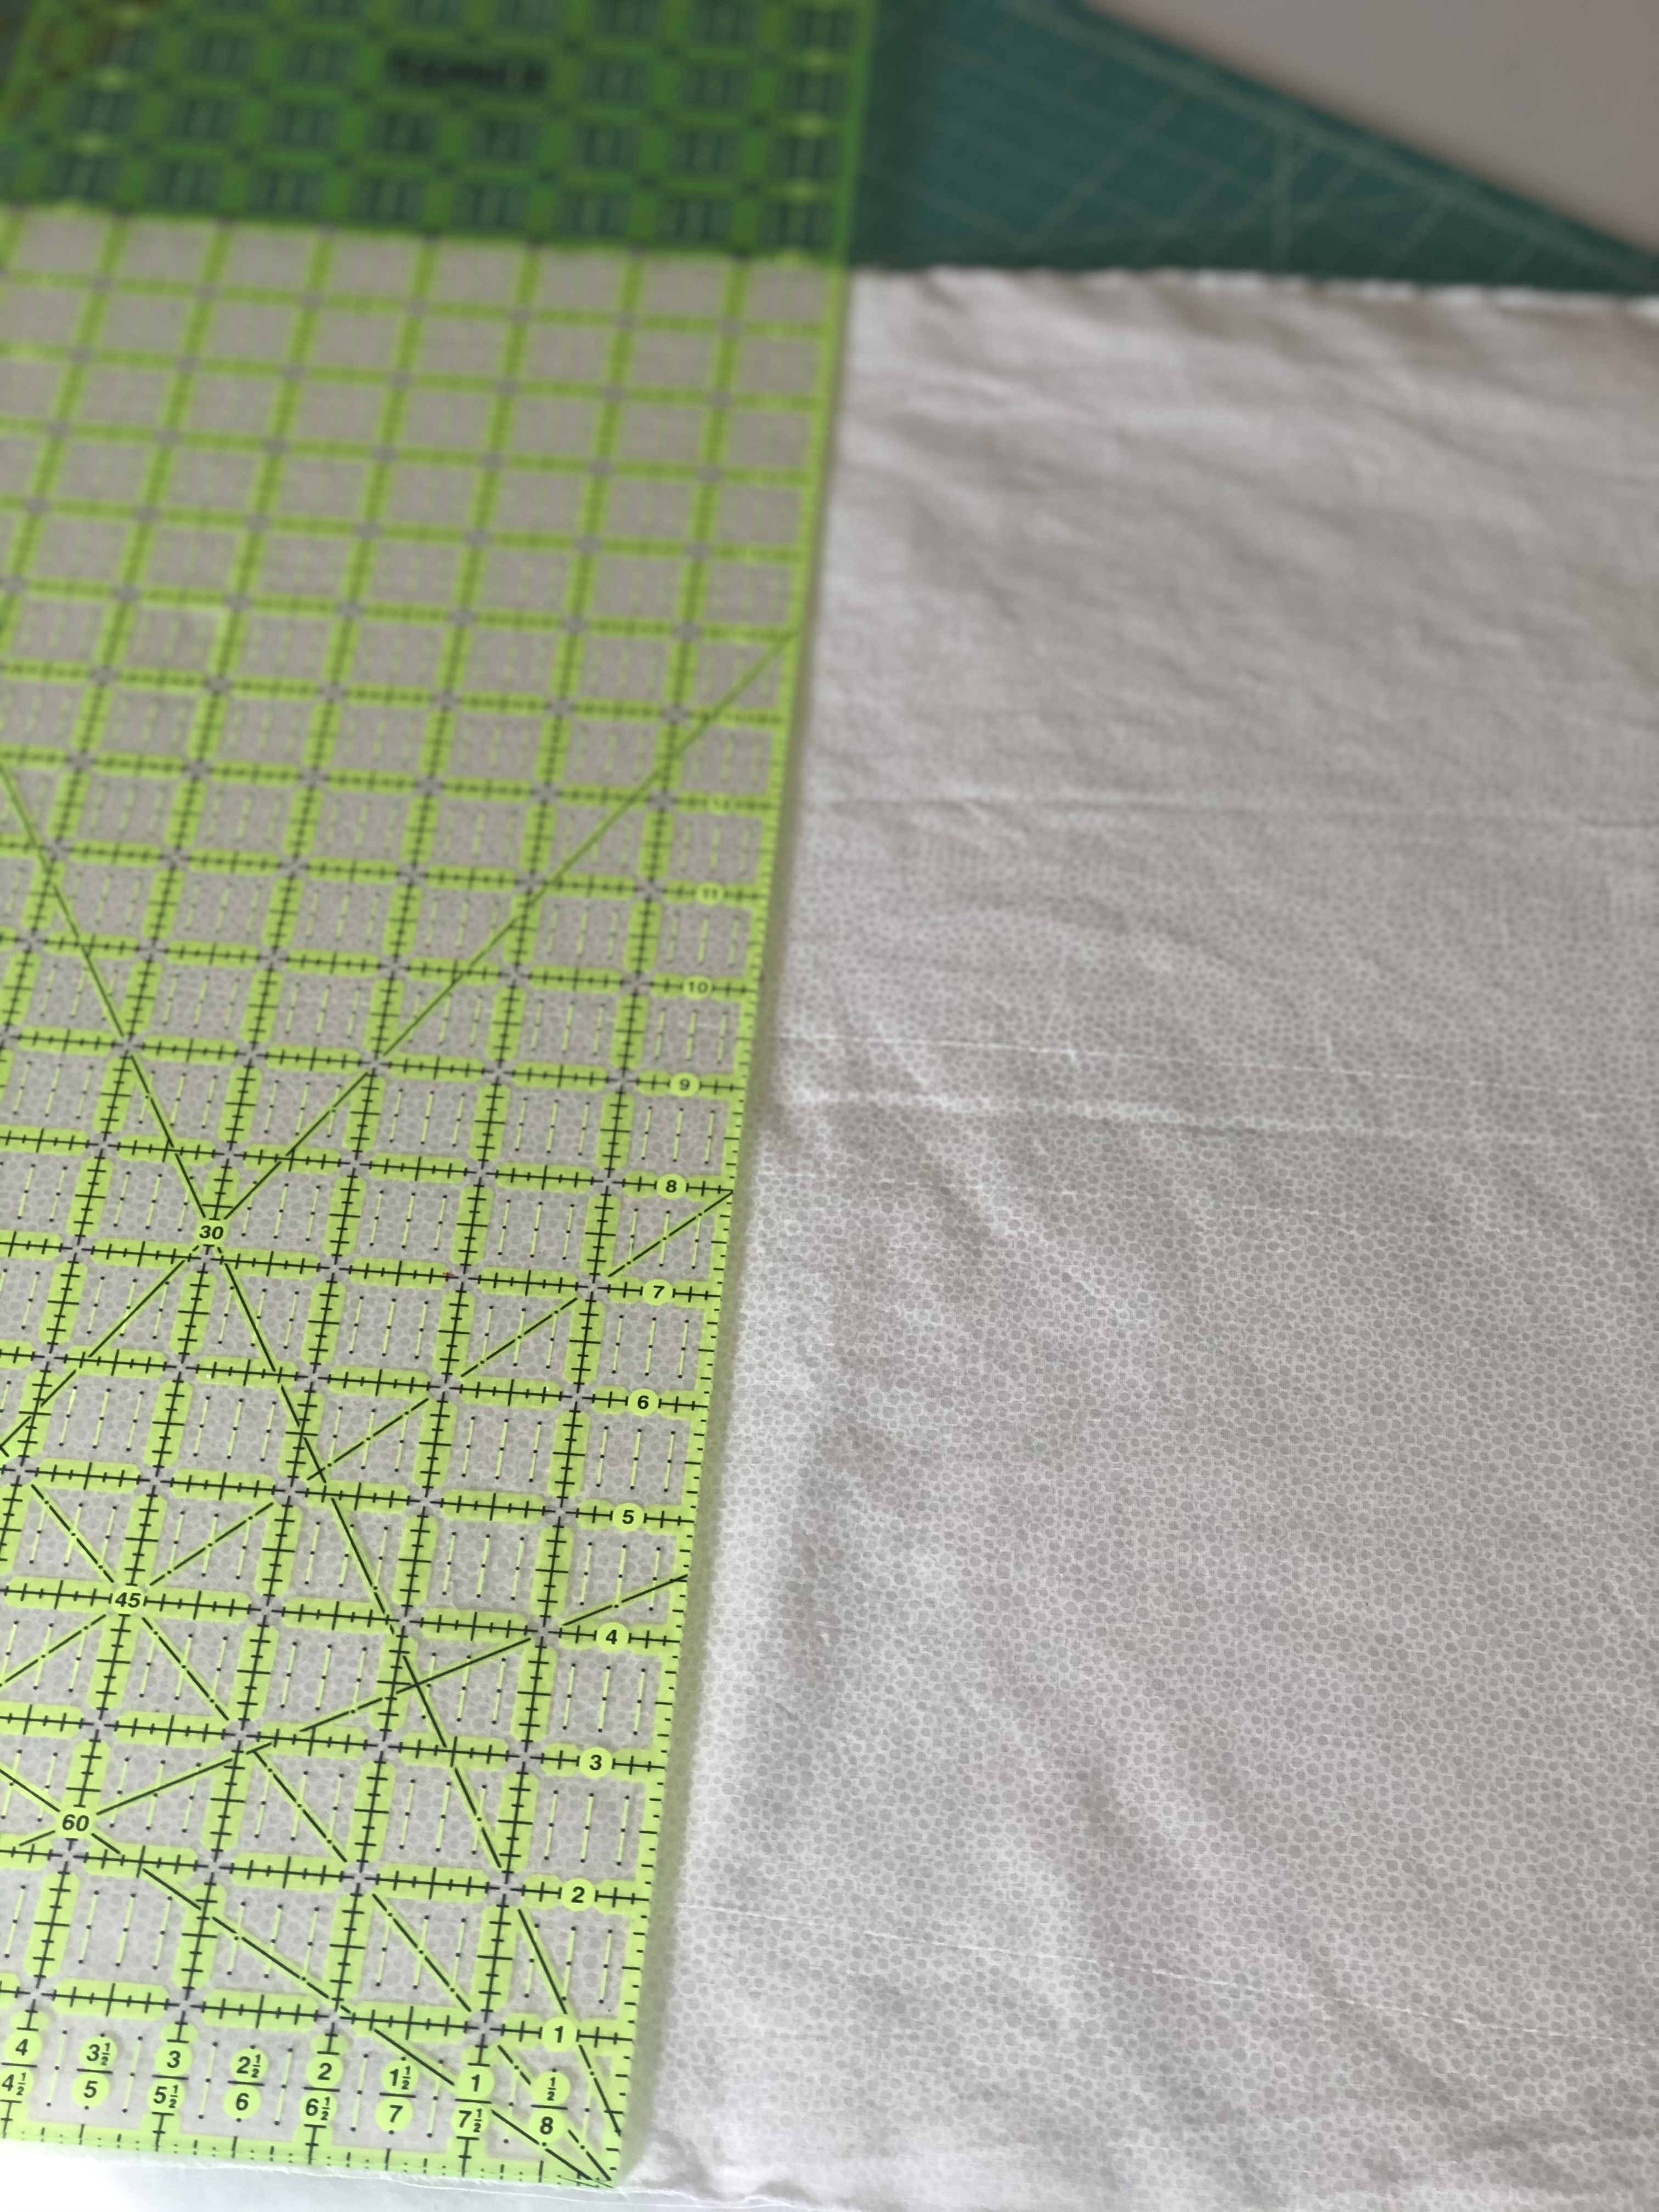
3. Find the centre of the quilt sandwich. Mark 1’’ marks top to bottom and side to side.
4. Put the walking foot on your machine and start quilting with a contrasting thread. Pull up the bottom thread before proceeding.
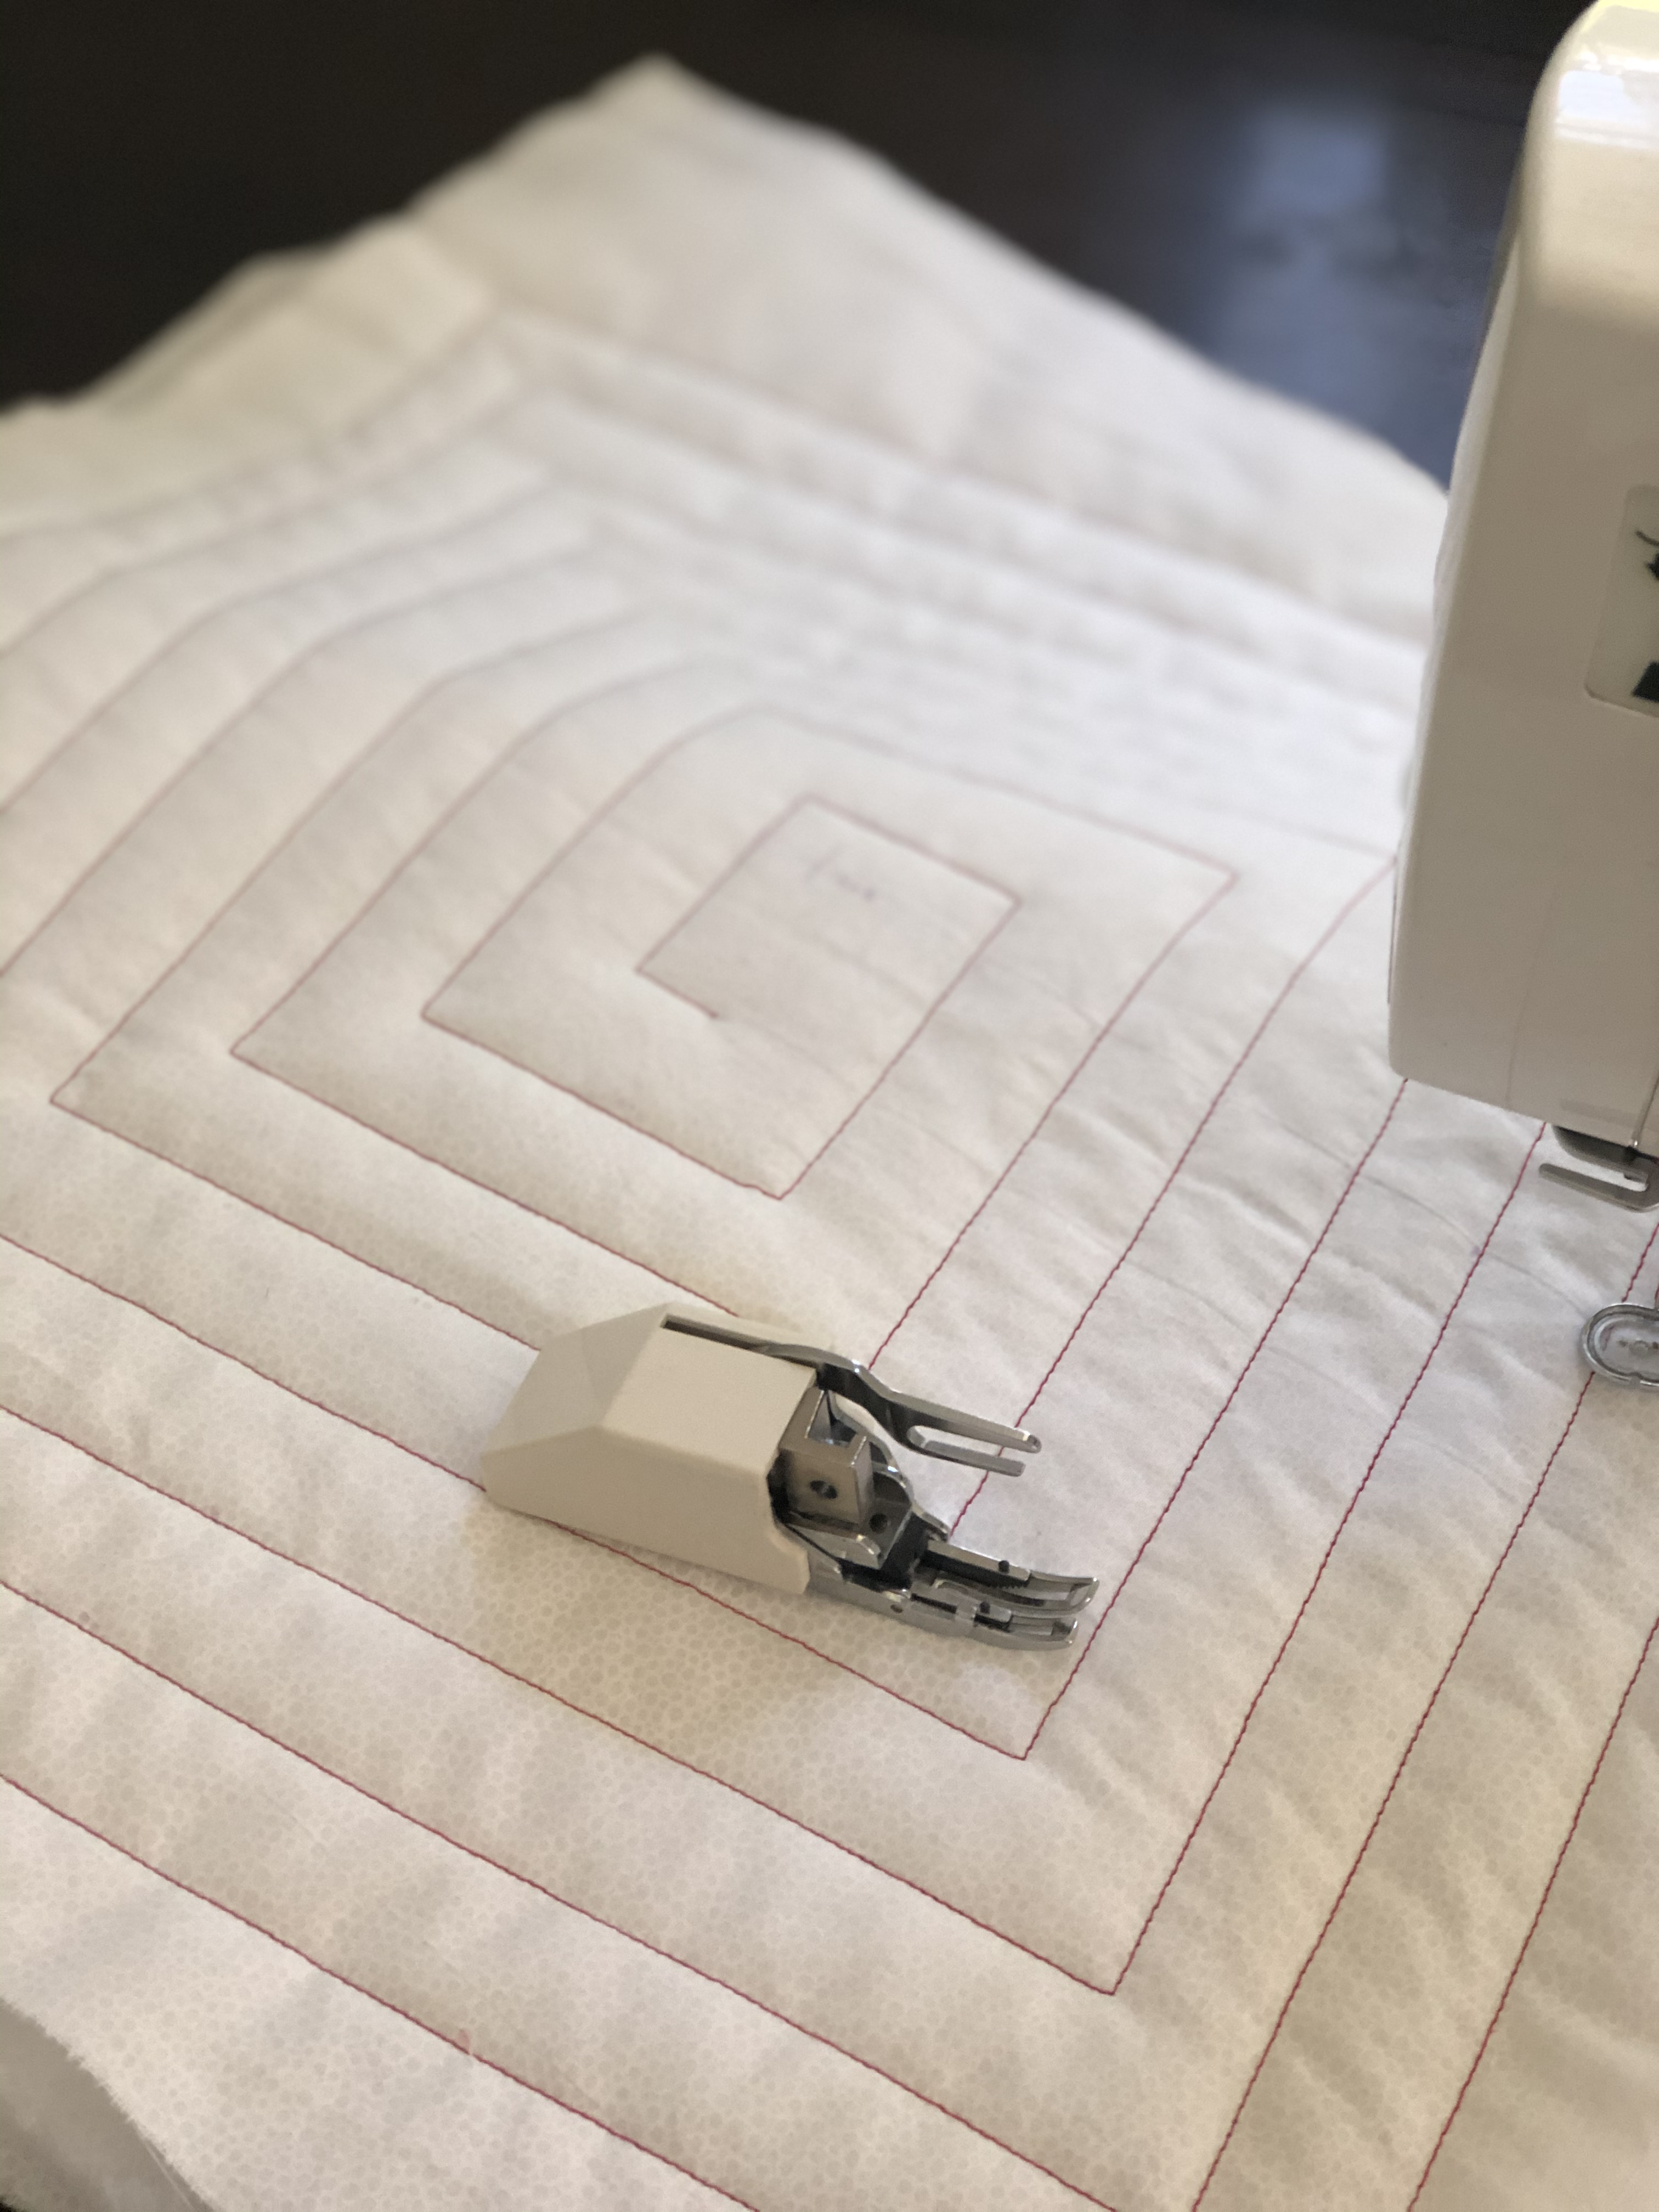
5. Start at the centre and work your way around in the square circle.
6. To make a sharp corner, needle down in the desired turn, lift the walking foot, rotate the fabric, lower the foot and keep sewing.
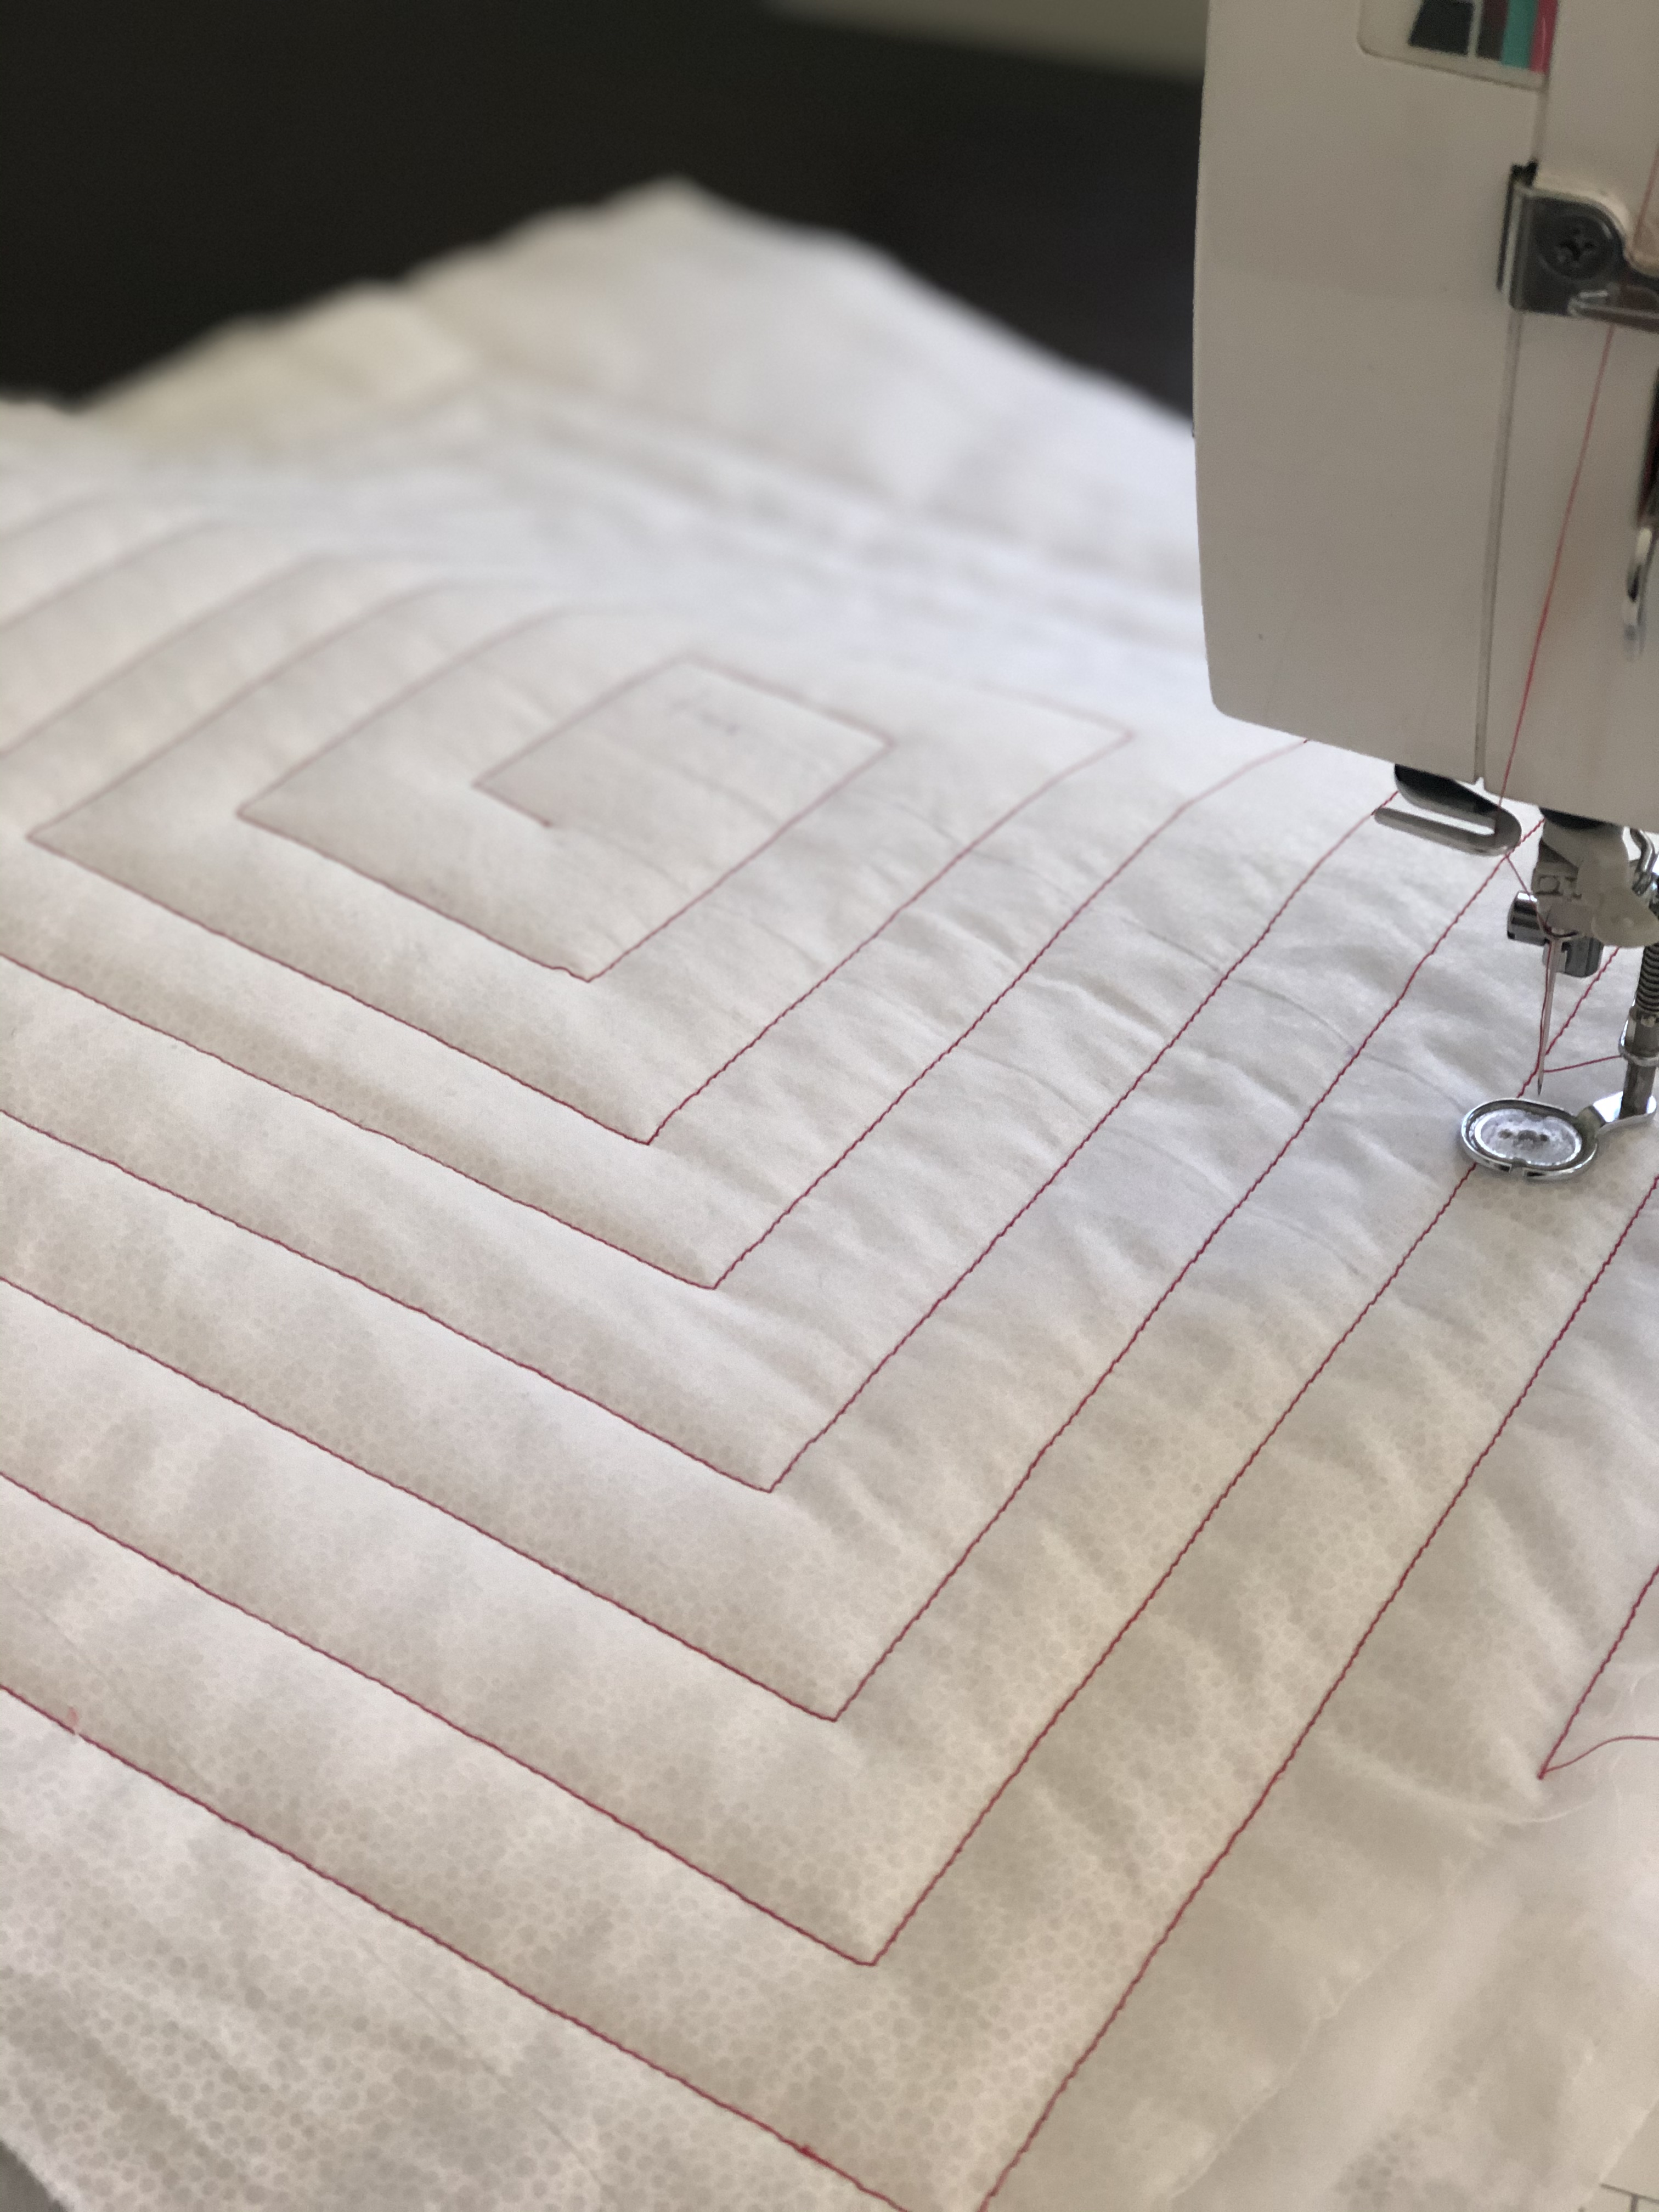
7. Once your spiral square is all quilted, take off the walking foot and put on the darning foot or hopping foot.
8. Go to the centre and pull up your bottom thread and just start to create the cursive letter ‘e’ over and over again.
9. Keep on quilting the cursive letter ‘e’ through the channels until you have reached the end.
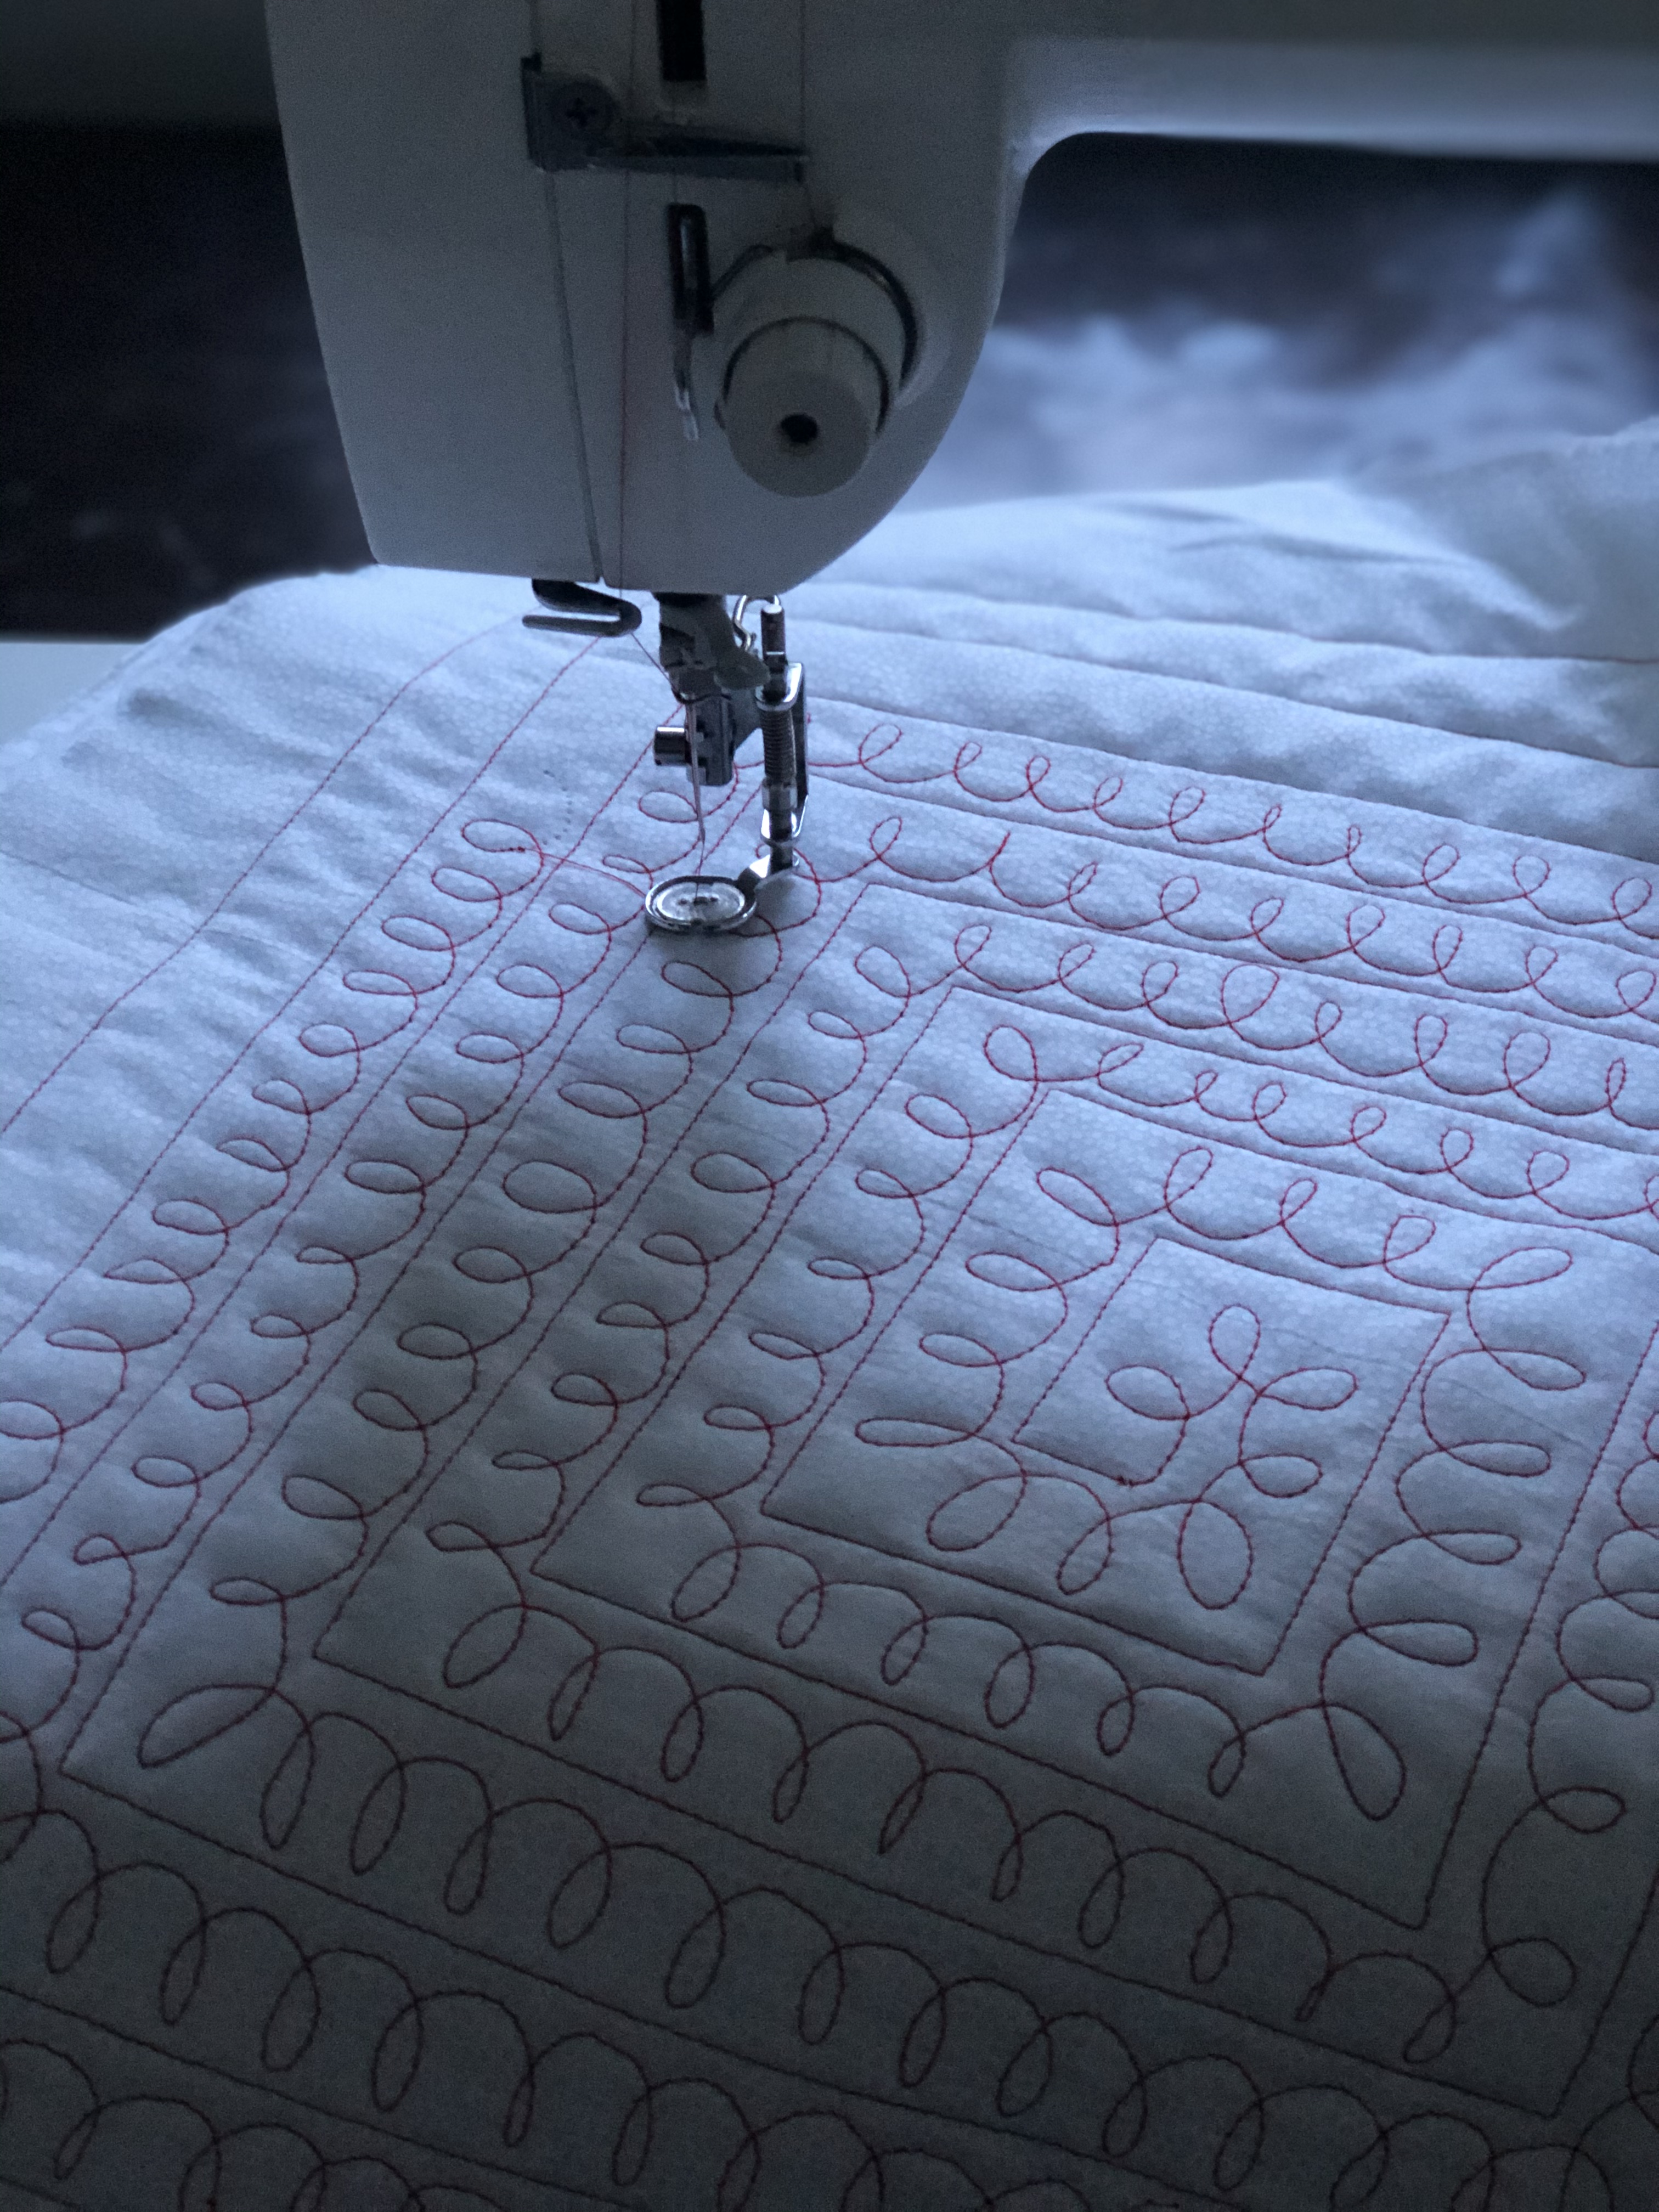
10. Congrats you have just free motion quilted with a walking and darning foot!
-


