

kraft-tex May Color of the Month: Emerald
Jun 2nd 2020
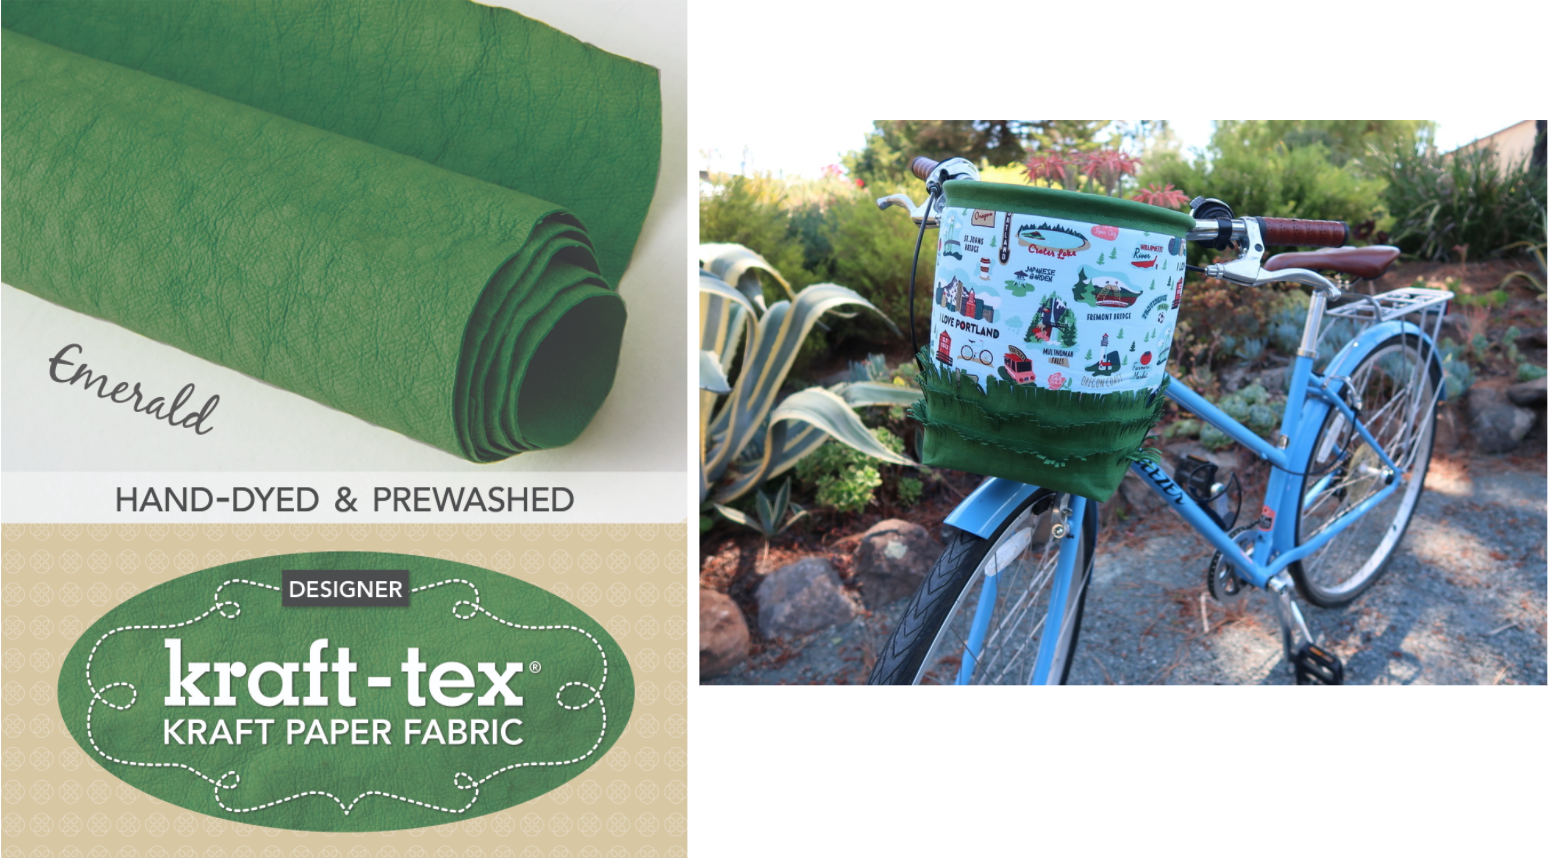
The kraft-tex color of the month for May is Emerald!
This adorable grassy bike basket is the perfect way to jumpstart your summer.
We invite you to join the fun and make your own kraft-tex projects each month along with us. If you do create something with kraft-tex, please snap a photo of your creation and tag us on Instagram @ctpublishing. If you make this specific project don't forget to tag it with #grassybikebasket, #krafttex and #ctpublishing.
kraft-tex Grassy Bike Basket
(I ♥ Oregon Bike Ride)
by Sophie Scardachi
I have a love affair with my bike basket. For me it’s the perfect place to stash my water, my phone and any other essential needs. I’ve been wanting to create some kraft-tex fringe on a project for awhile, and the kraft-tex color of the year for May was the perfect grassy green. I thought about having the background fabric be butterflies or bugs but alas there were no bug prints in my stash. I did however have this cool I LOVE PORTLAND fabric. When I think of Oregon, I think green and bikes. Perfecto.
Note: You will be sewing through multiple layers of kraft-tex. Go slowly and have a fresh needle. You may want to back stitch where there are multiple layers of kraft-tex.
Seam allowances are ¼” unless noted.
Supplies:
1 roll of Emerald Designer kraft-tex
⅓ yard of main fabric
½ yard of liner fabric
½ yard of fusible foam
⅞ yard of 20” wide interfacing
Green thread to match kraft-tex
30” of ¼ drip line tubing
½” grommets
Cut:
1- 29.5” x 2” strip from kraft-tex (cut first from roll of kraft-tex or piece two shorter strips together)
2- Bottom of Bag Template from kraft-tex
4- 14.5” x 3” strips from kraft-tex
2- 14.5” x 8.5” main fabric
2-14.5” x 8.5” fusible foam
2- 14.5” x 14” liner fabric
2- 14.5” x 14” fusible interfacing
Prepare pieces: After cutting out pieces, fuse foam to the back of the main fabric and the interfacing to the back of the lining. Using the Bottom of the Bag Template, cut the square corners from the liner pieces by lining the template up at the bottom, tracing the squares and cutting.
Assembly:
- Position a 14.5” x 3” strip (strip1) of kraft-tex towards the bottom of the main fabric pane (6in from the top). Stitch in place 1.25” from top of strip 1.
- Take another 14.5” x 3” strip (strip 2) and place on top of strip 1 such that the top 1 inch of strip one is showing. Stitch in place 1.25” from top of strip 2.
- Place the bottom of the bag piece on top of strip 2 leaving an inch or strip 2 showing at the top. Stitch in place 1.25” from the top of the third piece.
- Repeat steps 1-3 for the other side.
- Place the two assembled pieces right sides together. Sew side seams and bottom seam. When sewing sides, you may want to back stitch at the beginning and end as well as in areas of thickness. Do not sew the box seams yet.
- To sew boxed corners: with right sides still together. Fold the box so that the side seam and bottom seam line up, giving you a straight line. Sew across this line, back stitching at beginning, in the middle and the end.
- Turn right-side out, being sure to gently push out the bottom corners. Don’t worry about scrunching up the kraft-tex when you do this.
- Place Lining pieces right sides together and sew sides, bottom and boxed corners in the same manner as the main pieces. Do not turn right side out though.
- Slide liner into the main bucket and pin the two layers so that the side seams line up. If the liner is too tall, you can trim it down.
- Baste the two layers together about ¼” from the top. Remove pins.
- Fold 29.5” kraft-tex band in half so that it is 1” wide. The band bottom should be ½” from the top. I use tape to mark this line from below so that I just need to line the bottom of the kraft-tex band with the top of the tape as I sew. Start at a seam edge and sew in place ¼” from the bottom of the band, over lapping at the end. You do not need to overlap by more than 1”. Back stitch at the end.
- Take ¼ tubing and guide it into the top band from the outside. This can take some muscle as you go. As the band gets close to the returning to the start trim off the excess and push the final inch in with a dowel or large knitting needle.
- Install grommets on back of the basket. I placed the grommets about 6” from each side seam.
- Fringe the bottom 3 layers of kraft-tex by cutting slits about ⅛” apart (plus or minus) and about ⅞” deep.
- Tie on bike with zip ties, ribbon or both.
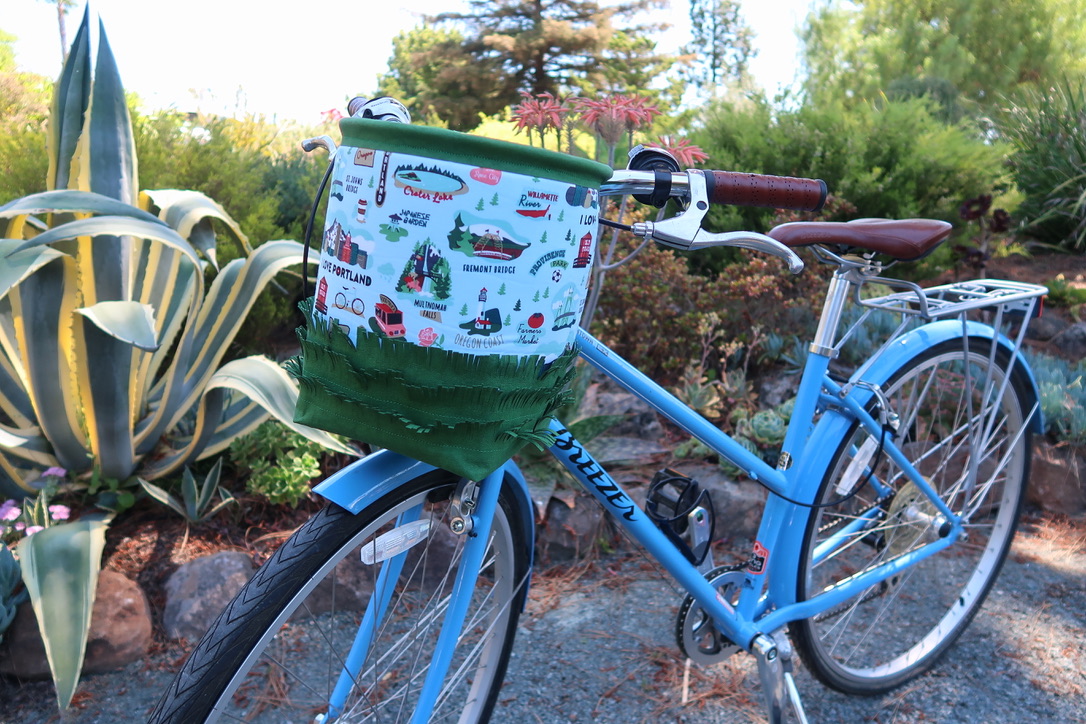
Grassy Bike Bucket made with Emerald kraft-tex and Riley Blake- I LOVE OREGON fabric
kraft-tex Ambassadors
Read on for even more emerald kraft-tex inspiration, patterns, and tutorials from our talented group of kraft-tex ambassadors:
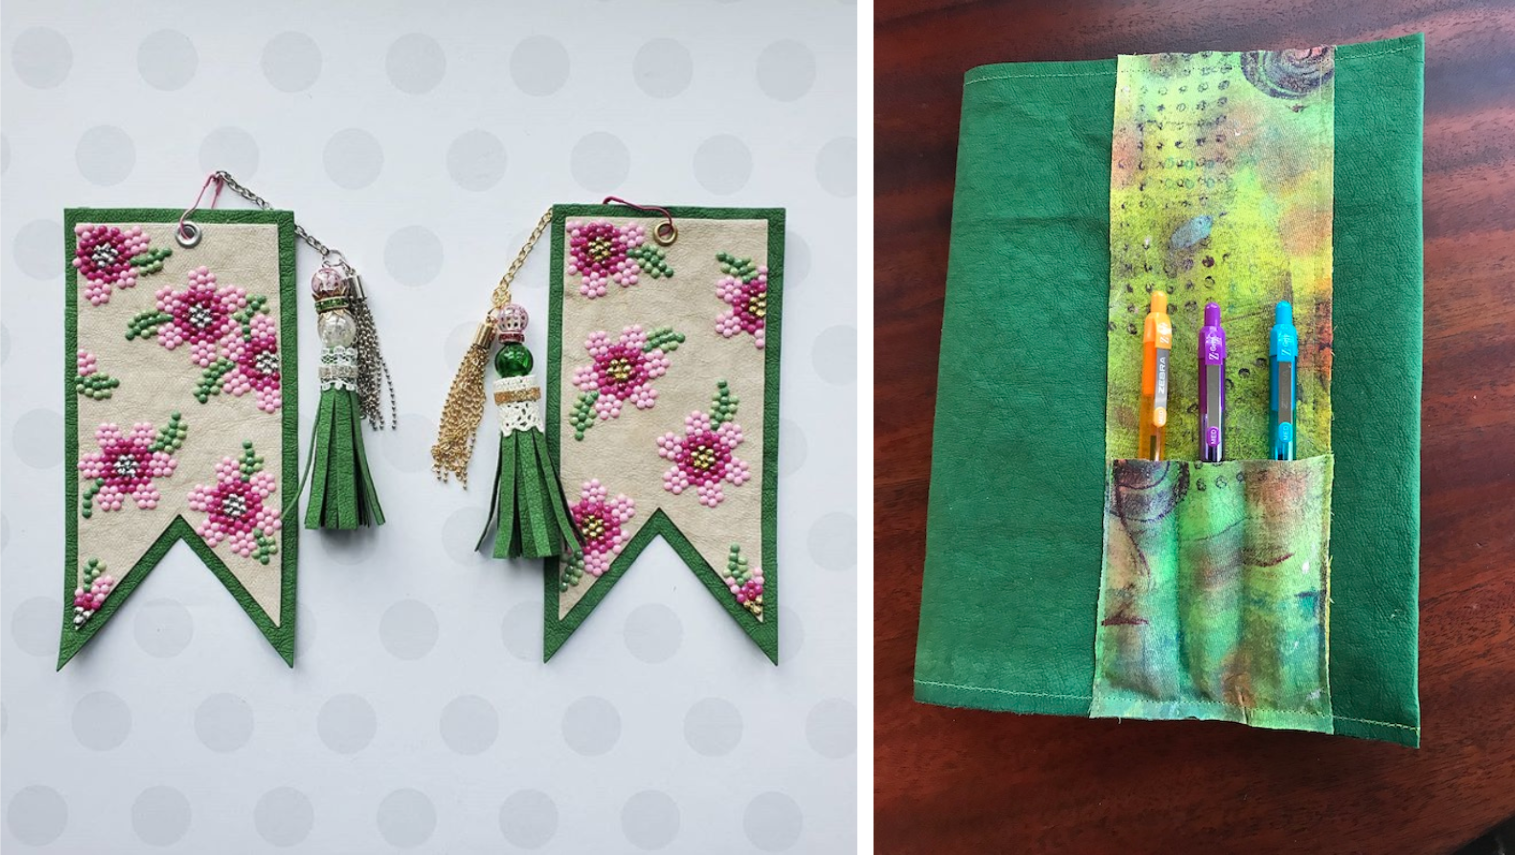
1. kraft-tex bookmarks by Lolly Palooza
- Plus! Tassels with kraft-tex
2. How To Make a Book Cover with Pen Quiver by Lynn Woll of Create Whimsy
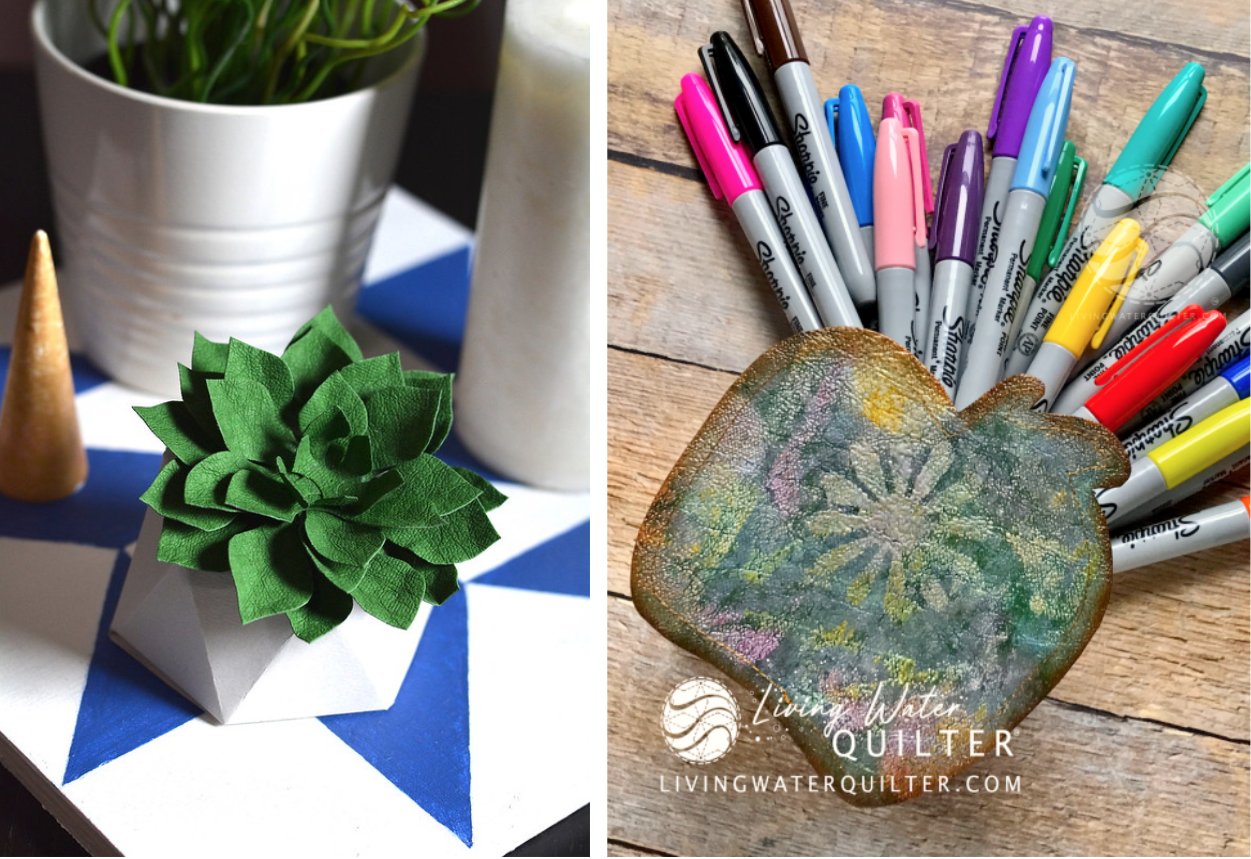
3. kraft-tex Succulent plant by Lindsay Sews
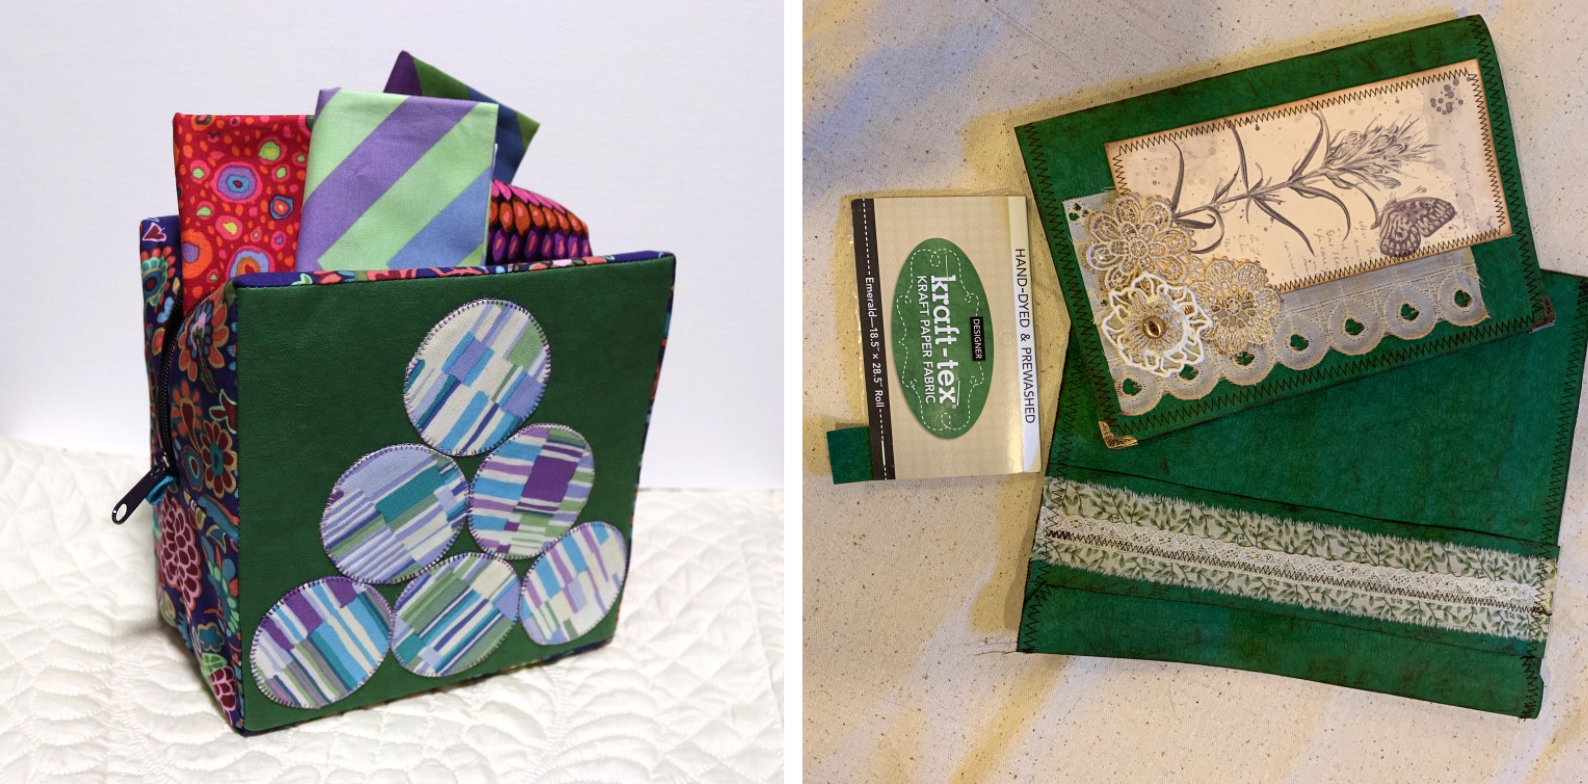
4. Distress Oxide & kraft-tex by Living Water Quilter
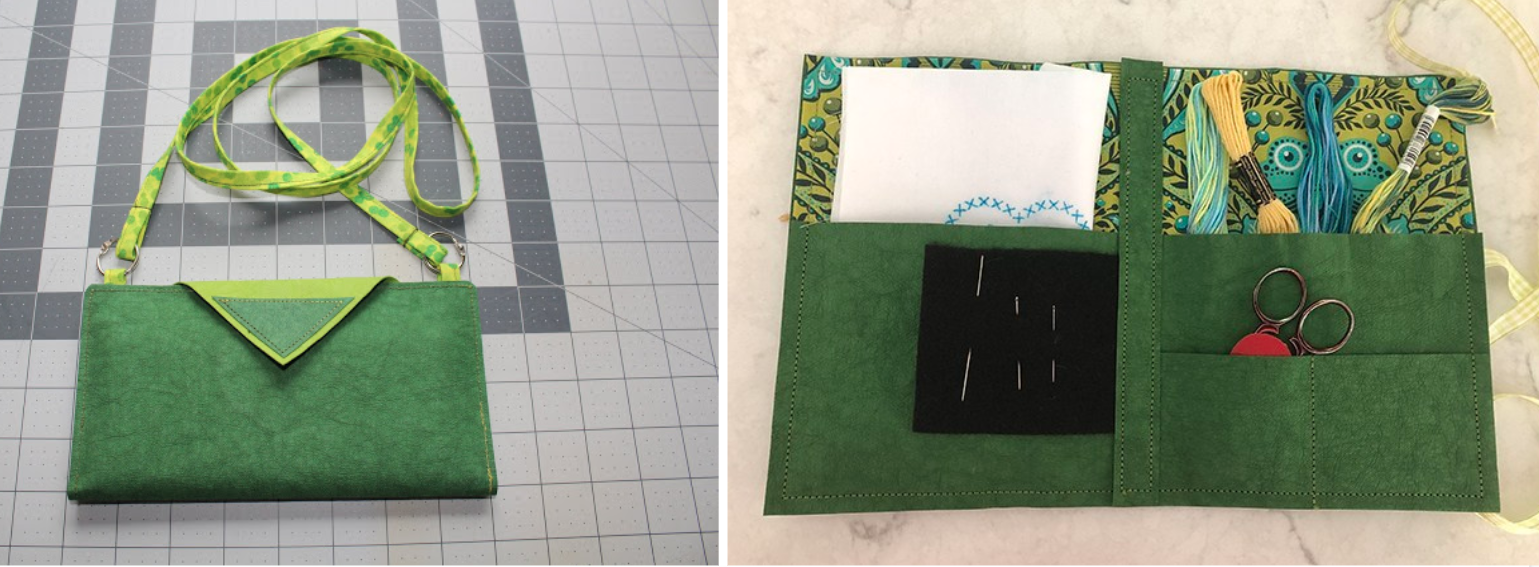
5. kraft-tex Phone Wallet by Sew Little Time
6. It's Not Done 'til it's Overdone by Patty Murphy Handmade
7. Machine Appliqué a Boxy Sewing Case with kraft-tex by Chardel Blaine of Create Whimsy
8. Nature Notes Journal Cover and Pouch by Gayle Agostinelli
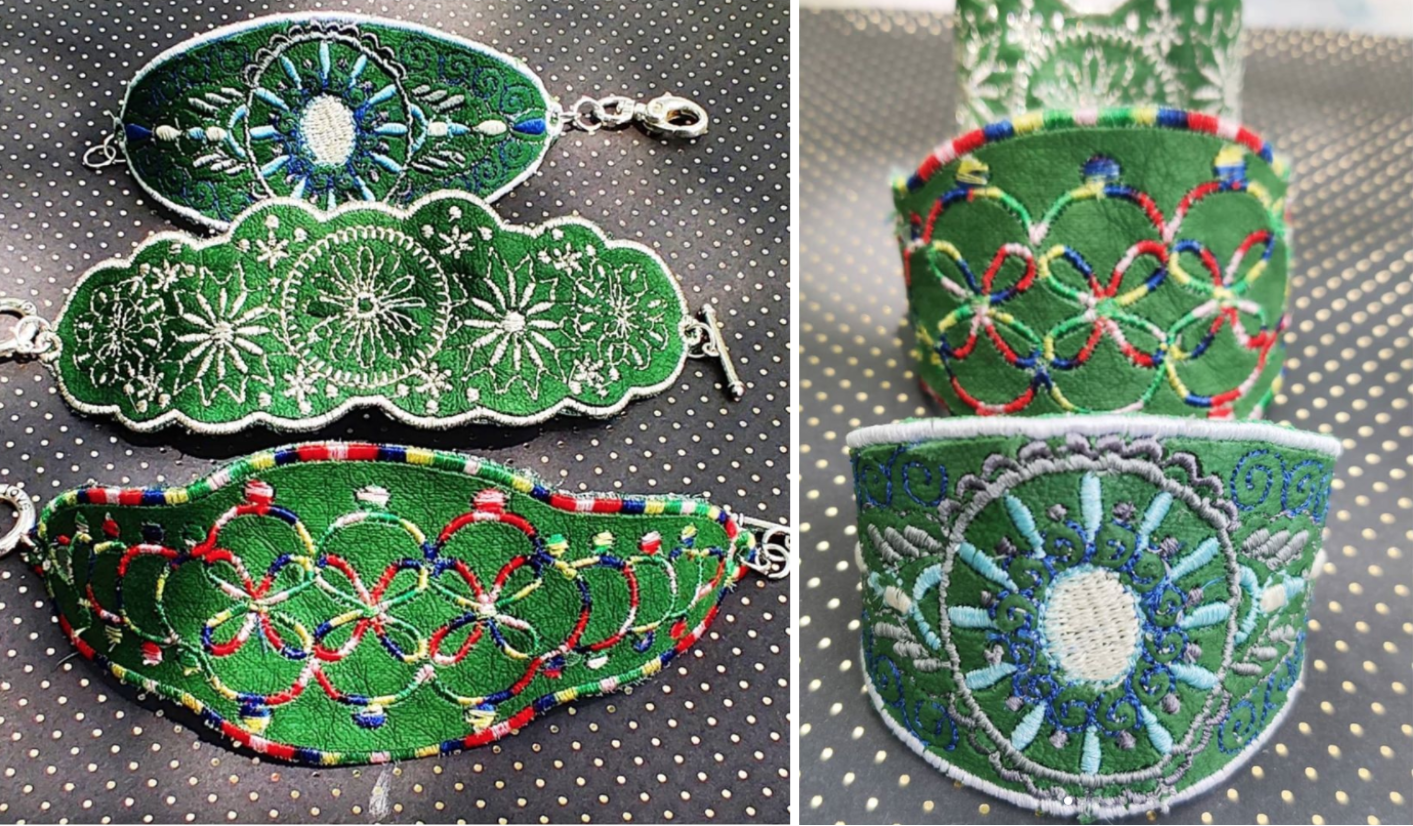
9. kraft-tex Machine Embroidered Bracelets by @thanksimadethem
Search #krafttexambassador on Instagram to see new creations each month.
-


