
Free project: Zippy mul•tex pouch
Posted by Tristan Gallagher on Mar 22nd 2012
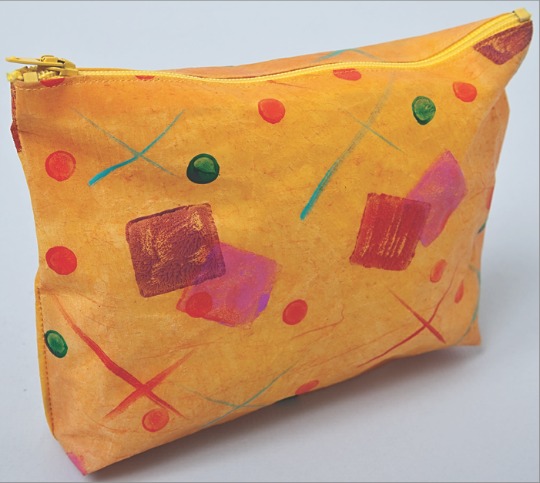
Lynn Koolish, one of our authors as well as a Developmental Editor here at C&T, made this vibrant zipper pouch with mul•tex™. She painted the fiber side and put the laminated side as the interior—perfect for stowing items that need protection from moisture, or that are perhaps a bit leak-prone themselves.
Materials:
- 1 piece mul•tex 10” x 15” (allow for a ½” seam allowance)
- 1 – 7” zipper
- acrylic soft body paints
- rubber stamps (Lynn used a pencil eraser and a block eraser)
- Silicone Release Paper
Instructions:
- Using a mister bottle, dampen the fiber side of the mul•tex with water. Paint a light coating of paint over the whole piece. TIP – to control the natural curl of mul•tex before painting, tape down the corners to your work surface with painter’s tape. Allow to dry.
- Use stamps and paints to create a fun, random pattern. Allow to dry.
- Cut 2 pieces 8” x 6½” from your painted piece of mul•tex.
- Following the zipper label instructions, attach one side of zipper to the long edge of one piece of mul•tex, open the zipper and attach the other side to other piece of mul•tex.
- With right (painted) sides together and zipper partially open, sew along both sides and the bottom of pouch.
- Turn right side out, and presto…a pouch is born!


