

By the Yard: Three Ways to Bind a Quilt Faster
Posted by Jen Lopez on Jun 12th 2019
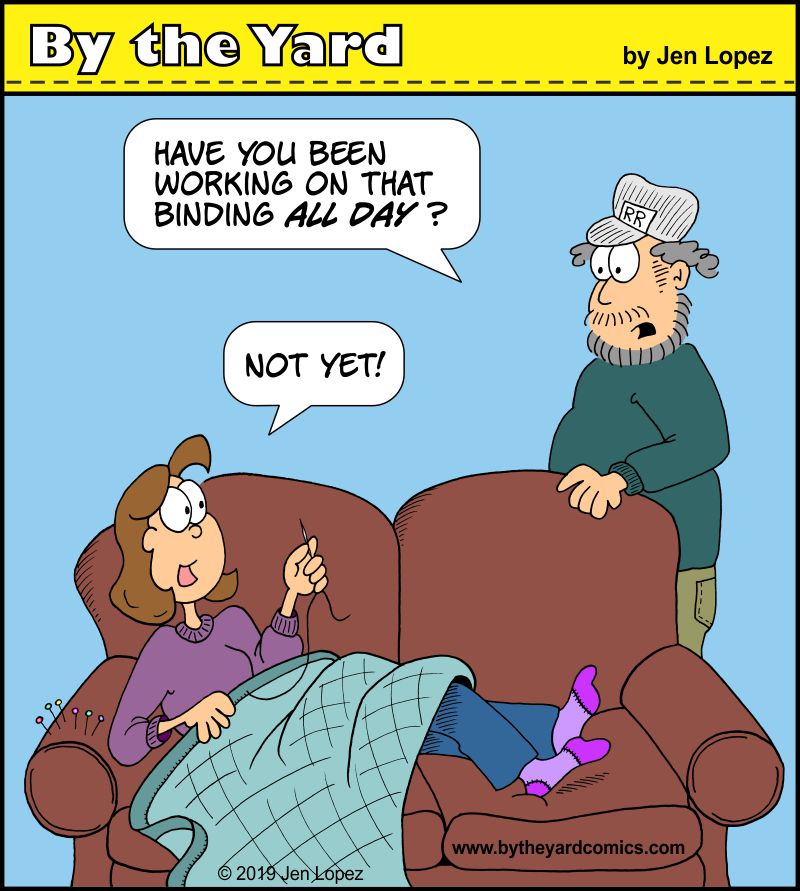
I have a confession to make: I hate binding. I know that not all my quilting friends feel this way, but for me, I regard binding as a necessary evil. It must be done in order to finish the quilt, but its never really fun—mostly because it takes so long. Here are three ways to make finishing your quilt a little quicker and a little more fun:
1. Machine sewing: Continuous-strip binding is one of the most common ways to bind a quilt. It is usually machine-sewn to the front side of the quilt and hand-stitched to the back. If you are not a huge fan of hand sewing, you can machine sew the binding to the back side of the quilt first, then fold the binding to the front and top stitch it with a decorative machine stitch to save quite a bit of time. My mom uses this method for all her quilts, choosing a stitch that matches the theme of her quilt, such as scallops or “waves” for a nautical-themed quilt or zigzags for a geometric quilt.
2. Self binding: Self binding is probably the quickest and easiest way to finish a quilt. You simply cut the backing fabric a few inches larger than the top and the batting on all sides. I typically cut it 2” larger, then double the fabric by folding the binding back towards the quilt so that it’s nearly touching the edge, then press. This creates a 1” strip of binding. Simply fold the binding to the front and machine sew close to the binding edge. This method is especially nice for placemats, table runners, or any other quilt that you want to lay flat.
3. “Pillowcase” method: This is a very simple way to finish a quilt and great for beginners or for small projects. You simply assemble your layers as follows: lay the batting down first, quilt top next (right side up) and then place the backing fabric right side down on the top of the quilt “sandwich.” Stitch all around the edges, leaving a large opening of at least 12” (more if the quilt is large). Clip the corners and turn the quilt sandwich inside out, just like a pillowcase. Blind stitch the opening closed and press along all edges. Finish your quilt by tying every 6” or so with decorative thread or embroidery floss.
However you chose to do it, don’t put it off. Go ahead and bind that quilt so you can get started on the next one!
…
Please join us here every other Wednesday for another fun, fiber-filled installment of By the Yard. You can also find the newest development from By the Yard, the 2020 Wall Calendar for Quilters at www.bytheyardcomics.com/cal, sure to keep you in stitches all year long.


