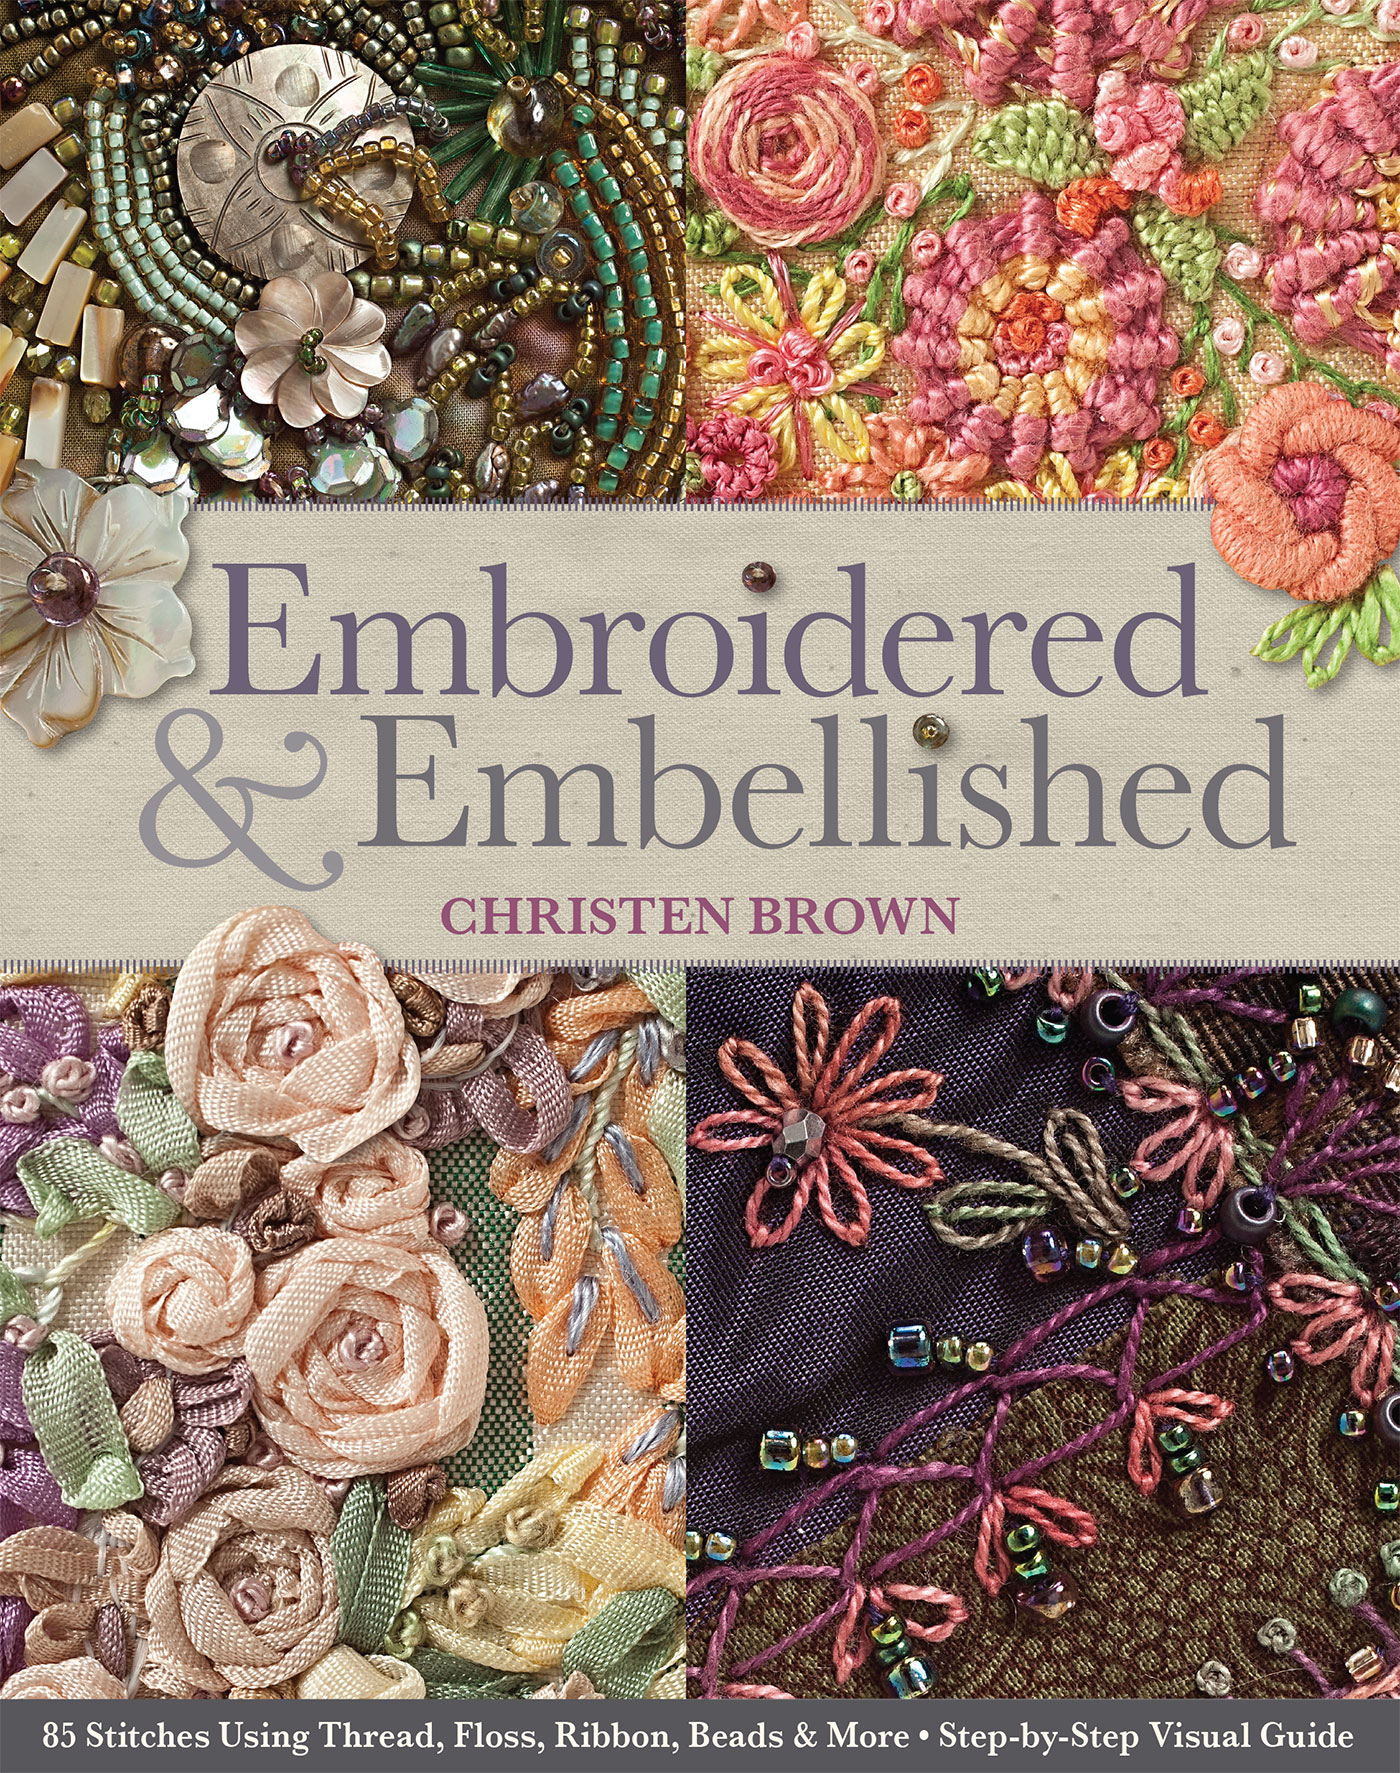
Embroidered and Embellished Samplers
Getting Started Samplers

From Embroidered and Embellished by Christen Brown
Class Description
These little beauties can be used as the focal point for a CQ square, or as small pillow or pincushion or sewn together and turned into a wall hanging.
This is a terrific way to introduce the stitches and materials that your store sells. This is a beginning to intermediate class, with some knowledge of embroidery helpful. Sewing skills will be needed to finish the project. The wonderful aspect of these small projects is that they are doable and can be finished in a small amount of time.
Class Length
5 – 6 hour class for each sampler (the student will most likely not be able to finish the entire sampler in class)
Class Supply List
- Required text: Embroidered and Embellished
- 5” x 5” square of white cotton fabric backed with lightweight iron-on interfacing; with the raw edges serge or stay stitched.
- Needles: see pg 43 for the specifics for each type of thread, ribbon or beads
- Fade away Transfer pen
- Embroidery Scissors
- Optional: Pincushion, thimble, Thread Heaven (for threads), needle threaders
Individual Samplers
- A. Traditional Embroidery Sampler: 6-strand floss and perle cotton in 5 – 6 colors; small buttons and charms
- B. Silk Ribbon Embroidery Sampler: 4mm silk embroidery ribbon in 5 – 6 colors, 7mm silk embroidery ribbon in 3 – 4 colors; small buttons and charms
- C. Raised and Textured Embroidery Sampler: 6-strand floss and perle cotton in 5 – 6 colors; small buttons and charms
- D. Bead Embroidery Sampler: 5 – 6 colors of size 11 seed beads; 2 – 3 colors of size 8 and size 6 seed beads; 1 color bugle beads; sequins, small buttons and charms; synthetic bees wax
TIP: Make it easy for the student to take the class by putting together a kit containing all of the materials. Have additional supplies such as the transfer pen, pincushions, thimbles, Thread Heaven, needle threaders, and embroidery scissors handy.
Classroom Preparation
Each student will need a chair and space on the table; include a trash bag for each table or person.
Class Outline
Before class create a drawn diagram for each of the samplers, listing the stitches with page references: Traditional Thread Embroidery pg. 50; Silk Ribbon Embroidery pg. 73; Raised And Textured Embroidery pg. 97; Bead Embroidery pg. 123. Have the diagram printed for each student.
Day of Class:
- 1. Review the information that pertains to each sampler from the following chapters: Stitching Techniques and Terminology pg. 10; Embroidery Threads and Ribbons pg. 25; Beads and Embellishments pg. 32; Embroidering With Confidence pg. 41.
- 2. Have the student copy and cut out the template on pg. 89 for the base of the sampler. Draw the template onto the piece of fabric with the transfer pen.
- 3. Review the embroidery stitches for each individual sampler. Start to embroider, and have fun!
- 4. Give the student finished examples and written directions of an individual pillow (or pincushion) or a wall hanging using all four samplers.


