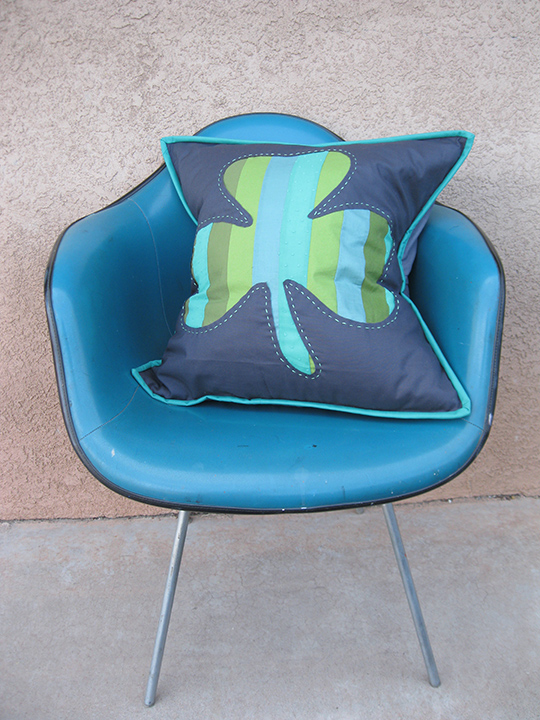
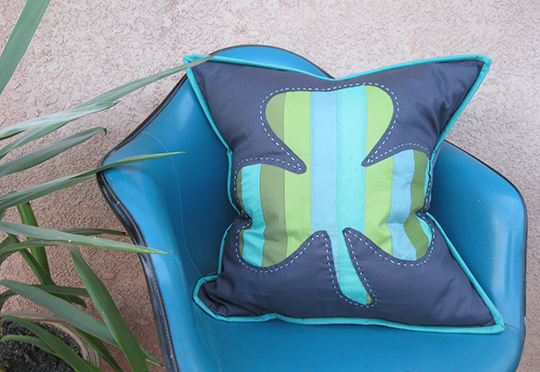
Shamrock Pillow Project for St. Patrick's Day!
Happy upcoming St. Patrick's Day! The Shamrock Pillow is a scrap-busting project featuring reverse appliqué and the option for simple hand embroidery. I had fun digging through my scraps to see what unusual combinations I could come up with for this St. Patrick’s Day–themed project.
First, let me introduce myself. My name is Jen Fox, and I recently co-authored a book with Sarah Case, called Transfer Embellish Stitch: 16 Textile Projects for the Modern Maker . It’s a super fun and approachable book filled with ideas to customize your fabrics with motifs and embellishment techniques and make projects that reflect your personal style. I also design handbag patterns and quilt patterns and teach workshops; you can learn more about me and my work here.
Project: Shamrock Pillow
Fits a 20” x 20” Pillow Insert
This project uses 1/4” seam allowances.
Materials:
Pillow front background: 5/8 yard
Shamrock: assorted scraps at least 20” long
Backing: 3/4 yard
Binding: fat quarter
Appliqué template: download here
Fabric pen or pencil
Embroidery floss: 1 skein
Pillow form: 20” x 20”
Cut the Fabric:
Pillow Front: (1) - 20” x 20” square
Scraps: (14) - 2” x 12” pieces
Pillow Back: (2) - 20” x 26”
Binding: 5 strips 2 5/8” wide
Make the Pillow Front:
1. Sew together all of the scrap strips along the long edges to create a square, and press the seams open. Trim this scrappy piece down to 20” x 20” and set aside.
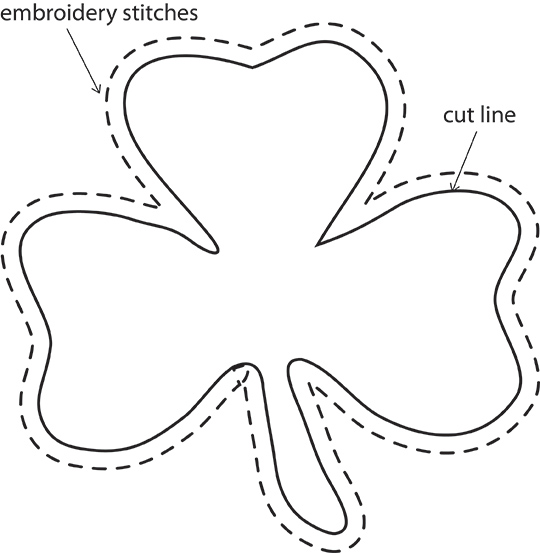
2. Print out the appliqué pattern (found here). Tape the four sheets of paper together using the diamond shapes to align the pages. Cut out the shamrock shape so that you are left with a paper stencil.
3. Place the paper stencil on the right side of the pillow front background fabric so that the motif is centered. Trace around the outline of your paper stencil with a marking pencil. This will be your cut line in a later step.
4. Next, with your scrappy piece face up, place the pillow front fabric on top with the traced lines facing up. Align the raw edges of the scrappy piece and the pillow front fabric, and machine baste with a scant 1/4” seam along all four edges.
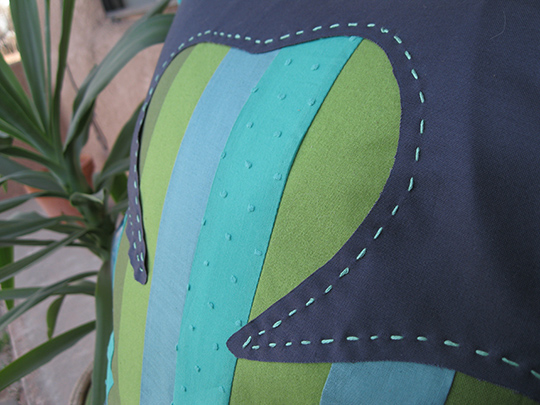
5. Then, with a simple running hand embroidery stitch, stitch about 1/4” outside of the traced lines, referring to the illustration. Alternatively, you may choose to use your sewing machine for this step.
6. Then, pull the scrappy piece away and with sharp scissors snip through the pillow front only and cut along the shamrock outline carefully.
Make the Pillow Back:
1. Fold each back piece in half, wrong sides together. Press.
2. Sew 1/2” away from the folded edge on each piece.
3. With the pillow front wrong side up, place one back piece on top, matching the 20” long side with the bottom edge. Then align the 20” long side of the remaining back piece along the top edge of the pillow front with the folded edge overlapping the other back piece. Pin around the perimeter of the pillow and baste all of the layers together a scant 1/4” from the edge.
Complete the Pillow:
1. Join the binding strips with diagonal seams. Using your favorite method, bind the perimeter of the pillow.
2. Insert the pillow form and enjoy!