


Quicker Bindings from Quilts du Jour
For today's National Sewing Month post, Marny Buck and Jill Guffy, authors of Quilts du Jour, offer us a peek at one of the techniques shared in their book: machine-sewn bindings!
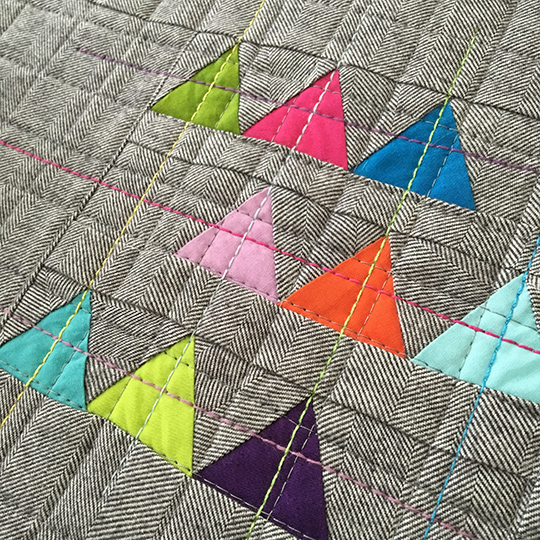
In addition to the eighteen finished projects and the interchangeable menus of blocks and settings, Quilts du Jour includes discussions and diagrams of two techniques we use daily: machine-sewn bindings and the two-ruler technique. Machine-sewn bindings are shared here, but we have to say, the two-ruler technique is an awesome way to cut anything accurately and to cut larger strips easily.
We know many quilters enjoy finishing their bindings by hand. But for us, this is not when we want to "slow" sew; we just want to get it done. We choose to entirely machine stitch our bindings. Our process results in a tidy and sturdier binding.
Our 2 ½” width of fabric binding strips are prepared in the standard fashion: crossed and joined with diagonal seams, folded in half lengthwise and pressed.
Using a regular sewing machine foot, we stich the binding to the front of the quilt. Take the time to check this step’s seam allowance. Our is almost 3/8”. Do a few trial inches, pull it out of the machine, roll the binding over snugly, and see if there is enough binding to cover your line of stitching when doing the final stitching from the front. Your seam allowance will be affected by the thickness of your batting and your fabric weight.
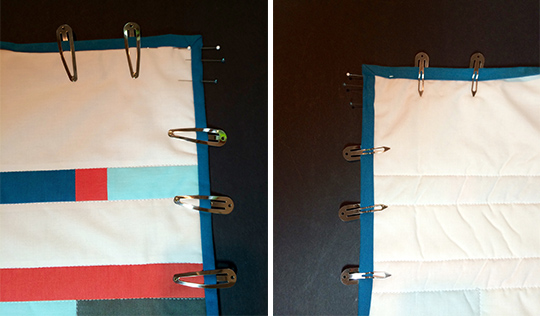
Finish stitching all the way around and join the binding ends with your preferred method. Press, fold the binding to the back of the quilt, secure with binding clips along the sides of the quilt, and secure the corners with straight pins. Pin placement is a matter of preference and takes a bit of practice.
Now for the secret! An edge-joining foot is key to a successful final line of machine stitching. The edge-joining foot has a center guide that rides along the seam line.
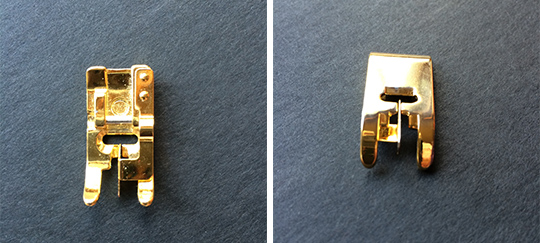
You might need to move your needle one or two positions closer to the binding. Ours happily remains in the same position. Check the back of your quilt after stitching a few inches to be sure you are catching the binding. The key is to have some binding on the back side to catch with your line of stitching from the front side, but not too much. Once you’ve established the setting, then go for it!
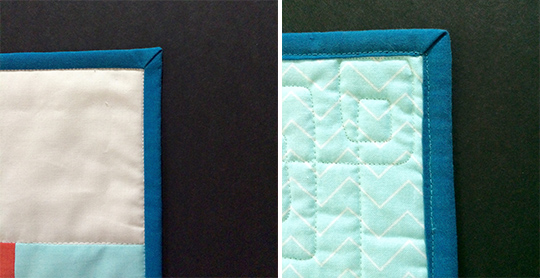
Binding this way is a breeze; use this technique and finish in no time!
Marny Buck and Jill Guffy
modernquiltrelish.blogspot.com
Love this technique from Quilts du Jour as much as we do? Want to win a free copy? Enter our giveaway here: a Rafflecopter giveaway! US winner will receive a physical copy, international winner will receive an ebook. Giveaway lasts one week and winner will be announced next Friday on the blog.
Congratulations to Kris, winner of this giveaway! I hope you have fun choosing from Modern Relish's menu of modern quilts! And thank you so much to everyone else who entered.


