


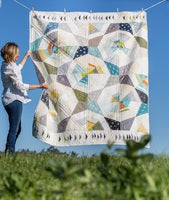
Making the Octagon Shimmer Quilt: A Few Secrets Revealed
It was really fun to design and make this quilt. Lots of thought went into getting pattern and color placement just right. Today, I have a few Octagon Shimmer Quilt Patterns and all the stuff that you need to make one so I am excited to share it with you. I have been eyeing all things spiderweb-ish for a few seasons now: from nature walks through tall, wet grass observing tiny webby worlds nestled peacefully (before my lumbering chocolate labs wanna see too, obliterating it only to slobber my face) to 3 am insomnia searches on Pinterest for spider web designs.... I adore octies, BIG SCALE, and this curated color vibe I live with in my home. Here is the culmination of all those ideas.

TIPS ON MAKING THIS QUILT. The new pattern I created for C&T Publishing, tells you "how to" very clearly with lots of tips included. This blog offers a bit more detailed information on color and value choices and tips I like to call "a few secrets revealed," :) if you care to read on. I am visual learner....so as usual it is loaded with images.
Color palette includes the entire Shimmer 2 Collection, a few Kona solids and my Studio Stash Yarn dyes. Having one each of the FQ towers, Shimmer 2 and Shimmer 2 Coordinates, will give you what you need for octagons.
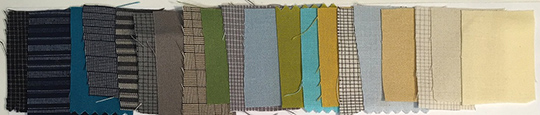
Next step is to start cutting. You will be using every piece of fabric in the Octagon Shimmer Quilt.
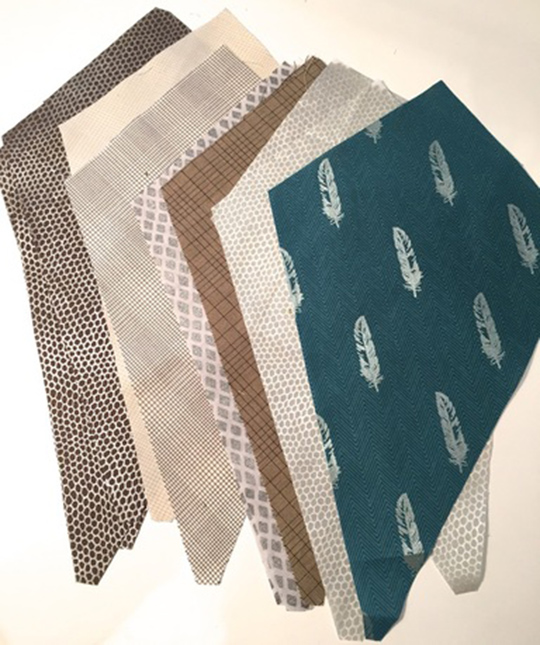
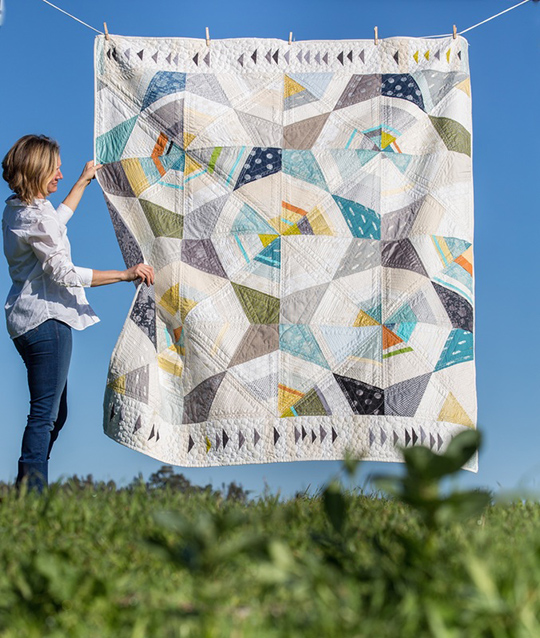
A. Highlighting the octagon shape. Making the background sit back and being mindful of the color/value pops create the shimmer factor. Using my new Shimmer Fabric in all its pearlescent glory is key–the quilt shimmers in every way. Your first commitment is to cut the kites. I wanted them mostly low volumes with a few mids and darks.
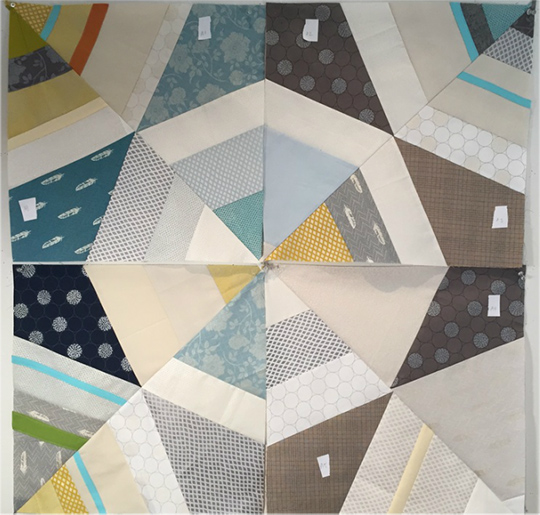
SECRET #1 As any good artist/designer will tell you, it's very important to throw depth into a light piece–just as refracted light does when splashing on water. Intense areas of value change in a few areas are necessary, hence the darker kites. Look above at quilt again and study the different kites. See how the mids and darks give definition?
SECRET #2 What is CRUCIAL in making this quilt is to define the octagons by putting a very light strip next to the neutral kite with almost every block. See below. And study the picture above again. Lights are setting the stage for the octagon reveal.
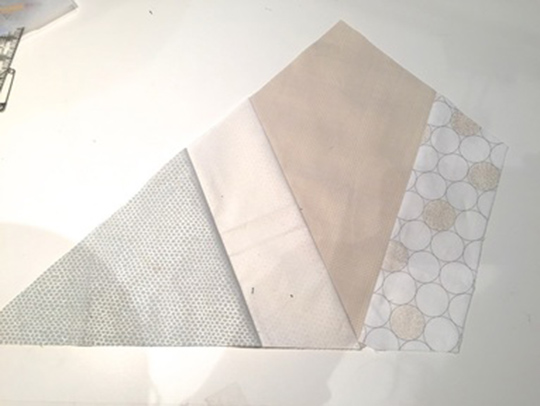
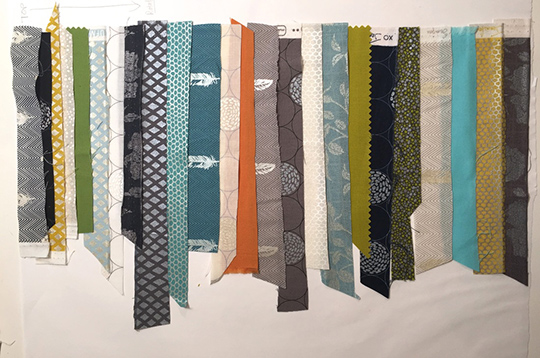
B. Minimal stripping of the triangles. Don't go nuts strip piecing 1" pieces. For at least half of your triangles, make big swaths of lights to fill tips. Add some skinny strips in areas. VARY your cuts and don't take an even approach. See sample below.
SECRET #3 Audition different color "centers" once you put the triangles together. Keep open options to go stronger or softer in your centers. You will notice that I took both approaches. Sew in end tips only after you have decided on color and pop factor. Also notice how I didn't finish all my triangles before putting them up in rotation, allowing for IMPROVISATION!!
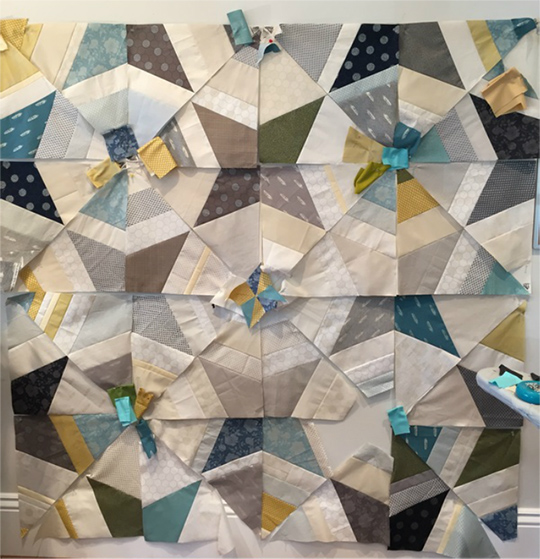
C. Adding POP Kona bias and piecing triangles into finished octagons.
Decide on the final set of your blocks and then add pop Kona colored homemade bias tape. More detail in pattern.
SECRET #4 When in doubt take it out! Restraint is important during this step. I had originally overdone the color pops but the good thing is that they were pinned, not sewn on. Step back. Walk out of the room. Sleep on it....what I learned is that taking about 40% of the color OFF the block gave me the final look I was striving for. Loving the old adage, less is more.
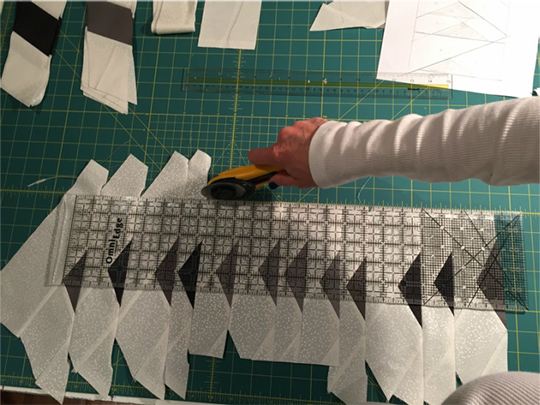
D. Borders: icing on the cake. The pattern instructions call for WOF yardage to create the wonky flying geese. Labor intensive little blocks, but totally worth it. Easier to strip piece WOF with my method than using FQ. That is why my kit for sale includes yardage of whites for this purpose in addition to the two FQ towers for octagon blocks (14 1/4 yds total in kit). You will have great scraps left over to do something fun on the back.
These are the main design considerations and observations that are important to understand if you want to create a similar feeling to what I have made. Yet, as always, I welcome new ideas, new approaches and hope you will share your own creations and show me how you see it. You can find me on Facebook or Instagram and of course always email my website too. Whether you pull together your own selection of fabrics or are supporting your local store (good job!), at least you have this inside look at what was swirling around in my head as the quilt evolved. I hope you enjoy your sewing every time you sit down to create.
Create and Shimmer on!!
Want to win a FREE Octagon Shimmer Quilt Pattern? Enter our giveaway here: a Rafflecopter giveaway! US and international entries welcome, but an international winner will receive an ebook instead of a hard copy. Winner will be announced one week from today.
Congratulations to Ellen B., winner of this giveaway! Hope you enjoy making your own version of this quilt!


