Make It: DIY Infinity Scarf

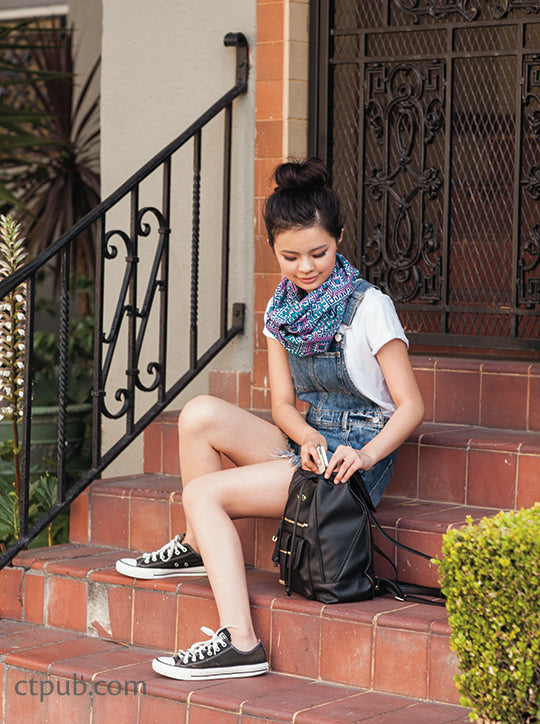
Please enjoy this free project from #OOTD (Outfit of the Day) Sew & Style. The author, Angela Lan, is one styling teen, and she walks you through making an infinity scarf, from choosing fabric to how to wear it.
If you asked whether I prefer a traditional scarf or an infinity scarf, I would most definitely say the infinity scarf. They’re so easy to style without having to mess with the ends or trying to find the perfect length, making it the ideal accessory for every season. And, it just so happens, they’re super easy to make! Infinity scarves can be pricey, but by making your own, you can choose the print and customize them to your style for cheap. Once you get the hang of it, these are great gifts, since they take under 30 minutes to make!
FABRIC SUGGESTIONS
Any kind of fabric, both knits and wovens, will work for this scarf. From cotton lawn to wools to shiny satins to sweater knits: as long as the fabric is at least 60˝ wide, you can use whatever your heart desires! Since the design is pretty simple, the fabric you choose to work with will really have a big impact on the finished project. Light-and-breezy fabrics such as voile are perfect for spring scarves, while thick knits are great for fall and winter. Lace will make a beautiful and delicate scarf, while a medium-weight knit could be used to make an everyday scarf.
SUPPLIES
• 1 yard of 60˝-wide fabric
• Thread to match your fabric
• Basic sewing supplies
Sewing
Use a ½˝ seam allowance, unless otherwise noted.
Note: In the following photographs, the models were made at a smaller scale and sewn in contrasting thread for demonstration purposes.
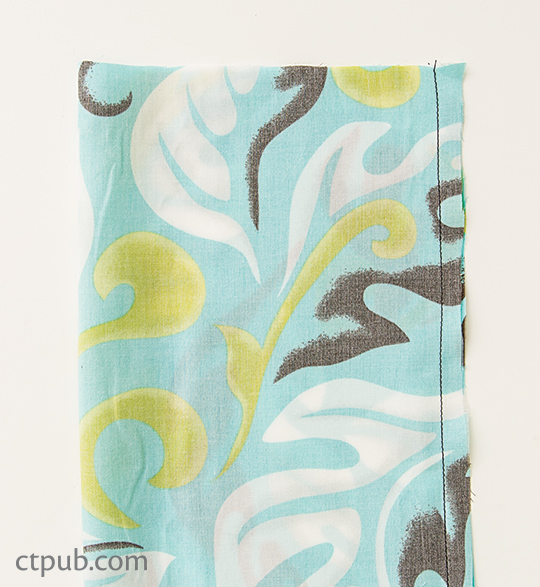
1. Fold the fabric in half lengthwise, right sides together, lining up the long raw edges. This forms a long tube that should measure approximately 18˝ × 60˝. Pin the raw edges together.
2. Sew down the pinned edge.
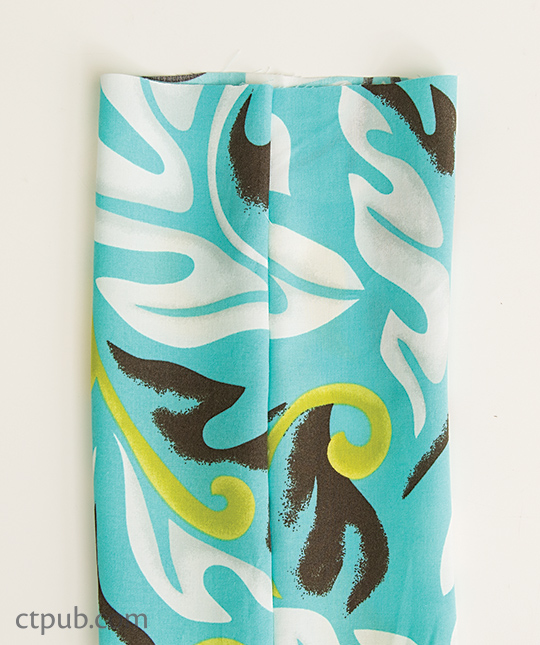
3. Turn the tube inside out, so the right side of the fabric is now outside.
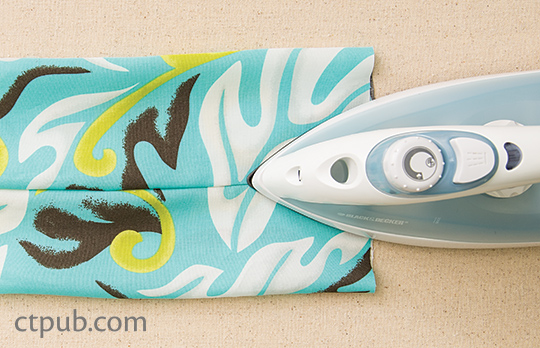
4. Shift the seam, so it’s now running down the center of the tube. Give the seam a light press. Don’t press too hard, or the scarf will flatten. Just run the iron over the seam quickly and lightly.
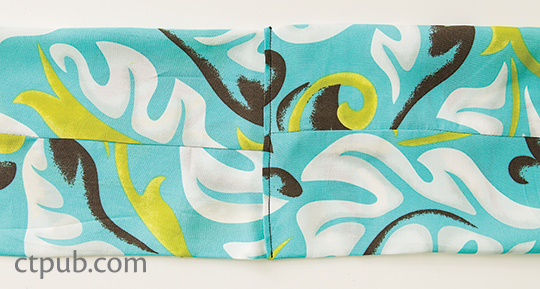
5. Bring the 2 ends of the scarf together, forming a loop. Make sure the loop isn’t twisted.
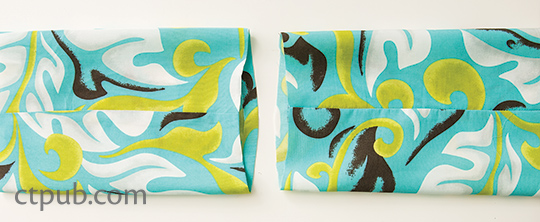
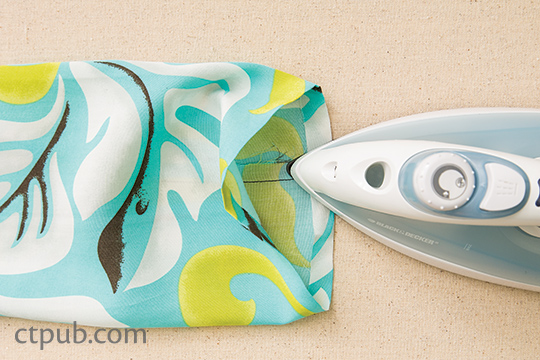
6. On 1 end, fold ½˝ over to the wrong side all around the tube. Press to make a crease.
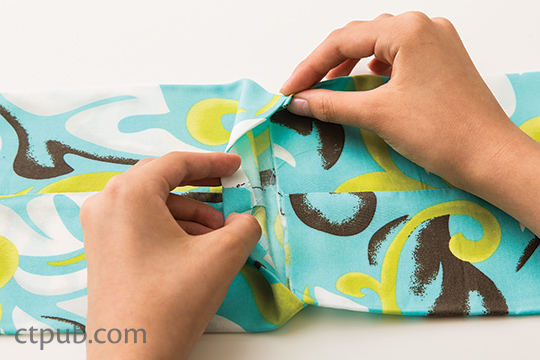
7. Place the other end of the tube inside the folded end, covering the raw edges. Pin down the width of the tube.
8. Sew ¼˝ away from the fold through all the layers, or as close as you can get, to join the ends. And that’s it! Loop it twice around your neck to wear.