Make a Wine-Bottle Bag to Gift
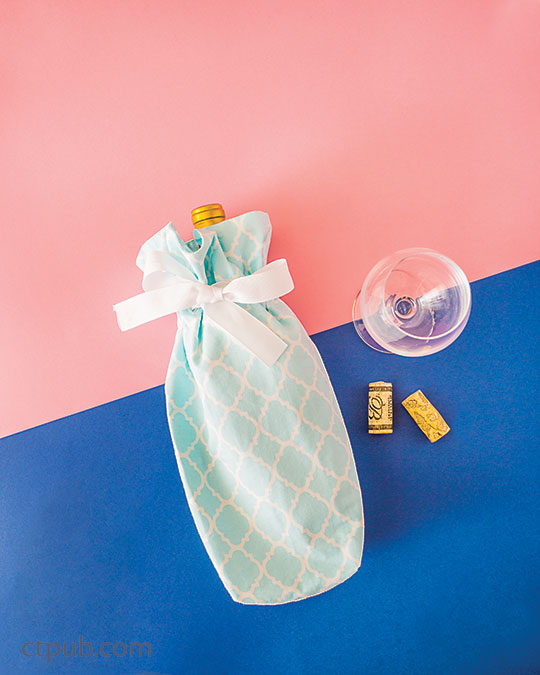
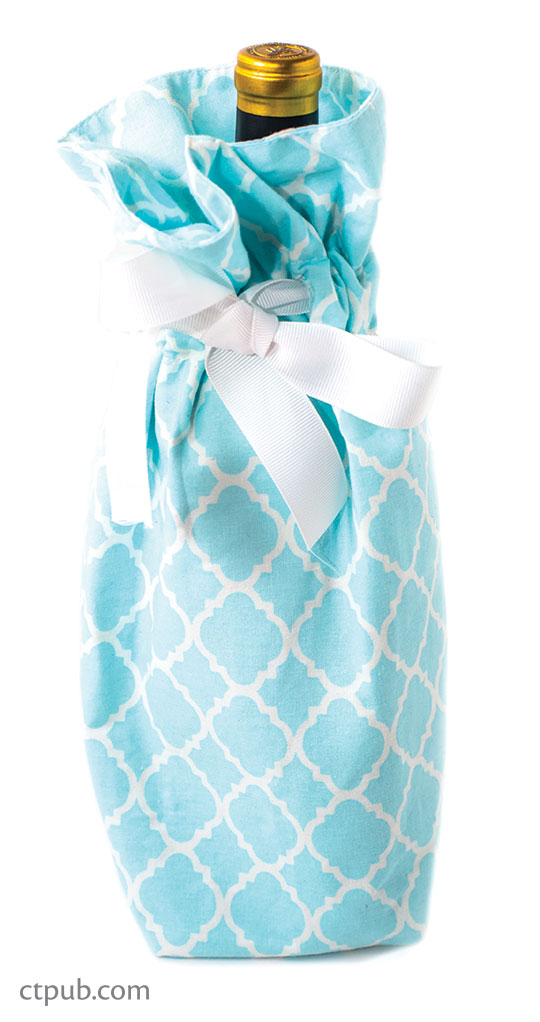
Wouldn't this stylish wine-bottle bag make a perfect hostess gift? The instructions for this bag come from Hack That Tote! by Mary Abreu. Starting with one basic tote bag pattern, Mary shows you how to adapt it in infinite ways.
Inside the Hack
This Wine-Bottle Bag is made by removing the handles and adjusting the proportions of the Basic Tote Bag. Buttonholes and a double row of stitches through both layers of the bag create a casing for ribbon to add that gift-giving touch.

FINISHED BAG: 4 ̋ wide × 13¼ ̋ high × 4½ ̋ deep
Materials
Yardage is based on 42 ̋ width of fabric unless stated otherwise.
FABRIC: 2 fat quarters
WOVEN FUSIBLE INTERFACING: ½ yard, 20 ̋ wide
RIBBON: ½ yard, 1 ̋ wide bag
Cutting
EXTERIOR
Cut 2 rectangles 9 ̋ × 16 ̋.
Cut 1 square 2¼ ̋ × 2¼ ̋ from each bottom corner.
LINING
Cut 2 rectangles 9 ̋ × 16 ̋.
Cut 1 square 2¼ ̋ × 2¼ ̋ from each bottom corner.
INTERFACING
Cut 4 rectangles 9 ̋ × 16 ̋.
Cut 1 square 2¼ ̋ × 2¼ ̋ from each bottom corner.
Construction
All seam allowances are ¼ ̋ unless otherwise noted.
1. Follow the manufacturer’s instructions to fuse the woven fusible interfacing to the wrong sides of the exterior and lining pieces of the bag.
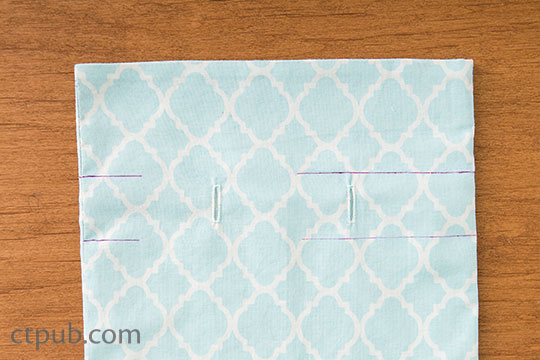
2. Follow the instructions in your sewing machine manual to sew 2 buttonholes ¾ ̋ long on the right side of 1 exterior bag piece, 3 ̋ in from each side and 3 ̋ down from the top edge. Cut open the buttonholes and apply a small amount of seam sealant (optional) to inhibit fabric fraying. FIG. A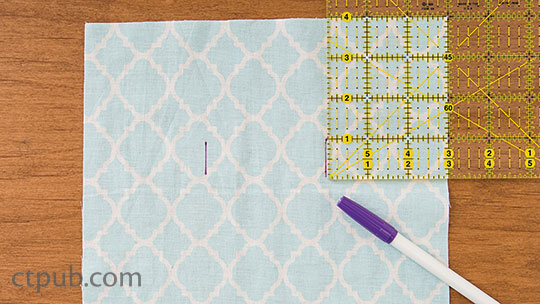
A. Sew buttonholes to 1 exterior piece.
3. Match the exterior pieces, right sides together. Pin the sides and bottom edges. Sew. Press open the seams. FIG. B
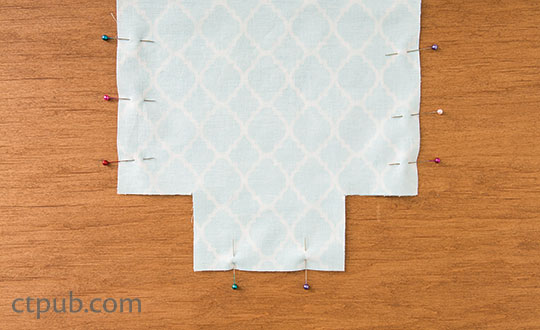
B. Match exterior bag pieces, right sides together.
4. Create the bottom corners of the bag by matching a side seam to the bottom seam, right sides together. Pin and sew in a straight line. Repeat with the opposite corner. FIG. C
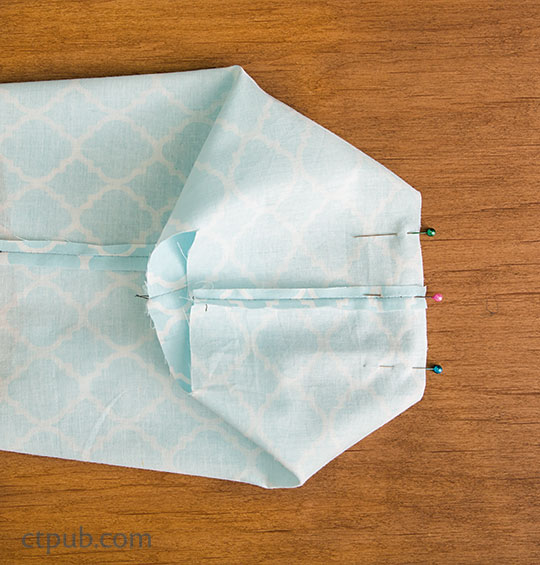
C. Match side seam and bottom seam, right sides together, to form bag corners.
5. Repeat Steps 3 and 4 with the lining pieces, leaving a 3 ̋ gap in the center of the bag bottom for turning.
6. Insert the exterior into the lining, right sides together. Match the top edges of the bag. Pin and sew. FIG. D
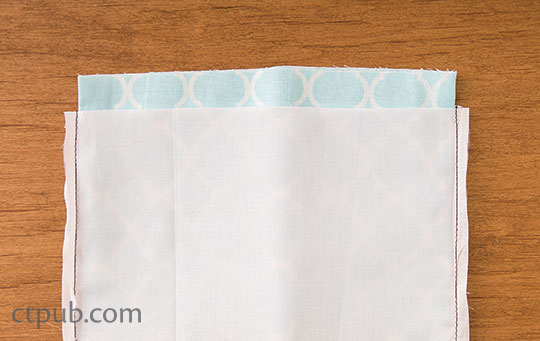
D. Place exterior into lining, right sides together.
7. Turn the bag right side out through the gap left in the lining. Tuck the lining into the exterior and press.
8. Machine stitch or slipstitch the gap in the lining closed.
9. Topstitch 1/8" from the top edge of the bag all the way around.
10. To make the casing, stitch all the way around the bag 2 5/8" from the top edge. Make a parallel line of stitches 3 7/8" from the top edge of the bag (1¼ ̋ away from the previous line of stitches). FIG. E
E. Stitch parallel rows around top of bag.
11. Use a bodkin or attach a safety pin to the end of the ribbon and feed the ribbon through the buttonholes and the casing. Tie the ribbon ends into a bow.