

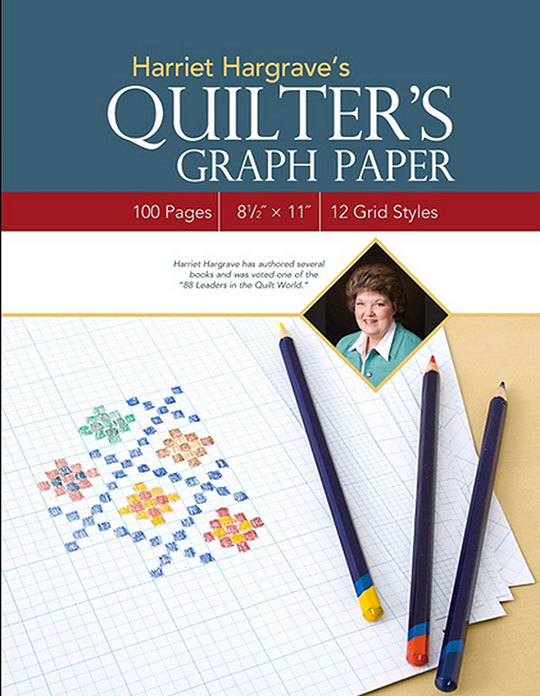
Learn How to Plan a Quilt with Harriet Hargrave's Quilter's Graph Paper
Posted by Harriet and Carrie Hargrave on Feb 8th 2017
Many people think that drafting is the four-letter word of quilting. It doesn’t have to be! Drafting can be as creative a process as picking the fabrics and piecing the quilt top. Here, we will begin simply and walk you though the basics of putting your layout design on paper.
To begin, you are going to draft the layouts of Harriet’s Woodland Winter or Carrie’s Cowboy Corral. At this point, don’t worry about using graph paper with a grid that matches the grid of the quilt. Take a deep breath, and relax…we promise this will be fun!
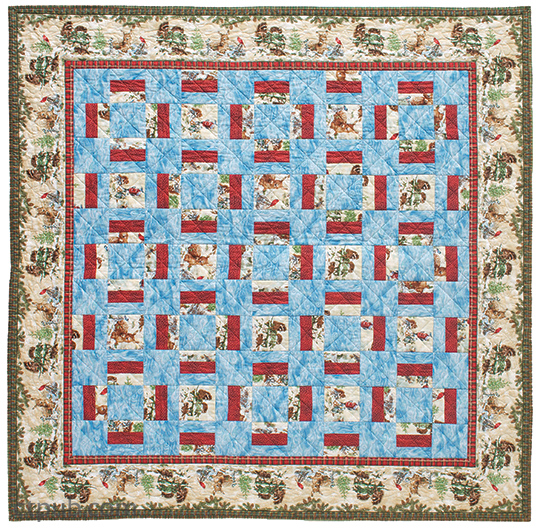
Woodland Winter
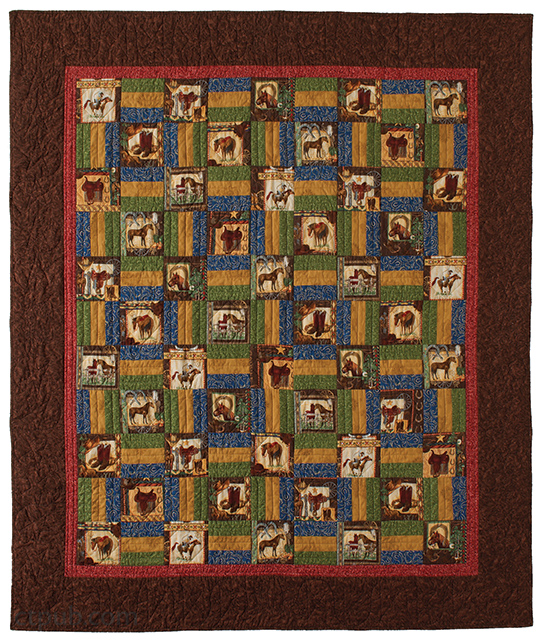
Cowboy Corral
Materials:
- Harriet Hargrave's Quilter's Graph Paper
- Basic calculator
- Small see-through ruler (such as C-Thru brand, available at office or art supply stores)
- Basic mechanical lead pencil
- Eraser
- Set of colored pencils with at least 64 colors
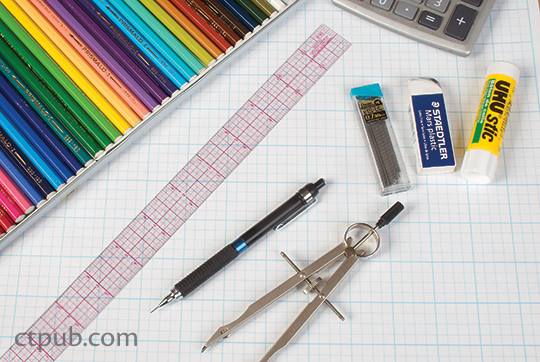
Drafting supplies
1. With a pencil, draw squares that are 3 graph-paper squares wide by 3 squares tall, all attached to one another. You are creating the seams of the quilt.
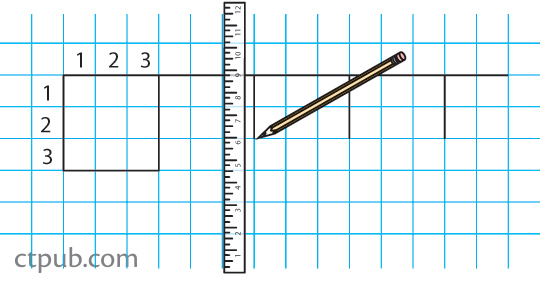
Starting to draw blocks
2. Do you see where we are getting the 3 × 3? These quilts are based on the Fence Post block and are made wholly of square blocks. The Fence Post block has 3 rails and is square, so that tells us that no matter what the finished size of the quilt, the blocks are all divisible by 3, making all the squares in the quilt 3 × 3 graph-paper grids. While we are drawing blocks, let’s make our drawn quilt match the size of Harriet’s quilt, so you will need 11 blocks across and 11 blocks down.
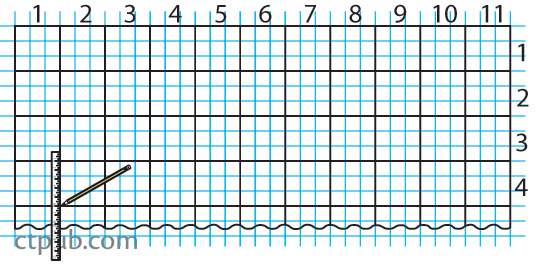
Drafting a full quilt
3. Looking at the picture of the quilt, begin to draw in the Fence Post blocks’ seamlines. In this case, the pieced block is the only complicated block. you will notice in this quilt that the Fence Post blocks alternate their position. Half the time the rails run horizontally; the other half, they run vertically. While you are drawing in these seamlines, make sure you keep the pattern going the right way.
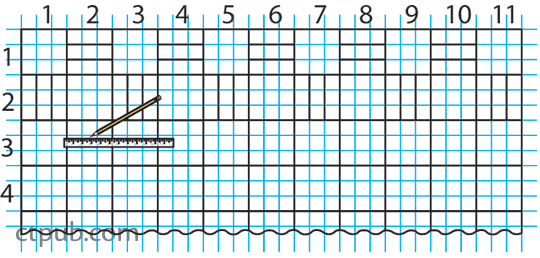
Creating the blocks
4. Now comes the fun part—you get to color! Think of it as preparation for going to the quilt shop and “petting” all those wonderful bolts of fabric! Pick your favorite colors or a color combination you like, or use 1 of the 2 color combinations from Harriet’s or Carrie’s quilts. Color all the Fence Post blocks, first mimicking the color layout of 1 of the 2 quilts.
5. Next, color the solid alternate blocks. In Harriet’s quilt, there are 2 different colors of alternate blocks that create a secondary pattern. In Carrie’s quilt, they are all the same color. Compare the drawings below to see how the different placement of color in the blocks can change the feeling and look of the quilt.
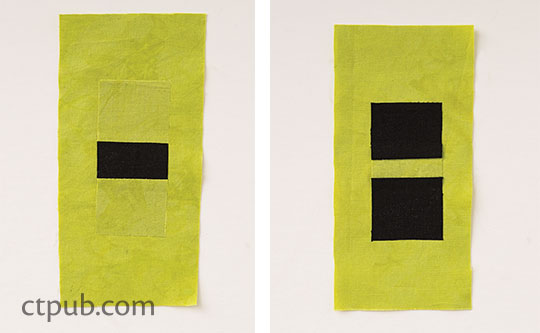
Color layouts for Harriet’s quilt (left) and Carrie’s quilt (right)
6. Try doing a few drawings placing different colors of the solid alternate square in different configurations. What happens when you color the Fence Post block differently? Do you like the quilt better? Remember that when you choose fabric, you are not committed to the color you have used on your drawing. Say you have chosen three colors of blue for your rail blocks and two purples for your solid square blocks. Perhaps you decide that the Fence Post blocks look too “blah” with only three shades of the same color. Instead of redrawing and recoloring the whole quilt, wait until you get to the quilt shop and find a fabric that “speaks” to you. Imagine where that fabric will fit with your drawing. Note in the drawing which color you are substituting this fabric for, and build from there. Let the fabric you fall in love with determine what your quilt will ultimately look like.


