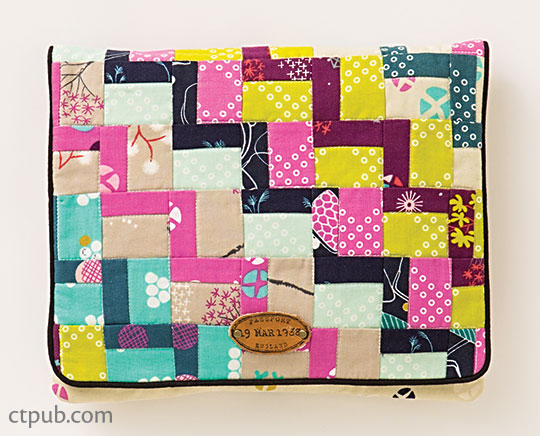
Fun Free Tablet Sleeve from Perfect Patchwork Bags
Posted by Deirdre Quirk on Jul 12th 2017
Finished size: 10" wide x 7 3/4" high
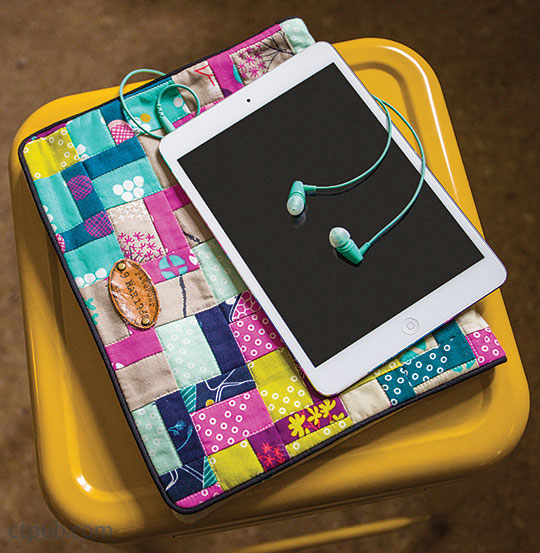
These sleeves are perfect for cell phones and tablets! They have hook-and-loop tape closures, allowing users easy access to their devices. What’s more, this pattern is easy to make and can be completed by sewists of all skill levels! The quilting in this pattern does not need much prior experience, making it accessible to anyone. With its unique zigzag flap patchwork and practical design, this sleeve makes a great gift!
Note: You can omit the dark-and light-colored fabrics for the flap patchwork and make your tablet flap from a single fabric. Enough fabric is included.
MATERIALS
- 6 different dark-colored fabrics and 6 different light-colored fabrics for flap exterior patchwork (See the cutting list for sizes.)
- 3/8 yard of 44˝-wide heavyweight home decorator or quilting-weight cotton for one-fabric exterior (and flap, if you wish)
- 3/8 yard for lining
- 1 yard of 20˝-wide lightweight fusible interfacing
- 5˝ of 1˝-wide hook-and-loop tape (nonfusible)
- 1 yard of piping
Note:
• A 1/4˝ seam allowance is included for the patchwork.
• A 3/8˝ seam allowance is included on the patterns.
• Backstitch at the beginning and end of each seam.
Flap Patchwork
CUTTING
Dark-colored fabrics
From the 6 fabrics:
• Cut 1 piece 1˝ × 28˝.
• Cut 2 pieces 1˝ × 21˝.
• Cut 2 pieces 1˝ × 12˝.
• Cut 1 piece 1˝ × 5˝.
Light-colored fabrics
From the 6 fabrics:
• Cut 1 piece 1 3/4˝ × 28˝.
• Cut 2 pieces 1 3/4˝ × 21˝.
• Cut 2 pieces 1 3/4˝ × 12˝.
• Cut 1 piece 1 3/4˝ × 5˝.
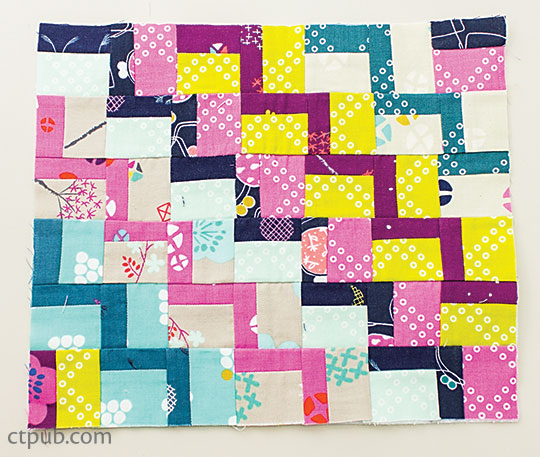
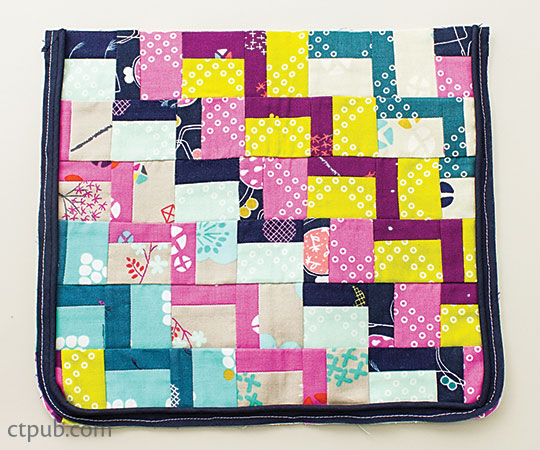
Patchwork
1. Arrange the light-colored fabric strips and dark-colored fabric strips in pairs of the same length.
2. With right sides together, sew the 1˝ strip and 1 3/4˝ strip together. Press the strip set open.
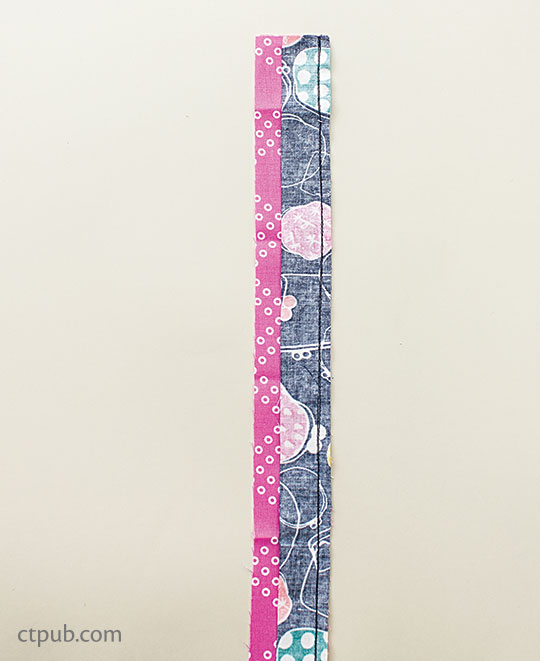
3. Repeat Steps 1 and 2 to sew all the pairs of strips (strip sets) together.
4. Using a rotary cutter, cut the strip sets into 2 1/4˝ × 2 1/4˝squares.
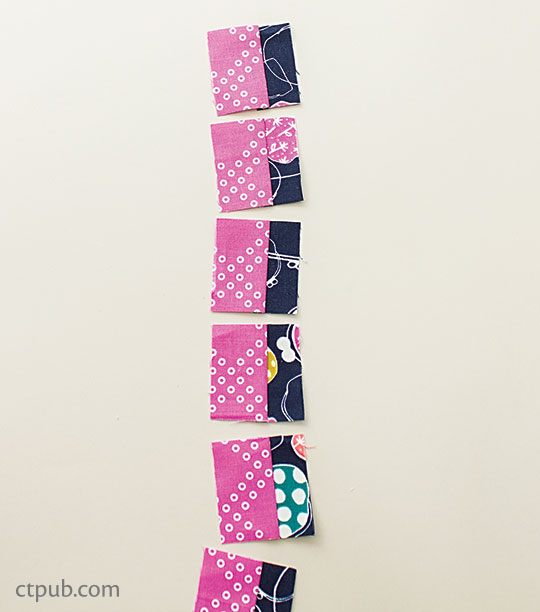
5. Arrange the squares into rows (42 blocks into 6 rows of 7 squares each for the tablet sleeve, and 20 blocks into 4 rows of 5 squares each for the cellphone sleeve).
6. Sew the blocks into rows and press.
7. Sew the rows together and press.

8. Using the Tablet Sleeve Flap pattern, cut a piece of interfacing and fuse it onto the wrong side of the flap exterior piece, following the manufacturer’s instructions. Quilt by hand or machine.
Sleeve Construction
Using the Tablet Sleeve Flap and Tablet Front and Back patterns (download here), cut out the following pieces and transfer all points and references to the fabric.
CUTTING
Exterior
• Cut 1 Front.
• Cut 1 Back.
• Cut 1 Flap (from your interfaced patchwork or other exterior fabric).
Lining
• Cut 1 Front.
• Cut 1 Back.
• Cut 1 Flap.
Interfacing
• Cut 1 Front.
• Cut 1 Back.
• Cut 1 Flap (if you are not using patchwork for your flap).
Front and Back
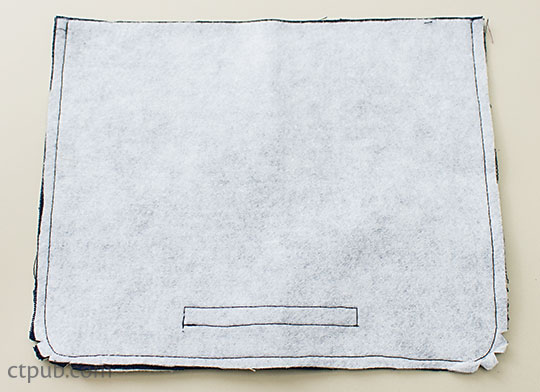
1. Fuse the interfacing to the wrong side of the exterior pieces. (If you are using the flap patchwork, the interfacing has already been fused on.)
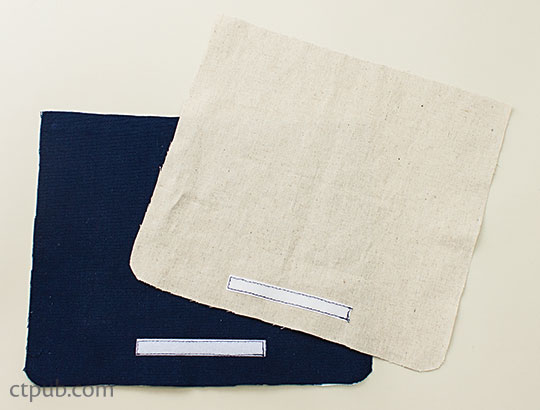
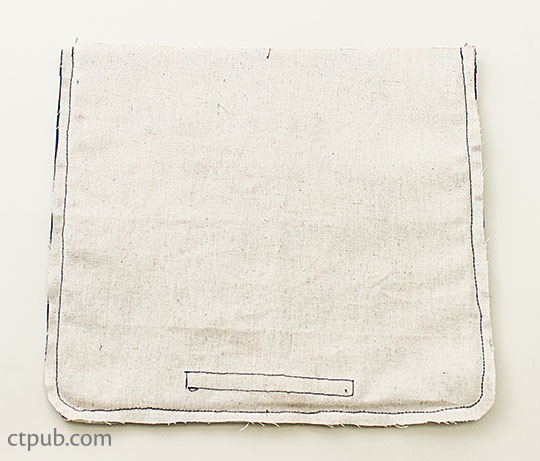
2. Attach the hook-and-loop tape onto the right sides of the front exterior and the flap lining, sewing around all 4 edges and backstitching at the beginning and end.
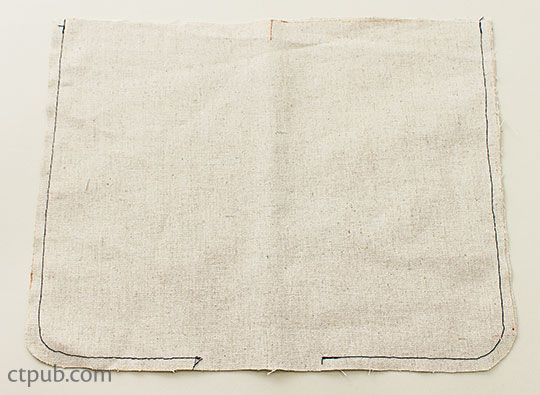
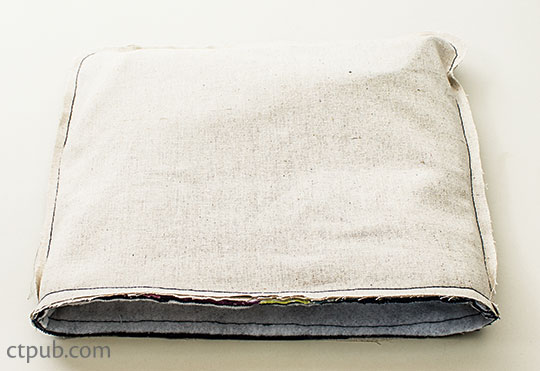
3. Place the front and back exterior pieces with right sides together. Sew around the side and bottom edges. Notch the rounded corner seams. Turn right side out and press.
4. Repeat Step 3 using the front and back lining pieces; leave a 4˝ opening for turning. Press the lining but leave it wrong side out.
Flap
1. Pin the piping around the side and bottom edges of the flap piece and stitch. Cut off the excess piping.
2. Pin the flap exterior to the flap lining with right sides together. Stitch only the sides and curved bottom edge seam, leaving the top edge unstitched. Stitch as close to the piping as possible, using a zipper foot on your machine if you have one.
3. Clip the curved seam. Turn right side out and press.
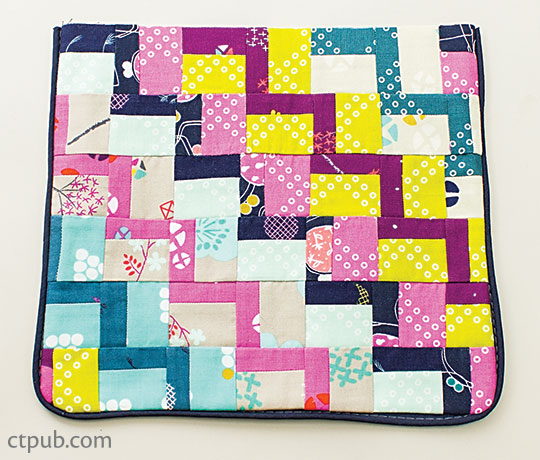
4. Center the flap onto the back piece of the sleeve with the exterior sides together, aligning the raw edges. Pin and baste in place.

5. Insert the exterior unit inside the lining with right sides together, sandwiching the flap between the exterior and the lining. Match the side seams of the exterior with the side seams of the lining as much as possible.
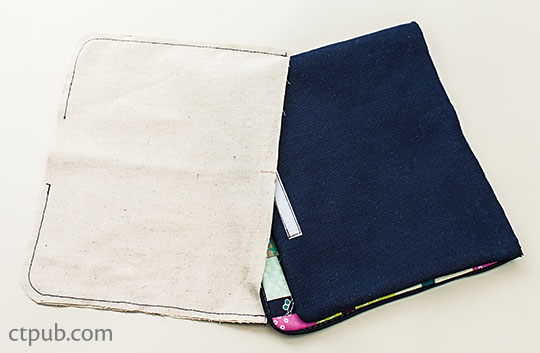
6. Pin the exterior and lining together around the opening of the sleeve. Sew around the opening.
7. Turn right side out through the opening left in the lining. Stitch the lining opening closed. Tuck the lining into the exterior. Press the top opening of the sleeve.
8. Topstitch around the opening 1/8˝ from the edge.