

Free Project: Cotton Candy Pillow
Posted by Deirdre Quirk on Mar 27th 2017
Please enjoy this free project from Dresden Carnival!
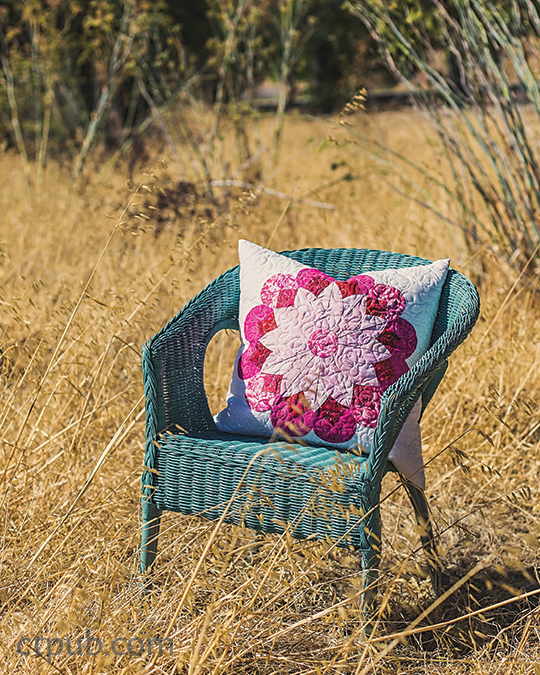
A visit to the fair isn’t complete without some cotton candy. Picture the cotton candy as it swirls around the cone in subtle gradations from dark to light. This combination of colors and swirling shapes makes a dynamic pillow.
MATERIALS
Medium pink: 3 pieces
1⁄8 yard or fat eighths
Medium-dark red: 3 pieces
1⁄8 yard or fat eighths
Medium-light pink: 3 pieces
1⁄8 yard or fat eighths
Light pink: 3 pieces
1⁄8 yard or fat eighths
Center circle: Scrap at least 5˝ × 5˝
Pillow top and back:5⁄8 yard
Quilt backing: 15⁄8 yards
Batting: 2 squares 28˝ × 28˝
Pillow form: 20˝ × 20˝
CUTTING
Appliqué
Make templates A, B, C, D, and E using the Cotton Candy Pillow patterns (download here).
• Cut 12 using petal A, 4 from each medium pink.
• Cut 12 using petal B, 4 from each red.• Cut 12 using petal C, 4 from each medium-light pink.
• Cut 12 using petal D, 4 from each light pink.
• Cut 1 center circle E from scrap.
Pillow top and back
• Cut 2 squares 21˝ × 21˝.
Quilt backing
• Cut 2 squares 28˝ × 28˝.
Skill level: confident beginner | Finished pillow: 20" x 20"
Construction
PREPARE THE PETALS
Separate the petals into 3 groups of 1 medium pink,1 medium-dark red, 1 medium-light pink, and 1 light pink. For each group make 4 complete petals as instructed below.
1. Appliqué petal part B on petal A. Cut away excess fabric underneath.
2. Appliqué petal part C on petal A/B. Cut away excess fabric underneath.
3. Appliqué petal part D on petal A/B/C. Cut away excess fabric underneath.
4. Sew the Dresden petals to form a circle. Press.
5. Center the petal circle on the pillow top and appliqué.
6. Appliqué the center circle.
QUILTING THE PILLOW
1. Layer the pillow top and back, each with their own batting and backing for quilting. Quilt each piece as desired.
2. Trim quilted pillow pieces to 21˝ × 21˝.
PILLOW ASSEMBLY
1. On the pillow top and back, mark a dot 1/2˝ inside each corner. Mark the center of each outside edge. Draw a straight line from the 1/2˝ dot to the center.
2. Cut along the drawn line. This small adjustment keeps the corners of the pillow from feeling unfilled.
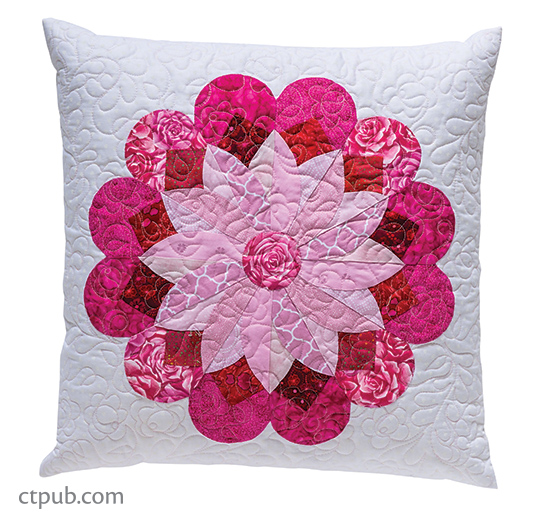
Designed and made by Marian Gallian, quilted by Kathryn Carbine
Fabric: Make it scrappy using shades of light and dark pink and red on a white tone-on-tone background.
3. Fold under the bottom edge of the pillow top 1/2˝ to the inside. Press and baste. Repeat for the pillow back. You will use the creases of these folds to guide you as you sew the pillow closed.
4. Place the pillow top and pillow back right sides together. Sew 3 sides with a 1/2˝ seam allowance, leaving the basted side open. Clip the corners and trim where needed. Turn right side out. Make sure the 2 corners are fully turned.
5. Insert the pillow form, making sure the pillow reaches into both inside corners.
6. Pin front and back together and hand stitch with matching thread using a ladder stitch or a very small, tight whipstitch.
ALTERNATE COLORWAY:
Scandinavian Christmas Pillow

Designed and made by Marian Gallian, quilted by Kathryn Carbine • Fabric: Scandi Christmas by Makower UK


