Couldn't load pickup availability

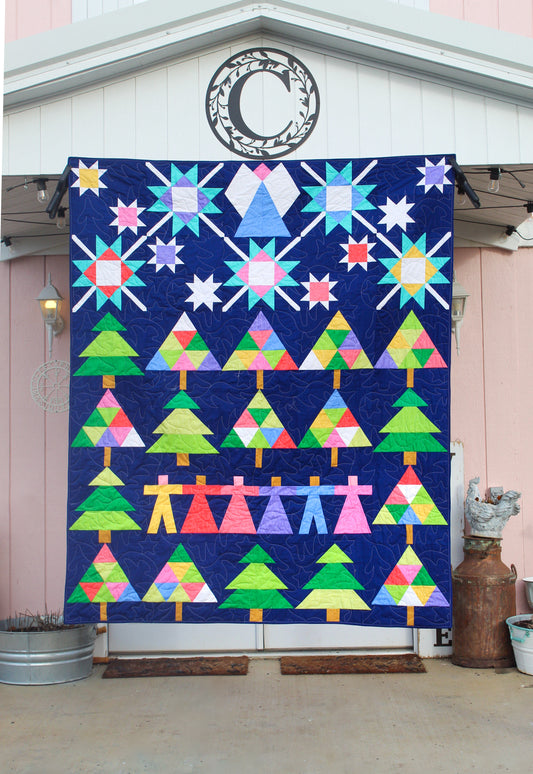
Holiday Cheer Quilt: A Modern Christmas Sampler
Stitch a modern Christmas sampler quilt full of trees, stars, carolers, and a...
Couldn't load pickup availability

Elm Creek Quilts Christmas
Turn each page to unwrap festive quilts, timeless stories, and the joy of the...

Couldn't load pickup availability

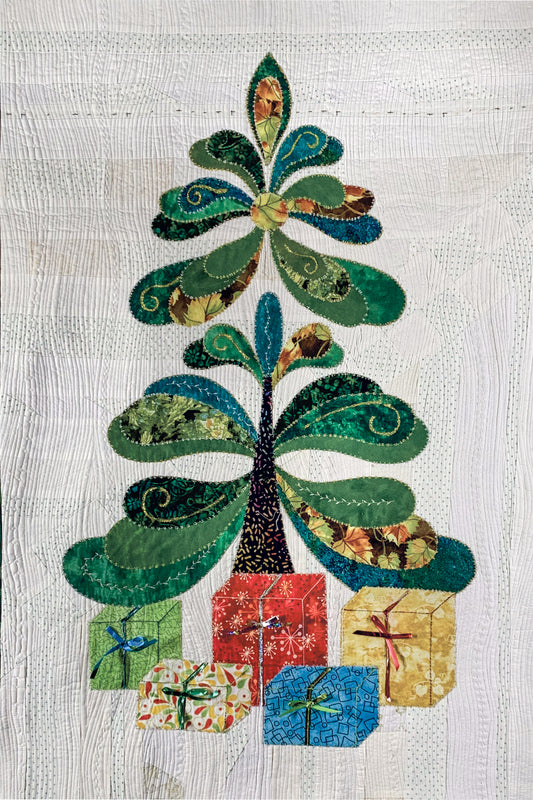
Let’s Make a Christmas Tree: A Holiday Wall Quilt
Create a festive quilted Christmas tree wall hanging with pre-quilted backgro...
Couldn't load pickup availability

Amigurumi Card Deck
Enchanting Amigurumi Anywhere: Easy, Take‑Along Crochet Projects for Beginner...
Couldn't load pickup availability

333 Origami Sheets Japanese Designs for Luck & Fortune
Elevate every origami fold with Japanese designs inspired by luck, beauty, an...
Couldn't load pickup availability

Quilter's Retreat Tote
Pack it full with your mat, ruler and more! This is your go to retreat-ready ...
Couldn't load pickup availability

On-the-Go Embroidery Cards Set 2
Your on-the-go embroidery companion with sixty more creative stitches! ...
Couldn't load pickup availability

Embroidery Pocket Guide
A pocket-size encyclopedia of the most popular stitches and much more. The gu...

Couldn't load pickup availability

Quilt Builder Card Deck Kim Diehl Special Edition
Mix, match, and quilt your way to a Kim Diehl-inspired scrappy masterpiece! ...
Couldn't load pickup availability

Quilter's Quick-Reference Guide
Quilt smarter, not harder—with our go-to reference tool at your fingertips! ...
Couldn't load pickup availability

Organize Your Creative Space: A Step-by-Step Craft Room Reset
Declutter and revitalize your craft room with a simple, repeatable system for...
Couldn't load pickup availability
Let’s Make a Christmas Tree: A Holiday Wall Quilt
Create a festive quilted Christmas tree wall hanging with pre-quilted backgro...
Couldn't load pickup availability
Holiday Cheer Quilt: A Modern Christmas Sampler
Stitch a modern Christmas sampler quilt full of trees, stars, carolers, and a...
Couldn't load pickup availability

Quilt Panel Adventure: Design a Legendary Layout
A quilt panel adventure in design that transforms a single panel into a custo...
Online Learning
-
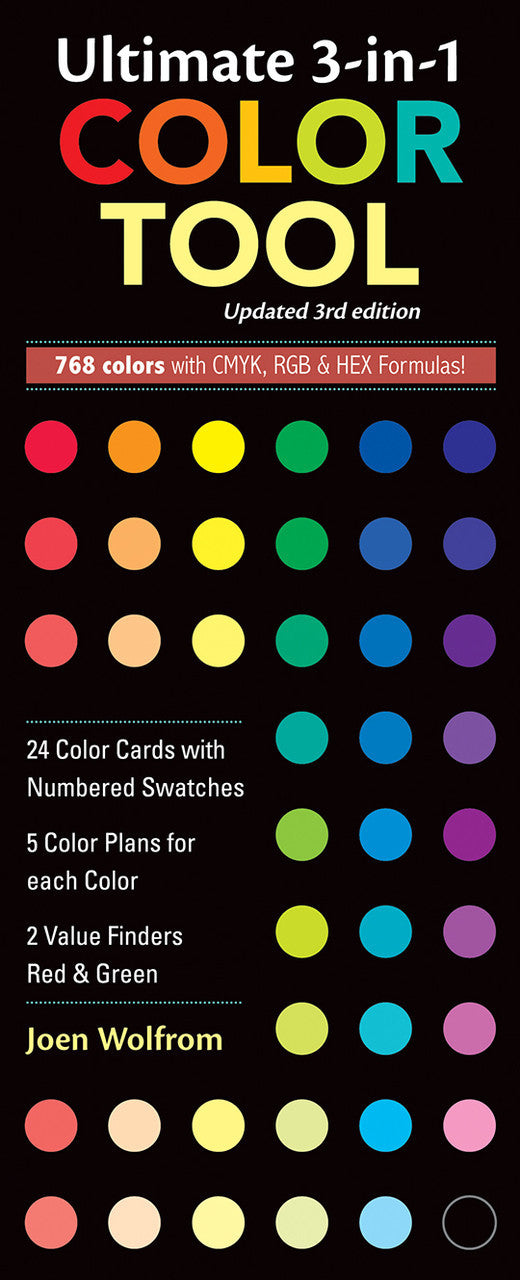
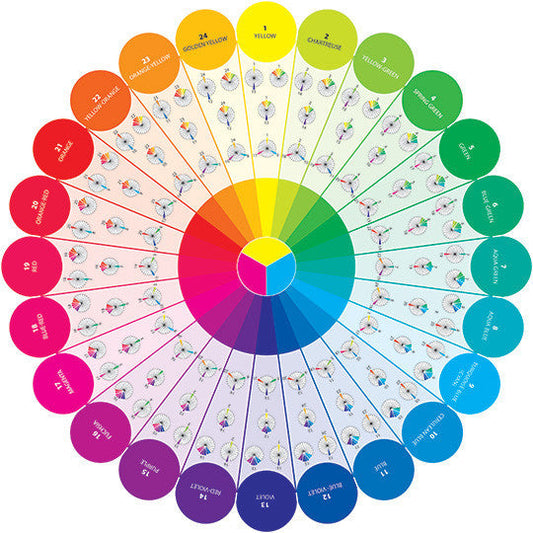
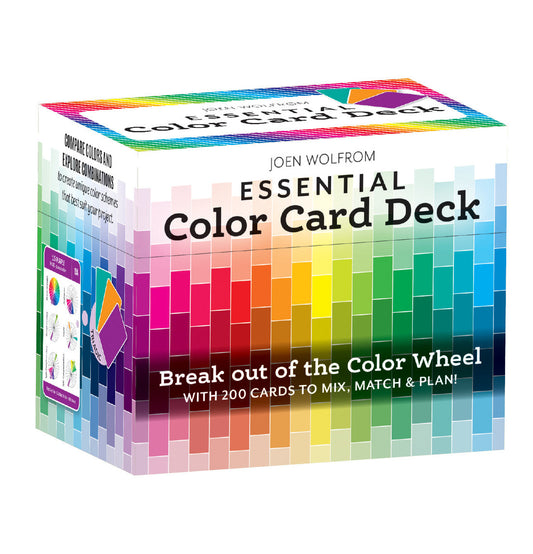
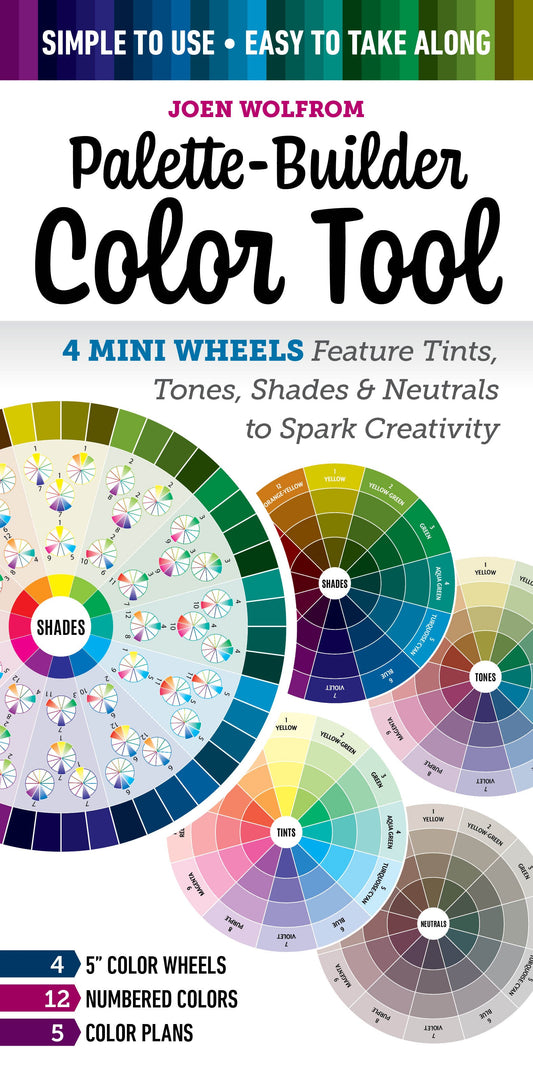
Best Selling Color Tools
-
LATEST BLOGS
-

Eight Design Guides: Ideas for Original Composi...
On Posted by C&T Publishing StaffDiscover the updated second edition of Art Quilt Collage: A Creative Journey in Fabric, Paint and Stitch. Explore Deborah Boschert’s Eight Design Guides, fresh artwork, student examples, and inspiring ideas for...
Eight Design Guides: Ideas for Original Composi...
On Posted by C&T Publishing StaffDiscover the updated second edition of Art Quilt Collage: A Creative Journey in Fabric, Paint and Stitch. Explore Deborah Boschert’s Eight Design Guides, fresh artwork, student examples, and inspiring ideas for...
-

Peeling Back the Layers: Why I Finally Decided ...
On Posted by C&T Publishing StaffFiber artist and Felt & Thread author shares the layered felt and embroidery process behind her dimensional portraits, revealing how everyday photos can become richly textured 3D appliqué and embroidered keepsakes.
Peeling Back the Layers: Why I Finally Decided ...
On Posted by C&T Publishing StaffFiber artist and Felt & Thread author shares the layered felt and embroidery process behind her dimensional portraits, revealing how everyday photos can become richly textured 3D appliqué and embroidered keepsakes.
-

Patchwork Power: A One-Day Virtual Quilting Event
On Posted by C&T Publishing StaffPatchwork Power is a one-day virtual quilting event packed with expert-led sessions on machine mastery, ruler work, diamonds, digital design, jelly rolls, wool appliqué, and more. Learn practical, modern techniques...
Featured YouTube Video
OUR IMPRINTS


- Choosing a selection results in a full page refresh.
- Opens in a new window.
×ExampleExampleExample(0 )ExampleView detailExampleExampleOption1Option2Option3Option1Option2Option3Sold outQuantityAdd To CartBuy NowCompareAdd WishlistShare:Guaranteed safe & secure checkout Bought Together