
Crafting A Book: The Technical Edit
Posted by Alison Schmidt on Oct 30th 2014
Please welcome Technical Editor Alison, who is talking about just that, the technical edits behind Modern Appliqué Illusions to continue our Crafting a Book series! Take it away, Alison!
I’m Alison Schmidt, and I’m a technical editor at C&T Publishing. It’s a pretty unique job, and one that requires me to wear many hats on any given day, but it challenges my brain and I love it!
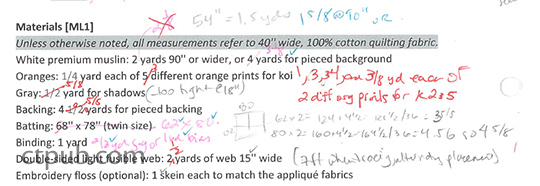
Technical editing requires math skills – I verify all the cut sizes of pattern pieces and patchwork, and the yardage or quantity required for each material to make the project as shown. It’s not high-level mathematics – it’s arithmetic, some geometry (for shapes with non-90° angles like triangles, parallelograms {diamonds to quilters}, and circles), and a fair amount of problem-solving. Enjoying puzzles helps!
Casey’s book didn’t have all the number-crunching I do on a traditional quilt book, but it had its own unique challenges. Her quilts are BIG, which is part of what makes them so impressive.
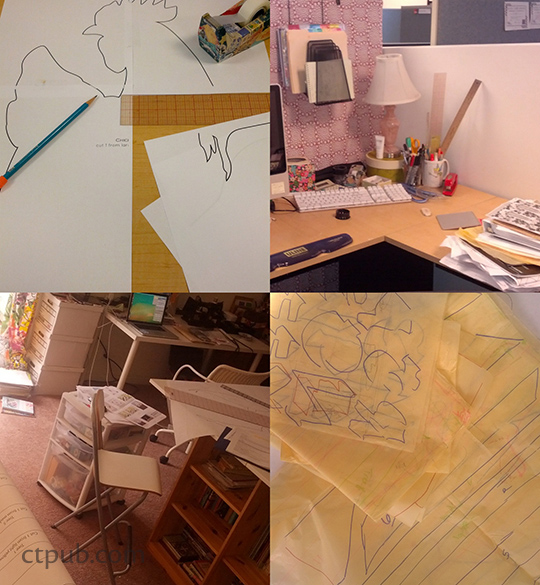
It also meant her pattern pieces often would not fit on my desk in my cute, but not spacious, office cubicle when I needed to check them.
Thank goodness I have a big table (and a desk, and floor space) in my sewing space at home. I worked at home frequently on this book, tracing pattern pieces to verify how much yardage it would take to make the various appliqué pieces for each project, and adjusting as needed for people who might not be as cost-conscious as I am when it comes to using every last inch of fabric! I also laid out all the pattern pieces to make sure they fit together as shown in the finished quilts.
My favorite tool on this book was my roll of canary tracing paper, which is easy to find at most local art supply stores. I’ve been using this paper since college for figuring out all sorts of things. It’s see-through, inexpensive, and comes in wide widths and long, long lengths – just what I needed for this book.
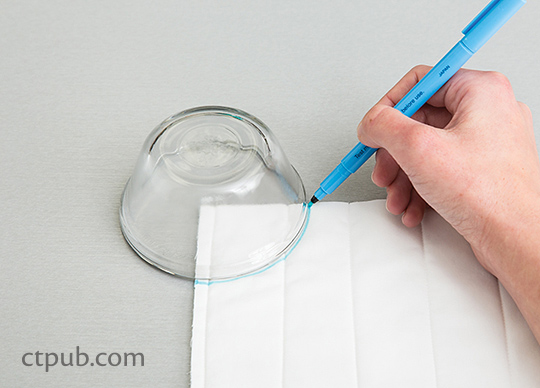
Casey wrote about making additional how-to models for the book, because I felt that section of the book really needed to show every step of her process so readers will be successful. After she sent those to me, our photographer Diane Pederson and I spent time photographing them to their best effect . Sometimes it’s a cut –and-dry shot – put the pieces of fabric under the lens, snap, check focus, and move on.
Sometimes there’s a little more tweaking involved.
This first shot was easy because the orientation of the glass bowl used for tracing showed its contours well with our lighting setup.
The next shot had a different orientation, and despite re-positioning the how-to model and several changes in our lighting setup, we finally had to resort to digital manipulation:
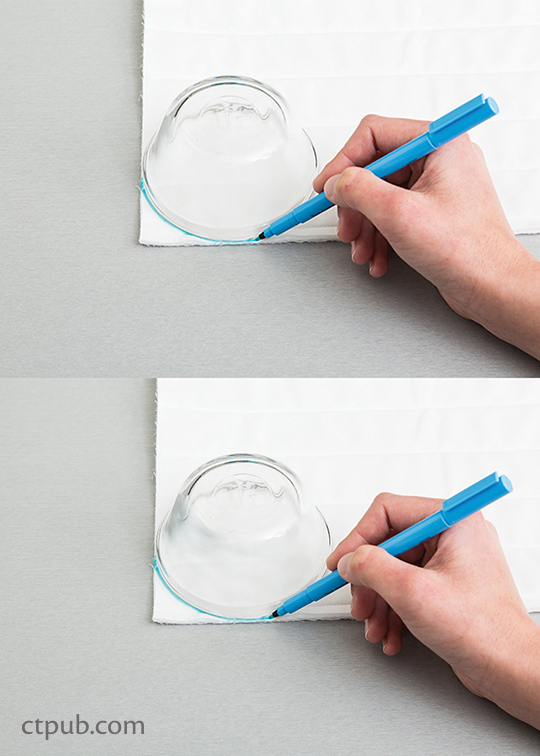
{top: before photoshop, bottom: after photoshop}
See that subtle shadow in the upper-left hand side of the glass bowl? That’s the magic of Adobe Photoshop, as wielded by Diane to make that transparent object look more 3-dimensional.
Technical editing also requires a strict attention to detail. A common change I made in this book and many others , was to make sure that consistent language was used throughout each project and the entire book. You’ll read ‘Right Rear Hedge’ on the cutting list, in the project instructions, and on the pattern piece. To some, that may seem dull, but it’s organizational nirvana to me!
All of my editing is driven by the goal of making the book as technically accurate AND as easy to understand as possible. I just want readers to enjoy making the projects in our books.
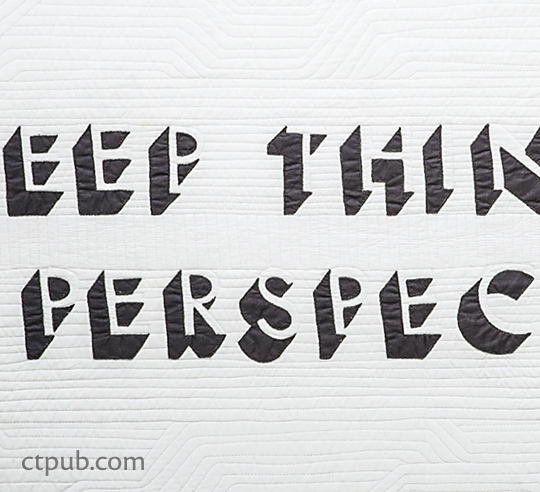
{Detailed shot of the "Keep Things in Perspective" quilt}
Up next: Production Editor Joanna's post on Crafting a Book!


